
15 Exterior Christmas Lights Ideas to Make Your House Glow
There is nothing quite like driving home on a dark December evening and seeing your own house glow. Exterior Christmas lights turn an ordinary house into the warmest one on the street, and you do not need a huge display or a professional installer to do it well. A few strands in the right places — the roofline, the porch, the path to the door — can make the whole house feel festive.
The trick is to start with a plan, not a shopping cart. Pick one focal point, choose one colour story, and light that first. Then add the next layer only if the house still needs it. This list gives you 15 exterior Christmas lights ideas, from a classic warm white roofline to a snowfall projector, so you can build a display that suits your house, your budget, and your ladder skills.
Best Exterior Christmas Lights Ideas to Start With
If you only have one evening, start with these five. A warm white roofline outlines the whole house and reads clearly from the street. A lit garland over the door makes the entrance feel welcoming. Window frames outlined in lights tie the front together. A candy cane pathway guides guests to the door. And a timer switches everything on at dusk and off at bedtime, so the display looks after itself. Do those five well, and your house will already glow.
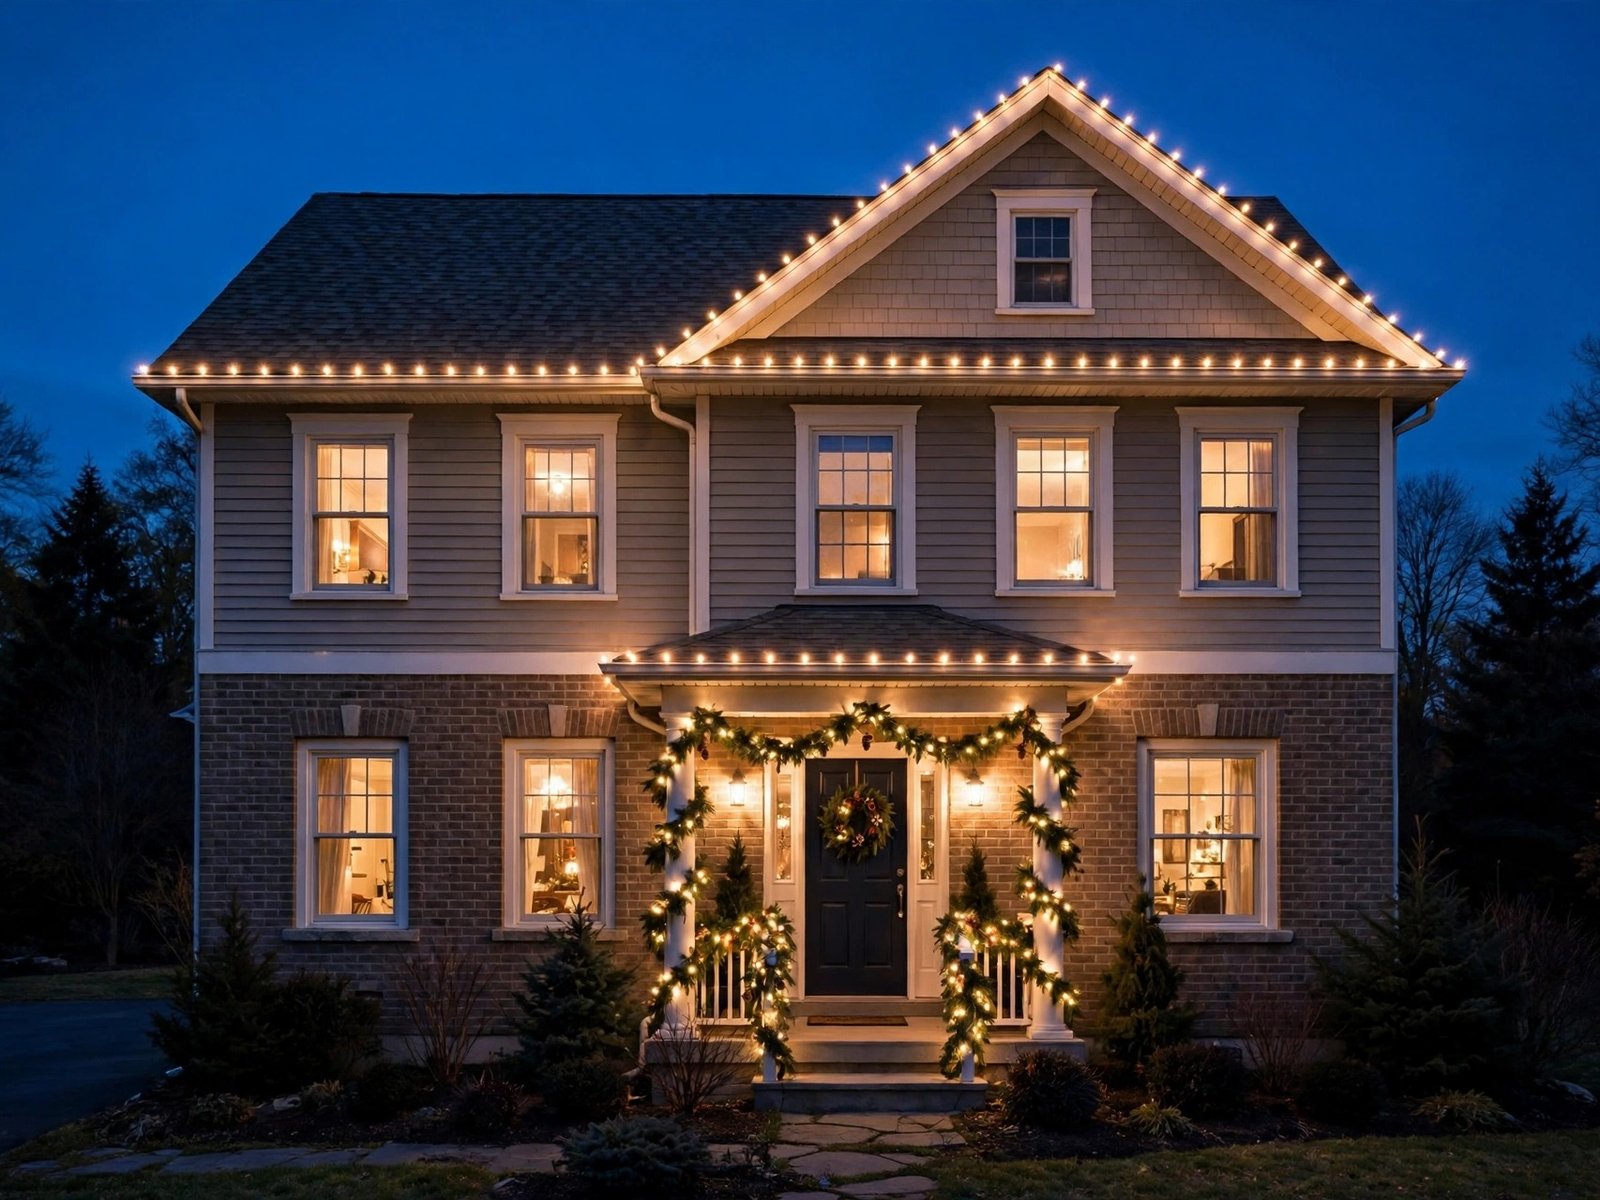
1. A Warm White Roofline That Outlines the House

A roofline is the single most effective place for exterior Christmas lights. One clean line of warm white bulbs traces the shape of your whole house, and from the street it reads as one glowing outline. Big C9 bulbs work best here because they are easy to see from a distance, and warm white gives the classic, welcoming glow most people picture when they think of Christmas.
Measure the roofline before you buy anything, then add a little extra for corners and gaps. Space the bulbs about 6 to 10 inches apart and clip every strand with plastic light clips, never nails or staples, so the wire stays safe and the line stays straight. Hang one strand, then walk to the pavement at dusk and look back — that is the view that matters.
What you need: outdoor-rated C9 warm white string lights, plastic gutter and shingle clips, an outdoor extension cord, a GFCI outlet.
2. Icicle Lights Along the Eaves
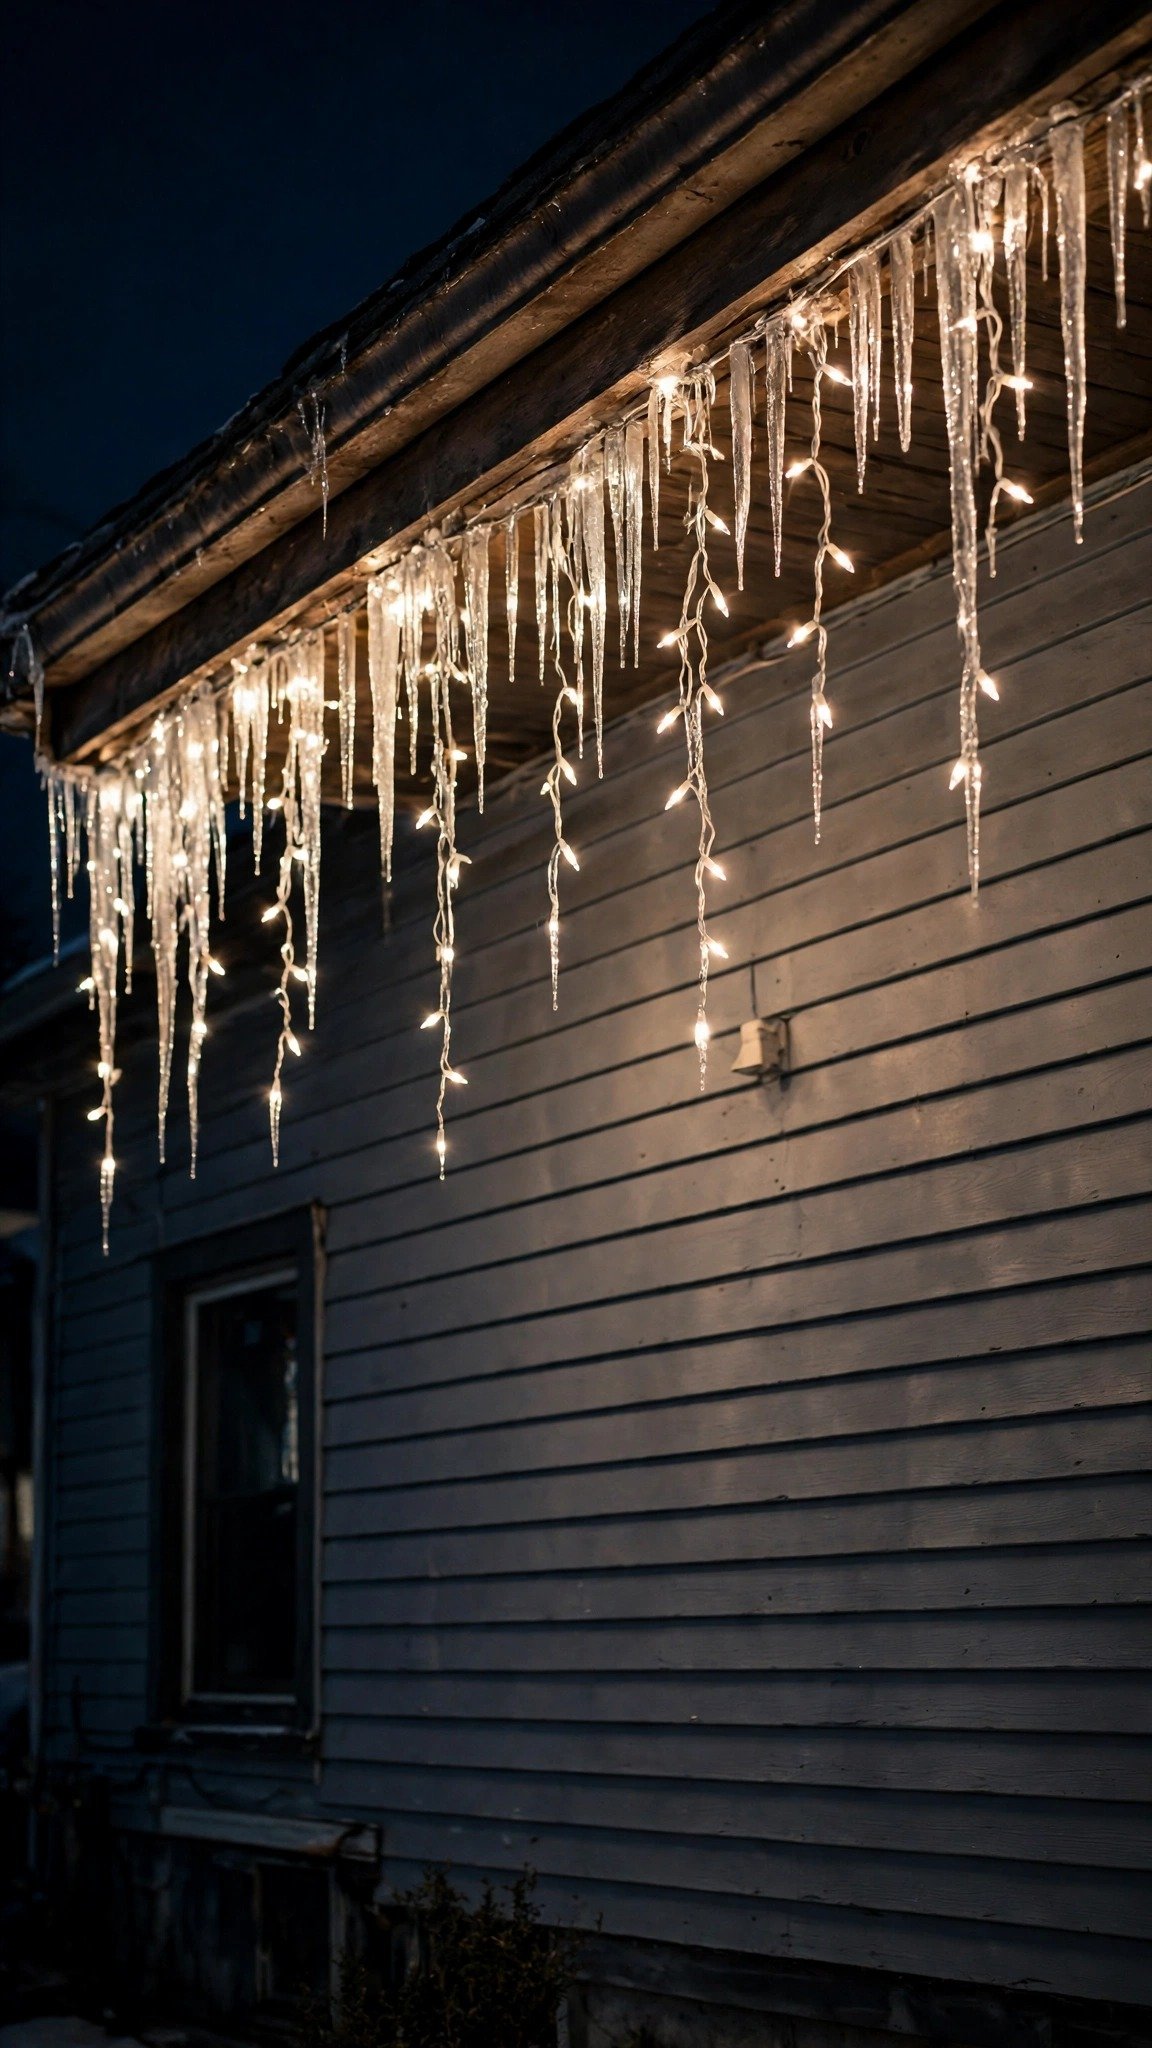
Icicle lights hang from the eaves in uneven drops, like real icicles catching the light. They soften a straight roofline and give the house a wintry feel without any extra decoration. Cool white looks icy and crisp, while warm white looks softer and cosier, so pick the shade that matches the rest of your display.
Hang them along the front eaves and the porch edge, and keep the drops hanging free so they do not tangle. One row is usually enough — two rows start to look heavy. If your roofline already has C9 bulbs, icicles work best on the porch alone, where they frame the entrance instead of competing with the roof.
What you need: outdoor-rated icicle light strands, plastic eave clips, an outdoor extension cord, a timer.
3. A Lit Porch Garland Over the Door
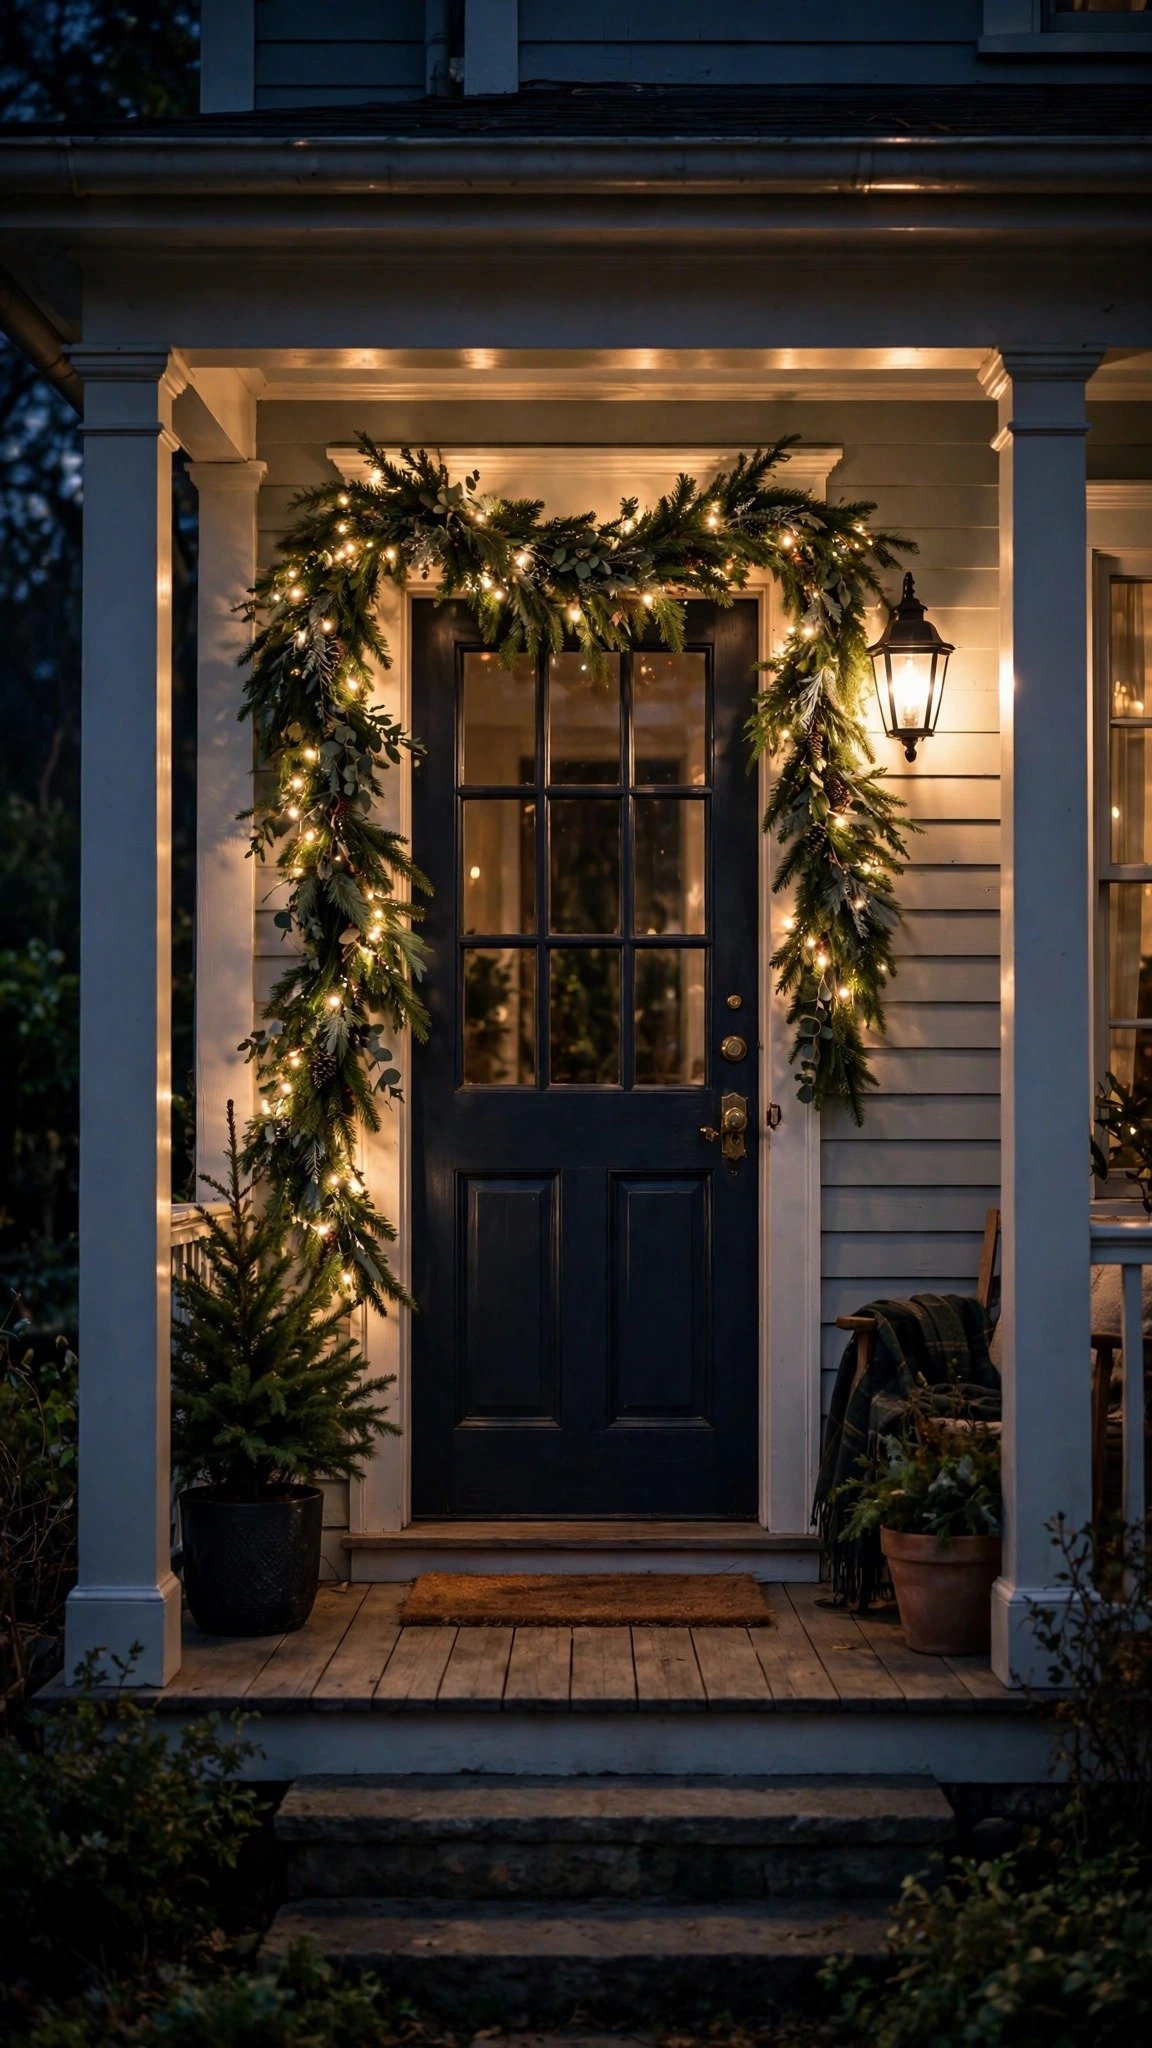
A garland over the front door is the warmest welcome a house can give. A pre-lit garland saves time, but a plain garland with a strand of warm white lights woven through it looks fuller and more natural. Drape it across the top of the door frame and let the ends fall a little down each side, so the doorway feels framed rather than flat.
Add a red bow at the centre if you like a traditional look, or keep it plain with greenery and lights for something calmer. Either way, keep the lights evenly spaced through the greenery so there are no dark gaps. This is one of the easiest ideas on this list, and it changes the whole entrance in under an hour.
What you need: a plain or pre-lit outdoor garland, a warm white mini light strand, zip ties or floral wire, a red bow (optional).
4. A Glowing Wreath on the Front Door
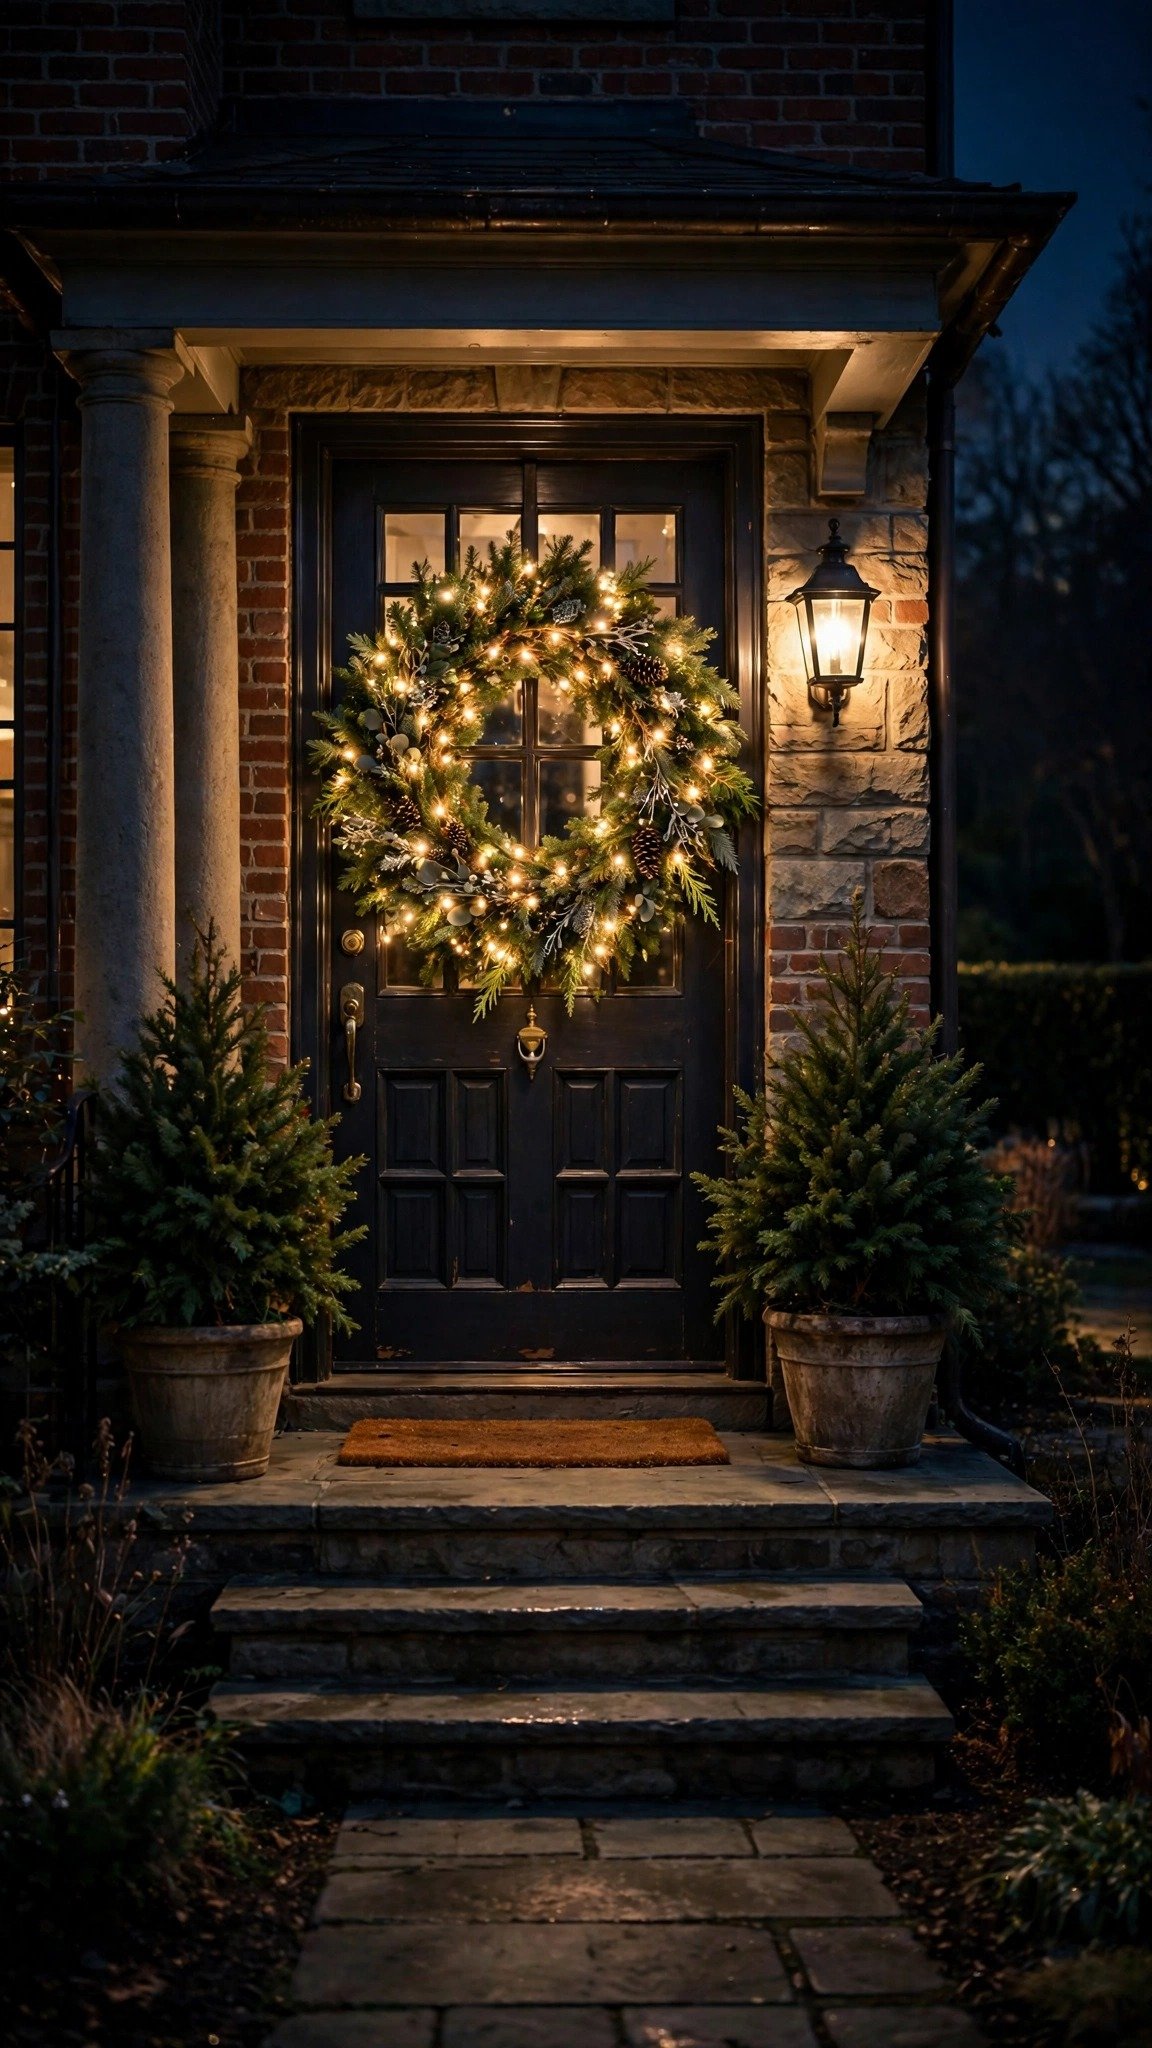
A wreath with lights in it glows from the street in a way a plain wreath never does. Battery-operated mini lights are the simplest choice here because there is no cord to run to the door, and you can tuck the small battery pack behind the wreath where nobody sees it. Warm white lights suit a classic green wreath, while a few red berries in the greenery add colour without extra lights.
Hang the wreath at eye level with a sturdy wreath hanger that hooks over the door, and set the lights on a timer so they come on at dusk. One lit wreath is enough for most doors — two small ones on double doors look balanced, but one big wreath always reads better than two crowded ones.
What you need: an outdoor wreath, battery-operated warm white mini lights, a wreath hanger, a small timer (optional).
5. Window Frames Outlined in Lights
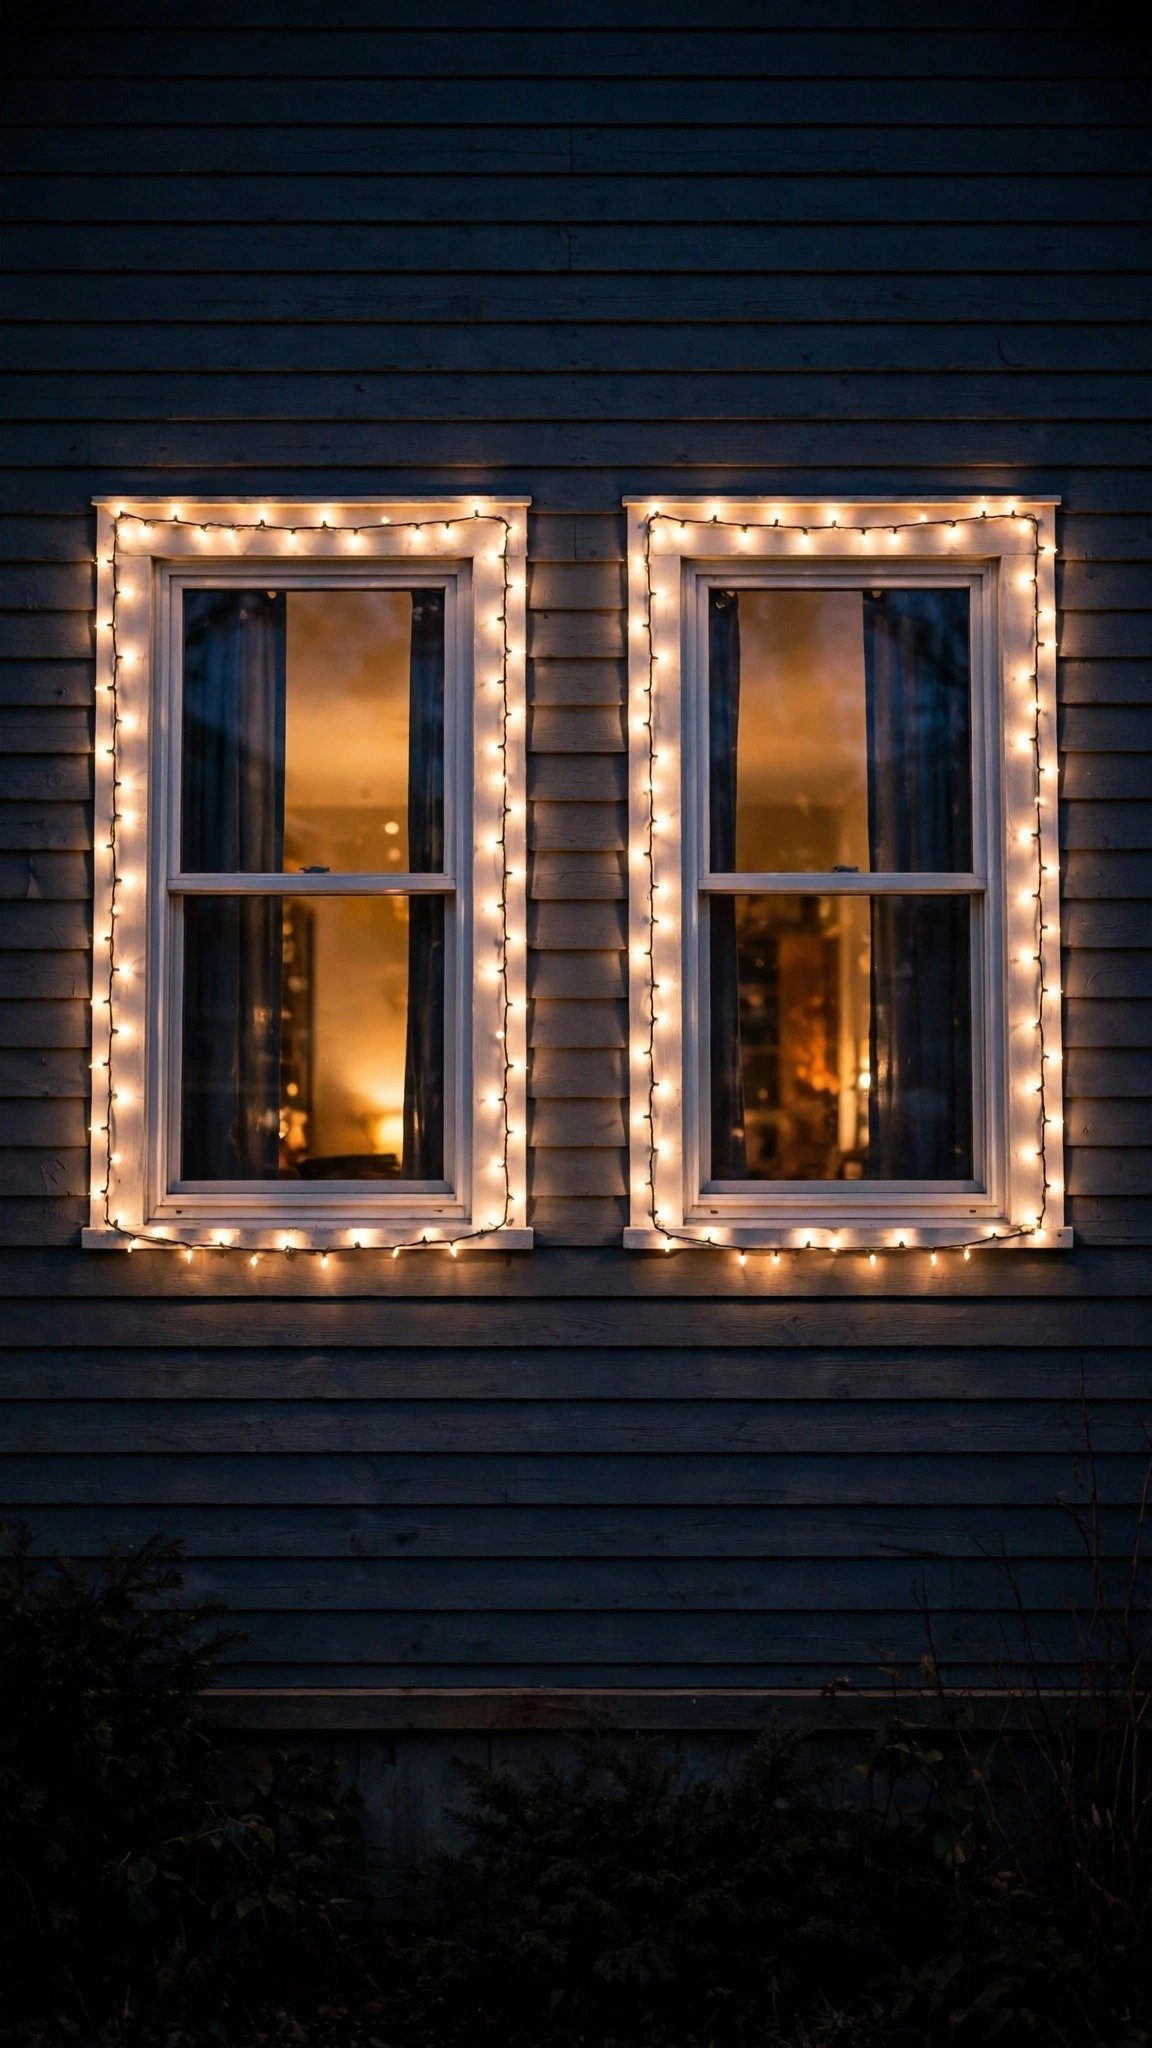
Outlining the window frames ties the front of the house together. When the roofline, the windows, and the door all carry the same lights, the house looks planned rather than patched together. Use the same colour and bulb size as the roofline so the whole front reads as one display.
Outline every front window the same way, and keep the spacing even around each frame. If you have shutters, run the lights just inside them so the frame stays neat. A small lit star or a battery candle in one or two windows adds a focal point, but keep the rest plain so the frames themselves do the work.
What you need: outdoor-rated mini light strands, window clips or suction clips, an outdoor extension cord, a lit star or battery candle (optional).
6. Wrapped Tree Trunks That Glow After Dark

A bare tree trunk wrapped in lights becomes a glowing sculpture after dark. Start at the base and wrap upward in a steady spiral, keeping the spacing even so the trunk glows all the way up instead of in patches. About 100 mini lights for each vertical foot of trunk is a good guide, so a six-foot trunk needs roughly 600 lights.
Wrap the trunk first and the lower branches second, and stop where the branches get too thin to hold a strand safely. One well-wrapped tree makes a better focal point than three half-wrapped ones, so pick the tree nearest the front path and give it your full attention.
What you need: outdoor-rated warm white mini light strands, a step ladder, an outdoor extension cord, a timer.
7. Net Lights Over Shrubs and Hedges

Net lights are the fastest way to light a shrub or a hedge. The lights come woven into a net, so you drape it over the greenery and the whole bush glows evenly, with no wrapping and no bare patches. They are the best choice for round shrubs, low hedges, and foundation plantings along the front of the house.
Lay the net over the top of the shrub and let it fall down the sides, then tuck the edges under so no bare wire shows. Use one net per shrub and keep the colour the same across all of them. A row of evenly lit shrubs along the front of the house makes the whole garden look finished after dark.
What you need: outdoor-rated net light sets, an outdoor extension cord, a timer, a step ladder for taller shrubs.
8. A Candy Cane Pathway to the Door
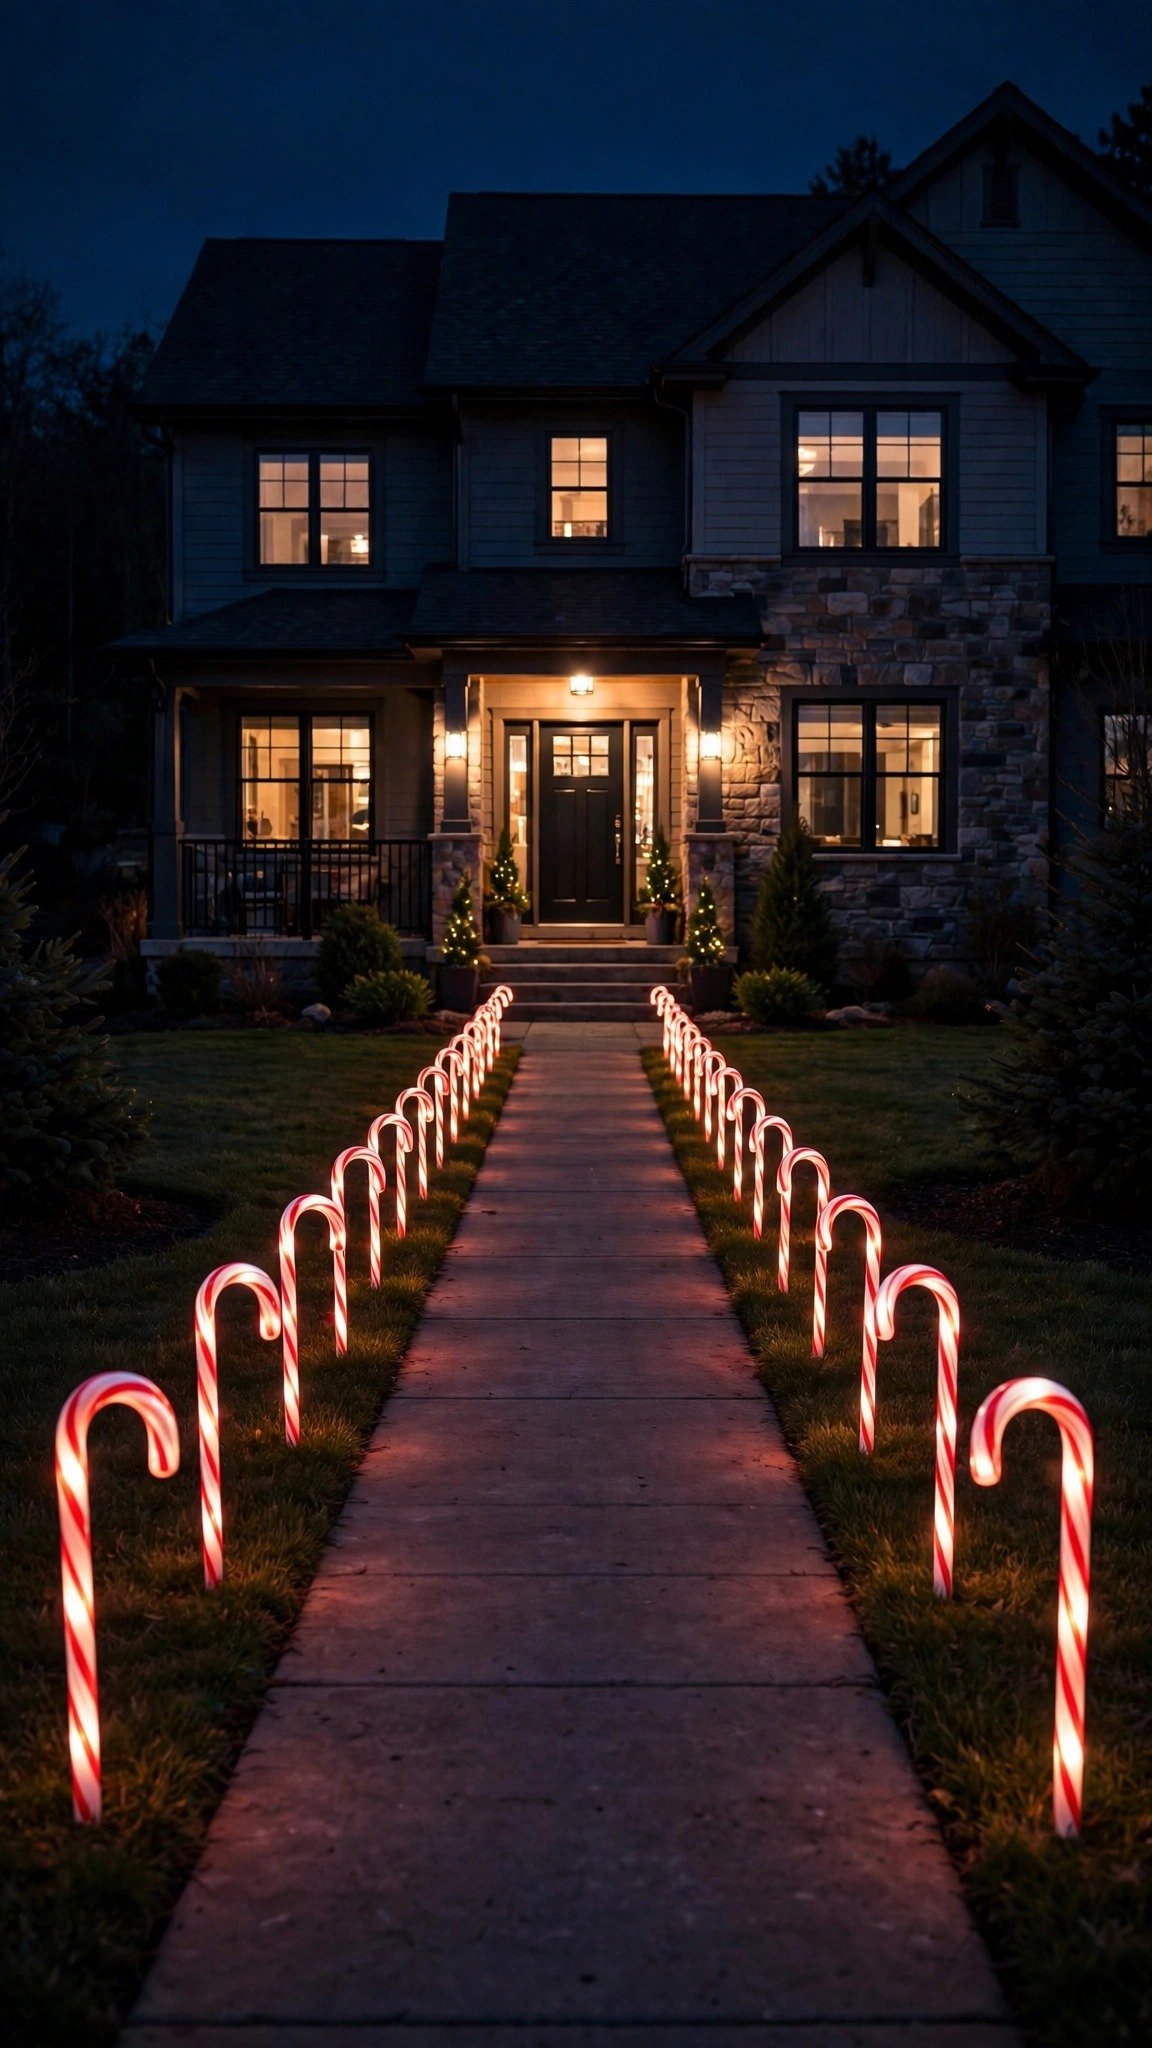
Lighted candy cane stakes along the walkway do two jobs at once: they guide guests safely to the door, and they make the path itself part of the display. Alternate the canes on each side of the path, or line one side only if the path is narrow, and keep the spacing even so the walk feels like a proper entrance rather than a scattered row.
Solar candy canes work well if the path gets sun during the day, but plug-in ones glow brighter and longer on dark winter evenings. Keep every stake clear of the walking surface so nobody trips, and keep the cords tucked along the edge of the path, not across it.
What you need: lighted candy cane pathway stakes, an outdoor extension cord or solar stakes, a timer.
9. Lanterns Along the Walkway

Lanterns give a softer, older kind of light than strands, and they look beautiful lining a walkway. Battery-operated candles inside the lanterns are the safest choice — no flame, no cord, and they glow all evening on a timer. Place one lantern every few steps on alternating sides of the path, and the walk to the door feels like a quiet, glowing trail.
Use the same lantern style all the way along so the path looks planned. A mix of sizes is fine as long as the style matches — two tall lanterns by the door and smaller ones along the path is a classic arrangement. Bring the lanterns in during heavy storms, and they will last for years.
What you need: outdoor lanterns, battery-operated LED candles, a timer, pebbles or sand to weigh the lanterns down.
10. A Lit Star on the Gable

A lit star on the gable is a simple, bold focal point. One large star, high on the front of the house, draws the eye upward and finishes the roofline display. It works best when the rest of the display is calm — a warm white roofline, plain window frames — because the star becomes the one bright shape the eye lands on.
Choose a star rated for outdoor use, and hang it with a sturdy hook or a bracket rather than a nail through the wire. A star with a timer is ideal, so it switches on with the rest of the house at dusk. If your gable is hard to reach, a lit star in a front window gives almost the same effect with no ladder at all.
What you need: an outdoor-rated lit star, a mounting hook or bracket, an outdoor extension cord, a timer.
11. A Backyard Pergola Wrapped in String Lights
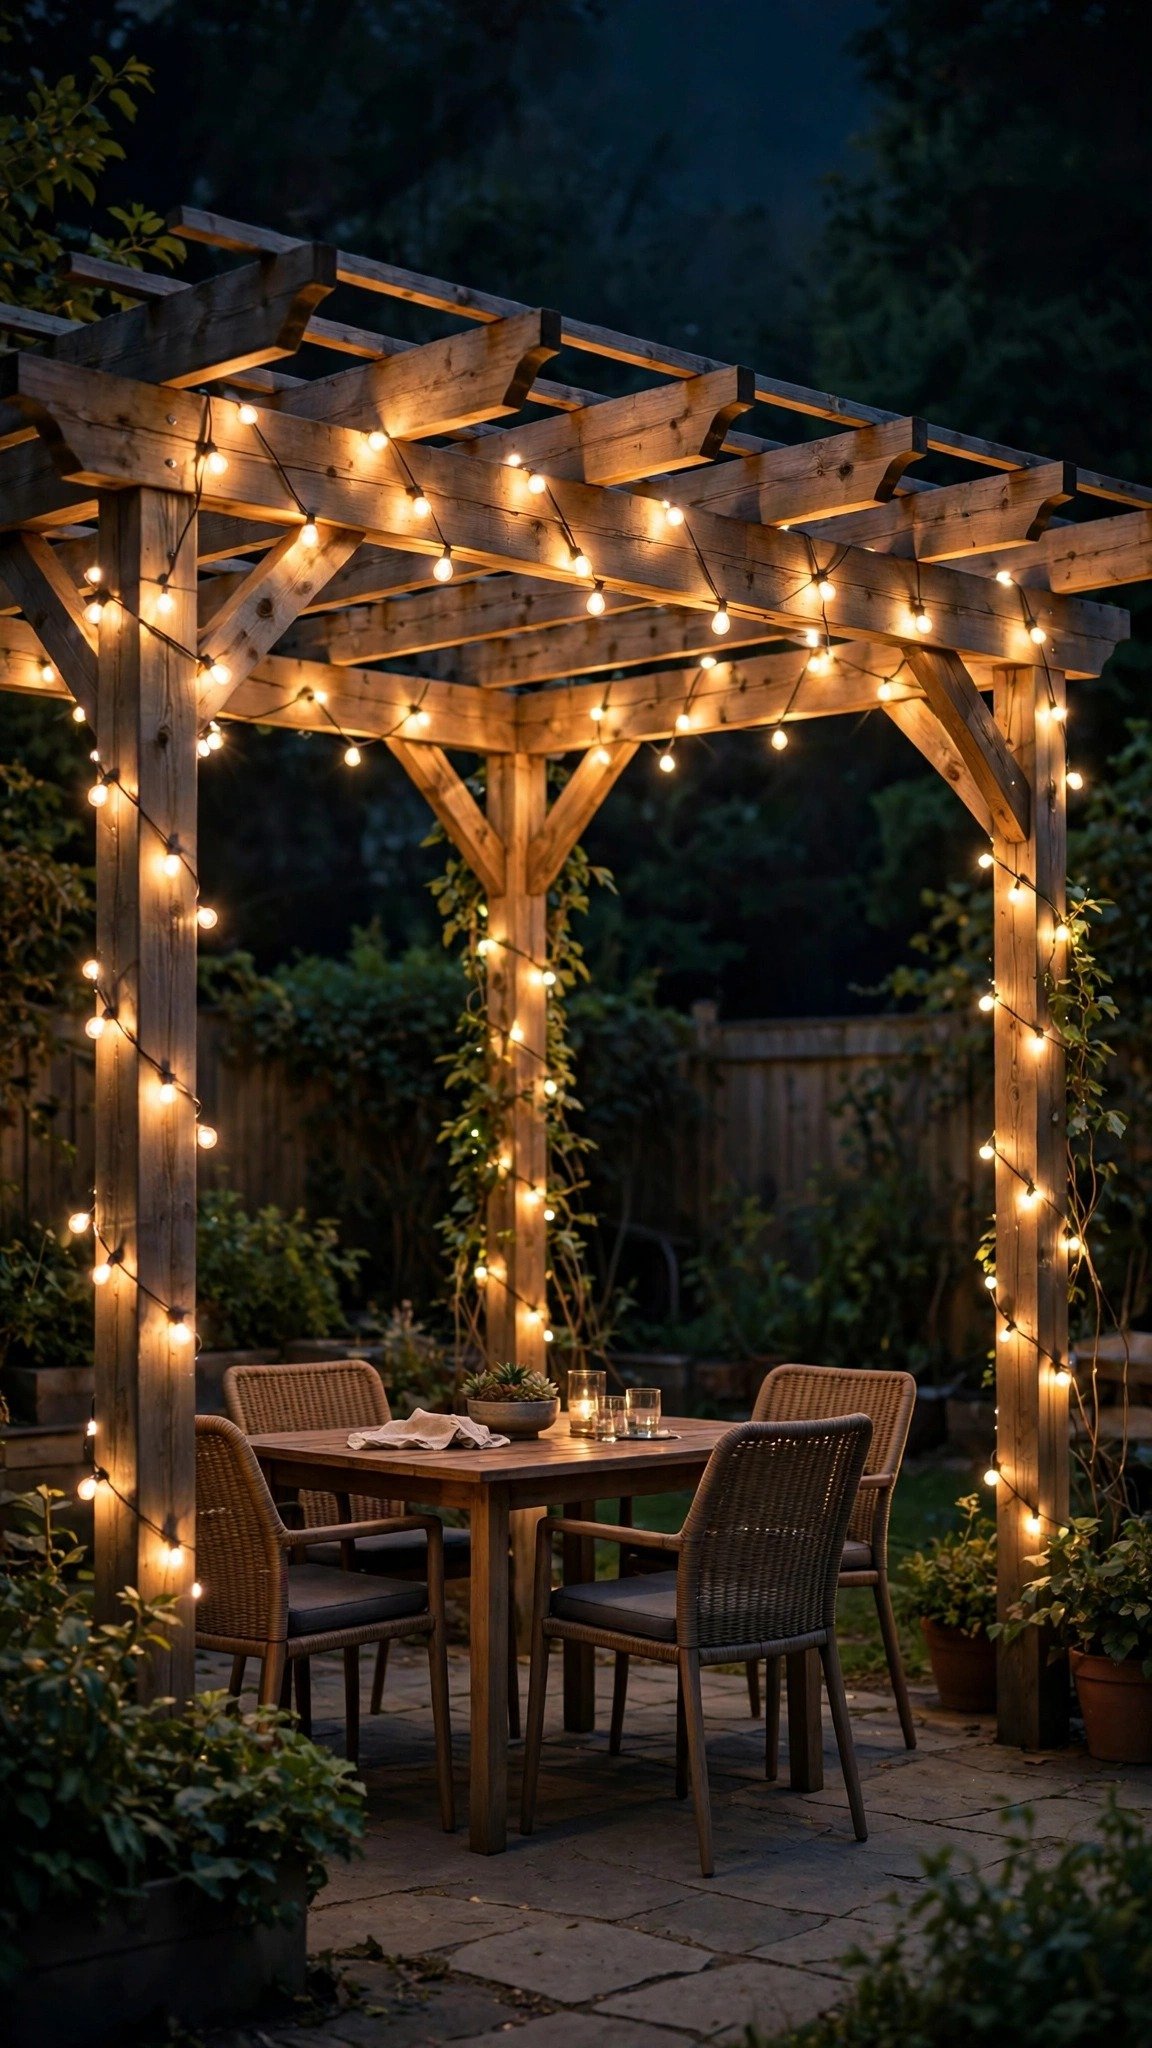
The front of the house gets the attention, but a pergola wrapped in string lights turns the backyard into a glowing room of its own. Run the strands along the top beams first, then drape a few across the middle so the light falls softly over the seating area below. Warm white festoon bulbs work best here because their larger bulbs glow like a string of small lamps.
Hang the strands with hooks or zip ties, and keep the sag gentle — about a foot of droop between fixing points looks relaxed, while too much sag looks untidy. A timer keeps the pergola glowing every evening without anyone having to remember. Add a few outdoor cushions and the backyard becomes a place to sit, even in December.
What you need: outdoor-rated festoon string lights, hooks or zip ties, an outdoor extension cord, a timer.
12. A Lighted Yard Display With One Focal Point

A yard display works best when it has one clear focal point, not ten. Pick one piece — a lighted reindeer, a glowing snowman, an illuminated Santa, or a small outdoor Christmas tree — and place it where the eye lands first, usually near the front path or in the middle of the lawn. Then light around it, not over it, so the focal point stays the star of the show.
Keep the rest of the yard calm so the focal point can breathe. A few lighted gift boxes or a snowflake beside it is plenty. When every corner of the yard is full, nothing stands out, and the display starts to look cluttered instead of magical. One strong piece, lit well, beats a crowded lawn every time.
What you need: one lighted yard figure or outdoor Christmas tree, a few lighted gift boxes or snowflakes, an outdoor extension cord, a timer.
13. A Projector Snowfall on the House Front

A snowfall projector is the fastest way to cover a whole house front with light. One small projector on a stake throws moving snowflakes across the wall, the roof, and the garden, and it takes minutes to set up instead of hours on a ladder. It is the best choice for a big house front, a tall wall, or anyone who wants a full display without climbing.
Place the projector on the lawn, aimed at the flattest part of the house front, and test the angle at dusk before you fix it in place. Keep the projection to one wall so the snow looks intentional, and pair it with a simple roofline so the house still has a clean outline. A projector plus a roofline is a complete display on its own.
What you need: an outdoor-rated snowfall projector, a ground stake, an outdoor extension cord, a timer.
14. A Classic All-White Theme
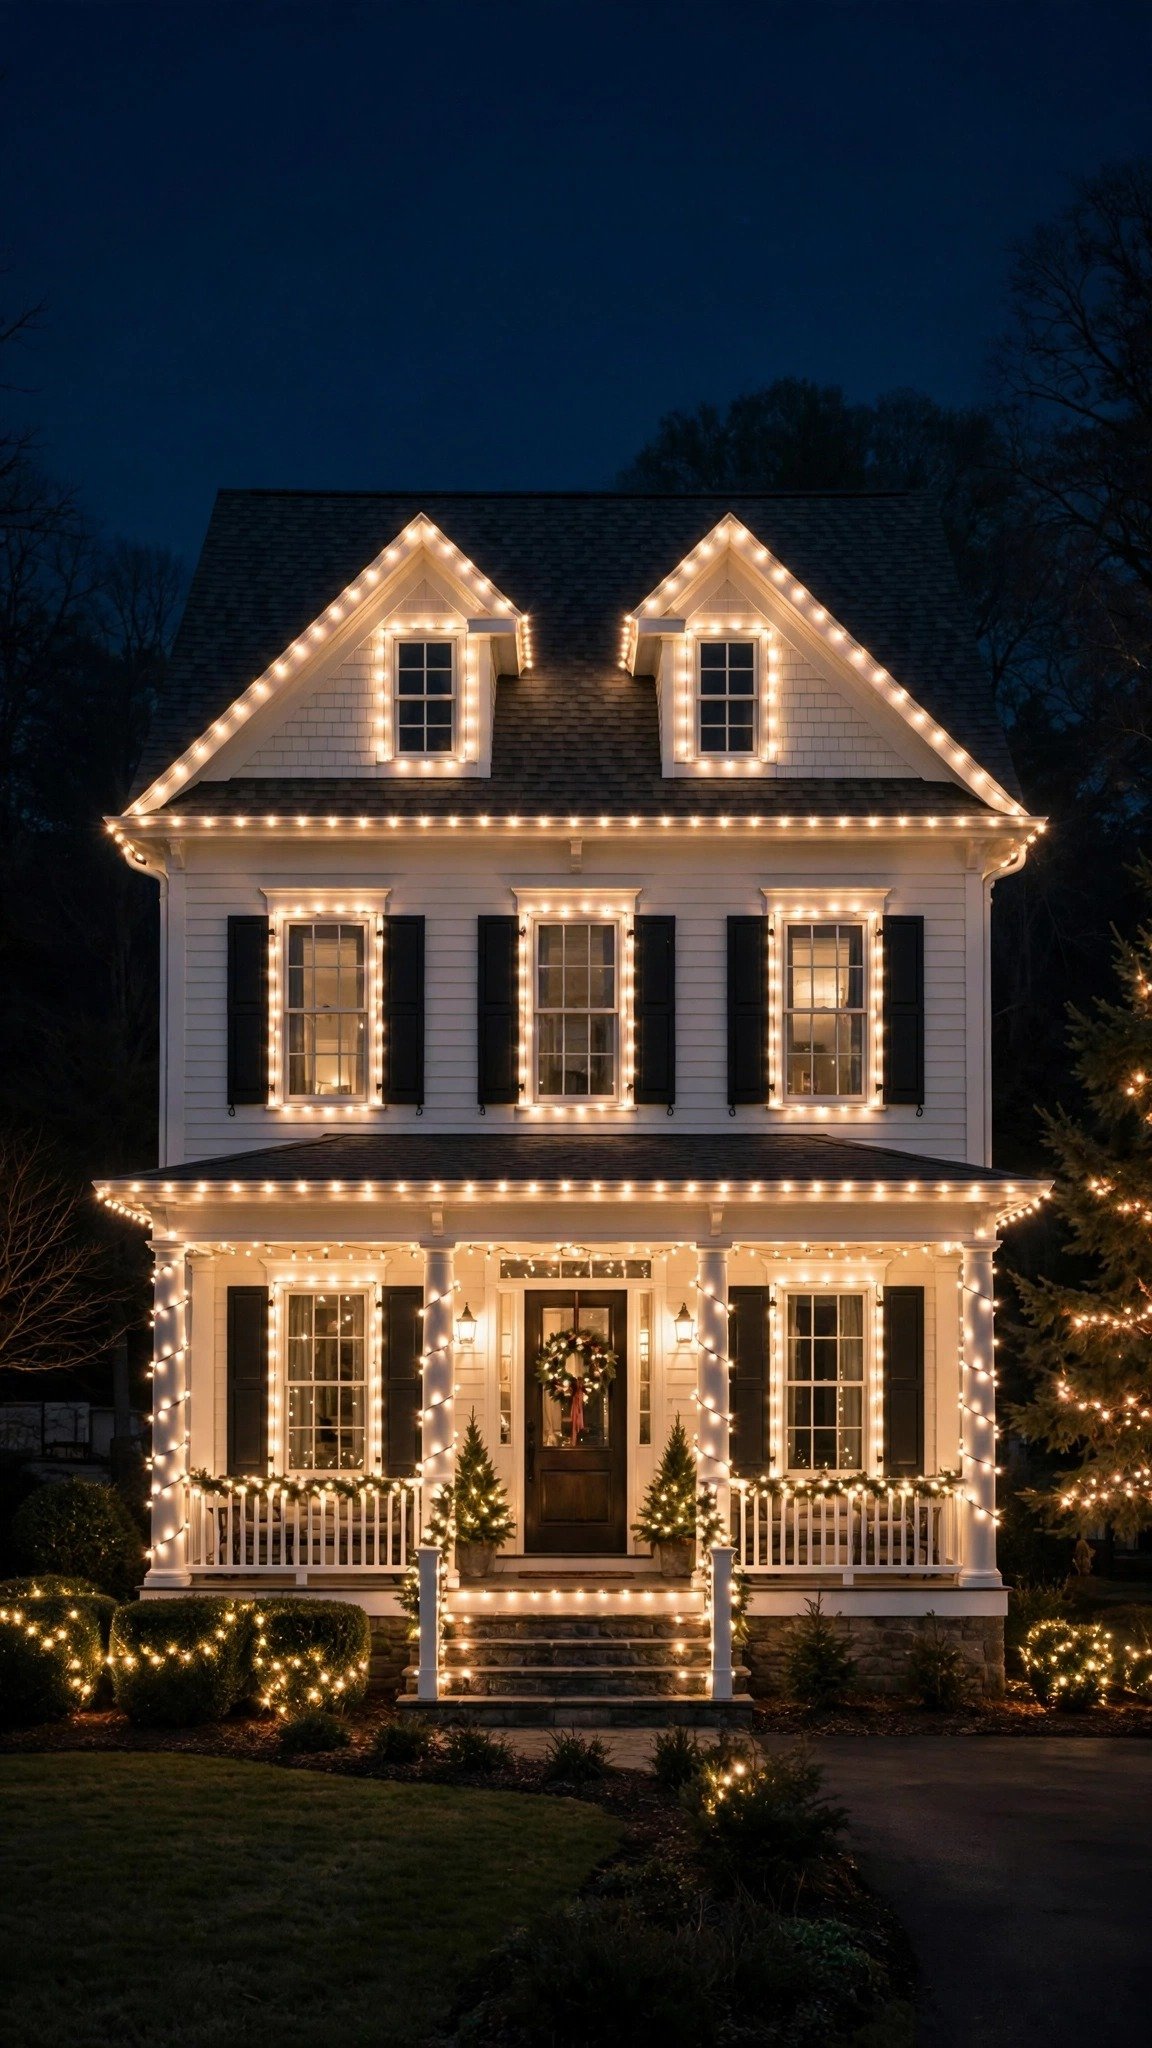
An all-white display is timeless, elegant, and the easiest theme to get right. Warm white lights give a soft, welcoming glow, while cool white looks brighter and more icy — pick one shade and use it everywhere, because warm and cool white side by side look mismatched. One shade, repeated across the roofline, the windows, the trees, and the porch, makes the whole house look calm and planned.
White works on every house colour, from brick to white siding, and it suits every style of decoration. Add greenery and a simple wreath, and the house needs nothing else. If you want one touch of colour, a single red bow on the wreath or the door is enough — the white lights do the rest.
What you need: warm white or cool white outdoor light strands in one shade, plastic light clips, an outdoor extension cord, a timer.
15. A Colourful Multicolour Display

Multicolour lights are the cheerful, traditional Christmas look, and they suit a house full of family and fun. The trick is to pick a colour story and stick to it, instead of mixing every colour on every strand. Red and green are the classic pairing, blue and white feel wintry, and gold with warm white feels softer and more elegant.
Use the multicolour strands on the roofline and the trees, and keep the porch simpler so the entrance does not compete with the roof. One feature in full colour — a big tree, or the whole roofline — is enough to carry the display. When the colours repeat in the same places, the house looks joyful instead of messy.
What you need: multicolour outdoor light strands, plastic light clips, an outdoor extension cord, a timer.
Which Exterior Christmas Lights Idea Is Right for Your Home?
The best exterior Christmas lights idea depends on your house, your budget, and how much time you want to spend on a ladder. A small house needs only a roofline and a lit door to glow. A big house needs one strong focal point so the display does not scatter. A house with a long path needs pathway lights most of all, because the walk to the door is what guests actually see up close.
If your budget is tight, the roofline and the door cost the least and change the house the most. If you hate ladders, a projector and a lit wreath give you a full display with your feet on the ground. The right first step is the one that fixes the part of the house you notice most when you come home at dusk — do it well, and let the rest follow when you are ready.
- Small house: A Warm White Roofline, A Lit Porch Garland, A Glowing Wreath — one clean outline and a lit door.
- Big house: A Projector Snowfall, A Lit Star on the Gable, A Lighted Yard Display — one strong focal point.
- Long pathway: A Candy Cane Pathway, Lanterns Along the Walkway, Net Lights Over Shrubs — guide guests to the door.
- Tight budget: A Warm White Roofline, A Glowing Wreath, A Classic All-White Theme — the biggest change for the least money.
- No ladders: A Projector Snowfall, A Glowing Wreath, A Lighted Yard Display — a full display from the ground.
- Calm and elegant: A Classic All-White Theme, A Warm White Roofline, A Lit Porch Garland — one shade, repeated.
- Cheerful and traditional: A Colourful Multicolour Display, Wrapped Tree Trunks, A Lighted Yard Display — colour and fun.
Plan Your Exterior Christmas Lights in 4 Simple Steps
- Take a photo of your house at dusk. Before you buy anything, take a photo of your house from the street at dusk. It shows you what visitors see, and it makes the weak spots obvious: the dark roofline, the plain door, the unlit path. Keep that photo on your phone while you shop so every purchase answers a real gap.
- Pick one focal point and one colour story. Choose the one feature that will carry the display — the roofline, a big tree, or the porch — and one colour story to repeat everywhere. Warm white for classic, multicolour for cheerful, all-white for elegant. Write both down before you shop.
- Measure, then buy once. Measure the roofline, the windows, and the path, and buy enough lights in one trip. Add a little extra for corners and gaps. Buy outdoor-rated lights only, and check that every strand is the same colour temperature so nothing clashes.
- Hang safely, then set a timer. Use plastic clips, never nails or staples. Plug into a GFCI outlet, keep connections off the ground and away from walkways, and set a timer so the lights switch on at dusk and off at bedtime. Take another photo from the street when you are done — it shows you at a glance how far one evening of work can take a house.
FAQs
How many Christmas lights do I need for my house?
Measure first, then buy. A roofline needs one strand per measured length, spaced about 6 to 10 inches apart, and a tree trunk needs about 100 mini lights for each vertical foot. Add a little extra for corners and gaps. Most small houses glow beautifully with 5 to 10 strands in total.
How do I hang Christmas lights without damaging my house?
Use plastic light clips made for gutters and shingles, and never use nails or staples. Clips grip the gutter or the shingle edge without piercing anything, and they come off cleanly in January. Test one clip first to make sure it holds your strand, then work along the roofline in daylight so you can see what you are doing.
Can I use indoor Christmas lights outside?
No, indoor lights should never be used outside. They are not built to handle rain, snow, or cold, and moisture can damage the wiring. Always buy lights labelled for outdoor use, and plug them into a GFCI-protected outdoor outlet. Outdoor-rated lights cost a little more, but they are safer and last longer.
When should I put up exterior Christmas lights?
Most people put exterior lights up in late November, a week or two before December, when the weather is still mild enough for ladder work. Hang them in daylight on a dry day, test every strand before you climb, and set a timer so they switch on at dusk.
How do I keep outdoor Christmas lights safe in rain and snow?
Use outdoor-rated lights and extension cords, plug into a GFCI outlet, and keep every connection off the ground and sheltered from direct rain. Connection boxes or simple drip loops, where the cord dips below the connection so water runs off, help a lot. Check the lights after the first heavy rain, and replace any strand that flickers or feels warm.
How do I hide extension cords outside?
Run cords along the edge of the path, behind shrubs, or under the eaves, and keep them flat on the ground where people walk. Cord covers in a colour close to the path or the lawn hide them well, and a little mulch over a cord along a garden bed works too. Never run a cord across a walkway.
What is the best colour for exterior Christmas lights?
Warm white is the best all-round choice because it suits every house and feels classic and welcoming. Cool white looks crisp and icy, and multicolour looks cheerful and traditional. Pick one colour story for the whole front and repeat it, because one shade used everywhere looks planned, while mixed colours on one house look scattered.
Conclusion
A house that glows at Christmas does not need the most lights on the street. It needs the right lights in the right places — a clean roofline, a lit door, a path that guides guests home, and one colour story repeated across the front. Start with the five ideas in the Quick Answer, hang them safely, and set a timer so the display looks after itself.
Walk to the pavement at dusk and look back at your own house. That is the view your neighbours see, and it is the view that tells you whether the house is finished or needs one more strand. A few thoughtful lights, hung well, are all it takes to make a house feel like Christmas. Happy decorating — and may your house be the warmest glow on the street this December.


2 Comments