19 1950s Retro Bathroom Ideas That Bring Back Classic Vintage Style
1950s Retro Bathroom Ideas still feel fresh today because they combine simple shapes, cheerful colours, and practical surfaces that are easy to maintain. Think soft pastel tiles, checkerboard floors, polished chrome fixtures, and classic pedestal sinks. These details bring back the charm of mid-century bathrooms without making the space feel outdated. The secret is balancing vintage character with a few modern touches that keep the room comfortable and functional.
You don’t need a complete remodel to bring this look into your home. Start with one feature, such as a colourful tile floor, a vintage-inspired fixture, or a pastel colour scheme, then build around it with carefully chosen accents. These 19 1950s retro bathroom ideas cover everything from classic colours and patterned tiles to lighting, storage, and finishing touches, with options for small bathrooms and budget-friendly updates. Each idea will help you create a bathroom that feels cheerful, timeless, and suited to everyday living.
1. Start With One Soft Pastel as Your Base Colour
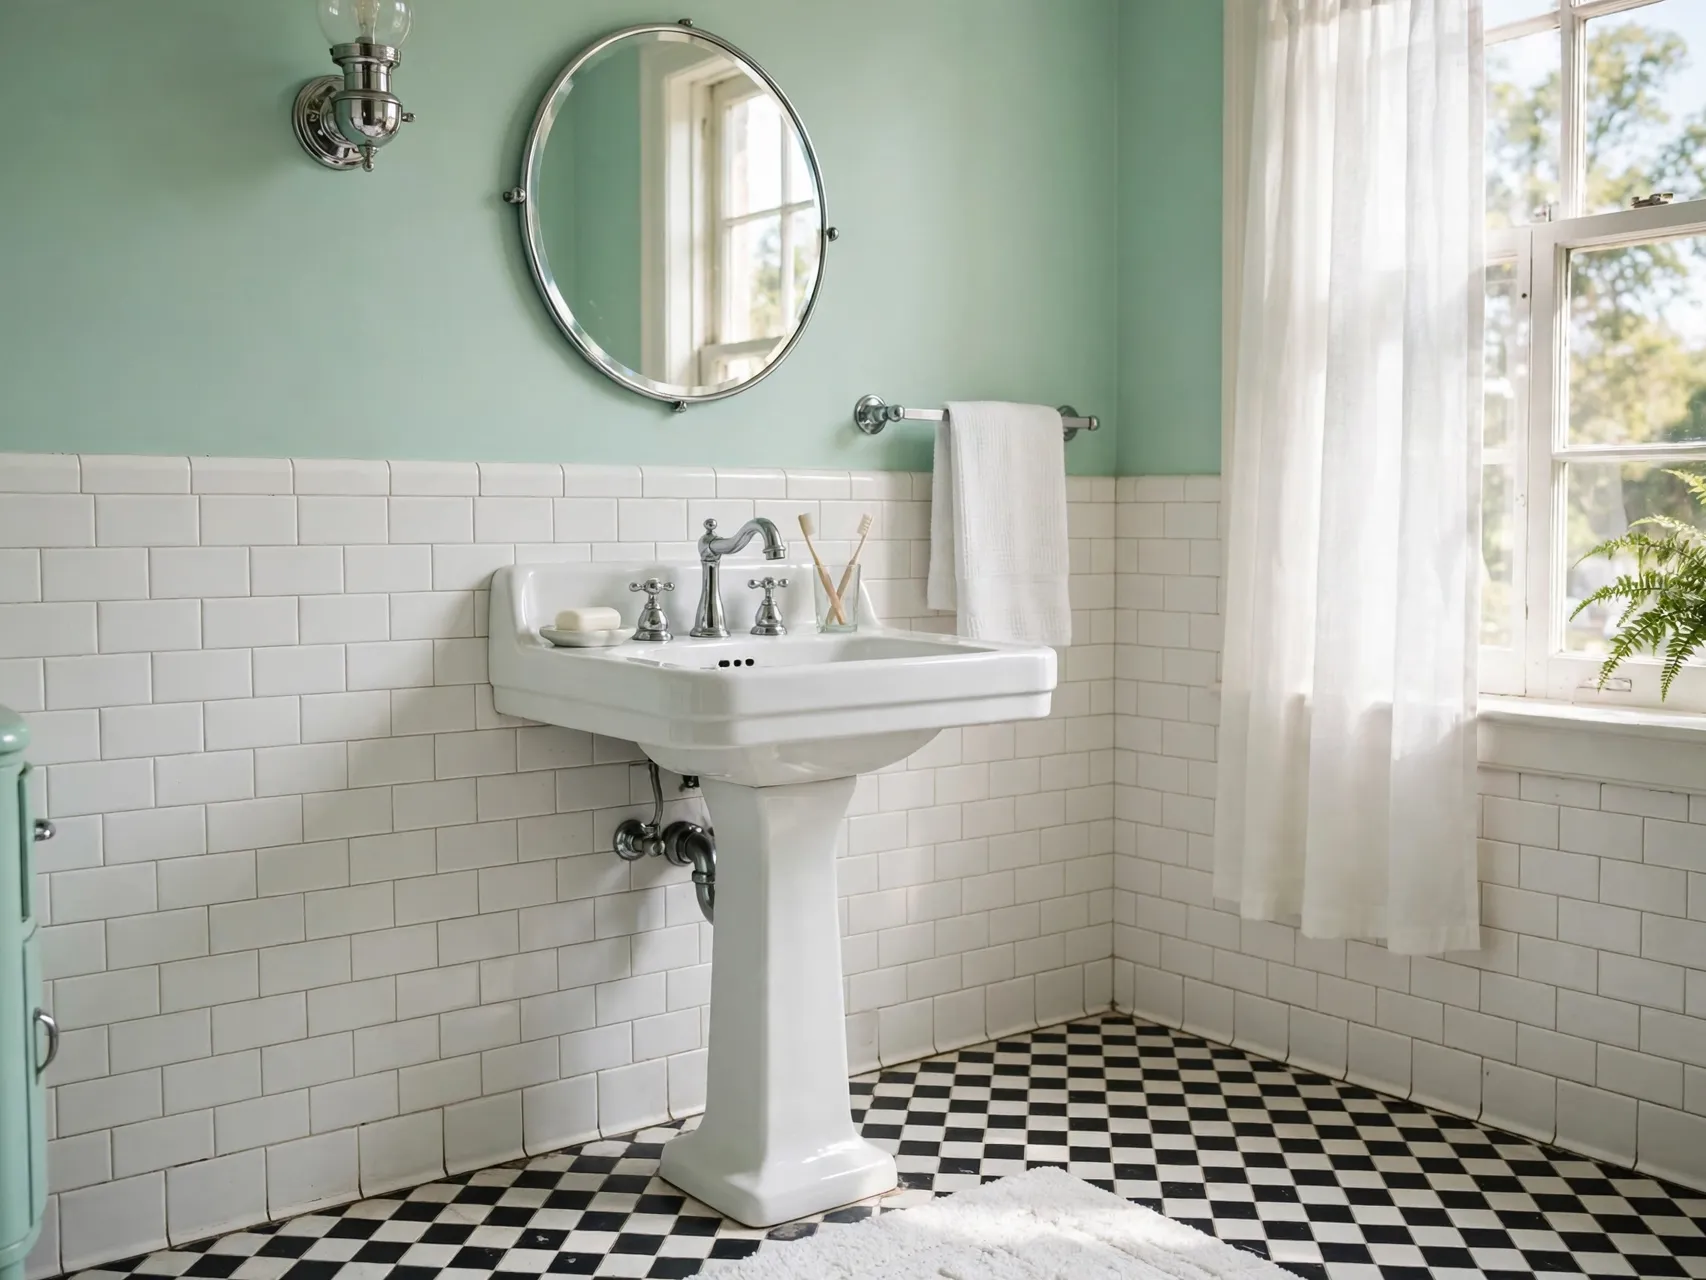
Pick one pastel and let it lead the room. Mint, soft pink, baby blue or butter yellow all suit a 1950s bathroom, and each one looks best when white or cream calms the rest of the space. Use the pastel on one wall or in tile, then repeat it once in a towel or a small accessory, so the colour feels planned rather than scattered.
A single pastel keeps the room cheerful without making it busy. If you add a second or third pastel at full strength, the eye has nowhere to rest, and the room can start to feel loud. Keep large fixtures white, keep the floor calm, and let your chosen pastel do the talking in just two or three places.
2. Let a Checkerboard Floor Anchor the Room
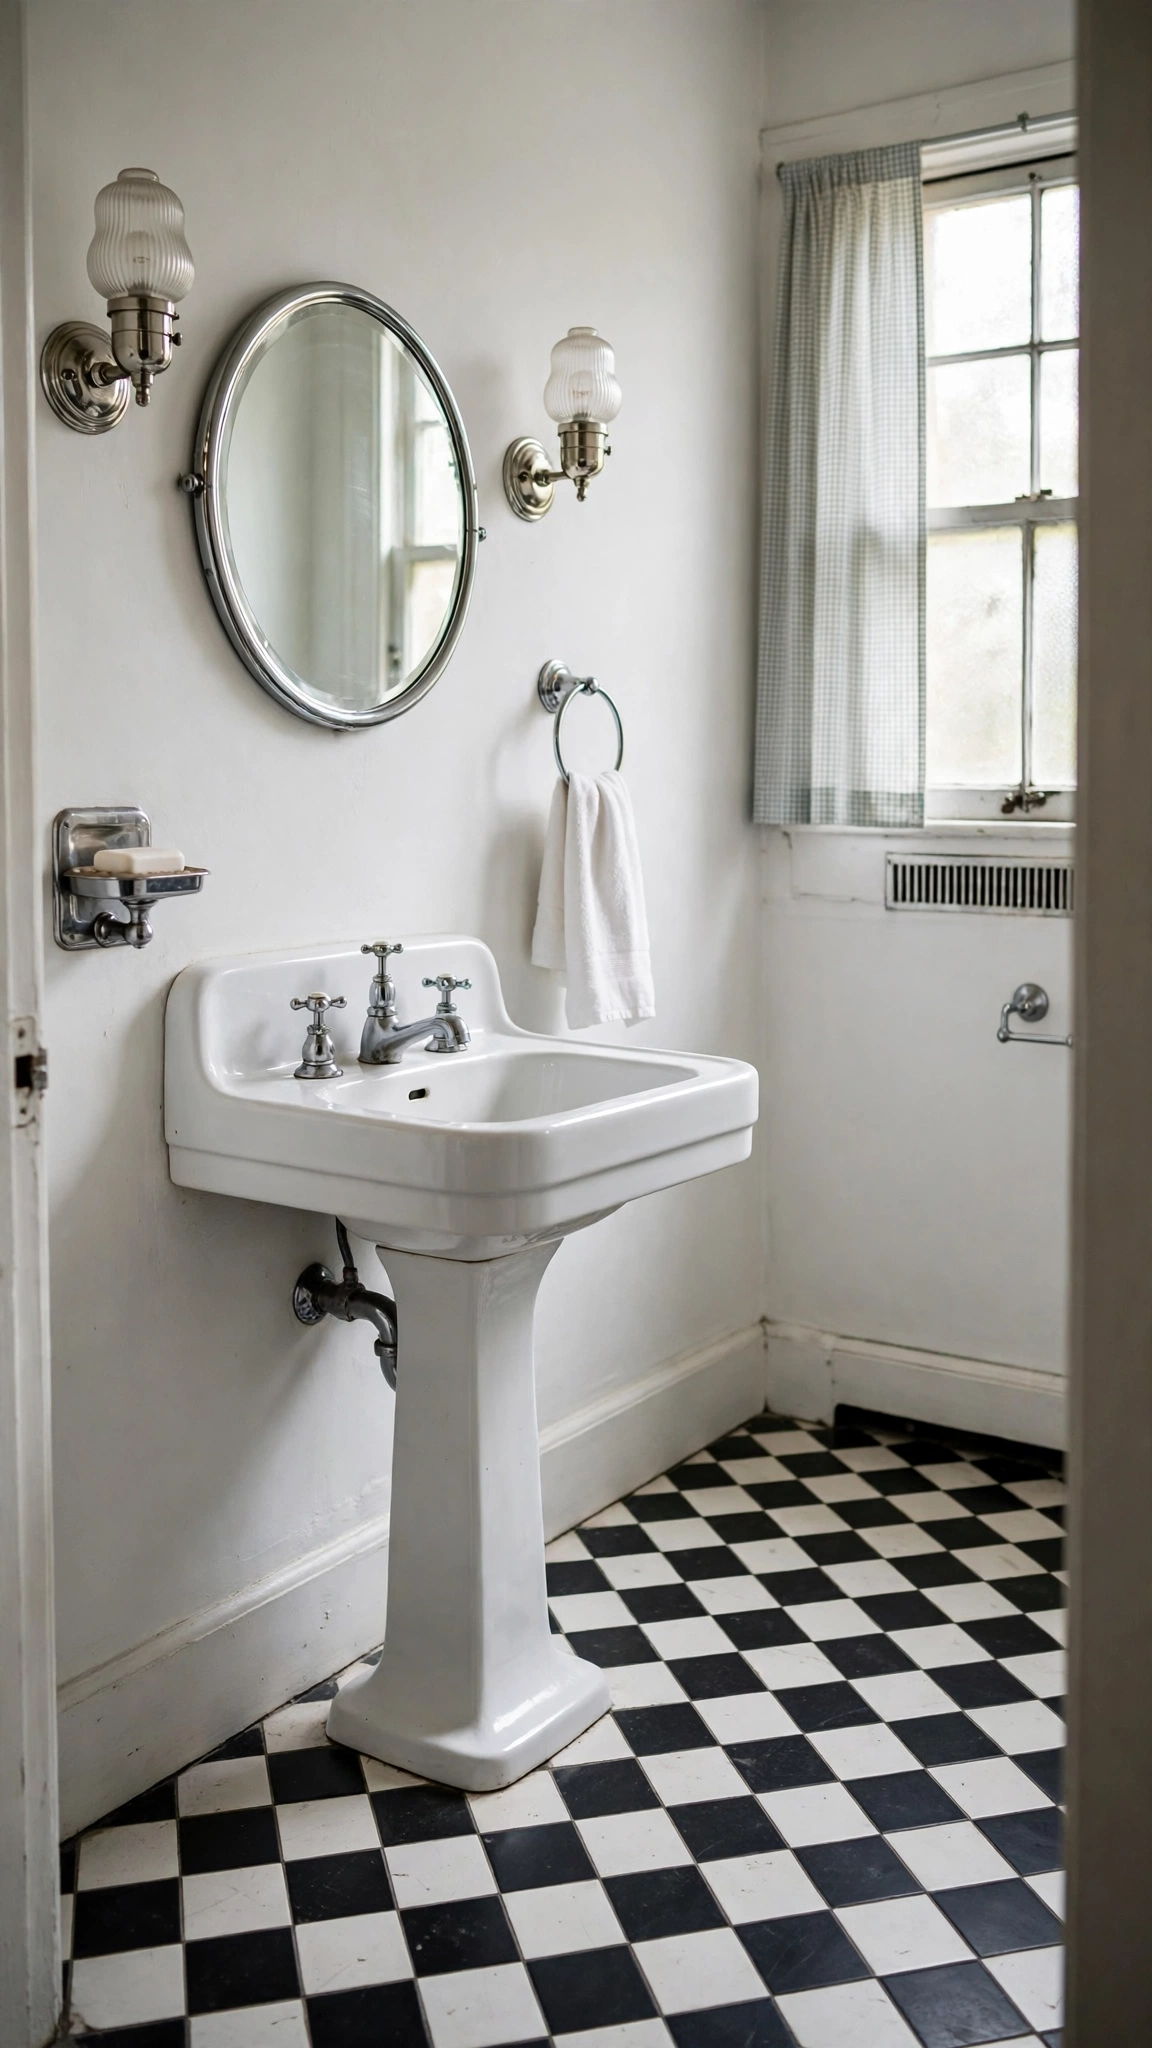
A black-and-white checkerboard floor gives a 1950s bathroom instant character. The bold pattern works as the base of the room, so walls and fixtures can stay simple above it. Large squares make a small room feel bigger, while small squares give a closer, more classic pattern that suits a period look.
Keep the rest of the room plain when the floor is this bold. Plain white walls, a simple pedestal sink and chrome taps let the floor shine without competition. Choose a grout colour that hides dirt well and a finish that stays safe under wet feet, so the floor looks good in daily use and stays easy to clean.
3. Subway Tile Walls With a Fresh Layout
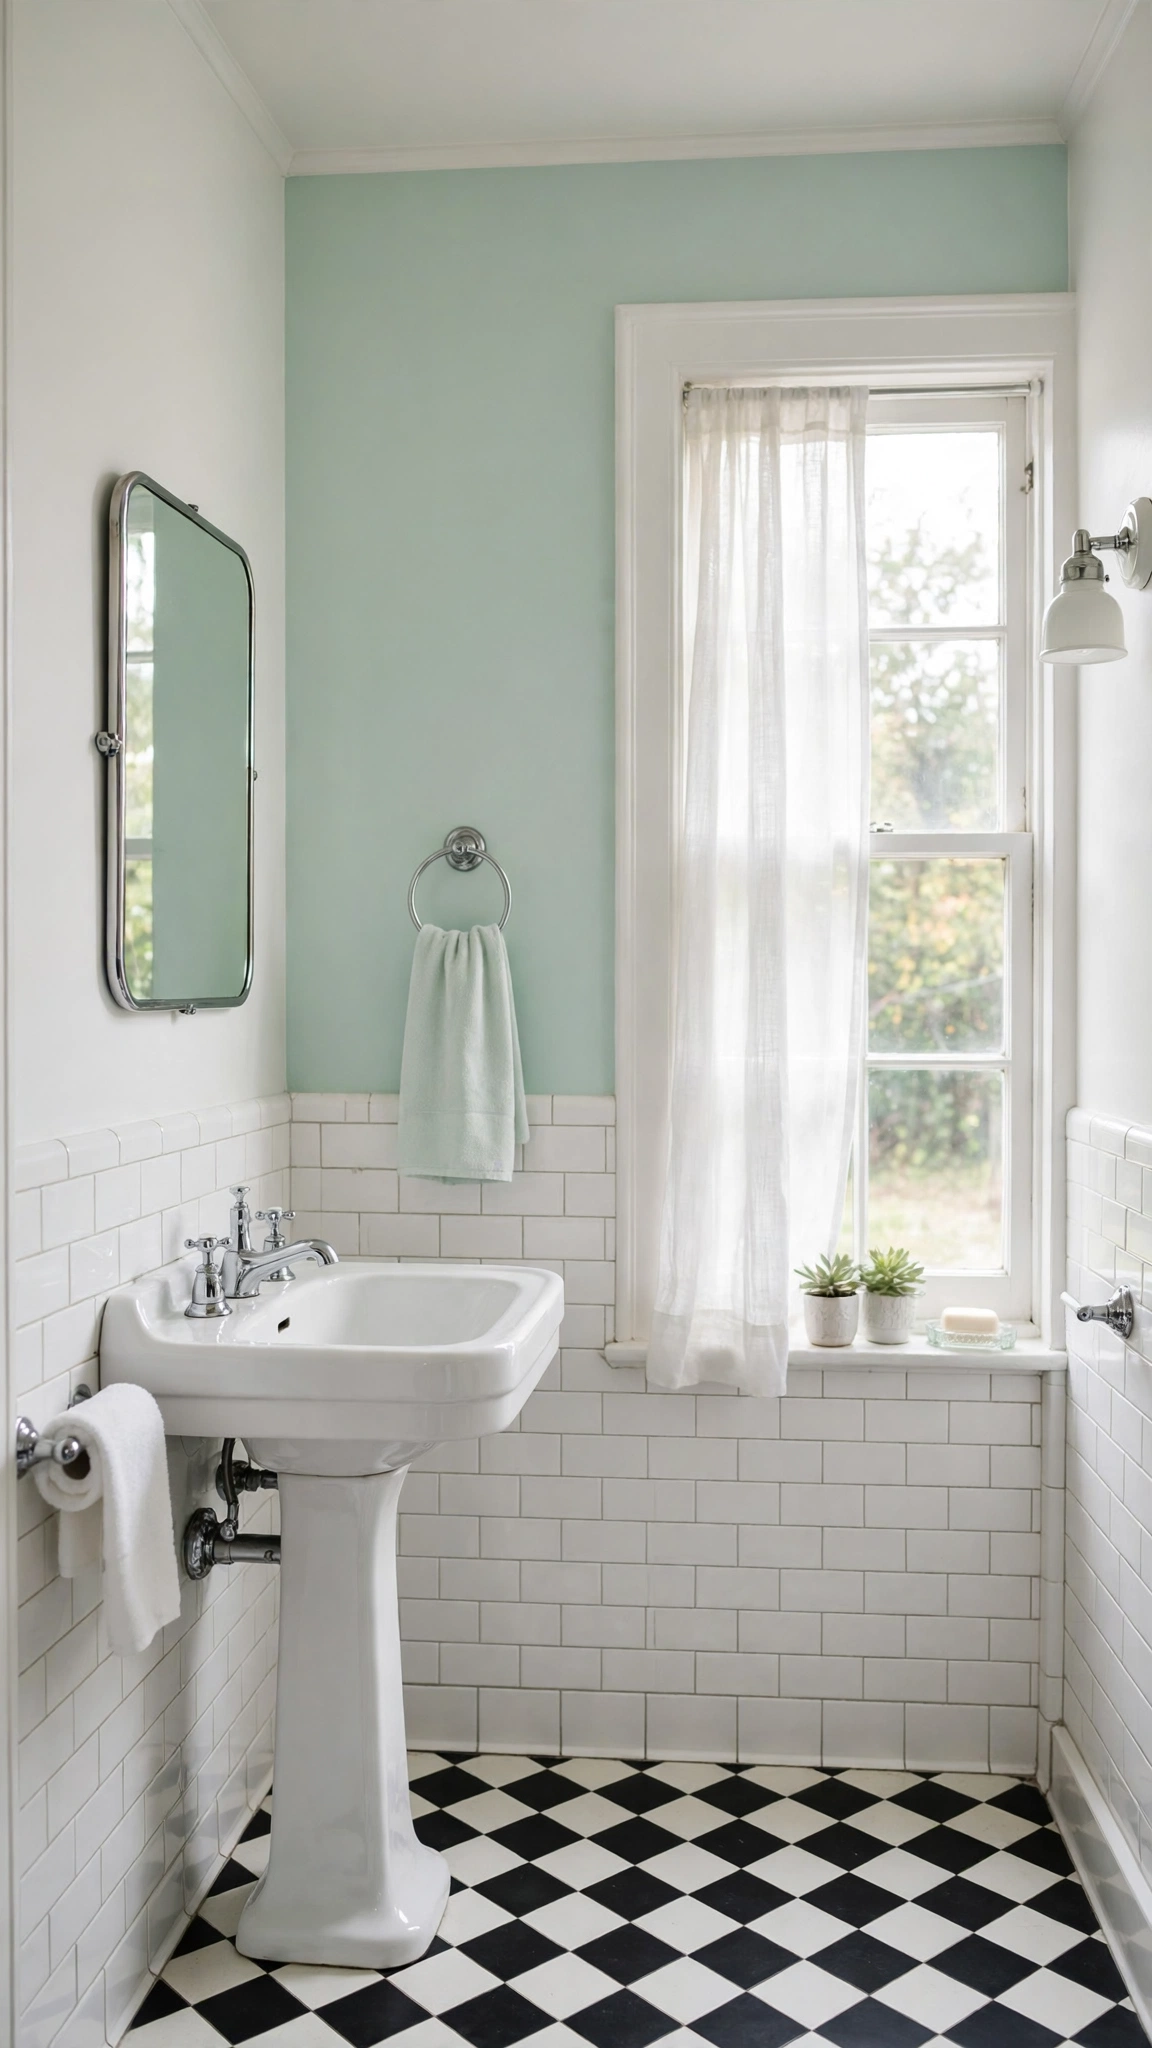
Subway tile is a classic 1950s wall choice, and the way you lay it changes the feel of the room. A brick pattern feels traditional and calm, while vertical tile makes a wall feel taller and a little more modern. White or pale pastel tile keeps the wall light, and a plain grout colour stops the wall from looking busy.
Finish the tiled area cleanly with a cap or chair rail where the tile stops. That small edge makes the tiling look finished rather than half done, and it gives you a clear line to paint or paper above. Keep the rest of the wall plain, so the tile pattern and the chrome fittings get the attention.
- Lay tile vertically to make a short wall feel taller.
- Use a plain grout colour, so the tile pattern stays calm and easy to clean.
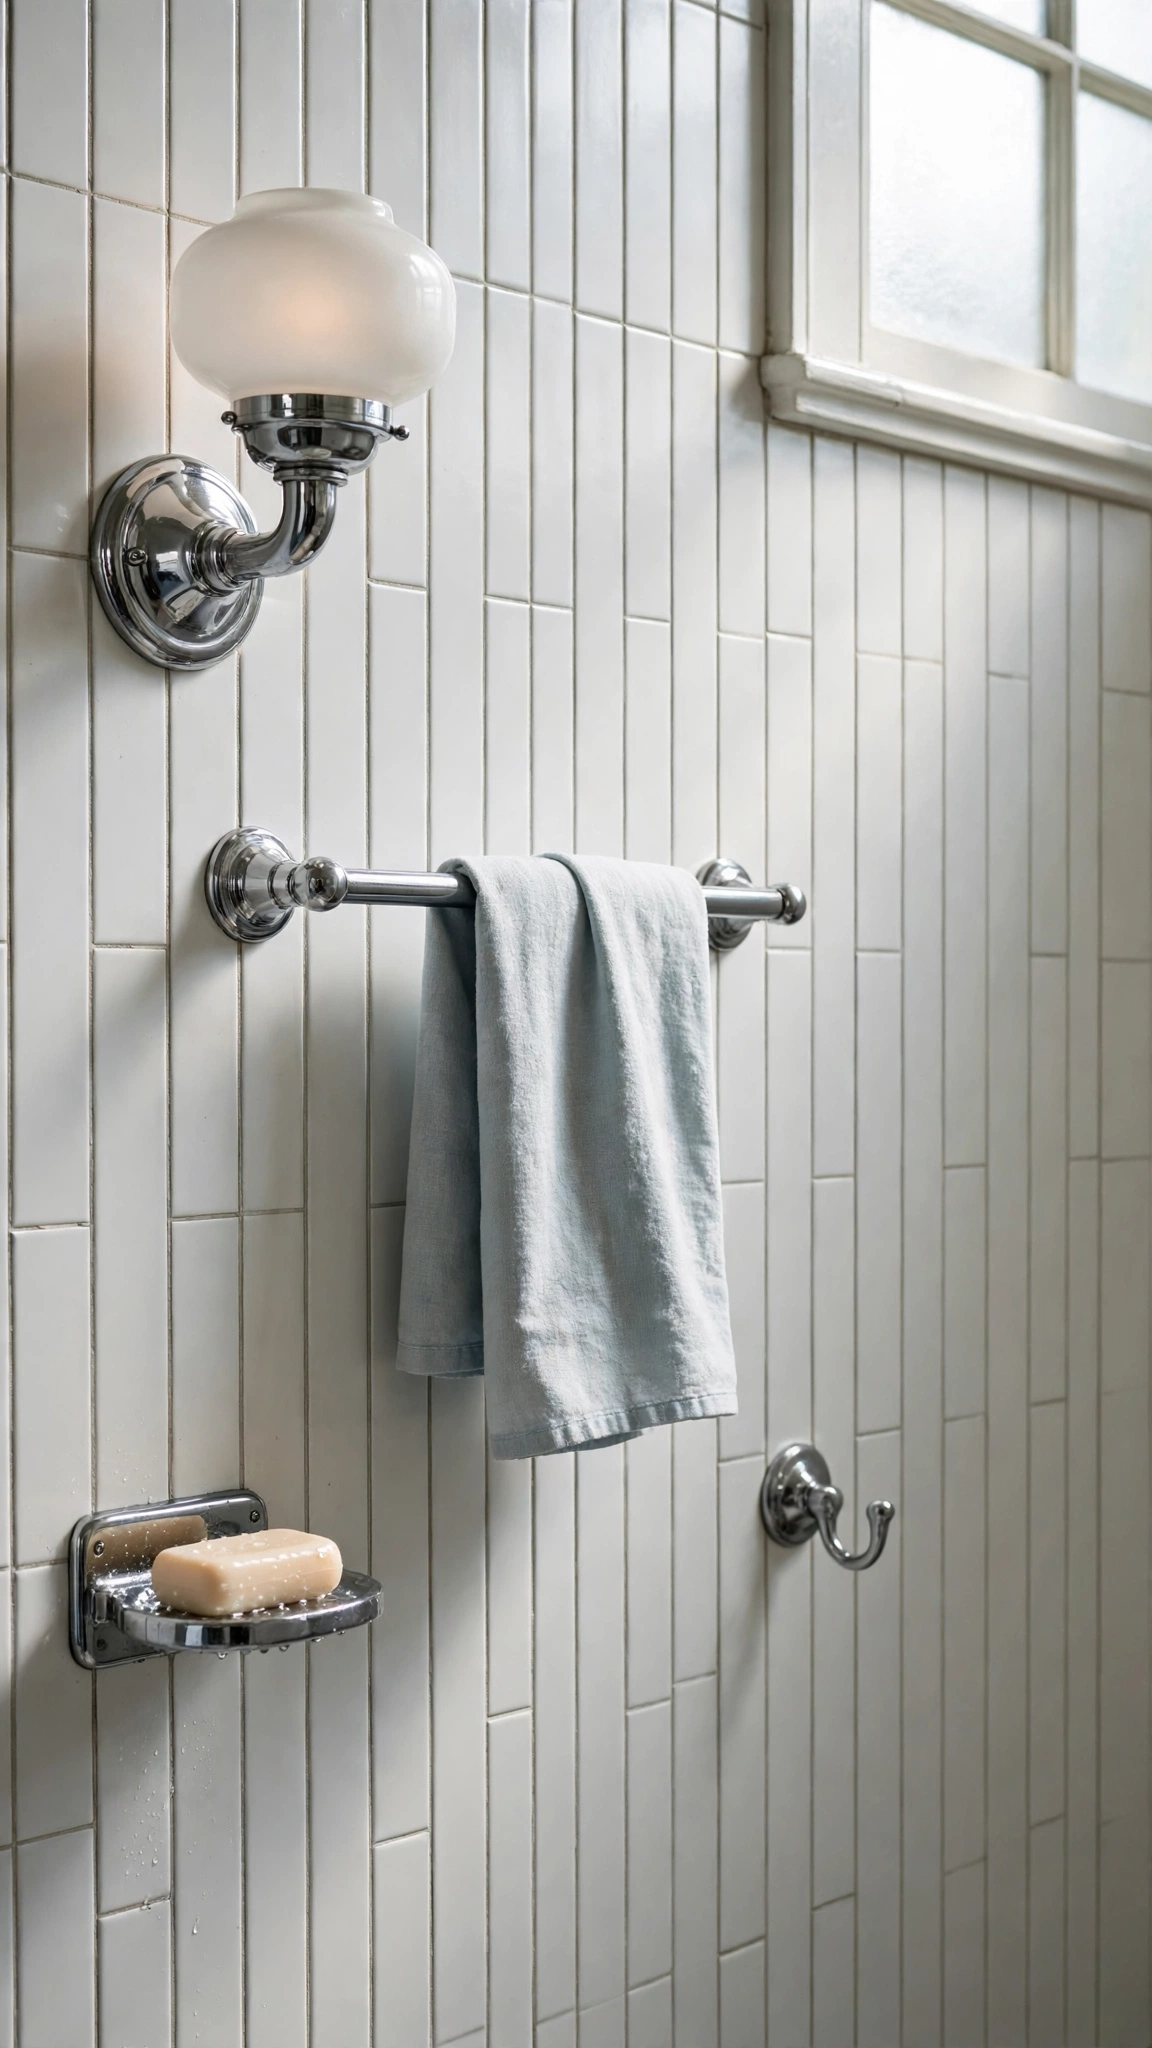
4. One Pastel Fixture, Not a Whole Pastel Suite
One pastel piece, such as a sink or a tub, reads as vintage in the best way. A full pastel suite, with a matching toilet, sink and tub, is much harder to match if one piece breaks, and it can make the room feel dated rather than charming. One pastel fixture gives you the colour you love with far less risk.
Balance that single piece with white tile and white fixtures elsewhere in the room. Modern plumbing can sit behind the vintage look, so the fixture works as well as it looks. Repeat the pastel only in a towel or a small accessory, and the room will feel joined up without being overwhelmed by colour.
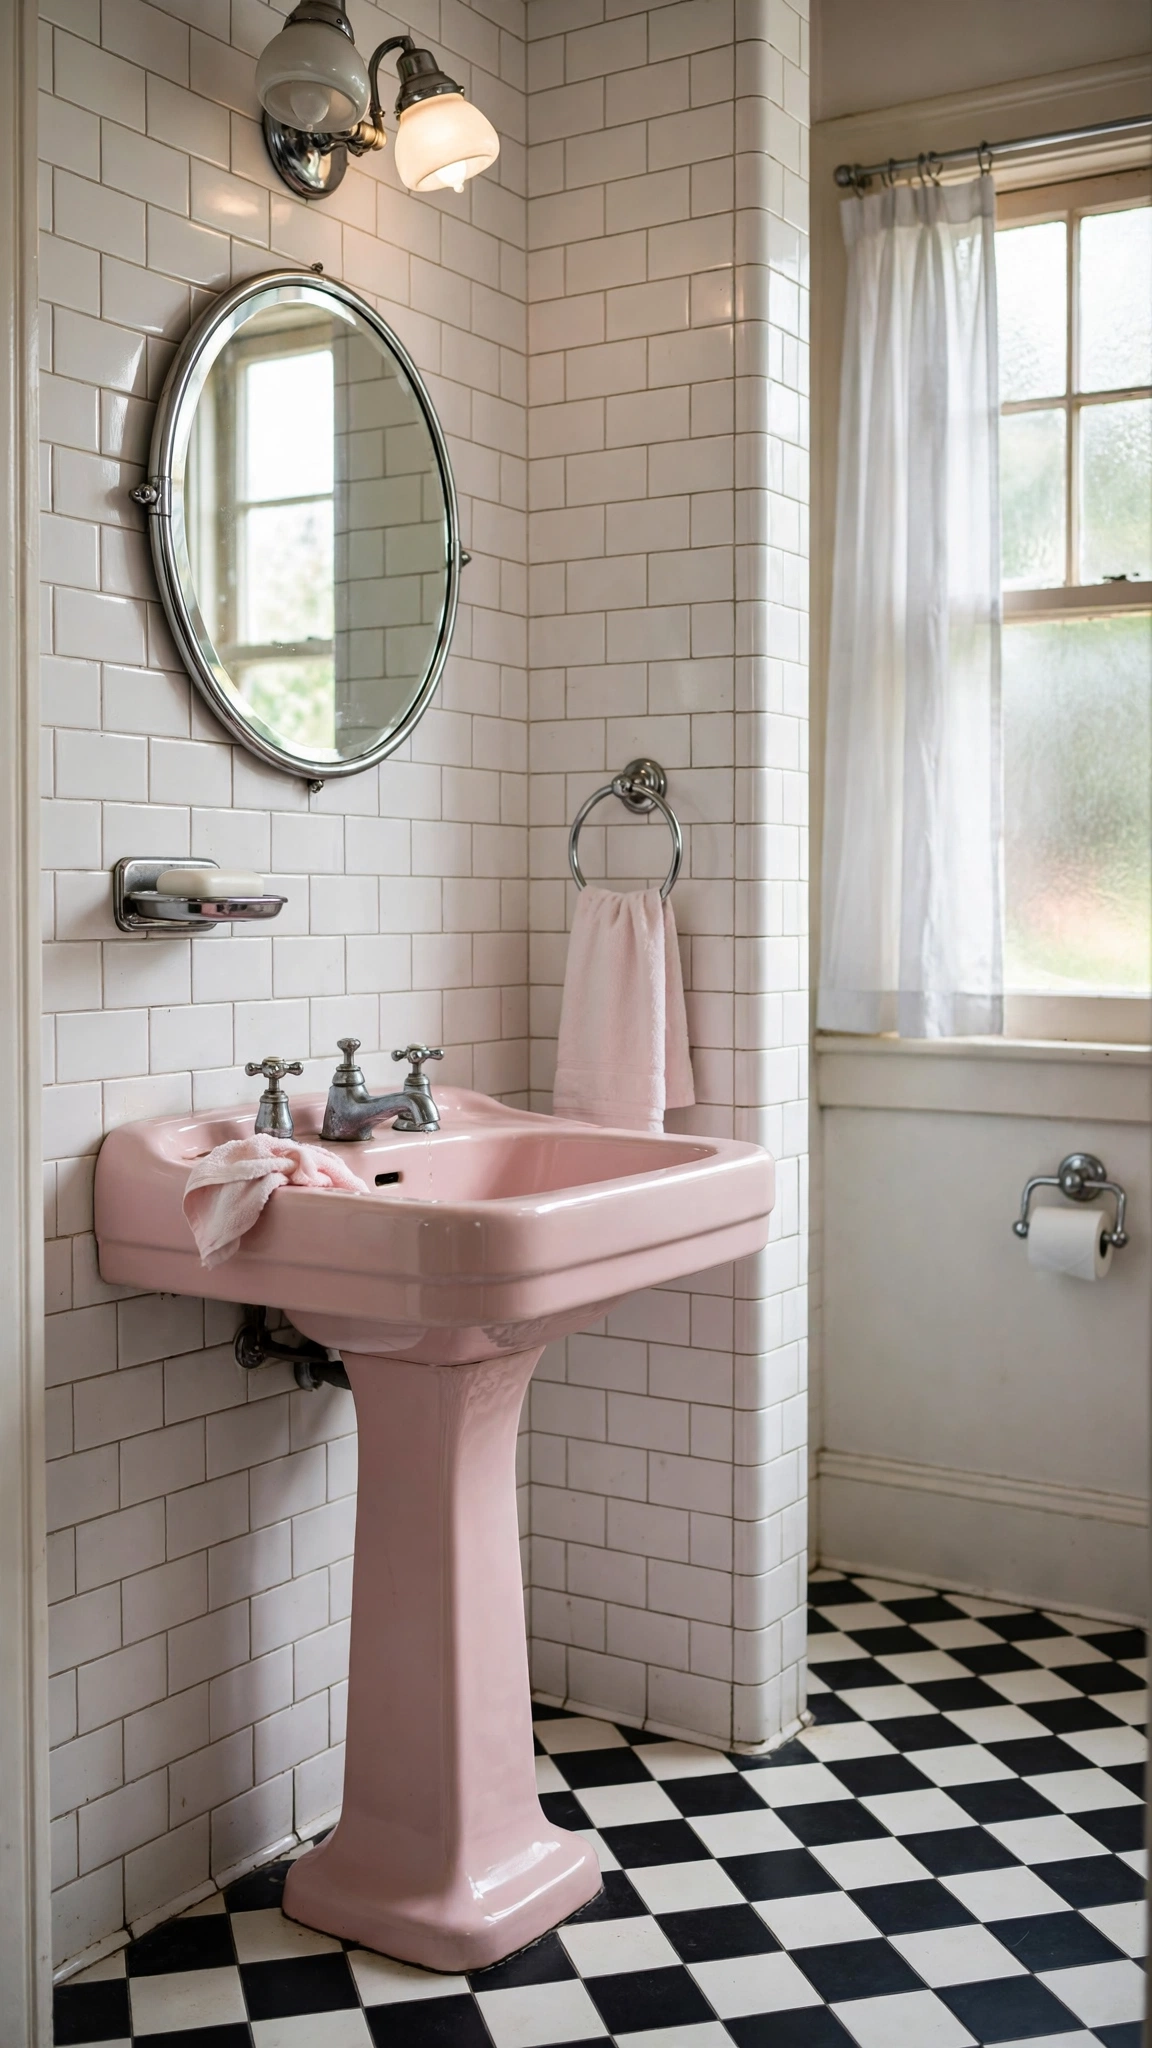
5. Polished Chrome as the Main Metal
Polished chrome ties a 1950s bathroom together. Use it for taps, towel rings, the mirror frame and cabinet pulls, and keep the finish consistent across the room. Chrome reflects light, which helps a small bathroom feel brighter, and it pairs cleanly with both pastel tile and plain white walls.
Keep chrome as the single main metal and let any second finish stay small. Mixed metals can fight for attention in a small room, while one metal gives the room a calm, finished feel. Wipe chrome after use with a soft cloth, so water marks do not build up and the shine stays bright.

6. A Pedestal Sink to Open a Small Room
A slim pedestal sink frees floor space and makes a small bathroom feel larger at once. A bulky vanity can crowd a small room, while a pedestal sink leaves the floor clear and the eye free to travel across the room. The trade-off is counter space, so plan storage before you commit to the change.
Add a small wall shelf or a mirrored cabinet above the sink for daily items, and keep a towel ring close by. A narrow tray holds the few items that must stay out, such as a soap dish, without cluttering the sink. With storage sorted, the pedestal sink gives you a room that feels open and easy to move around in.
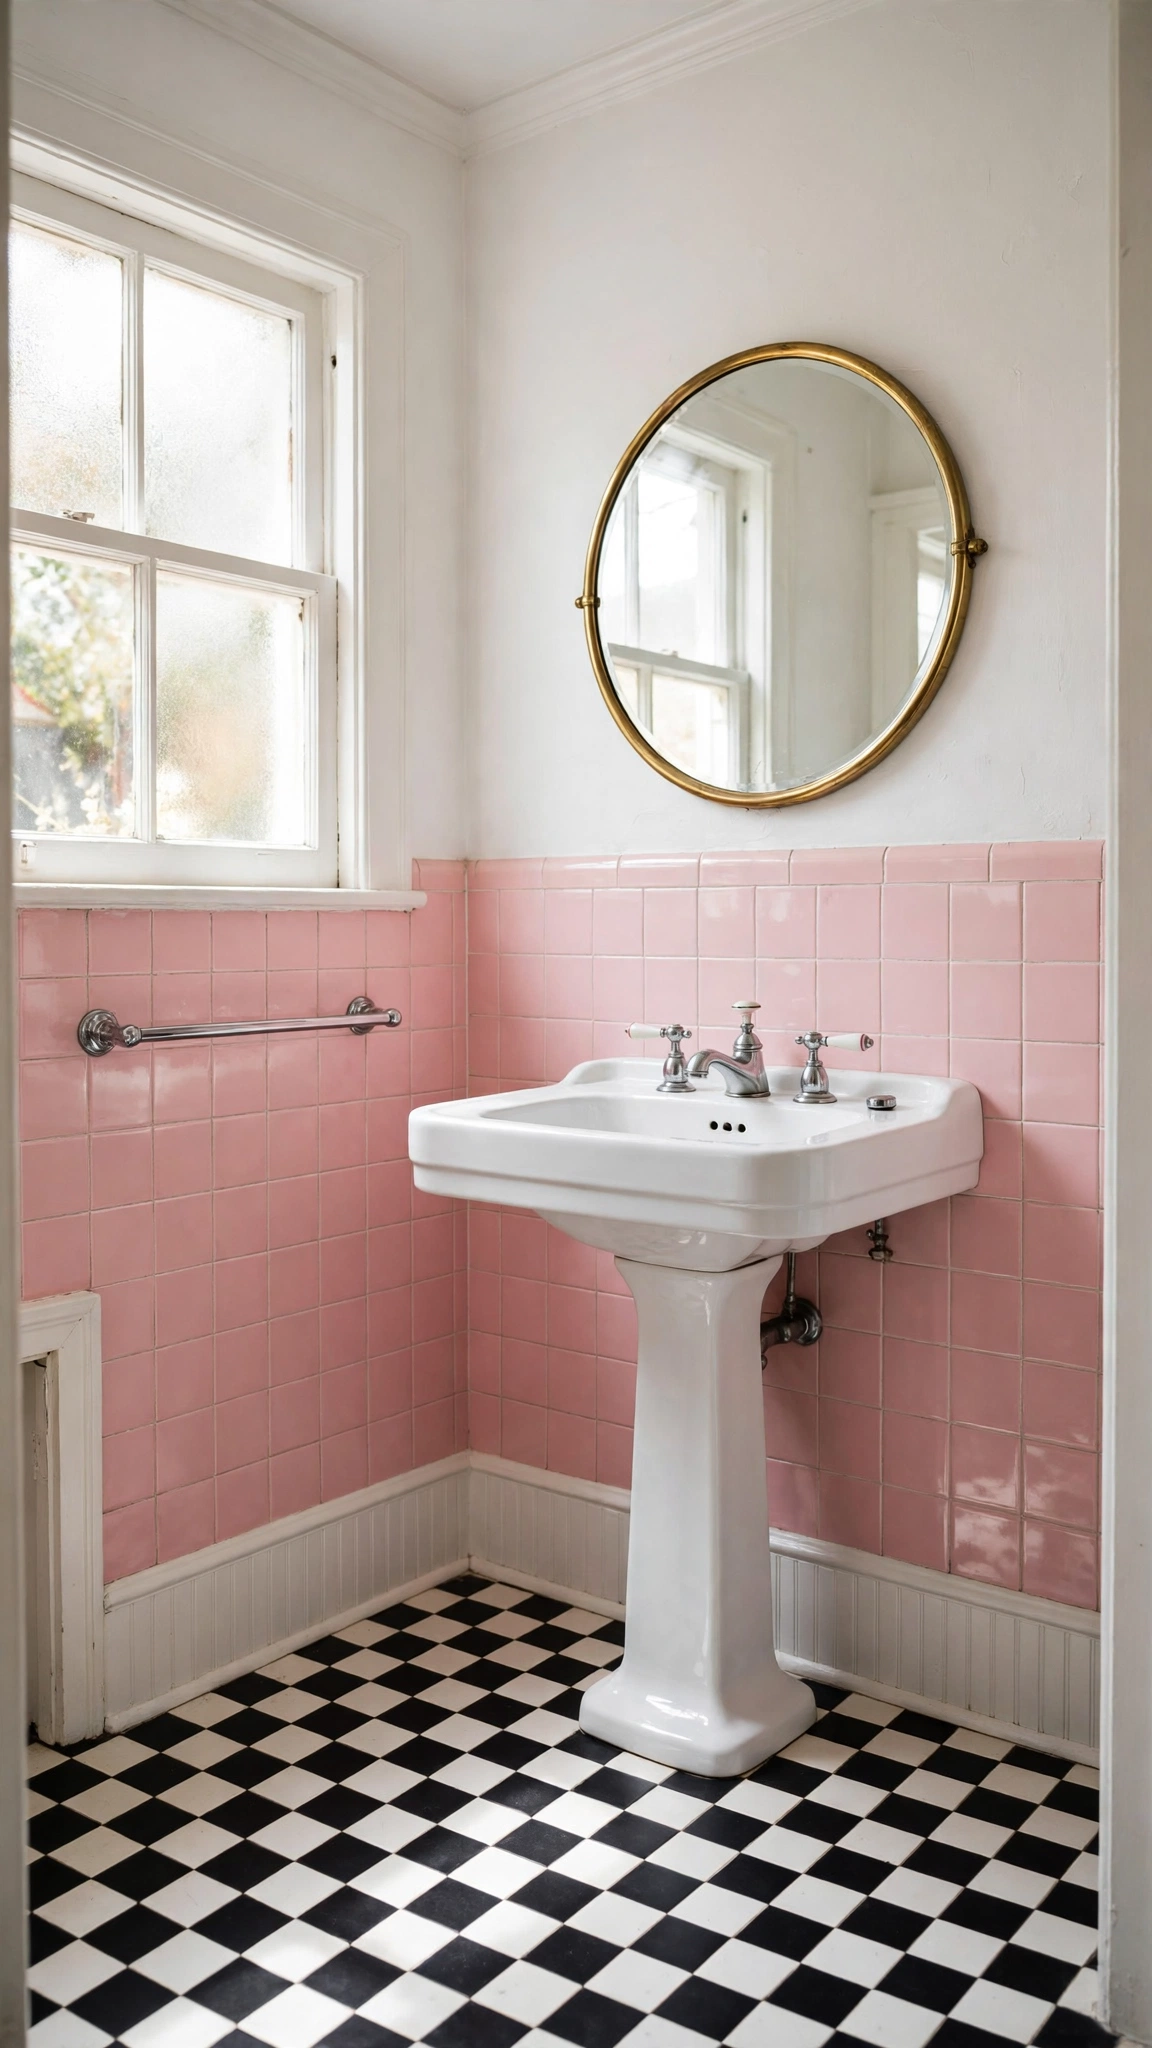
7. A Clawfoot Tub as the Room’s Centrepiece
A freestanding clawfoot tub makes a natural centrepiece when it sits where you see it on entry. Plain pale walls around it keep the tub in focus, and a simple chrome filler suits the look better than ornate extras. The tub gives the room its vintage heart, while the calm surroundings stop it from feeling like a museum piece.
Check room size and floor strength before you choose this idea, and leave cleaning space around the feet. If you also need a shower, a simple modern shower fitting keeps daily use practical without spoiling the vintage look. One statement tub, well placed, carries the whole room.
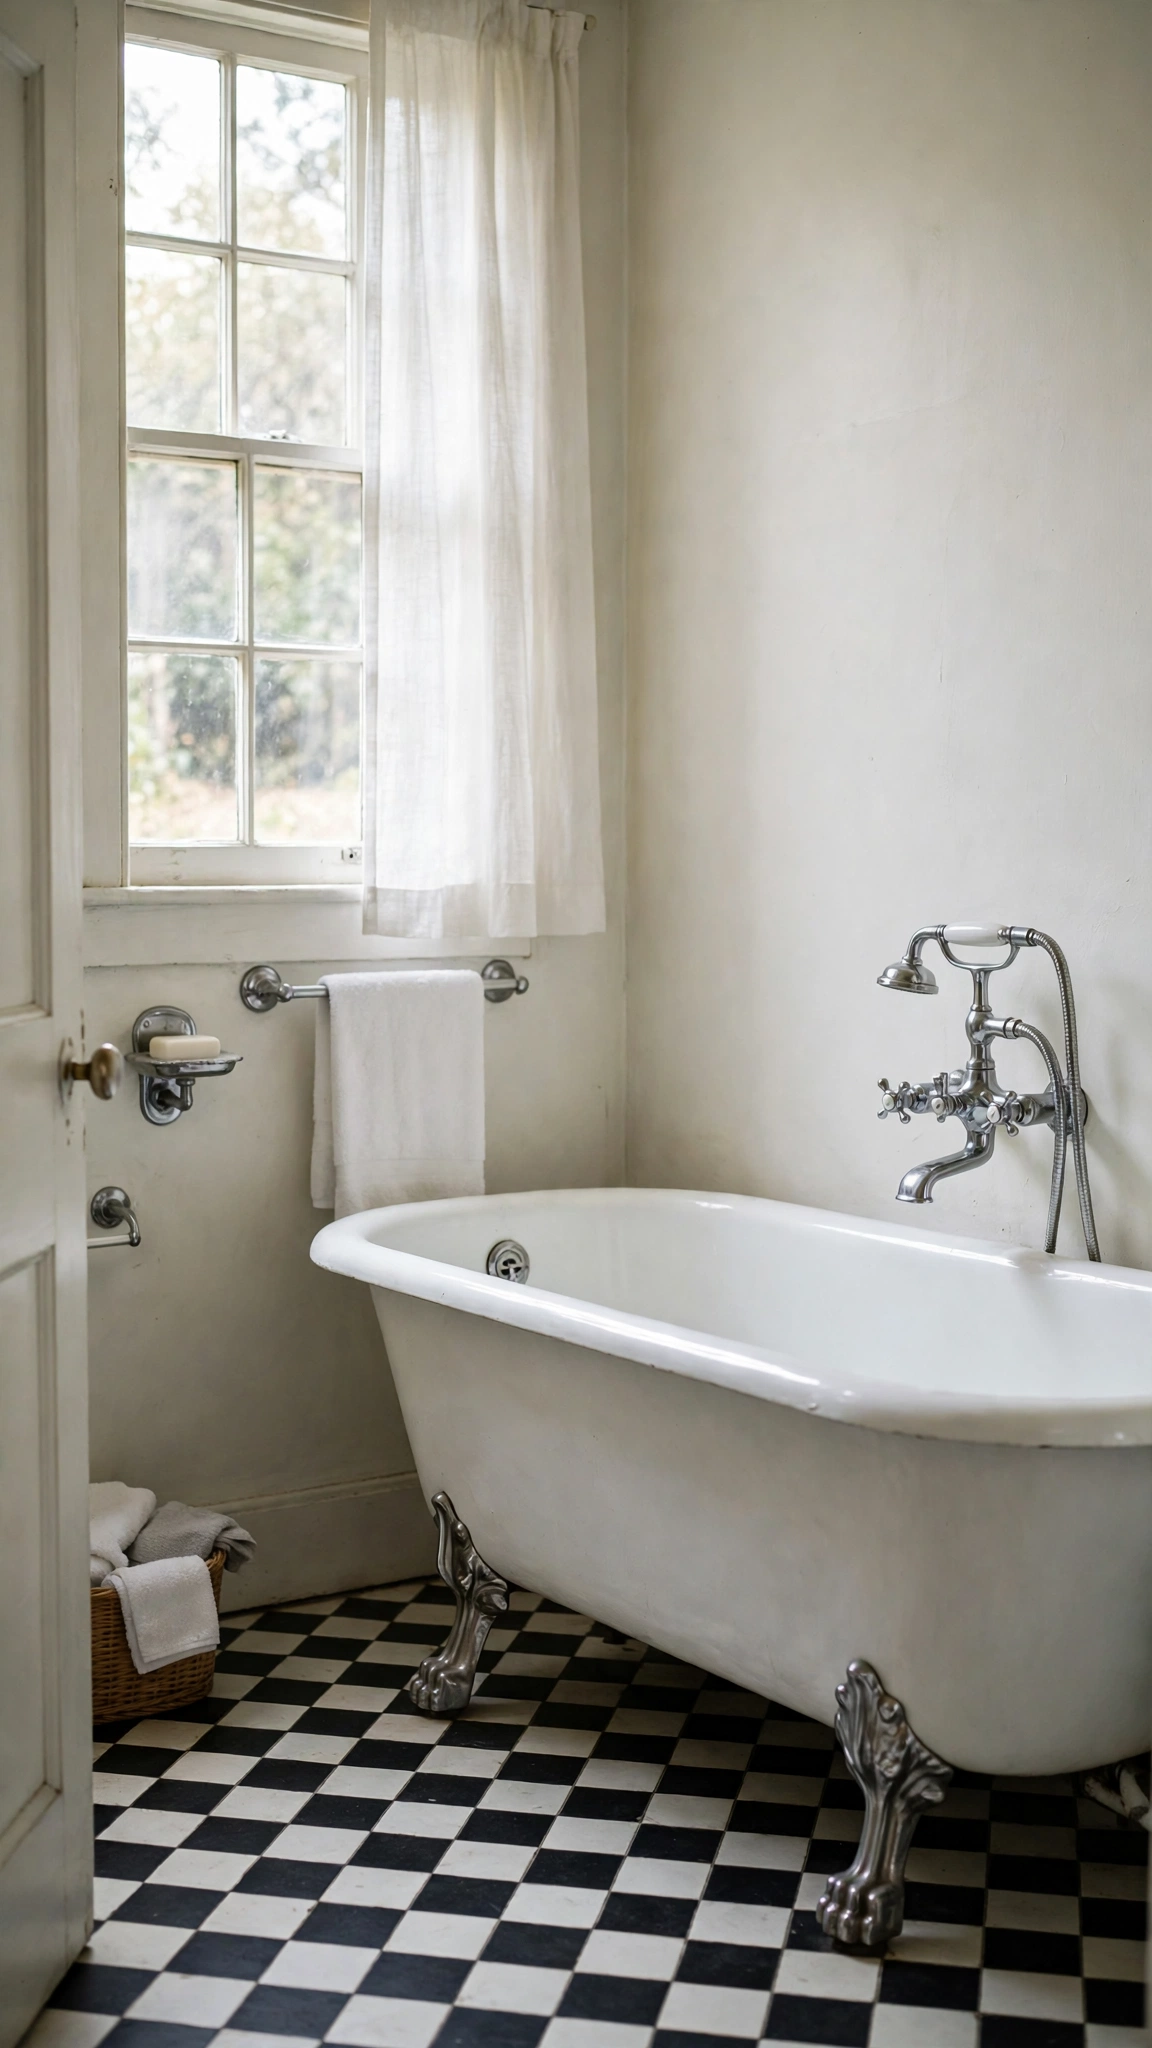
8. A Mirrored Cabinet That Adds Storage and Light
A slim mirrored medicine cabinet above the sink hides daily items and bounces light around the room. It solves two problems at once: counters stay clear, and the mirror makes the room feel larger and brighter. That double duty makes it one of the most useful 1950s ideas for a small bathroom.
Choose clean lines and a simple frame, and pick a width that holds daily items without crowding the mirror. A soft light above or beside the cabinet helps in the morning and keeps the mirror useful in the evening. Keep the cabinet tidy inside, so opening it feels as good as the room looks.

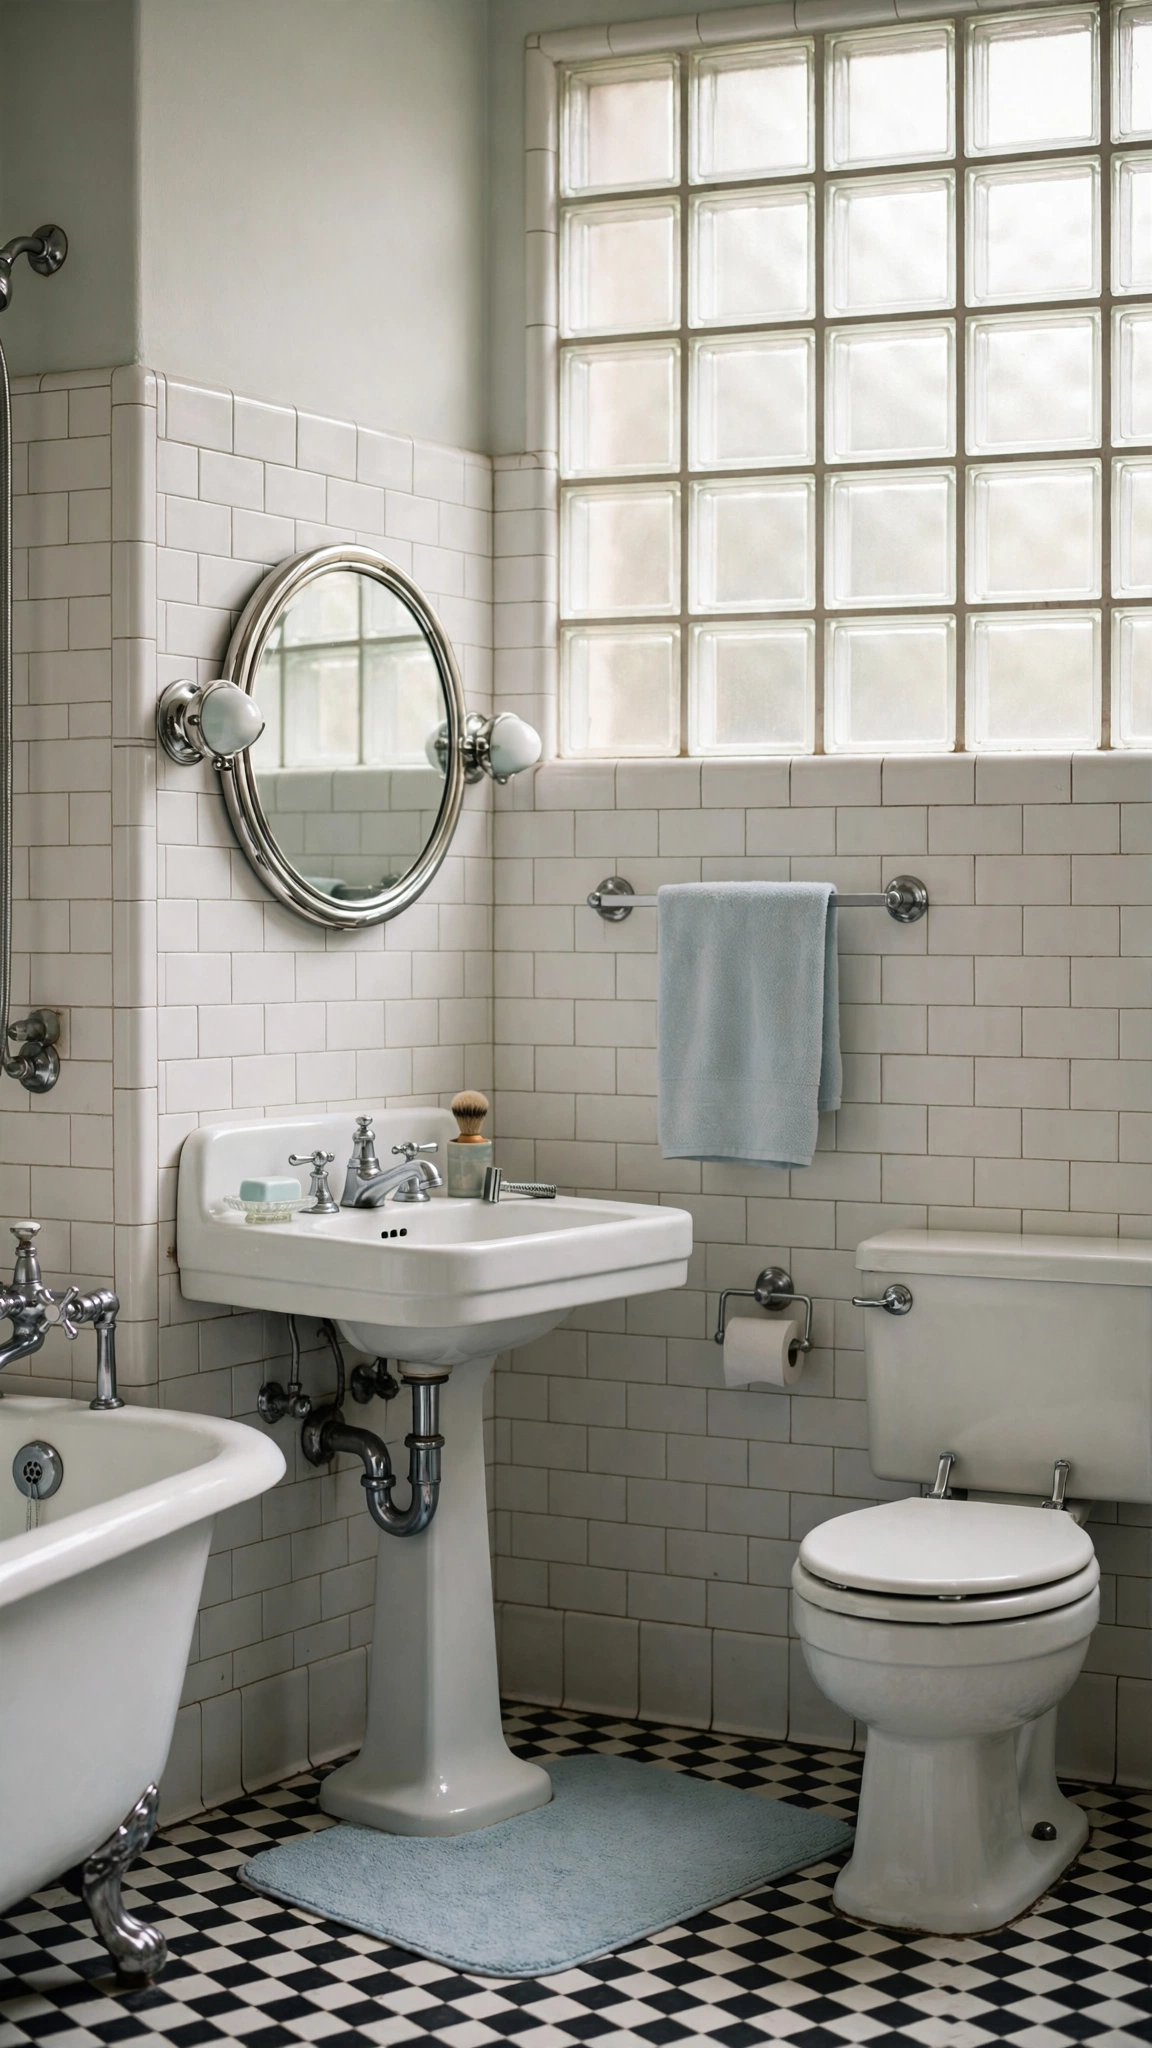
9. Glass Block for Light Without Losing Privacy
Glass block lets soft, diffused light into a bathroom while keeping the room private. A glass block window or shower wall softens daylight in a way plain glass cannot, and the textured surface adds an architectural detail that suits the era. It works well in a bathroom that faces a neighbour or a busy street.
Use glass block in a window or as a shower divider, and keep the surrounding tile plain so the glass stays the focus. Clean it with a soft cloth so the texture stays clear and the light keeps coming through. The result is a brighter room that still feels private and calm.
- Use glass block in a window or shower wall where privacy matters most.
- Keep nearby tile plain, so the glowing glass stays the main feature.
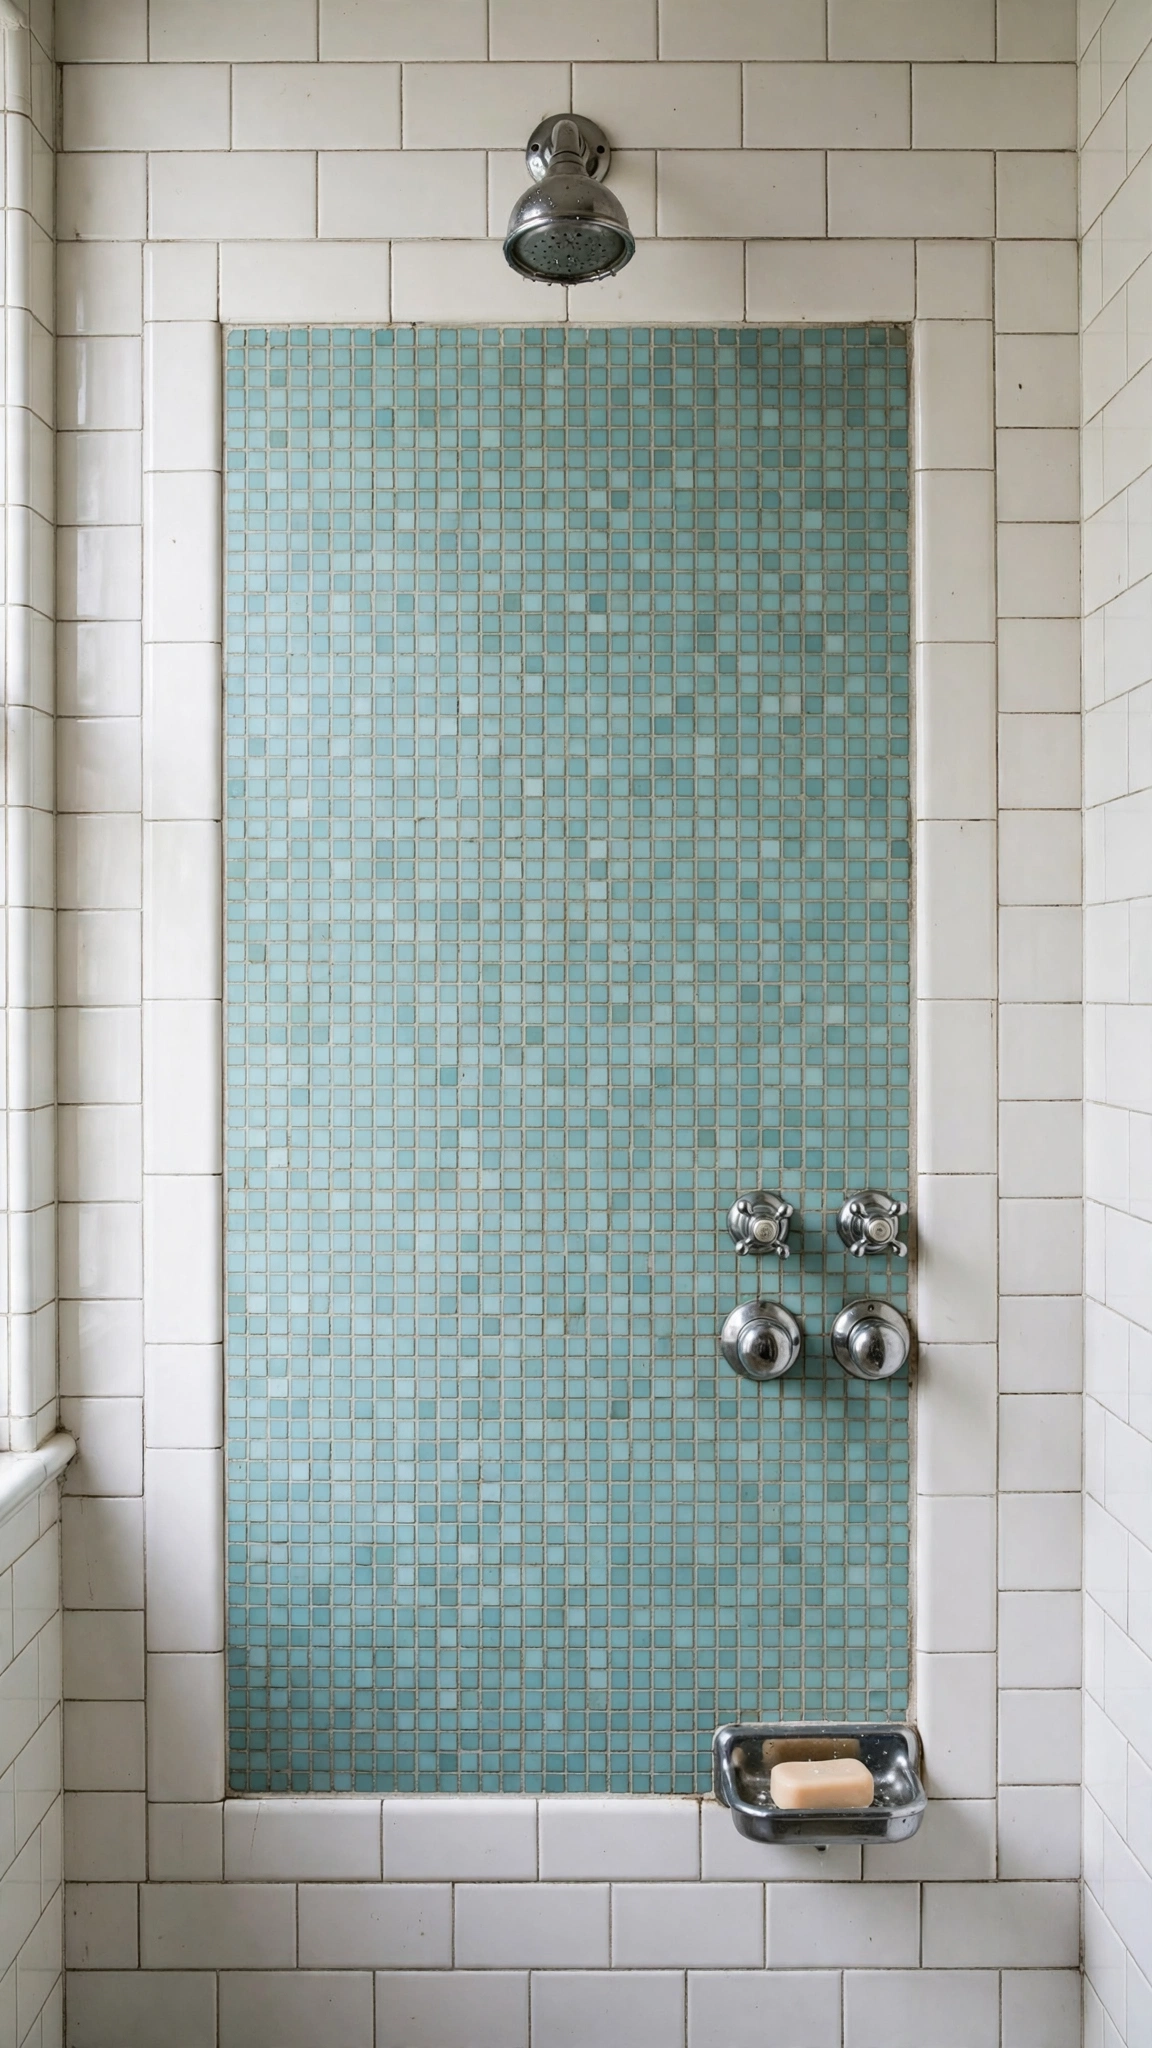
10. A Tiled Shower Wall With a Small, Confident Pattern
Small tiles in aqua, peach or soft mint give a shower wall a confident pattern without taking over the room. Mosaic or small square tiles suit a narrow or curved shower wall, and keeping the pattern to one wall means the rest of the bathroom can stay plain and calm. The shower feels special, while the room as a whole stays easy on the eye.
Pick a grout colour that hides dirt, since shower grout sees daily water and soap. Pair the patterned wall with a simple chrome shower fitting, so nothing competes with the tile. Plain tile elsewhere in the bathroom keeps the balance right and lets the shower wall do its job.
11. Small Tile Borders and Accents That Finish a Wall
A narrow tile border along the top of a tiled wall, around a mirror or along a tub edge finishes a room for little cost. A contrasting colour or simple geometric pattern defines the space and makes the tiling look intentional. It is a small detail, but it changes how finished the whole wall feels.
Use one border, not three, and choose a colour already used elsewhere in the room. Keep the line straight and level, so the detail looks deliberate rather than accidental. A border works best when the rest of the wall stays plain, because then the eye can enjoy the detail instead of fighting several patterns at once.

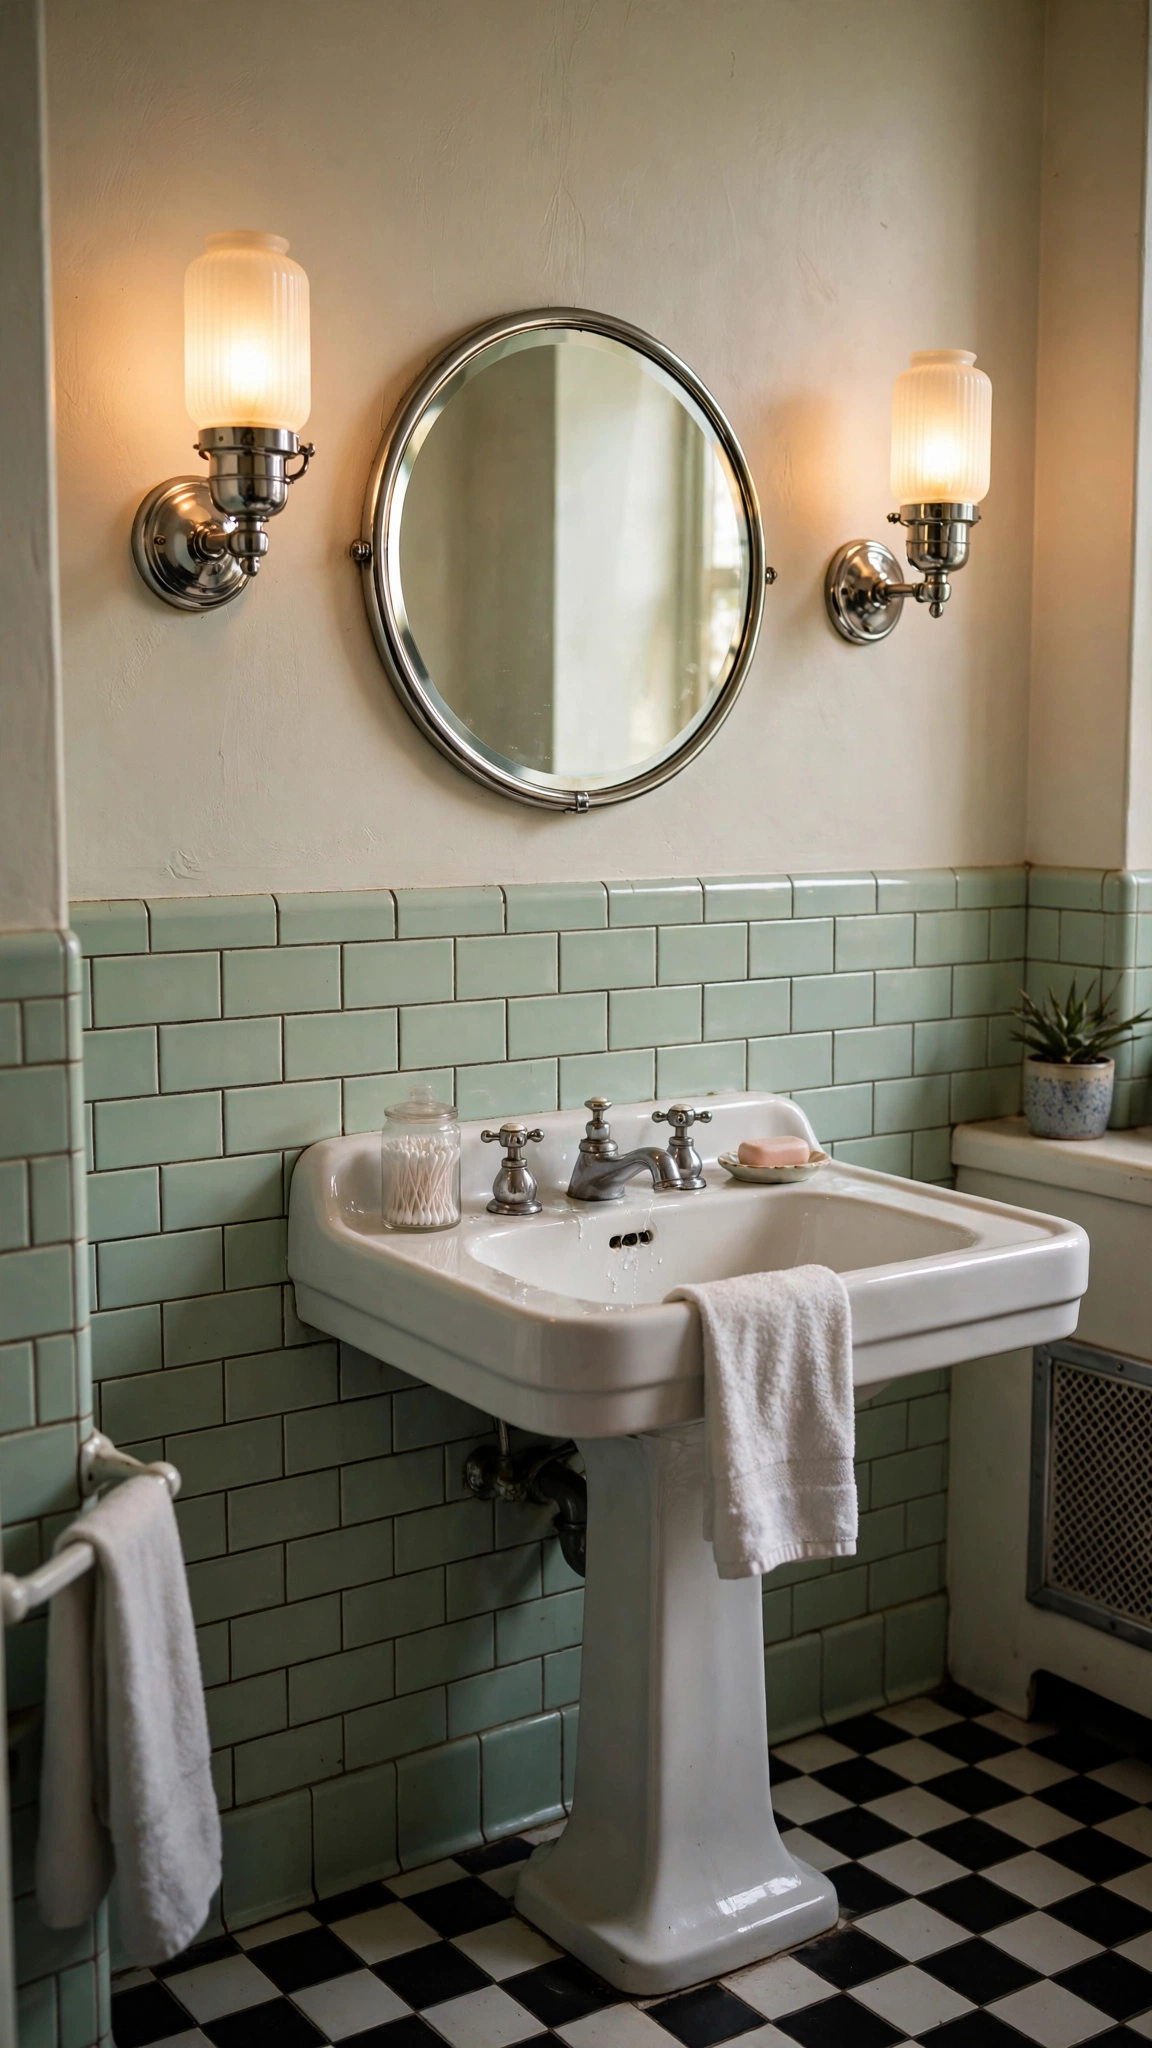
12. Soft Vintage Lighting With a Warm Glow
Wall sconces beside the mirror and a ceiling light with frosted glass give a 1950s bathroom soft, warm, even light. One harsh ceiling light flattens pastel colour and chrome, while layered light makes both look their best. Warm bulbs and frosted shades soften the room and make it feel welcoming in the evening.
Place sconces at face height beside the mirror, so morning routines get even light without harsh shadows. Add a dimmer where the wiring allows, so evening light stays gentle. Soft light suits the era and suits daily life too, because it flatters the room and the people using it.
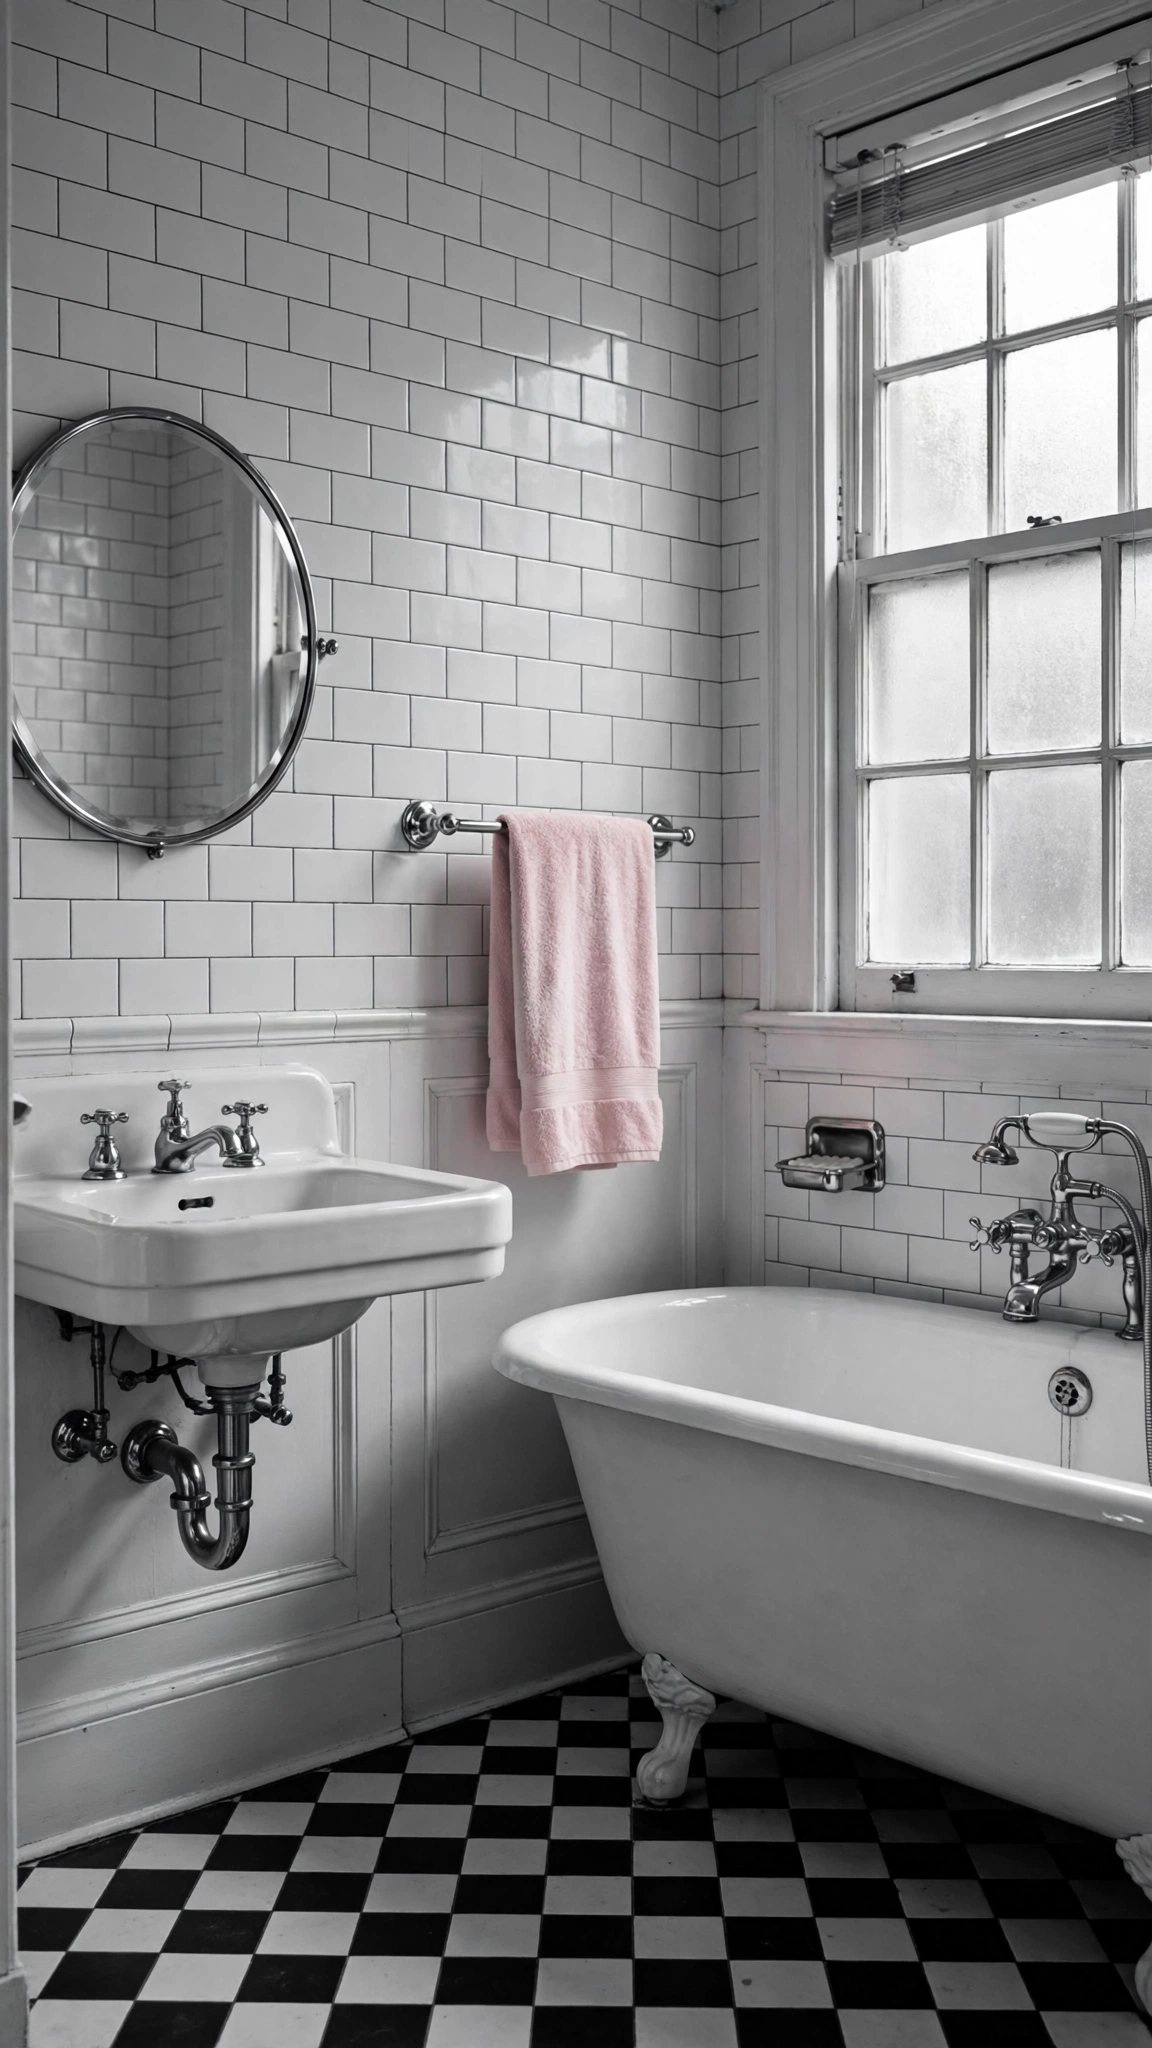
13. A Black-and-White Scheme With One Pastel Lift
A black-and-white base gives a 1950s bathroom strong structure, and one pastel accent stops it from feeling cold. Black in small doses, such as a mirror frame, towel ring or tile border, gives the room definition, while white stays the main field. The single pastel, in a towel, curtain or small tile detail, adds warmth and a touch of the era.
Keep the black small and the pastel smaller. Too much black can darken a small room, and too much pastel breaks the crisp black-and-white balance. When the balance is right, the room feels classic and graphic, with just enough colour to feel friendly rather than stark.
14. A Warm Wood Vanity With Mid-Century Lines
A wood vanity with clean, simple lines warms up tile, chrome and pastel colour. Bathrooms hold many hard surfaces, and wood is the layer that softens them. A legged or floating vanity in one warm tone, with simple pulls and a plain countertop, lets the wood show without competing with the tile.
Match the mirror to the vanity’s simplicity, with a round or rectangular shape and a plain frame. Keep the countertop clear apart from one tray, so the wood stays visible and the room stays tidy. The vanity then carries the warmth of the room, while tile and chrome carry the vintage detail.
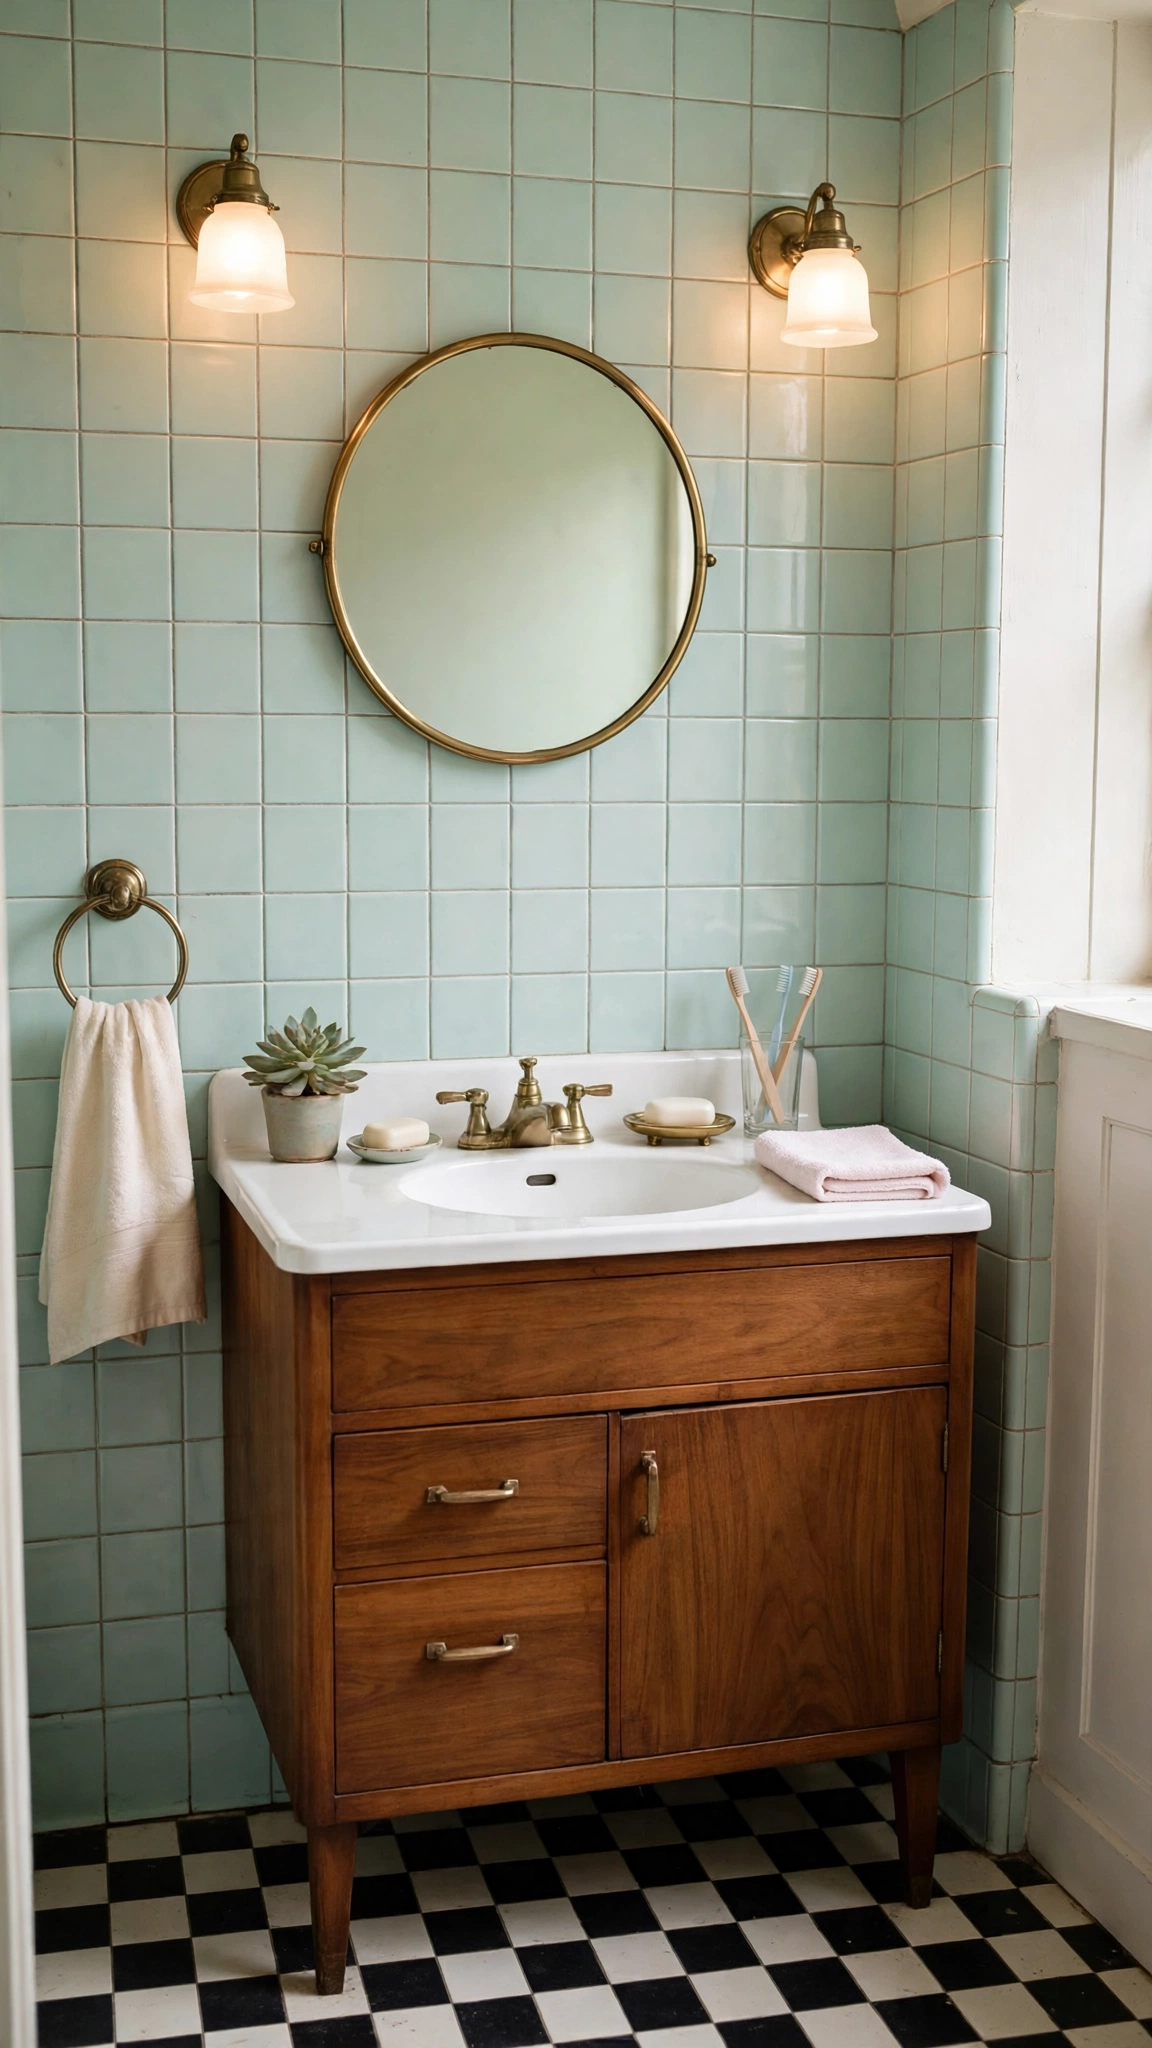
15. Compact Storage That Keeps the Retro Look Tidy
Tall, narrow storage and one small open shelf keep a 1950s bathroom tidy without hiding its style. Daily items need a closed spot, or counters fill up and the retro styling disappears under clutter. One tall cabinet or one closed spot per routine gives everything a home and keeps the room looking calm.
Keep the open shelf for towels and a plant only, and use baskets inside cabinets so small items do not drift. When storage is planned this way, the vintage features stay visible and the room works in daily life. Storage is the quiet partner here: it does not draw attention, but it makes the whole look possible.
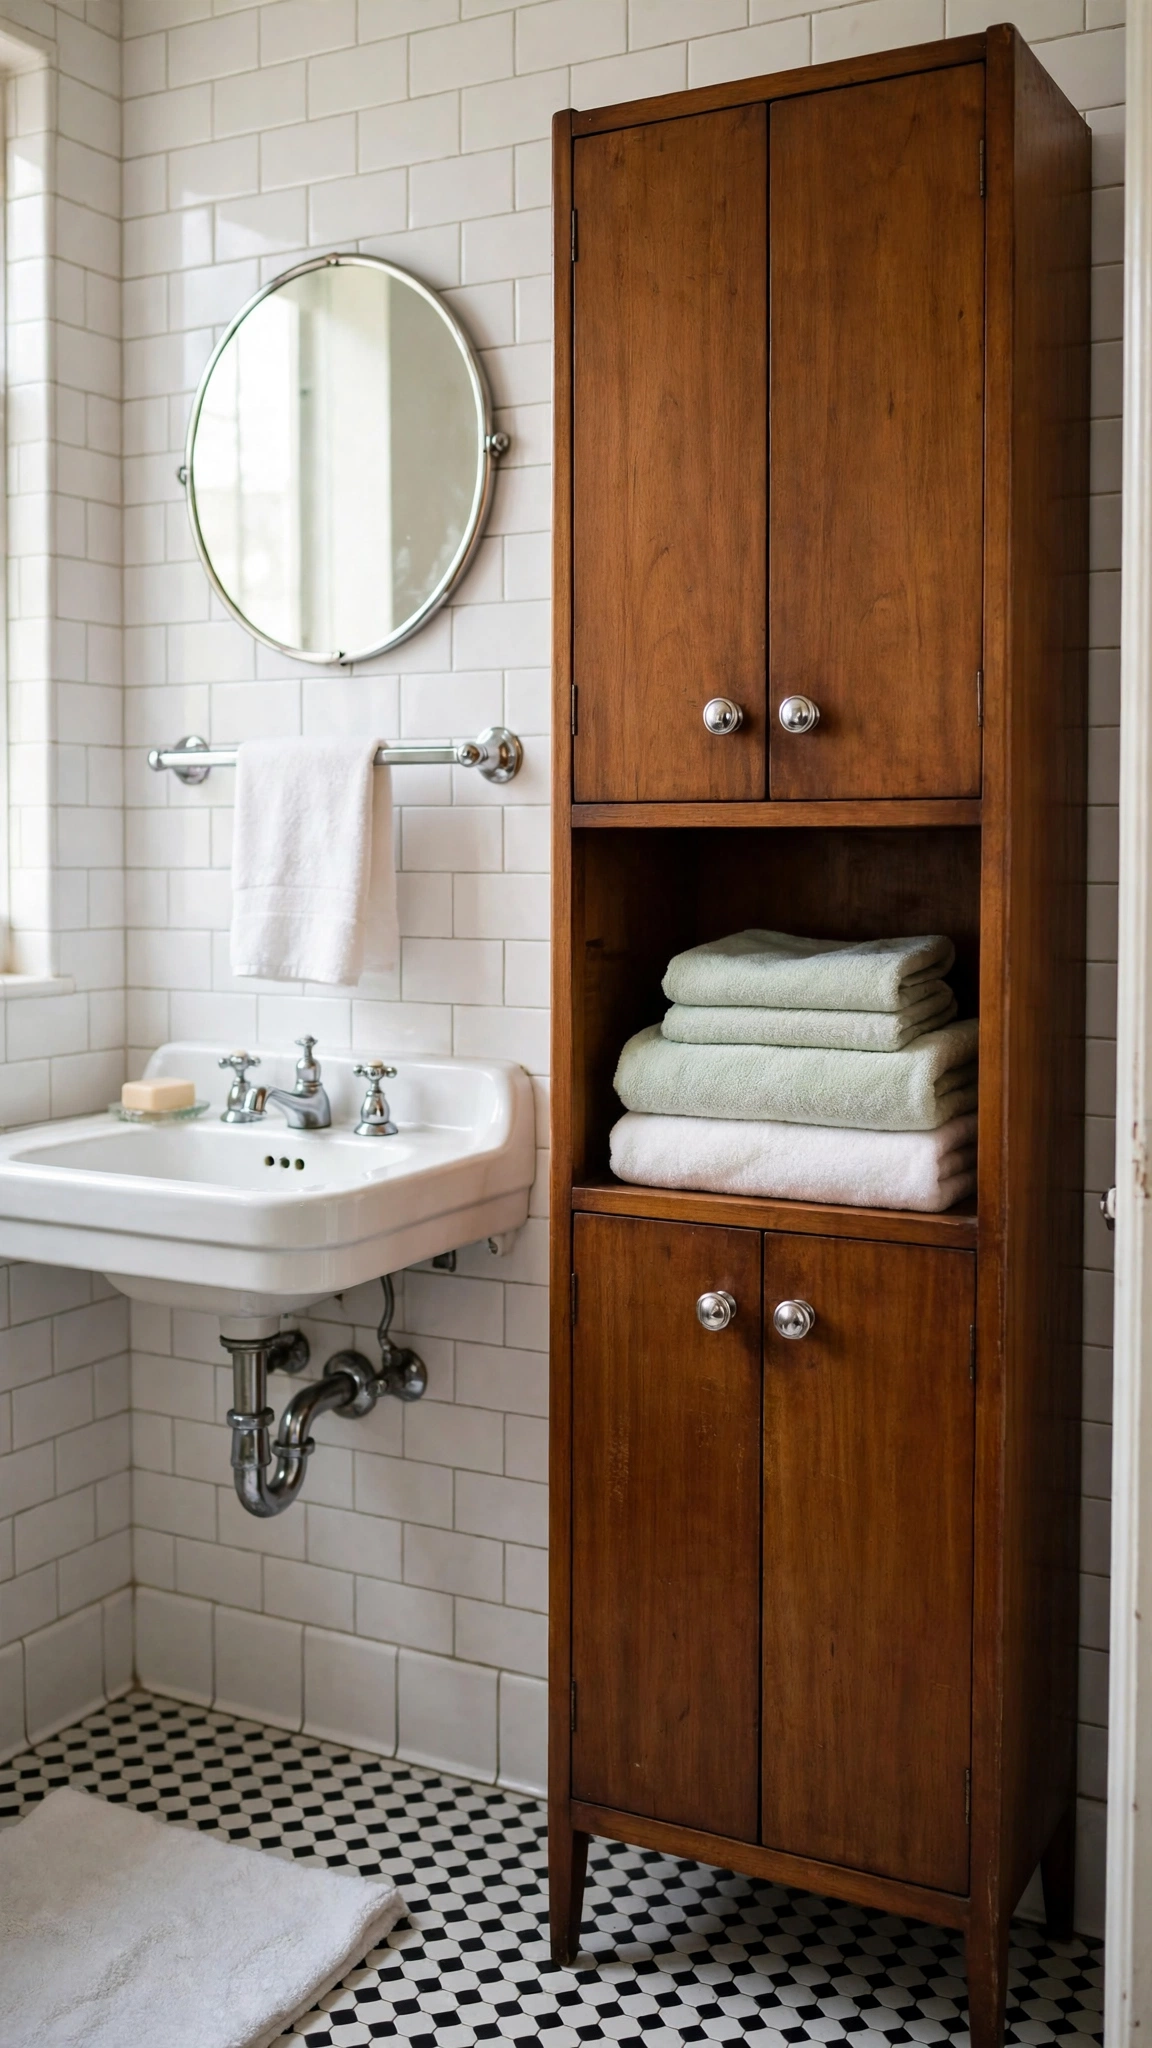
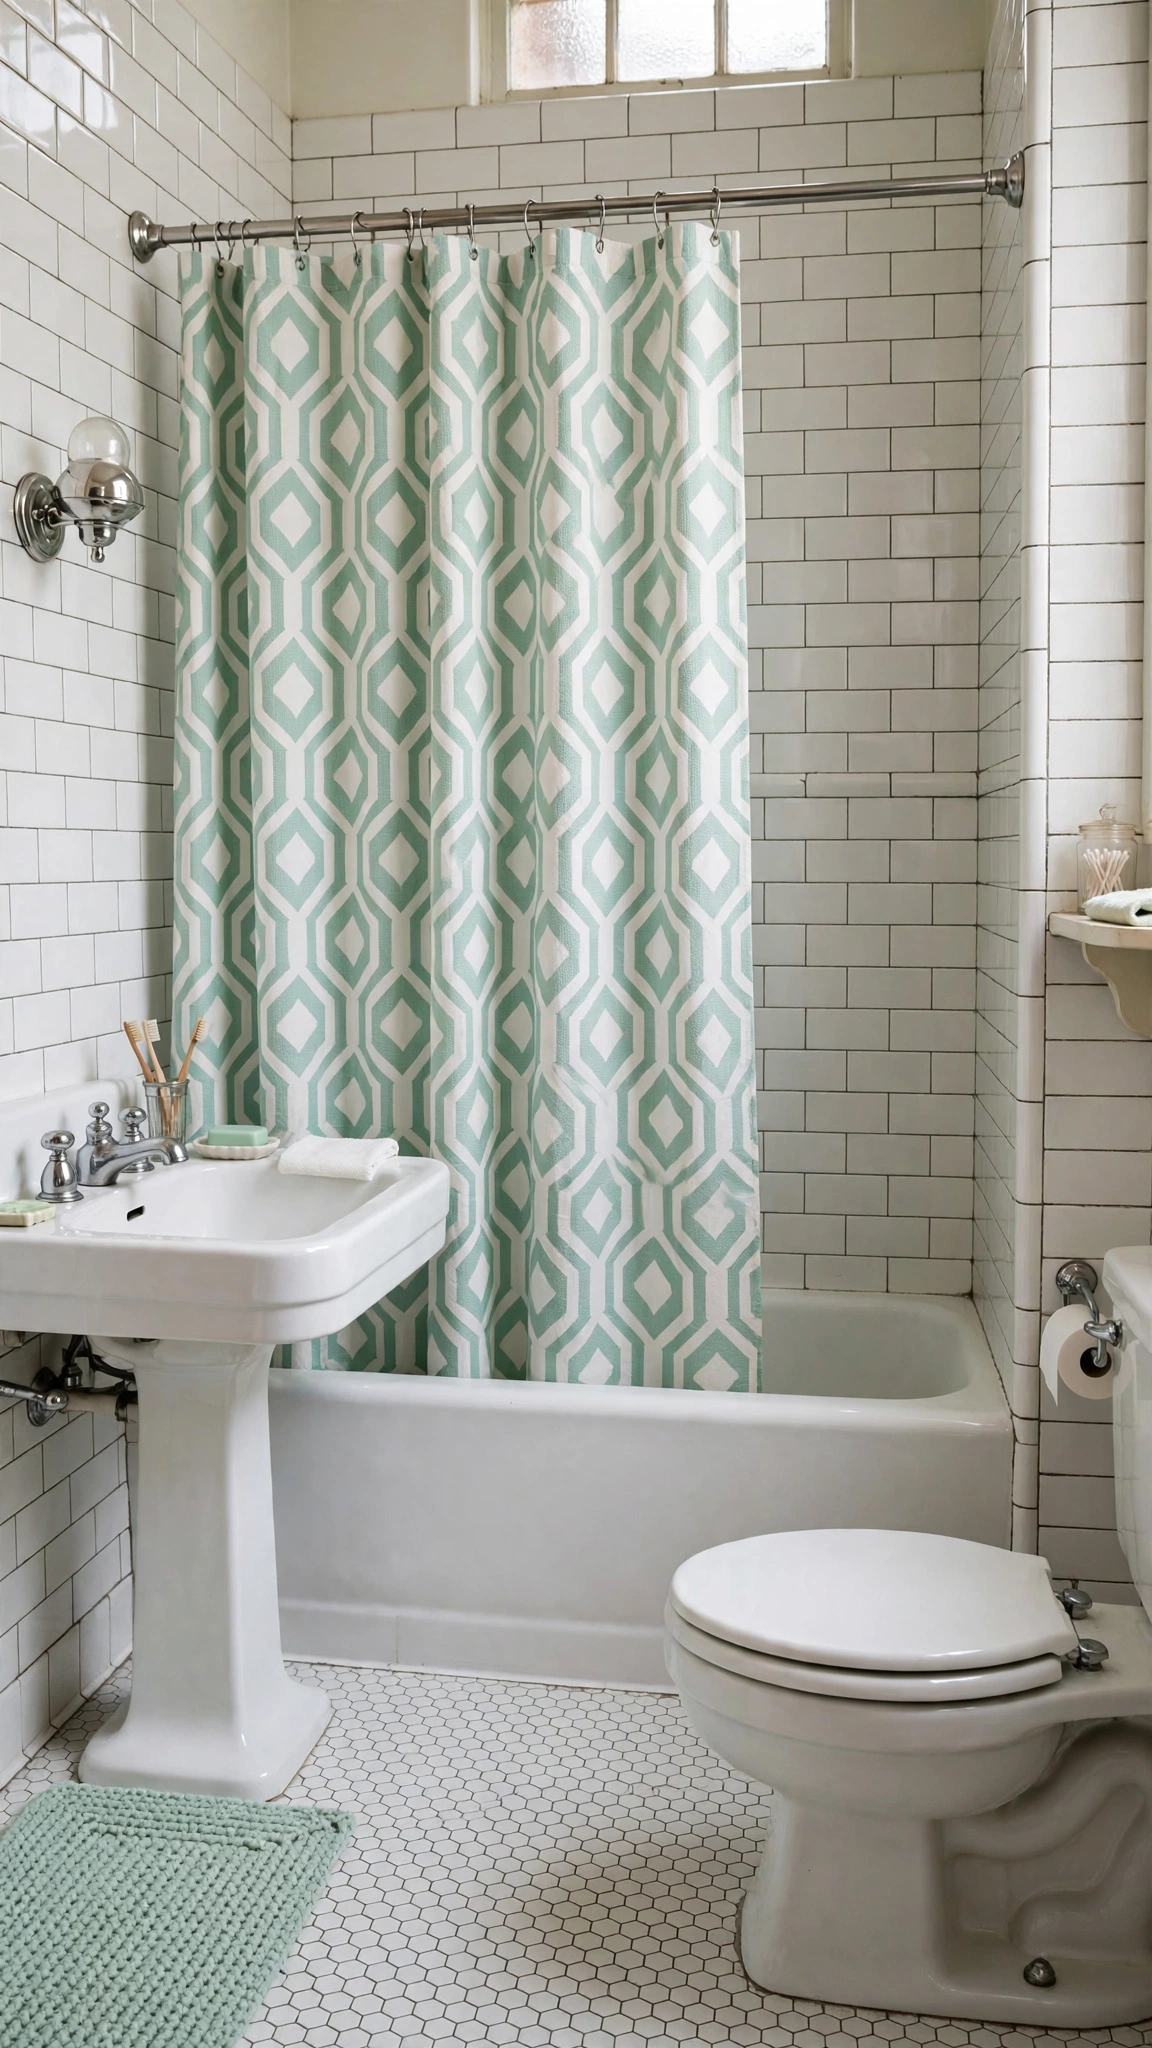
16. A Retro Shower Curtain as the Quickest Change
A shower curtain in a bold geometric or soft floral 1950s pattern changes a whole bathroom without plumbing or tile work. It is the fastest and cheapest retro change, and it suits renters and anyone testing the era before committing to bigger work. The pattern sets the tone for the room in one simple step.
Choose a pattern colour already used in the room, with chrome rings and rod to match the fittings. Use a plain liner behind the curtain for easy cleaning, and pick vinyl or cotton to suit your household. If you later change your mind, swapping the curtain is easy, which makes this a low-risk way to start.
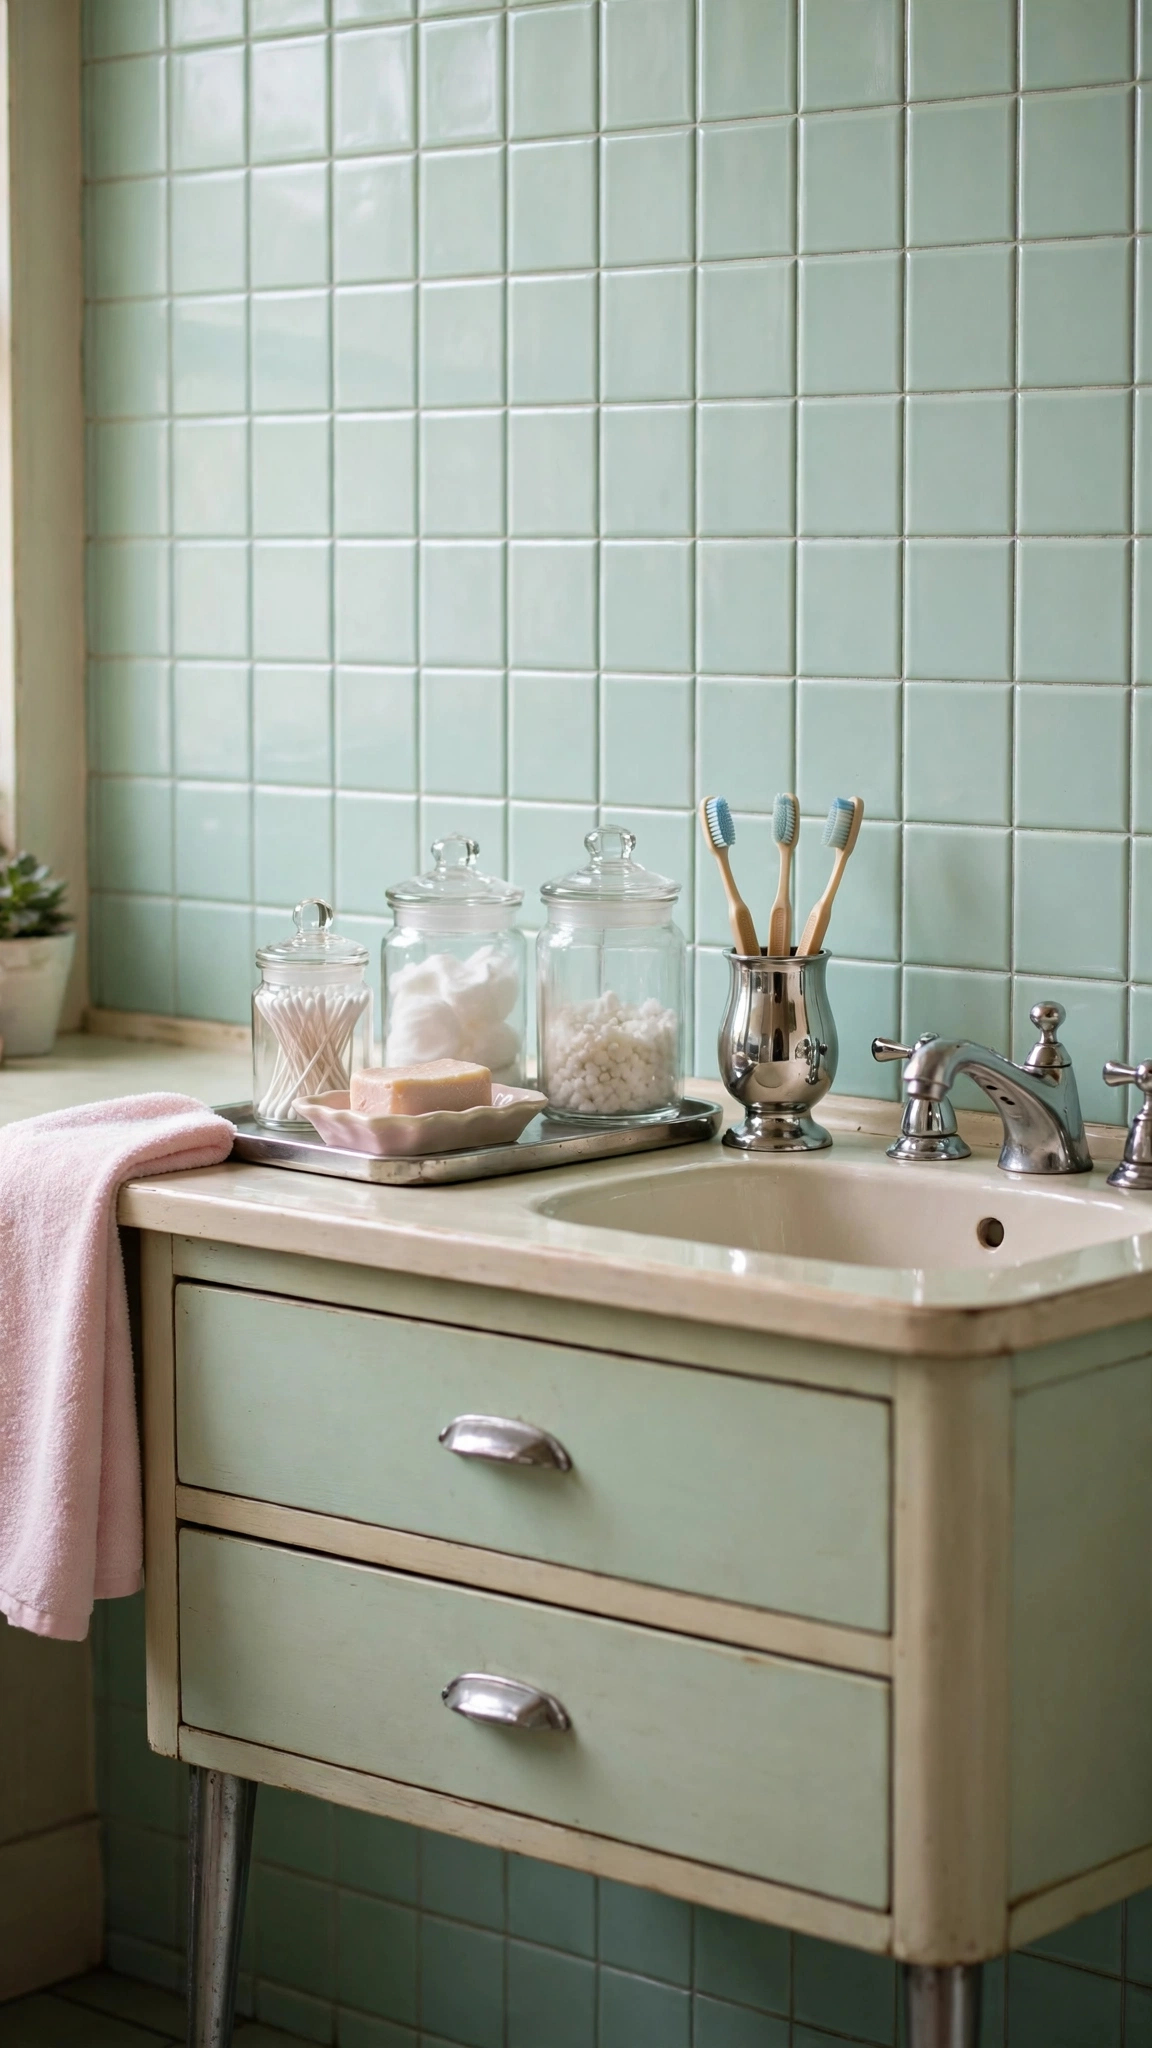
17. Vintage Accessories in Small, Deliberate Doses
Ceramic soap dishes, glass toiletry jars, a chrome toothbrush holder and a small tray finish a 1950s bathroom when each piece has a place and a use. Accessories work best in small, deliberate doses. A crowded counter looks messy no matter how pretty the pieces are, while a few chosen items make the room feel finished.
Group small items on one tray, and match ceramic or glass rather than mixing many materials. A weekly wipe keeps chrome and glass bright and stops soap marks from building up. When every accessory earns its place, the room feels styled rather than cluttered, and daily routines stay simple.
- Group small items on one tray, so the counter stays clear.
- Match ceramic or glass pieces, rather than mixing many materials at once.
18. Black-and-White Prints for Simple Wall Art
One or two framed black-and-white prints give a 1950s bathroom simple wall art without adding colour. A landscape, city scene or abstract shape in a slim frame suits a patterned room, because black-and-white art adds interest without competing with tile or a checkerboard floor. It is the calm counterpoint to pattern elsewhere.
Hang prints on the one wall that stays free of tile, and keep them away from direct shower spray. Use simple slim frames and one wall only, so the room does not feel like a gallery. With the art kept simple, the room stays balanced and the prints get the quiet attention they deserve.
19. A 1950s Look in a Rented Bathroom, Without Changing the Fixtures
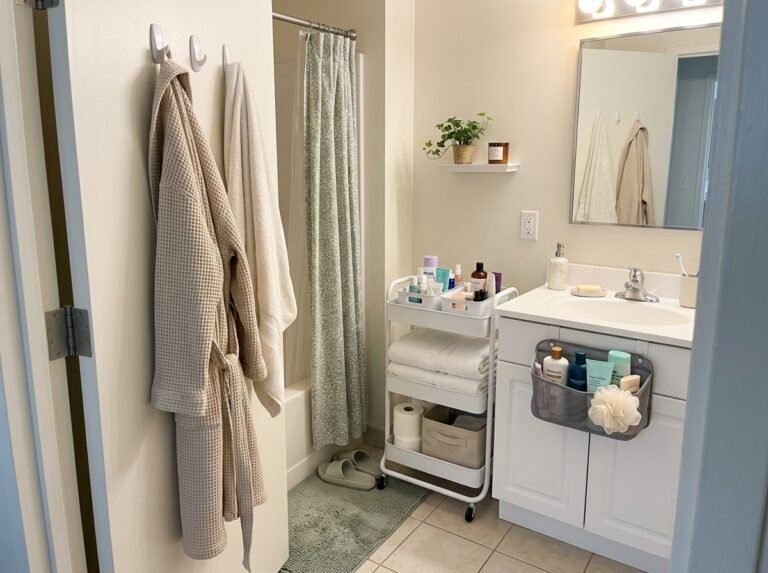
A rented bathroom can still carry a 1950s look with no drilling and no plumbing changes. A retro shower curtain, pastel towels, a new mirror, vintage-style accessories, and a freestanding shelf change the feel of the room while leaving the landlord’s fixtures untouched. Everything stays reversible, so moving day causes no damage and no extra cost.
Use adhesive or over-door hooks instead of drilling, and a freestanding shelf instead of a fitted cabinet. A large leaning mirror works where wall fixing is not allowed, and it also makes a small room feel bigger. This is the most practical idea in the article, because it gives renters the style without asking them to remodel a room they do not own.
How to Choose the Right 1950s Bathroom Setup
Choose by your main need first, then by room size, light and budget. If colour matters most, start with one pastel. If the floor bothers you, start with checkerboard tile. If your room is small, start with a pedestal sink, a large mirror and clear floor space. If you only want a quick change, start with a shower curtain and accessories.
Work in a budget order that fits real life. Start with cheap changes, such as a curtain, accessories, towels, mirror and light. Then change the vanity or taps when you are ready. Leave tile and plumbing changes for last, when you are sure of the look and the cost, and when the cheaper changes have already shown you what suits the room.
Common 1950s Bathroom Mistakes to Avoid
Too many retro pieces at once is the most common mistake. A pastel suite, a checkerboard floor, a patterned curtain and bold tile together can look themed rather than stylish. Pick one base and one accent, then add more slowly, and live with each change before adding the next.
Other mistakes are easy to avoid once you know them. A full pastel suite is hard to match if one piece breaks. Three competing patterns in a small room fight each other. Mixed metals look busy, and dark single-source lighting flattens the whole room. Starting with plumbing before trying cheap updates is the costliest mistake, because a curtain or mirror change may already give you much of the look for far less money.
Frequently Asked Questions
What is a 1950s bathroom?
A 1950s bathroom is a bathroom with clean lines, pastel colour, chrome fixtures, ceramic tile and simple shapes. It mixes those vintage features with modern plumbing, taps and showers, so the room feels charming and classic, not old or hard to use in daily life.
Can I get a 1950s look without a full remodel?
Yes, you can. Start with a retro shower curtain, pastel towels, vintage-style accessories, a new mirror and soft lighting. Those small changes carry much of the look. You can change the vanity or taps later, when your budget allows, without a full remodel.
What colours work best in a 1950s bathroom?
Use white or cream as your base, then add one pastel accent, such as mint, soft pink, baby blue or butter yellow. Keep other walls, floors and fixtures calm. This one-colour rule stops the room from feeling busy, and it makes the pastel accent stand out in a good way.
Are pastel bathroom fixtures hard to keep and match?
One pastel fixture is easy to live with, but a full pastel suite is harder to match if one piece breaks. Keep the toilet and other fixtures white, use modern fittings behind the vintage look, and repeat the pastel only in a towel or small accessory for a joined-up room.
How do I mix retro and modern in a bathroom?
Keep retro pieces in colour, tile and lighting, and keep modern pieces in plumbing, taps, showers and storage. This split works well because the eye sees the vintage style, while daily use stays easy and modern. Avoid too many retro pieces at once, or the room can start to feel themed.
How do I update a small 1950s bathroom?
Use a pedestal sink, a large mirror, light walls, and closed storage in a small 1950s bathroom. Keep the floor clear and pick compact fixtures that fit your real measurements. These steps make the room feel larger, even with checkerboard tile and pastel colour in it.
How do I care for chrome fixtures in a bathroom?
Wipe chrome fixtures after use with a soft cloth and a mild cleaner, then dry them to stop water marks. Avoid harsh abrasive cleaners unless the finish allows them. Gentle, regular cleaning keeps chrome bright and shiny, and it helps stop marks and dull patches from building up.
Final Thoughts
Start with your main need, not with a long shopping list. If colour matters most, begin with one pastel. If the floor matters most, begin with checkerboard tile. If your room is small, begin with layout and a pedestal sink. If budget matters most, begin with a shower curtain, a mirror, or a light.
Then add more over time, one change at a time. Pick one base, one accent, and one finishing touch, and use the room for a week of daily life before you judge it. Add only the pieces that still feel right, and your bathroom will feel like a classic 1950s room that works for modern life.