18 Christmas Window Painting Ideas
A painted window is the cheapest Christmas decoration that makes people stop and look. A bottle of washable white paint or a few chalk markers can turn a plain window into a snowy village, a smiling reindeer, or a whole winter scene — and it all washes off in January. No ladder on the roof, no tangled lights, just you, a brush, and a pane of glass.
The best part is that anyone can do it. You do not need to draw well. Most of these ideas use big, simple shapes — a circle for a snowman, a triangle for a tree, a row of dots for falling snow. Kids can help, and the mistakes wipe off with a damp cloth before the paint dries.
This article covers 18 Christmas window painting ideas for every window, from a tiny kitchen pane to a big front window. Every idea tells you what to paint, how to paint it, and one quick tip that makes it look better.
Quick Answer: The 3 Best Christmas Window Painting Ideas to Start With
If you have never painted a window before, start with hanging ornaments at different heights — it needs only straight lines and circles, and it looks finished in under an hour. A snowy village along the windowsill is the best choice for a big front window, because it fills the glass with a scene people can see from the street. A white-only lace garland is the easiest elegant option — one color, no drawing skill needed, and it still lets daylight into the room.
1. A Snowflake Village Along the Windowsill
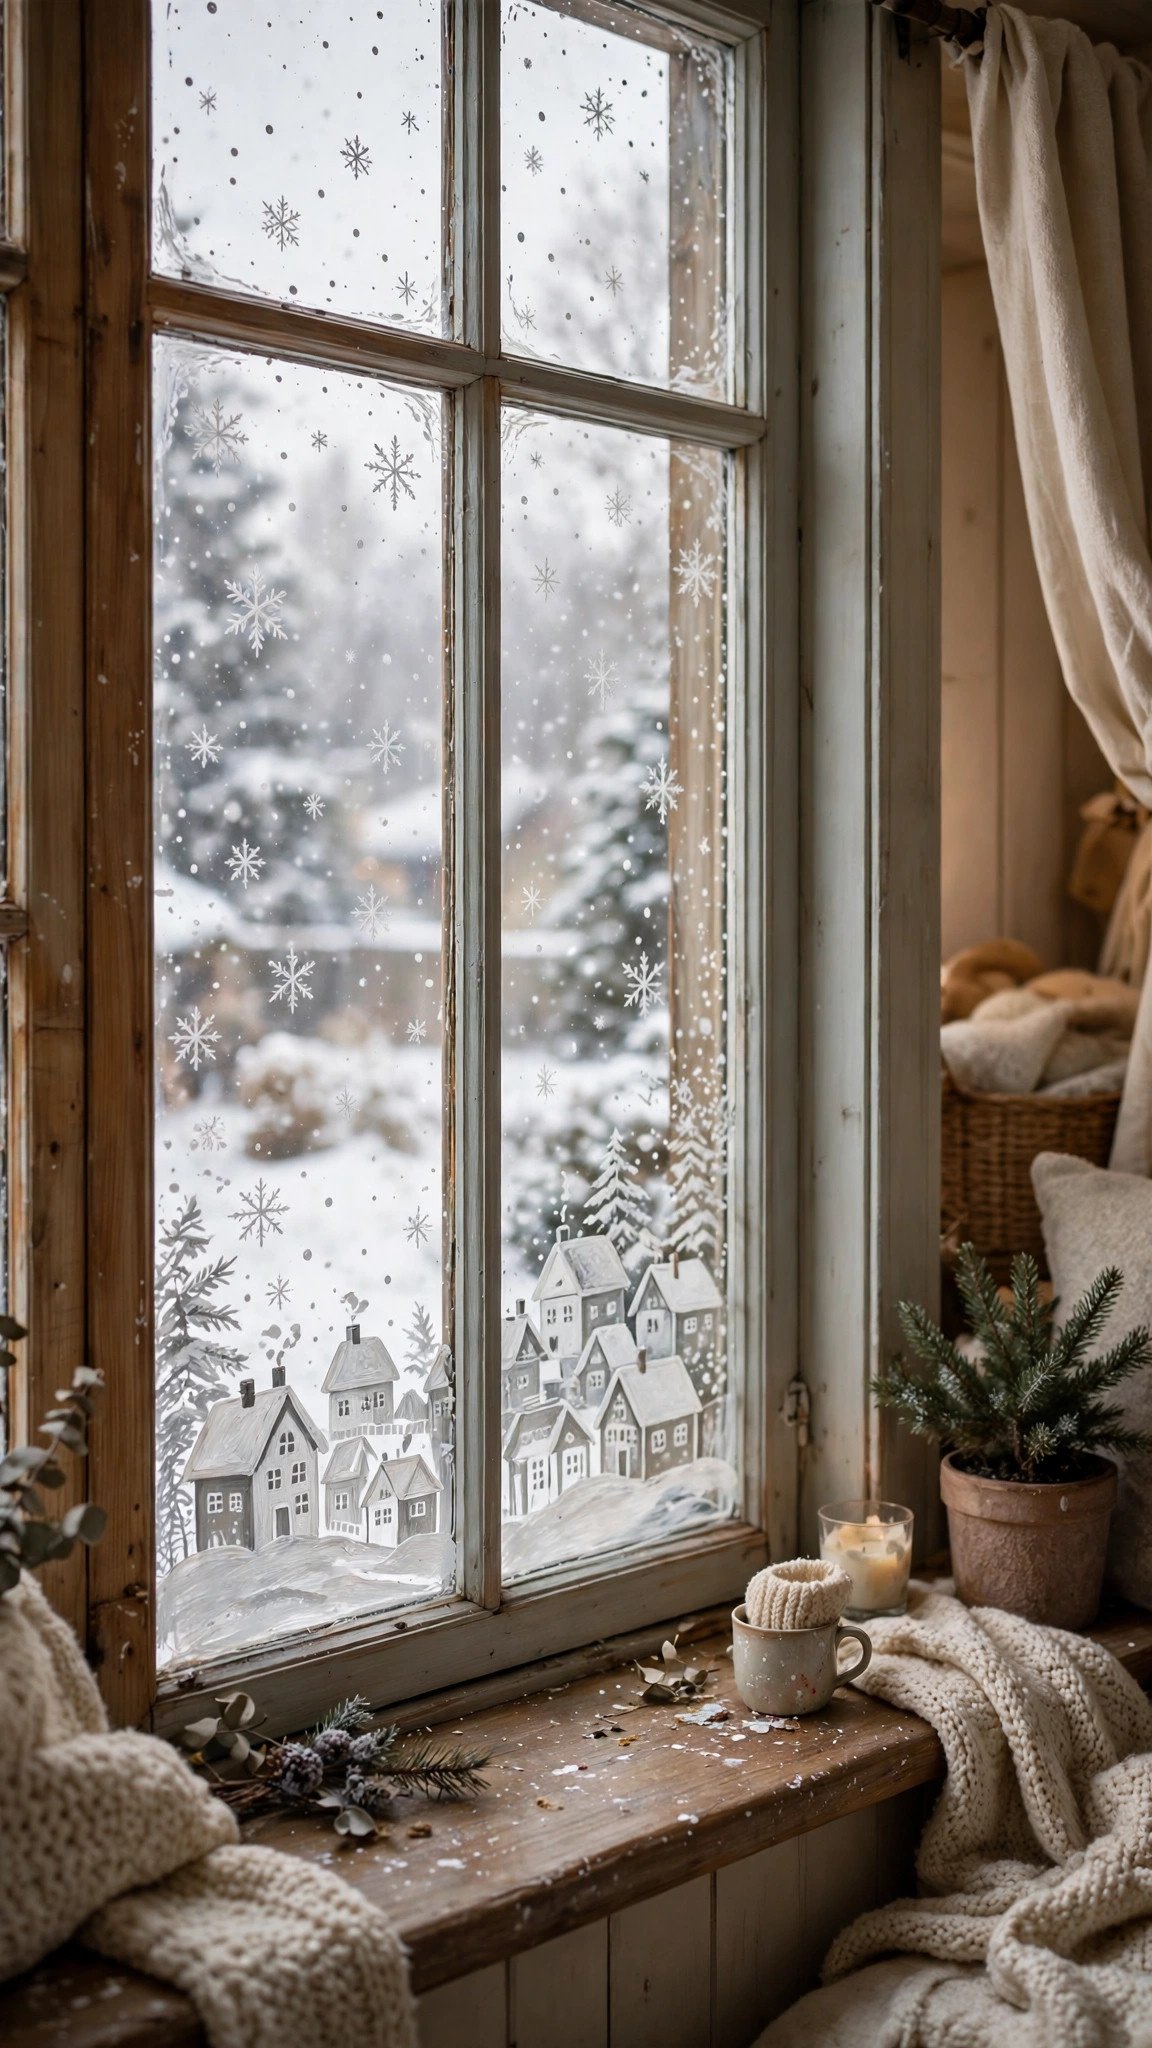
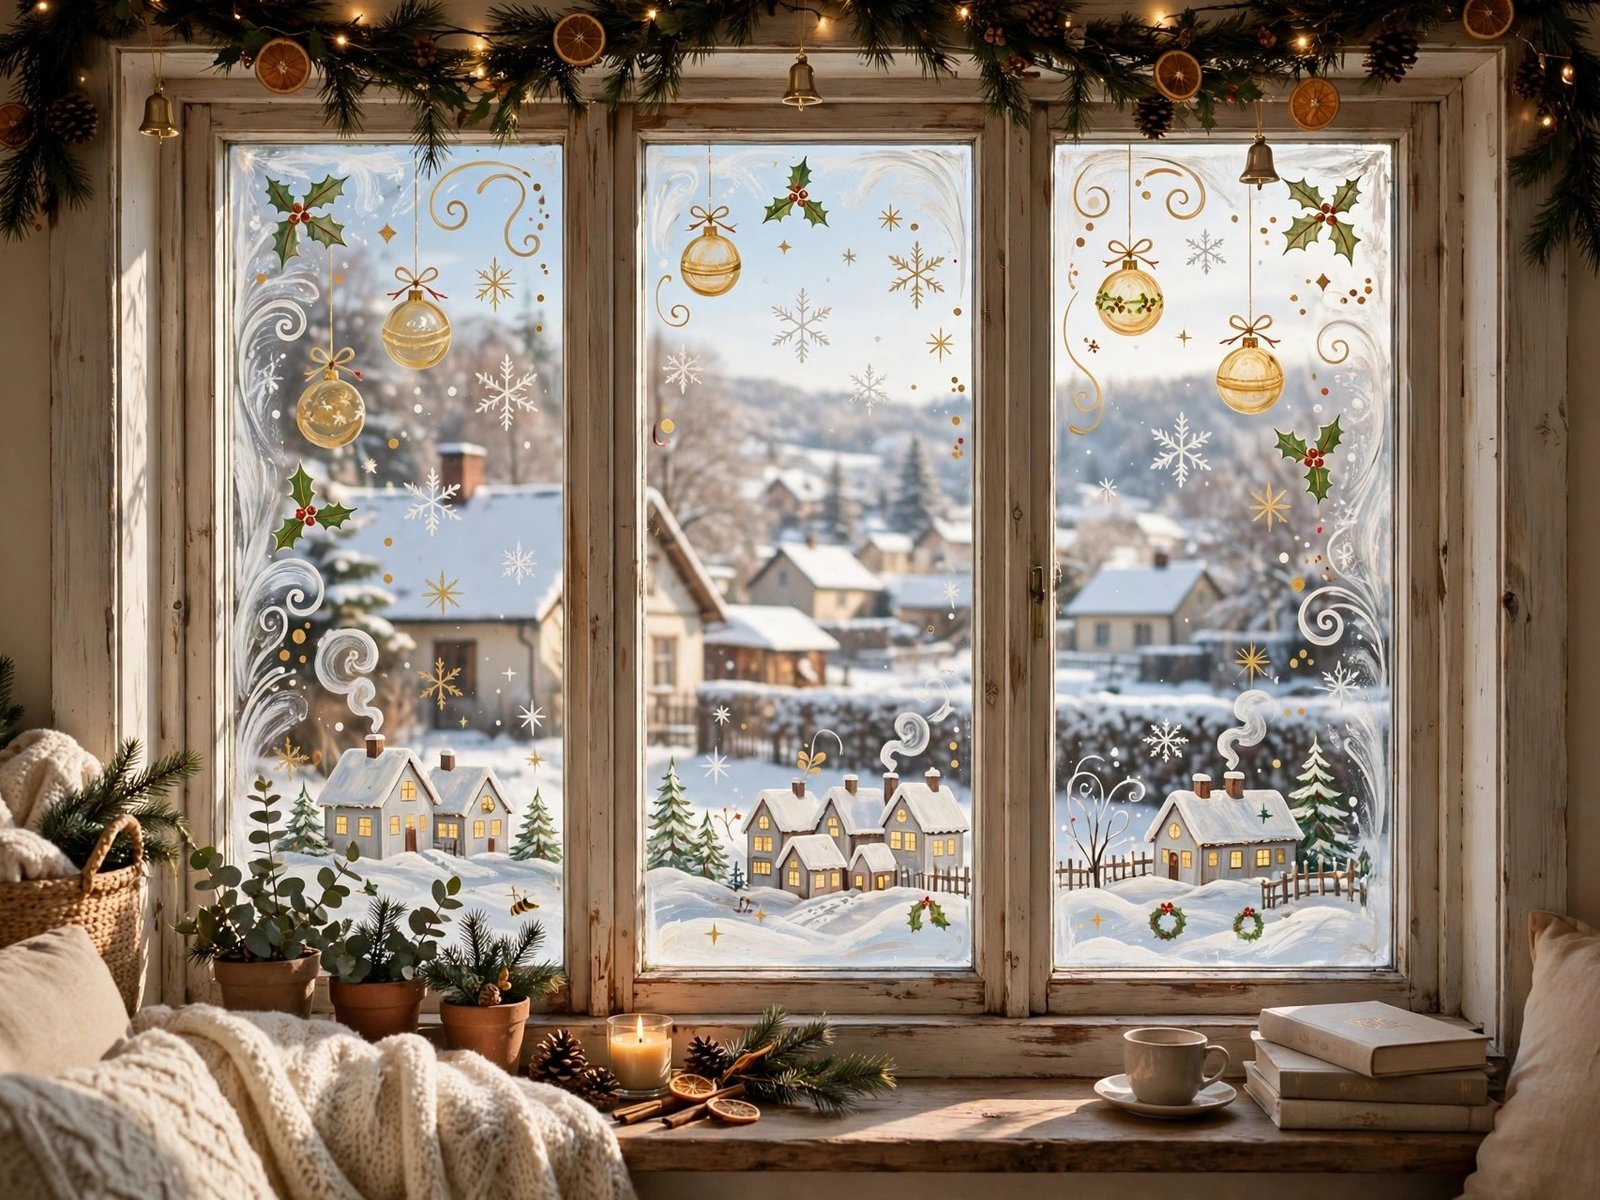
A snowflake village is the classic Christmas window, and it works because it is simple. A row of little white houses sits along the bottom of the glass, their roofs and windows glowing, and white snowflakes fall in the open space above them. From the street it reads as a whole winter scene, and from inside it feels like the snow is falling just outside your room.
Paint the houses first, in a row along the sill, and vary their heights so the village feels collected rather than perfect. Leave plenty of clear glass above the rooftops for the snowflakes — a few big flakes near the corners and smaller dots scattered between them. Use washable white paint for the houses and a white chalk marker for the fine lines, like window frames and roof edges. This is a low-cost idea, and it suits any window with a wide sill.
- Quick tip: Paint the houses at night with the room lights on, so you can see how the village glows from outside while you work.
2. Gnomes With Tall Hats and Scarves
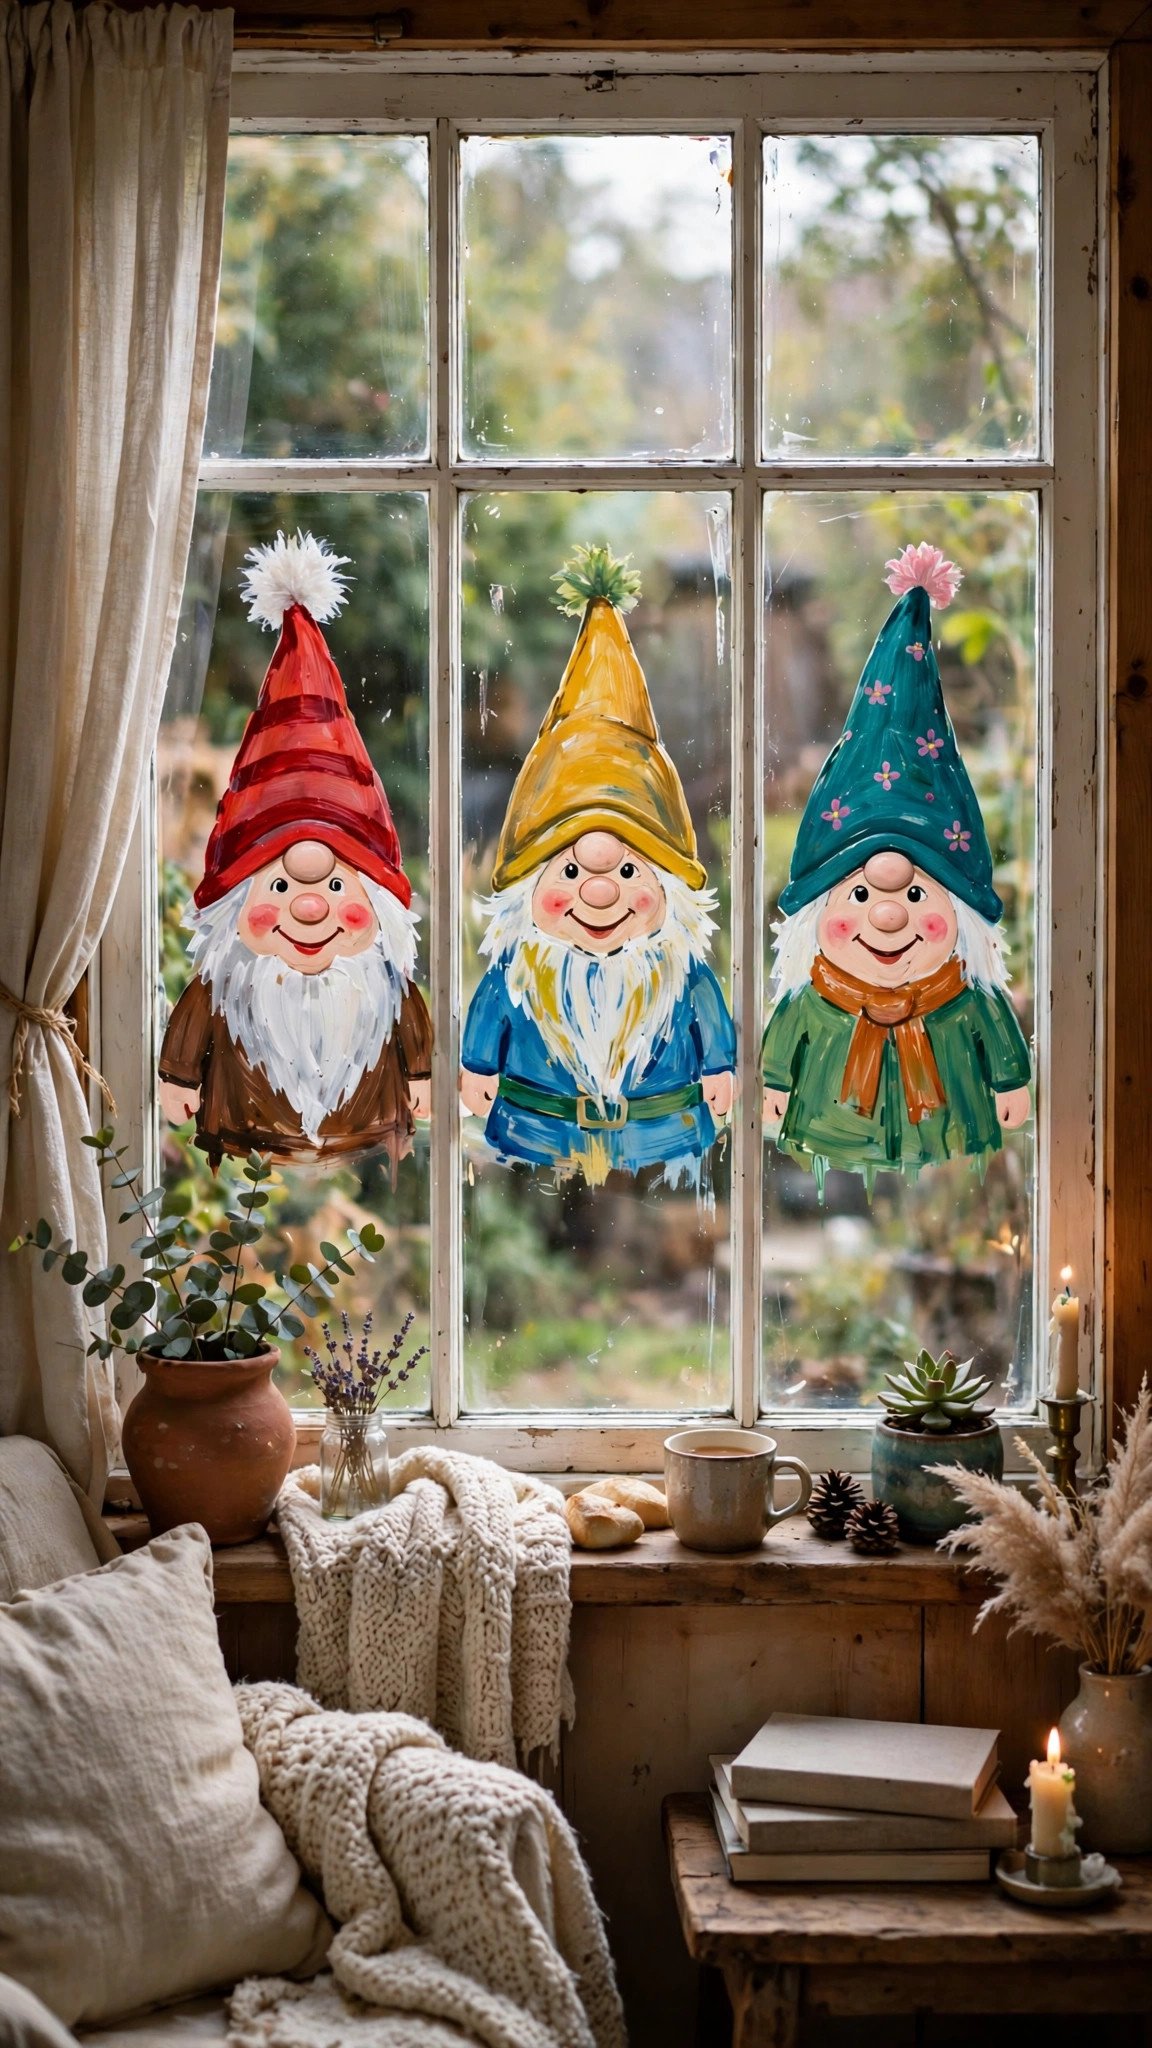
Gnomes are the friendliest faces you can put on a window. Each gnome is just a tall triangle hat, a round nose, and a beard — no eyes, no mouth, nothing hard to draw. Paint two or three in a row, give each one a different hat color, and the whole window feels cheerful and a little bit funny.
Start with the hats, because they are the biggest shapes — red, green, or striped, whatever you have. Then add the round nose in the middle and a white beard below it, using short, rough strokes so the beard looks fluffy. Keep the background clear so the gnomes stay the focus, and add a few snow dots around their feet. Kids love painting gnomes because there is no wrong way to do a beard. This is a low-cost idea, and it suits a child’s bedroom window best.
- Quick tip: Make the hats at least a foot tall, so the gnomes read clearly from the street.
3. A Clock Tower Village in White

A clock tower village is the prettiest version of the snowy village, and it suits a living room window. A tall clock tower stands in the middle of the glass, smaller white houses and trees line up on either side, and the whole scene is painted in white with just a touch of warm yellow in the windows. It looks like a Christmas card, and it lets in more light than a colorful scene.
Sketch the clock tower first, right in the center, because everything else lines up around it. Keep the tower simple — a tall rectangle, a pointed roof, and a round clock face with two hands. Then add the smaller houses on either side, varying their roof shapes, and finish with white rooflines that suggest snow. Paint the little windows warm yellow so the village glows at dusk. This is a low-cost idea, and it suits a wide living room window best.
- Quick tip: Draw the clock face last, after the tower paint dries, so the hands stay crisp and clean.
4. A Penguin Peeking From Behind Presents

A penguin peeking from behind a stack of presents is pure joy on a window. The penguin is one big black-and-white shape with a bright scarf, and the presents are just clean squares and rectangles with ribbons. It is easy to paint, it makes kids laugh, and it looks great from both sides of the glass.
Paint the present boxes first, as simple squares and rectangles stacked in a pile, then add the ribbons as straight lines with a bow on top. Then paint the penguin peeking out from behind the pile — a big oval body, a white belly, and a Santa hat on top. Give the penguin a red scarf so it pops against the black and white. Keep the rest of the glass clear with just a few snow dots. This is a low-cost idea, and it suits a family room or playroom window best.
- Quick tip: Paint the boxes in bright colors — red, green, and gold — so the black-and-white penguin stands out between them.
5. A Wreath Framing “Merry Christmas”
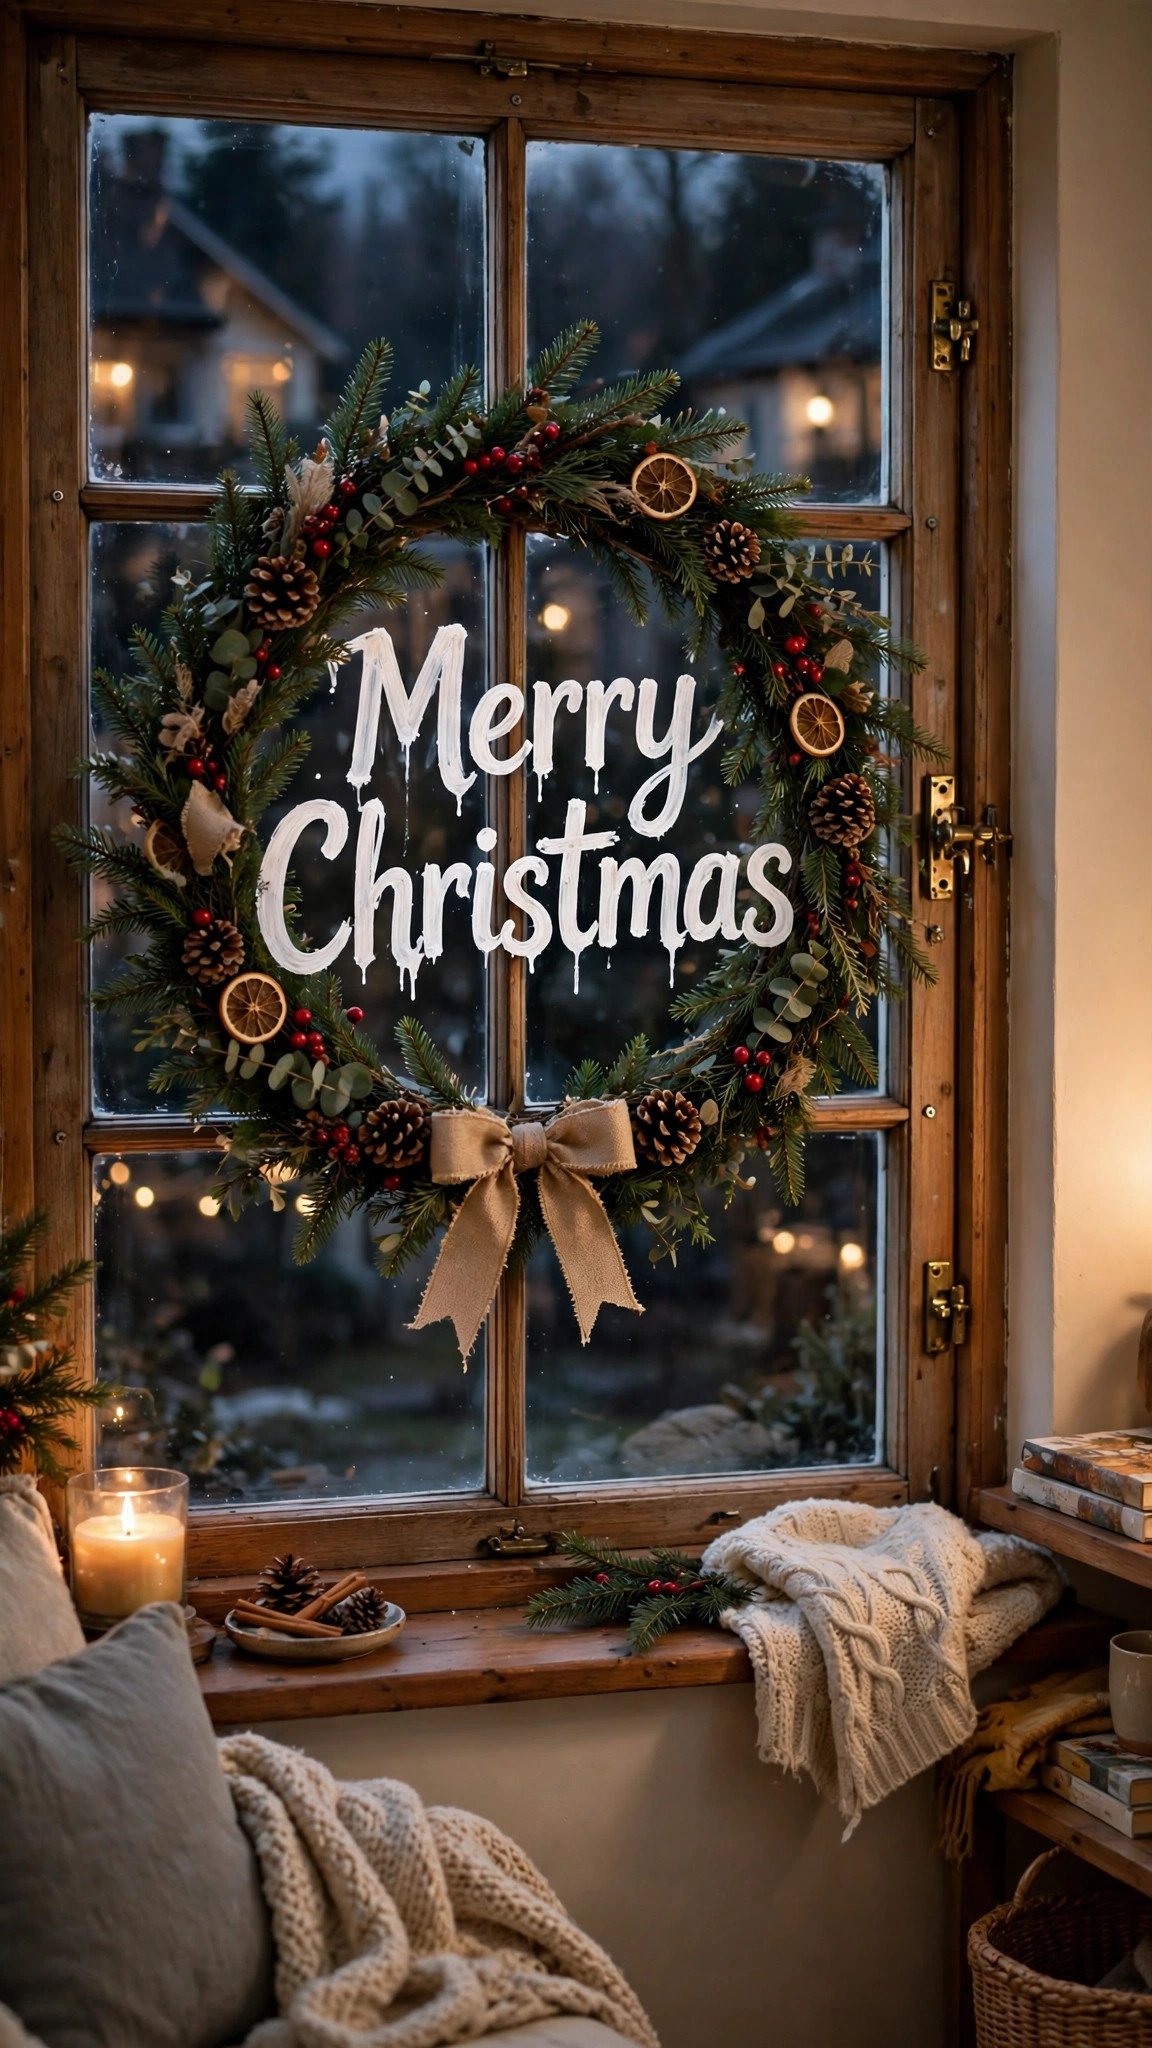
A wreath framing the words “Merry Christmas” is the simplest window that still looks finished. The wreath is a big green circle of loose evergreen strokes, and the words sit in the middle in bold letters. It reads from the street, it reads from the sofa, and it takes less than an hour to paint.
Draw the circle first, using a plate or a bowl as a guide so it stays round. Then add the evergreen strokes around it — short, loose flicks of green paint, overlapping each other, with a few red berries tucked in. Paint the words in the center in big block letters, at least six inches tall, and check from outside that they read the right way round. If you paint from inside, the words will look backwards from the street unless you flip them. This is a low-cost idea, and it suits a front door window or a front-facing pane best.
- Quick tip: Tape a printed “Merry Christmas” behind the glass and trace the letters, so they come out even and straight.
6. A White-Only Lace Garland Valance
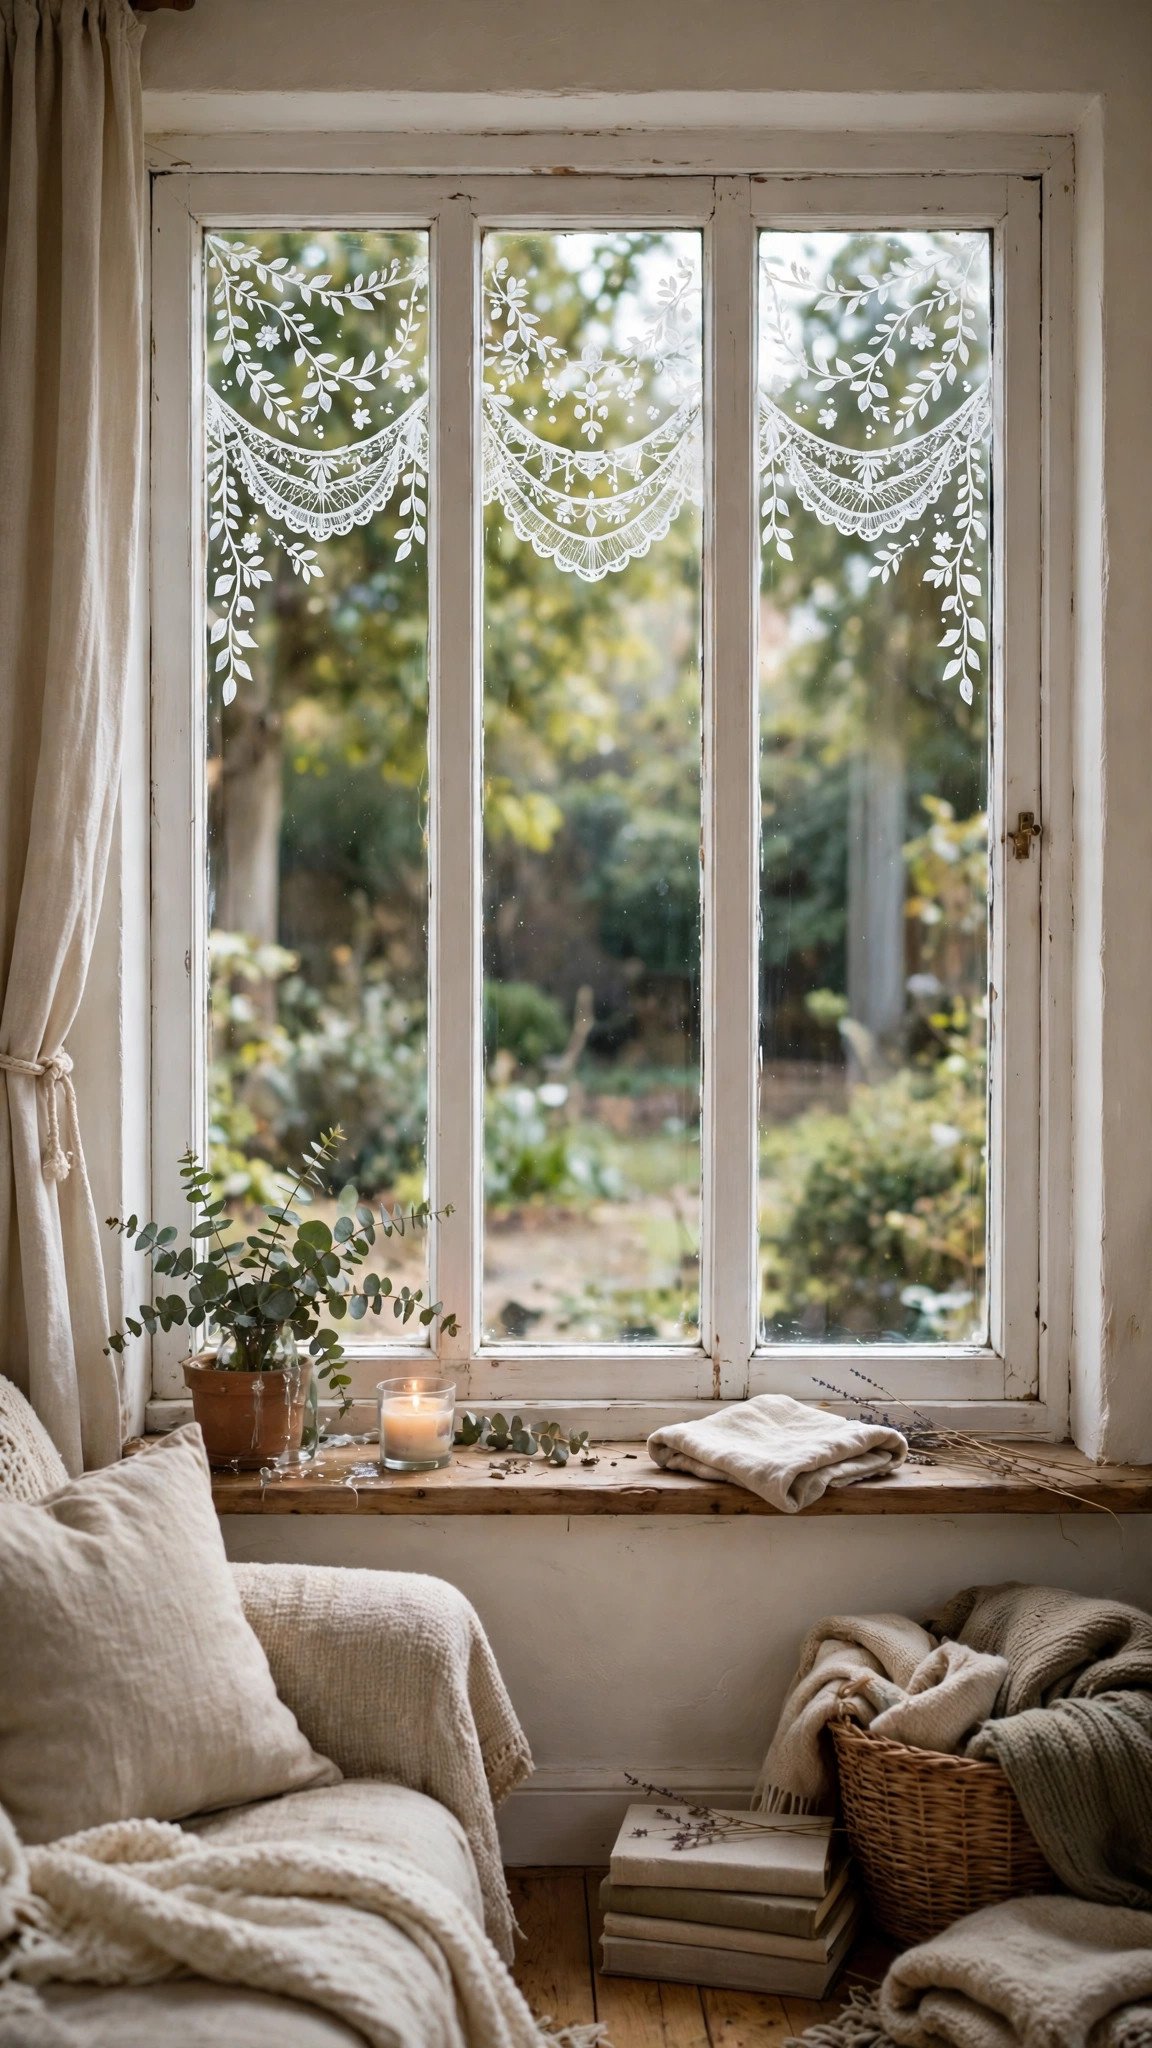
A white-only lace garland is the most elegant window on this list, and it is also one of the easiest. A garland of looping scallops, small snowflakes, and simple leaves runs across the top third of the window, like a lace curtain that never needs washing. It is all one color, so there is no color mixing and no mess, and it still lets daylight pour into the room.
Paint the garland as a series of connected loops across the top of the glass, about eight to twelve inches tall. Inside each loop, add a small snowflake or a leaf shape, and let a few dots of snow fall below the garland. Use a white chalk marker for the fine lines — it gives crisp edges that paintbrushes cannot match. Because it is white on clear glass, this design looks best on a window that gets direct light. This is a low-cost idea, and it suits a dining room or bedroom window best.
- Quick tip: Keep the loops loose and uneven — perfect symmetry makes lace look stiff, while a little wobble makes it look handmade.
7. Three Stacked Snowmen With Different Scarves

Three snowmen stacked into a tall column is a clever way to fill a narrow window. Each snowman sits on top of the last, like a snowman totem pole, and each one gets a different scarf and a different face. It is funny, it is festive, and it uses the height of a tall pane instead of fighting it.
Paint the bottom snowman first, as three big circles stacked on top of each other, then build upward with smaller circles for the next two. Give each snowman its own scarf color — red, green, and striped — and a different expression: one smiling, one winking, one with a carrot nose pointing sideways. Add a star near the top to lead the eye upward, and a few snow dots around the edges. This is a low-cost idea, and it suits a tall, narrow window best.
- Quick tip: Paint the scarves first and let them dry, so the white snowman bodies do not smudge the colors.
8. A Gingerbread House With Candy Canes
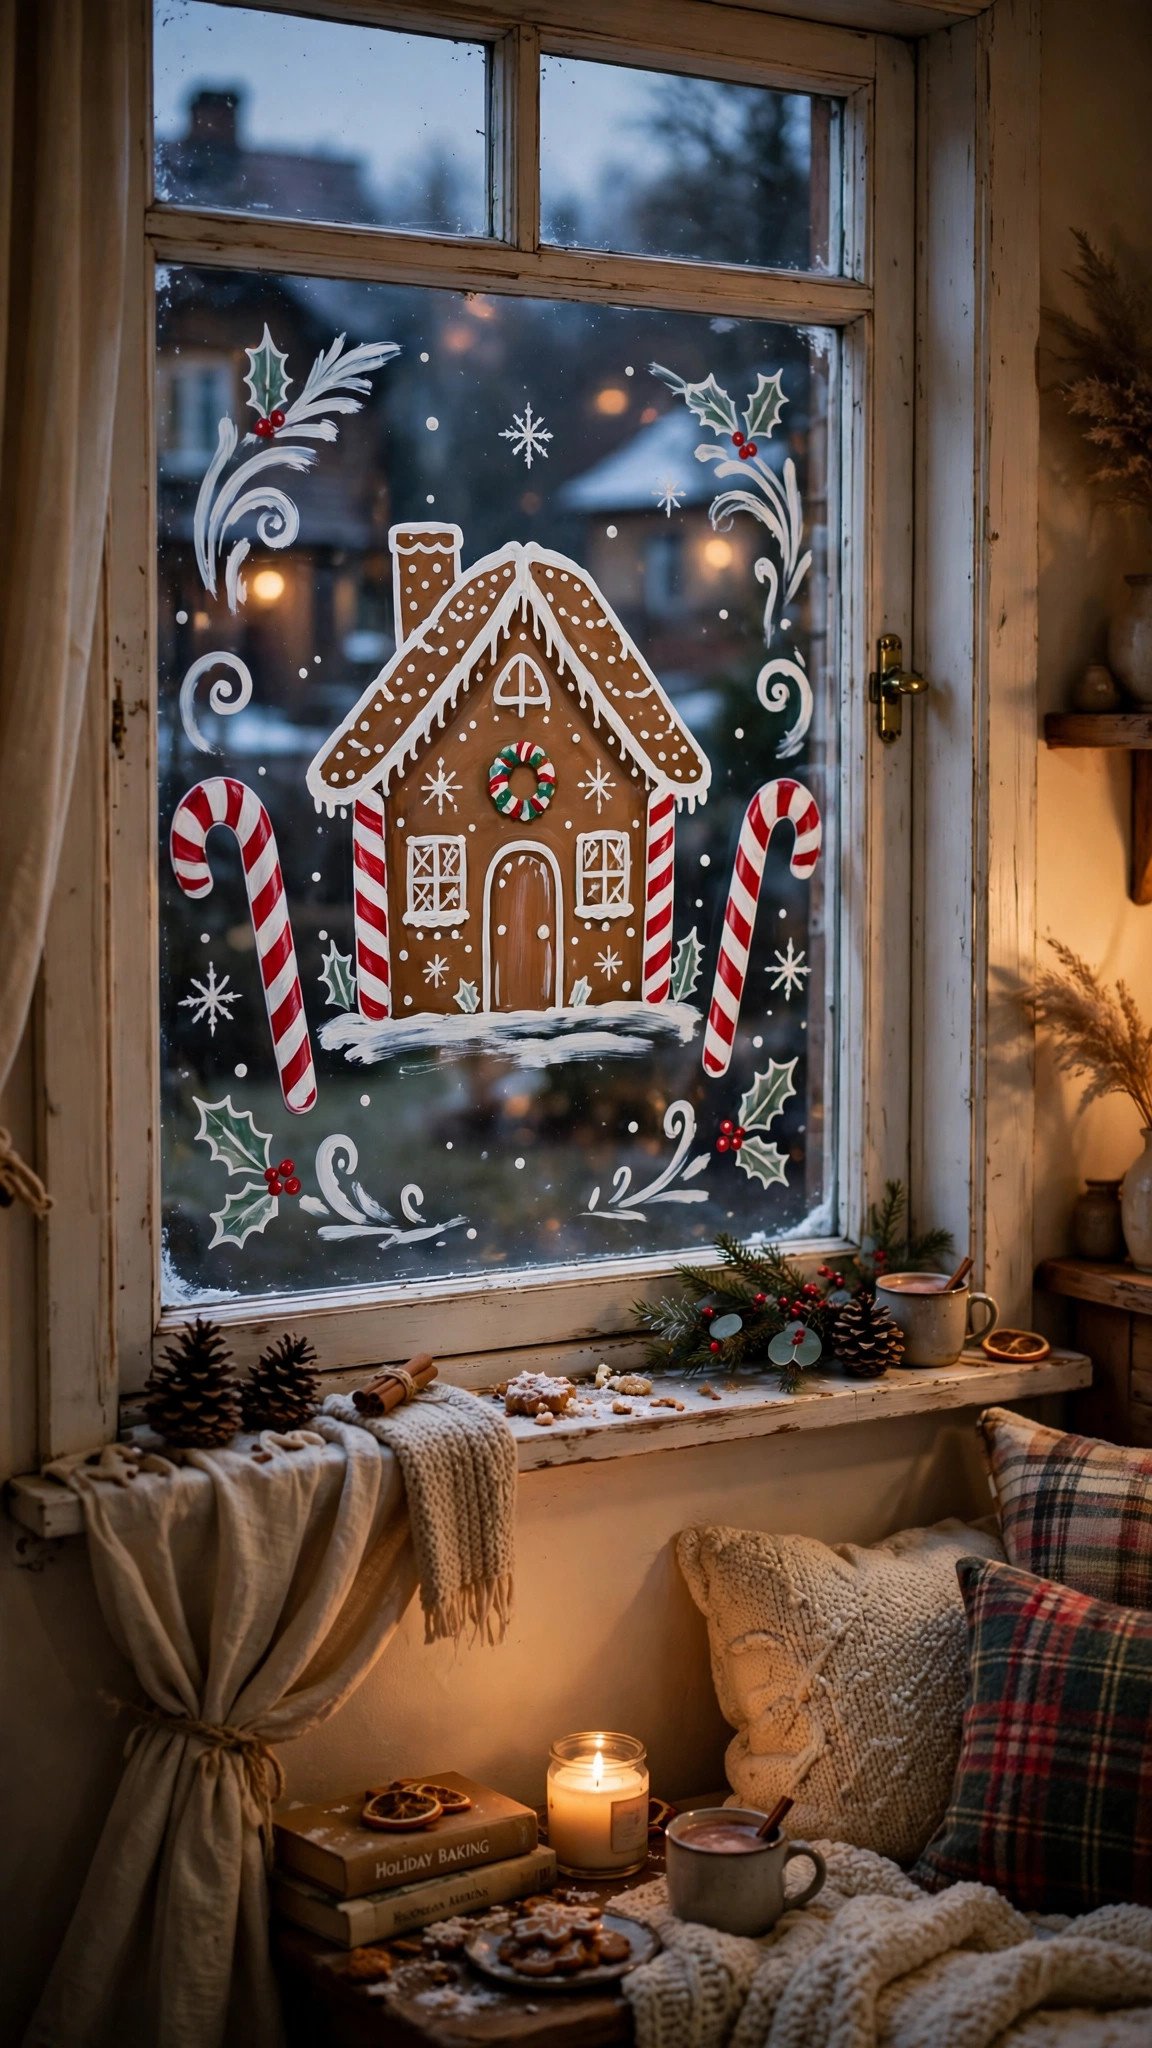
A gingerbread house with candy canes is the sweetest window on this list. The house is a big brown square with a triangle roof, white icing lines along the edges, and candy canes standing on either side like guards. It smells like Christmas just looking at it, and kids will point at it every time they pass the window.
Paint the house as the big center shape — a square body and a triangle roof, with white icing-style outlines along the roof edge and around the door. Then add the candy canes on both sides, as tall curved sticks with red stripes, and a few gumdrops or peppermints scattered at the base. Keep the icing lines thick and wobbly, like real piped icing, because perfect lines would look less like gingerbread. This is a low-cost idea, and it suits a kitchen window best, where the gingerbread theme feels at home.
- Quick tip: Use a white chalk marker for the icing lines — it makes thin, bright lines that look just like piped icing.
9. Hanging Ornaments at Different Heights

Hanging ornaments are the best first window painting, full stop. A few strings hang from the top of the glass, ornaments dangle at different heights, and the whole thing looks finished in under an hour. There is no drawing skill needed — just straight lines and circles — and it is almost impossible to get wrong.
Draw the strings first, as straight vertical lines from the top edge, at different lengths so the ornaments hang at different heights. Then paint each ornament as a circle in a different color — red, gold, green, and blue — with a small cap and a hook at the top. Finish with tiny stars or pinecones between the ornaments, and a few snow dots in the open space. If one ornament comes out lopsided, nobody will notice, because the different heights make it look planned. This is a low-cost idea, and it suits any window, especially a first attempt.
- Quick tip: Hang the biggest ornament in the middle and smaller ones on the sides, so the design feels balanced from the street.
10. Santa’s Sleigh Flying Over Rooftops
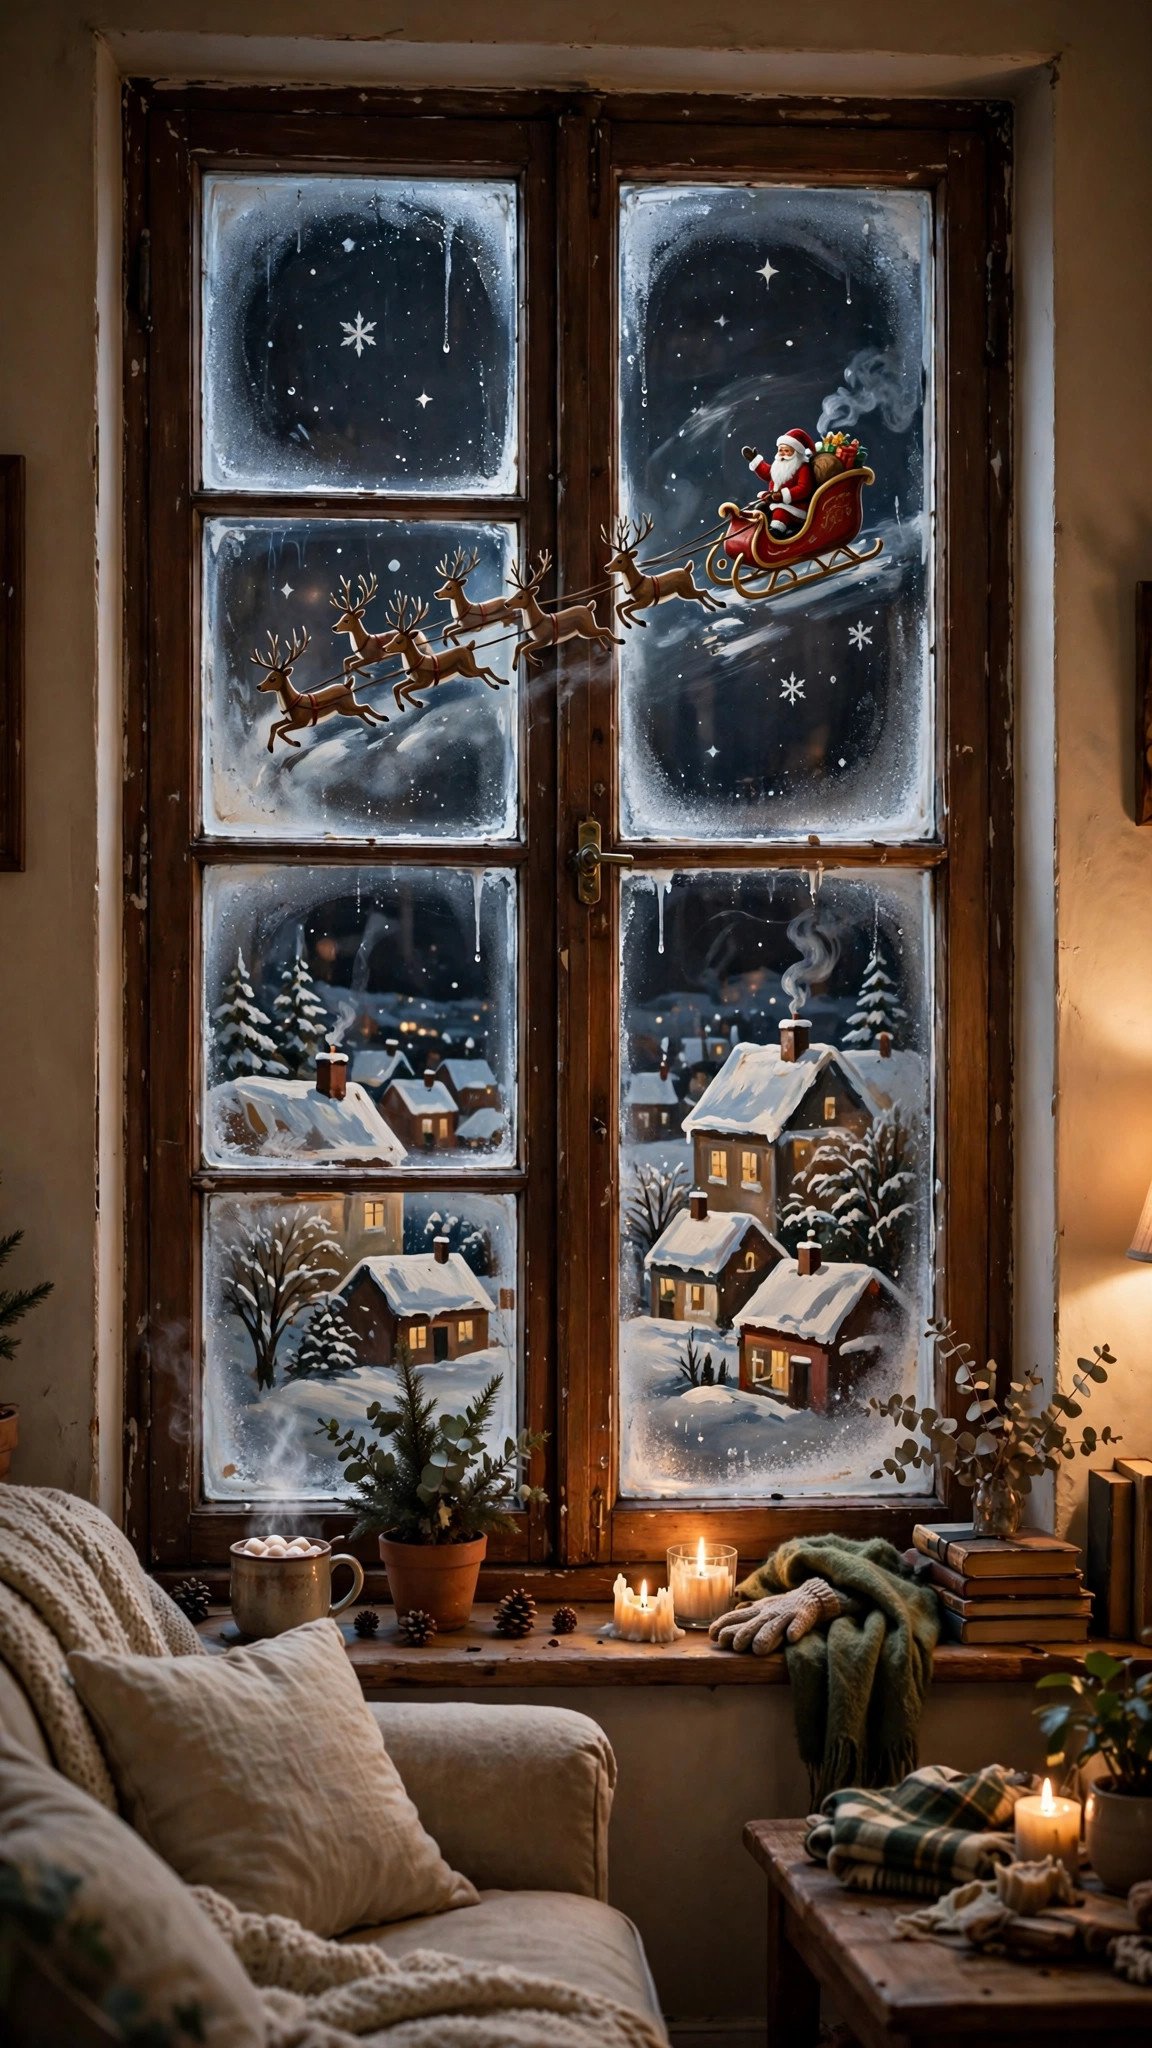
Santa’s sleigh flying over rooftops turns a window into a story. A row of little rooftops runs along the bottom of the glass, and above them Santa’s sleigh flies across a night sky, pulled by reindeer, with stars and a moon around it. It is the most magical scene on this list, and it makes the whole house feel like Christmas Eve.
Paint the rooftops first, as a row of simple house shapes along the bottom third, with chimneys and snowy rooflines. Then paint the sleigh high in the glass, as a curved shape with Santa’s round belly and red hat, and add the reindeer as small shapes in front of it — you only need their bodies, legs, and antlers to read clearly. Finish with a big moon and scattered stars, and let the night sky stay mostly clear glass so the scene feels like the real night. This is a low-cost idea, and it suits a big front window best, where the whole story fits.
- Quick tip: Paint the sleigh and reindeer in dark silhouette colors, so they stand out against the lit room behind the glass at night.
11. Two Tall Evergreen Trees With Snowy Edges
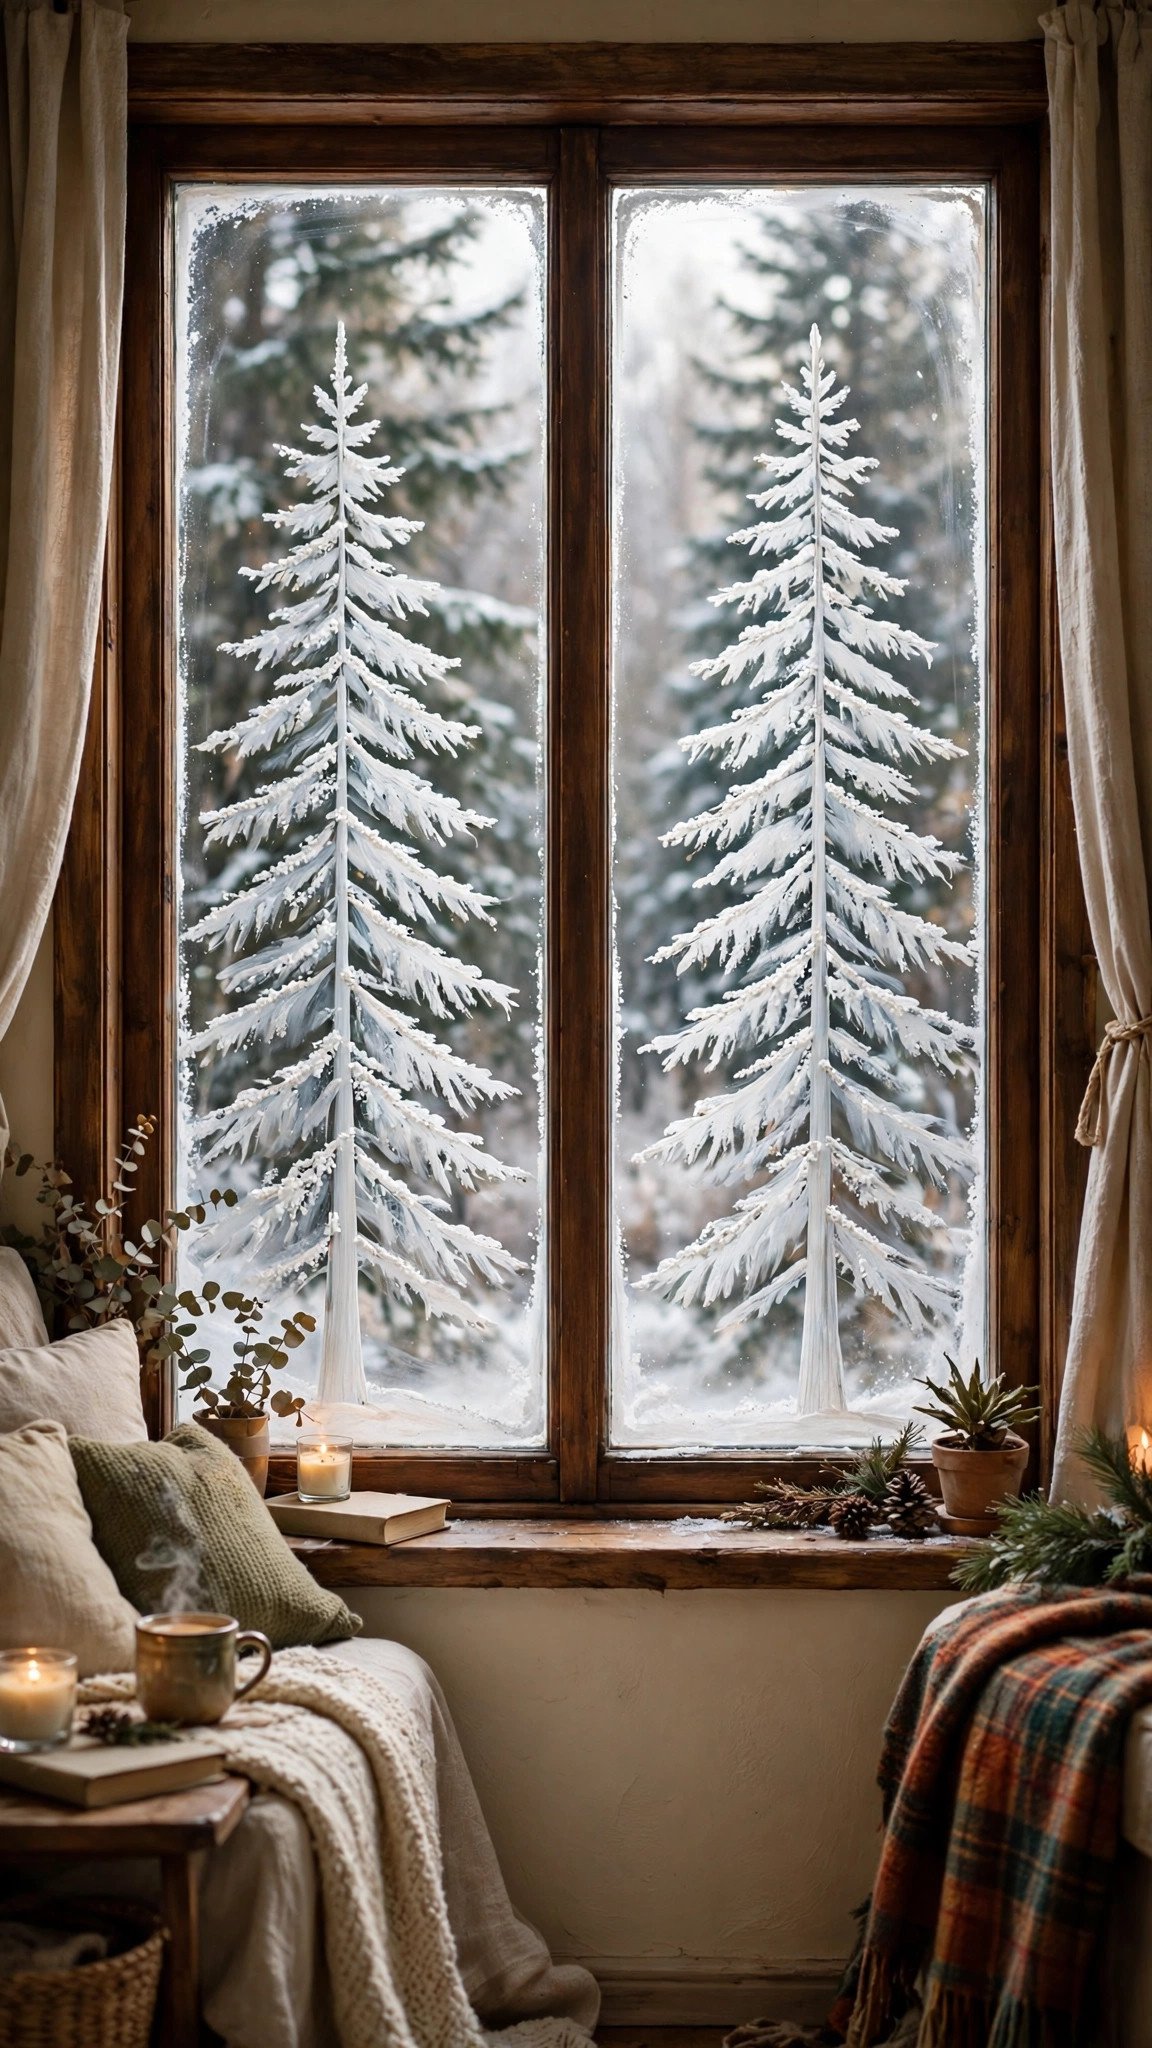
Two tall evergreen trees can carry a whole window on their own. The trees are big green triangles with snowy white edges, and a few ornament dots scattered on them are all the decoration they need. It is a calm, classic design, and it looks good from both inside and outside, day and night.
Paint the two trees as broad triangles, one slightly taller than the other, and leave space between them so the window does not feel crowded. Add the snowy edges with white paint along the branch lines, then dot a few ornaments on once the green has dried — red, gold, and blue, just a handful. A star on top of each tree finishes the design. Because the shapes are so simple, this is a good choice for painting with kids who want to help but cannot draw details yet. This is a low-cost idea, and it suits a living room window best.
- Quick tip: Paint the trees with a wide flat brush, so the edges stay soft and feathery like real pine branches.
12. A Christmas Tree Made of Stars
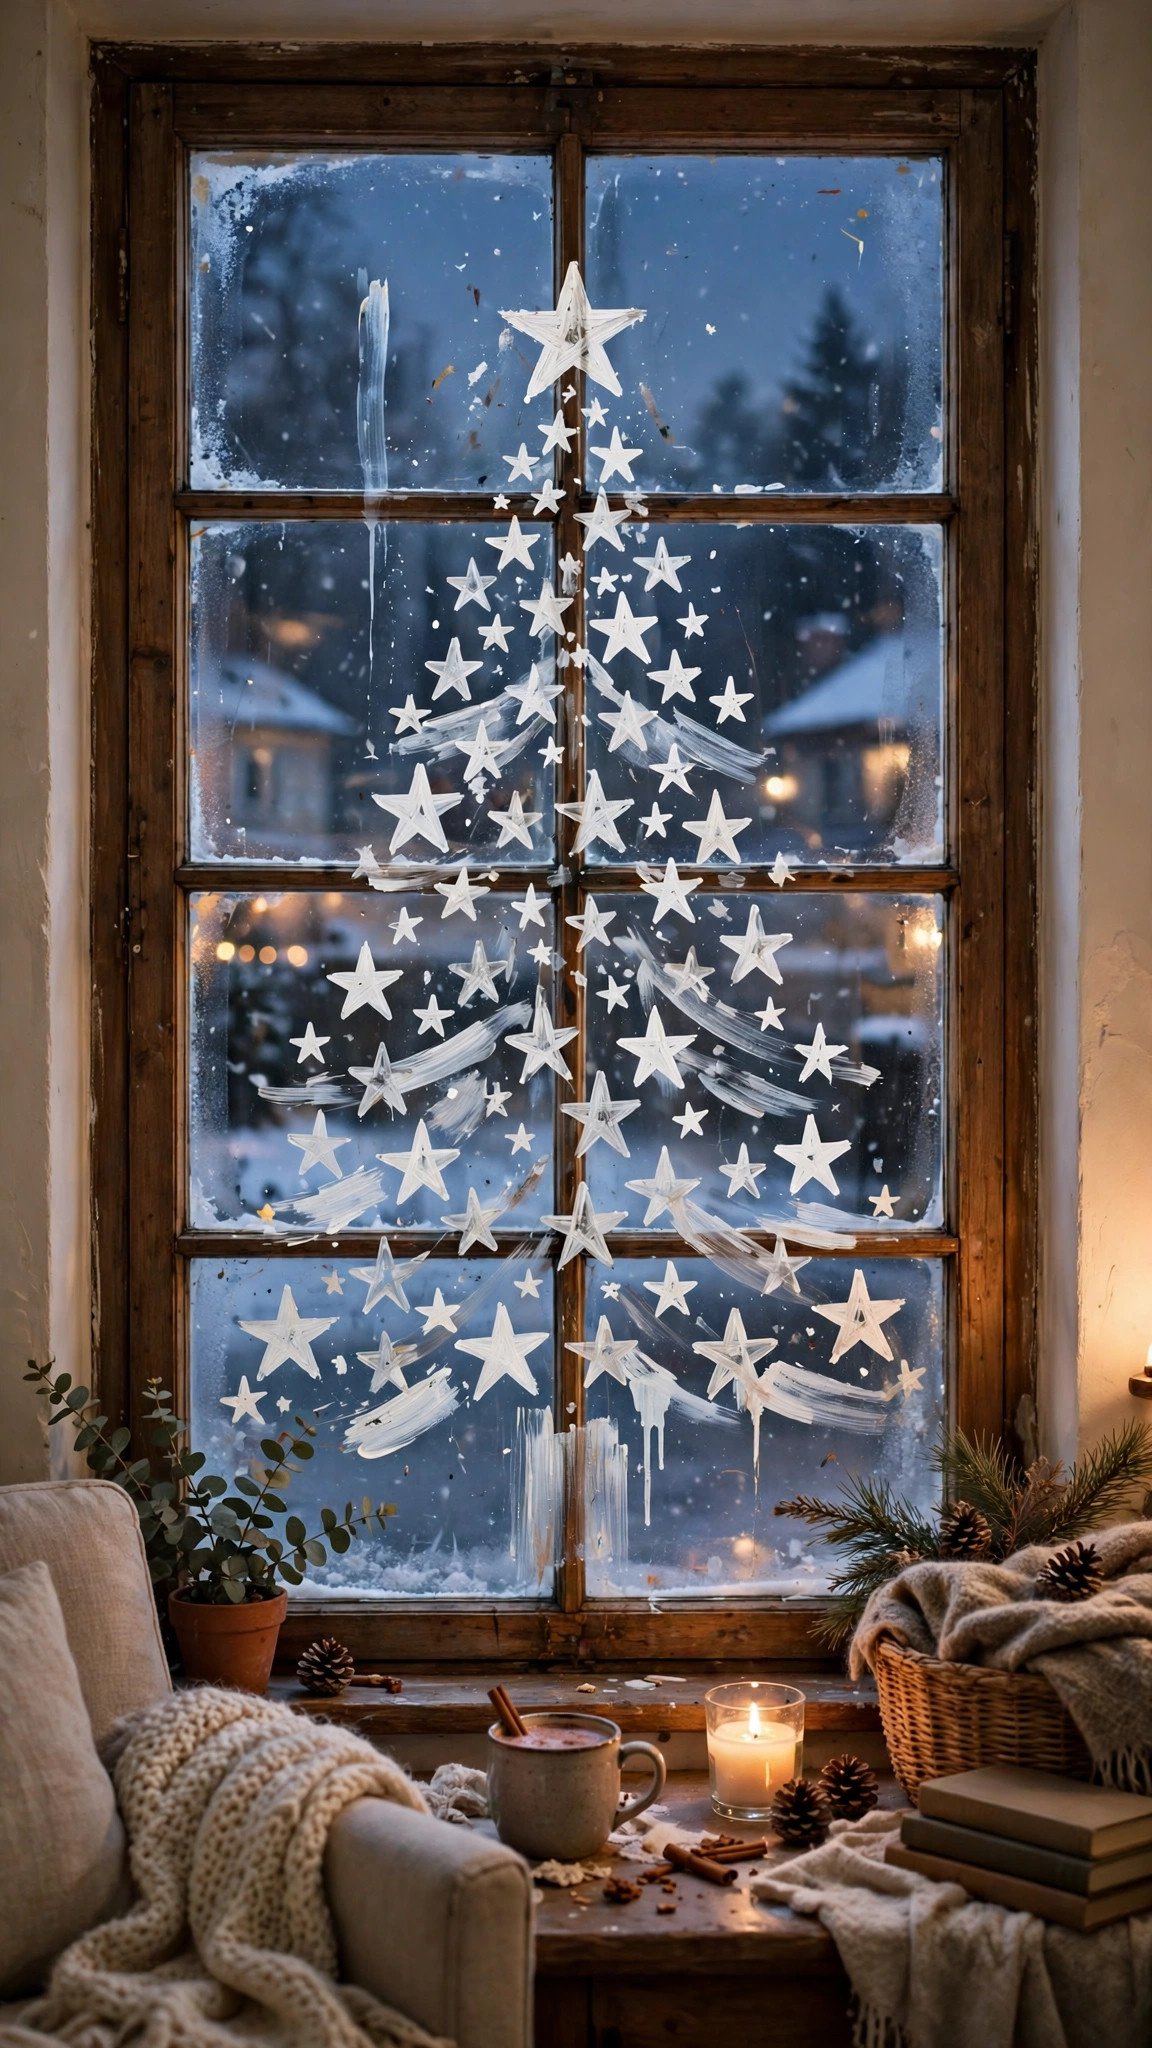
A Christmas tree made of stars is a clever twist on the usual tree. Instead of painting solid green branches, you arrange stars and swirling lines into a tall triangle shape, with a big star on top. From a distance, i t reads as a tree, and up close it is a sky full of stars — two designs in one.
Start with the outer triangle, using a light pencil line or a piece of tape as a guide, then fill the inside with stars of different sizes — white, gold, and pale blue. Add a few swirling lines between the stars to suggest branches, and put the biggest star at the very top. Leave some clear glass around the triangle so the tree shape stays sharp. This design looks best at night, when the room lights make the stars glow. This is a low-cost idea, and it suits a bedroom window best, where the starry tree feels like a night light.
- Quick tip: Use a sponge to stamp the small stars, so they come out round and even without a steady hand.
13. A Reindeer Face With a Red Santa Hat

A reindeer face with a red Santa hat is the cheeriest window for a child’s room. The face is one big brown oval, the antlers spread wide across the top, and the red hat sits at a jaunty angle. It is impossible to look at this window and not smile, and it is easy enough for a beginner to paint in one afternoon.
Paint the face as a large oval in the center of the glass, big enough to read from the street, then add the antlers as branching lines on either side. Give the reindeer a bright red nose — Rudolph, of course — and a red Santa hat tilted to one side. Keep the snow around the face simple, just a few dots, so the face stays the star of the show. This is a low-cost idea, and it suits a child’s bedroom window best.
- Quick tip: Make the antlers wide and bold, because thin antlers disappear from the street — thick lines read from far away.
14. A Doodle Tree Full of Tiny Drawings
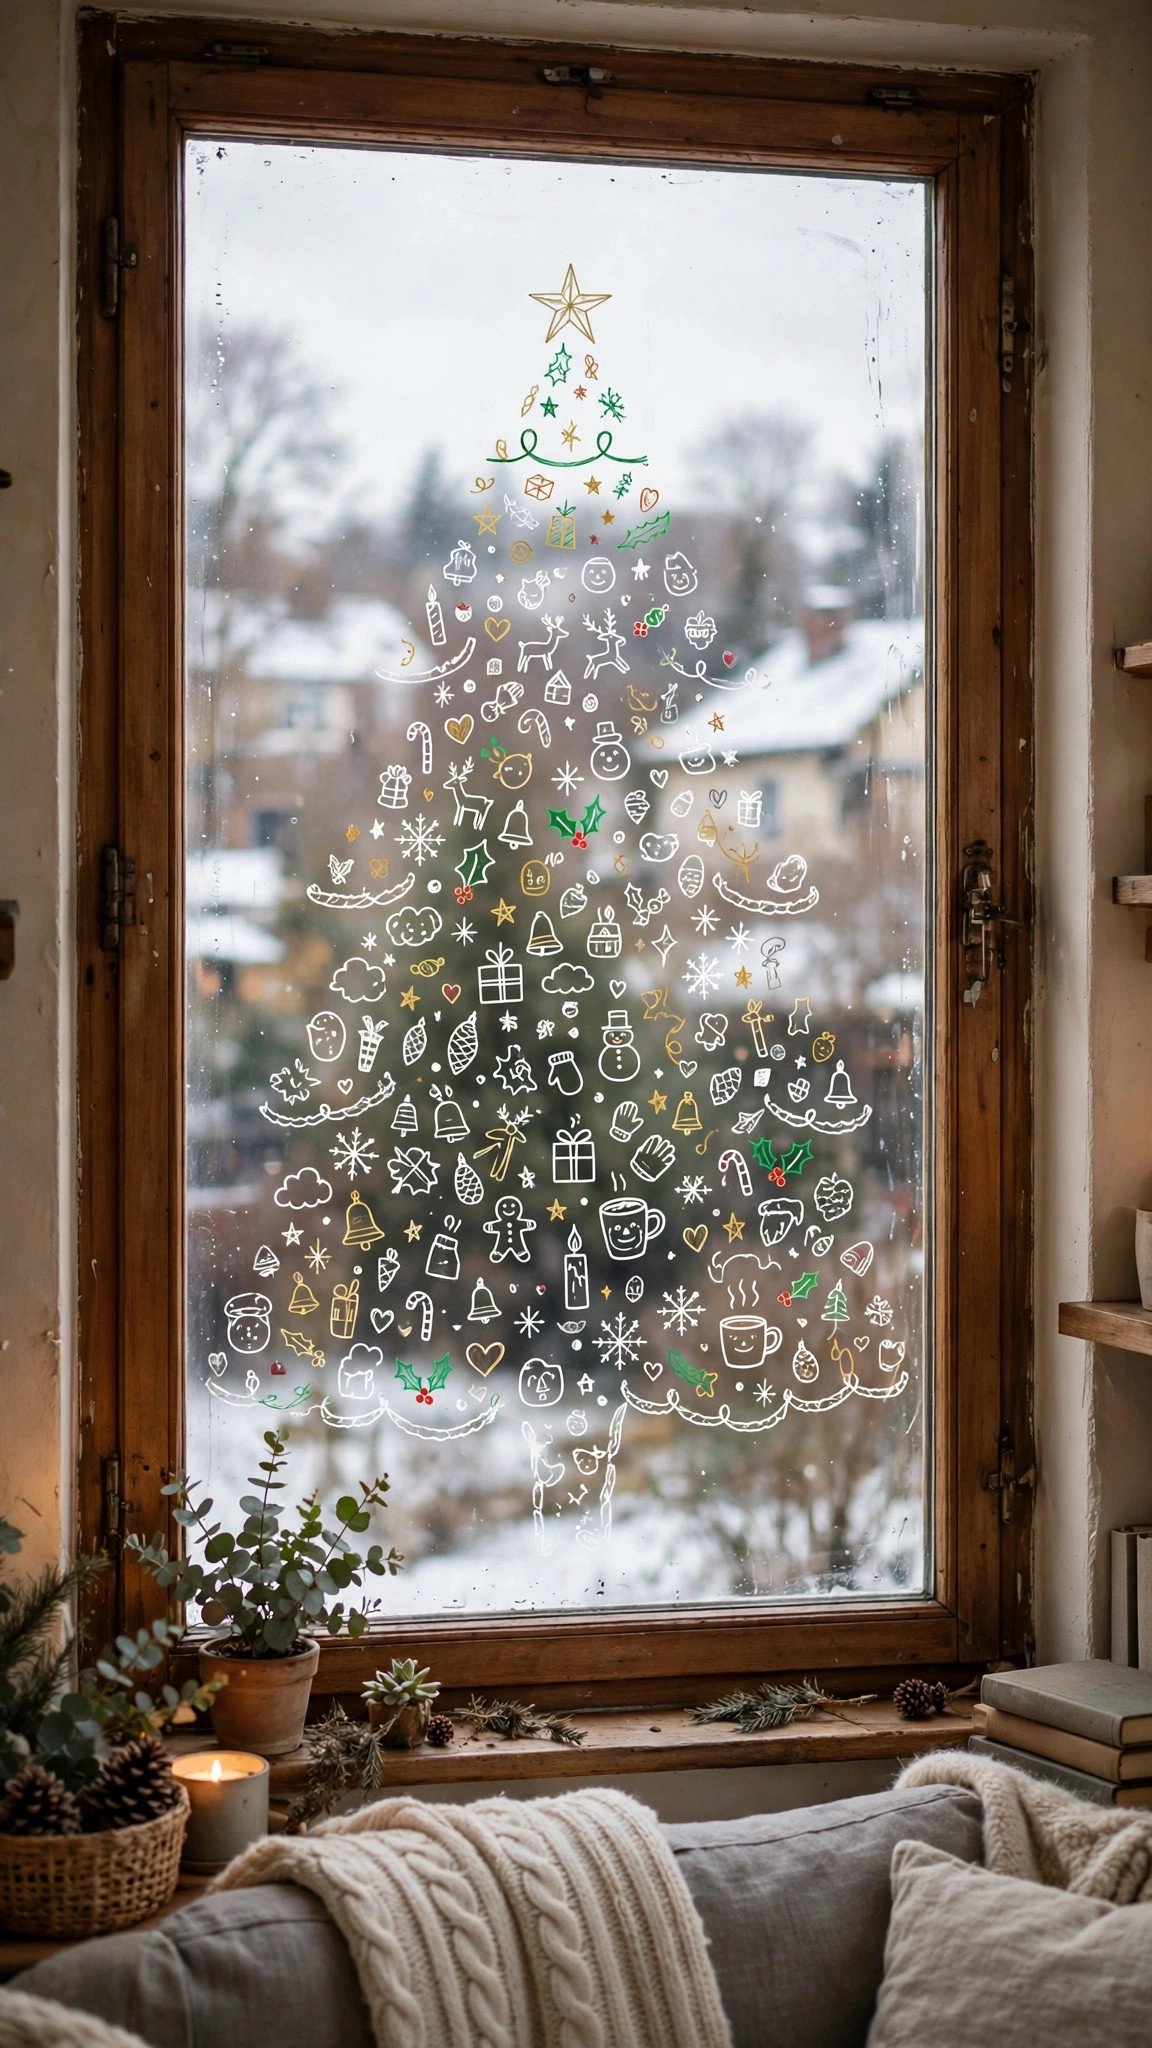
A doodle tree is the window for people who love drawing details. You outline one big tree shape, then fill it with tiny stockings, stars, candles, ornaments, and bows, all drawn in white lines. It looks like a page from a coloring book, blown up to window size, and it is the most personal design on this list.
Outline the tree first, as one large triangle with a trunk, then fill the inside with the doodles — one tiny drawing at a time, working from the top down. Keep the same white line weight for every doodle, so the different drawings feel like one design instead of a jumble. Leave a little clear glass between the doodles so the tree shape stays readable. A white chalk marker is the best tool here, because it draws thin, clean lines on glass. This is a low-cost idea, and it suits a study or craft room window best.
- Quick tip: Sketch the doodles on paper first, so you know they fit inside the tree before you start on the glass.
15. Three Nutcrackers Standing in a Row
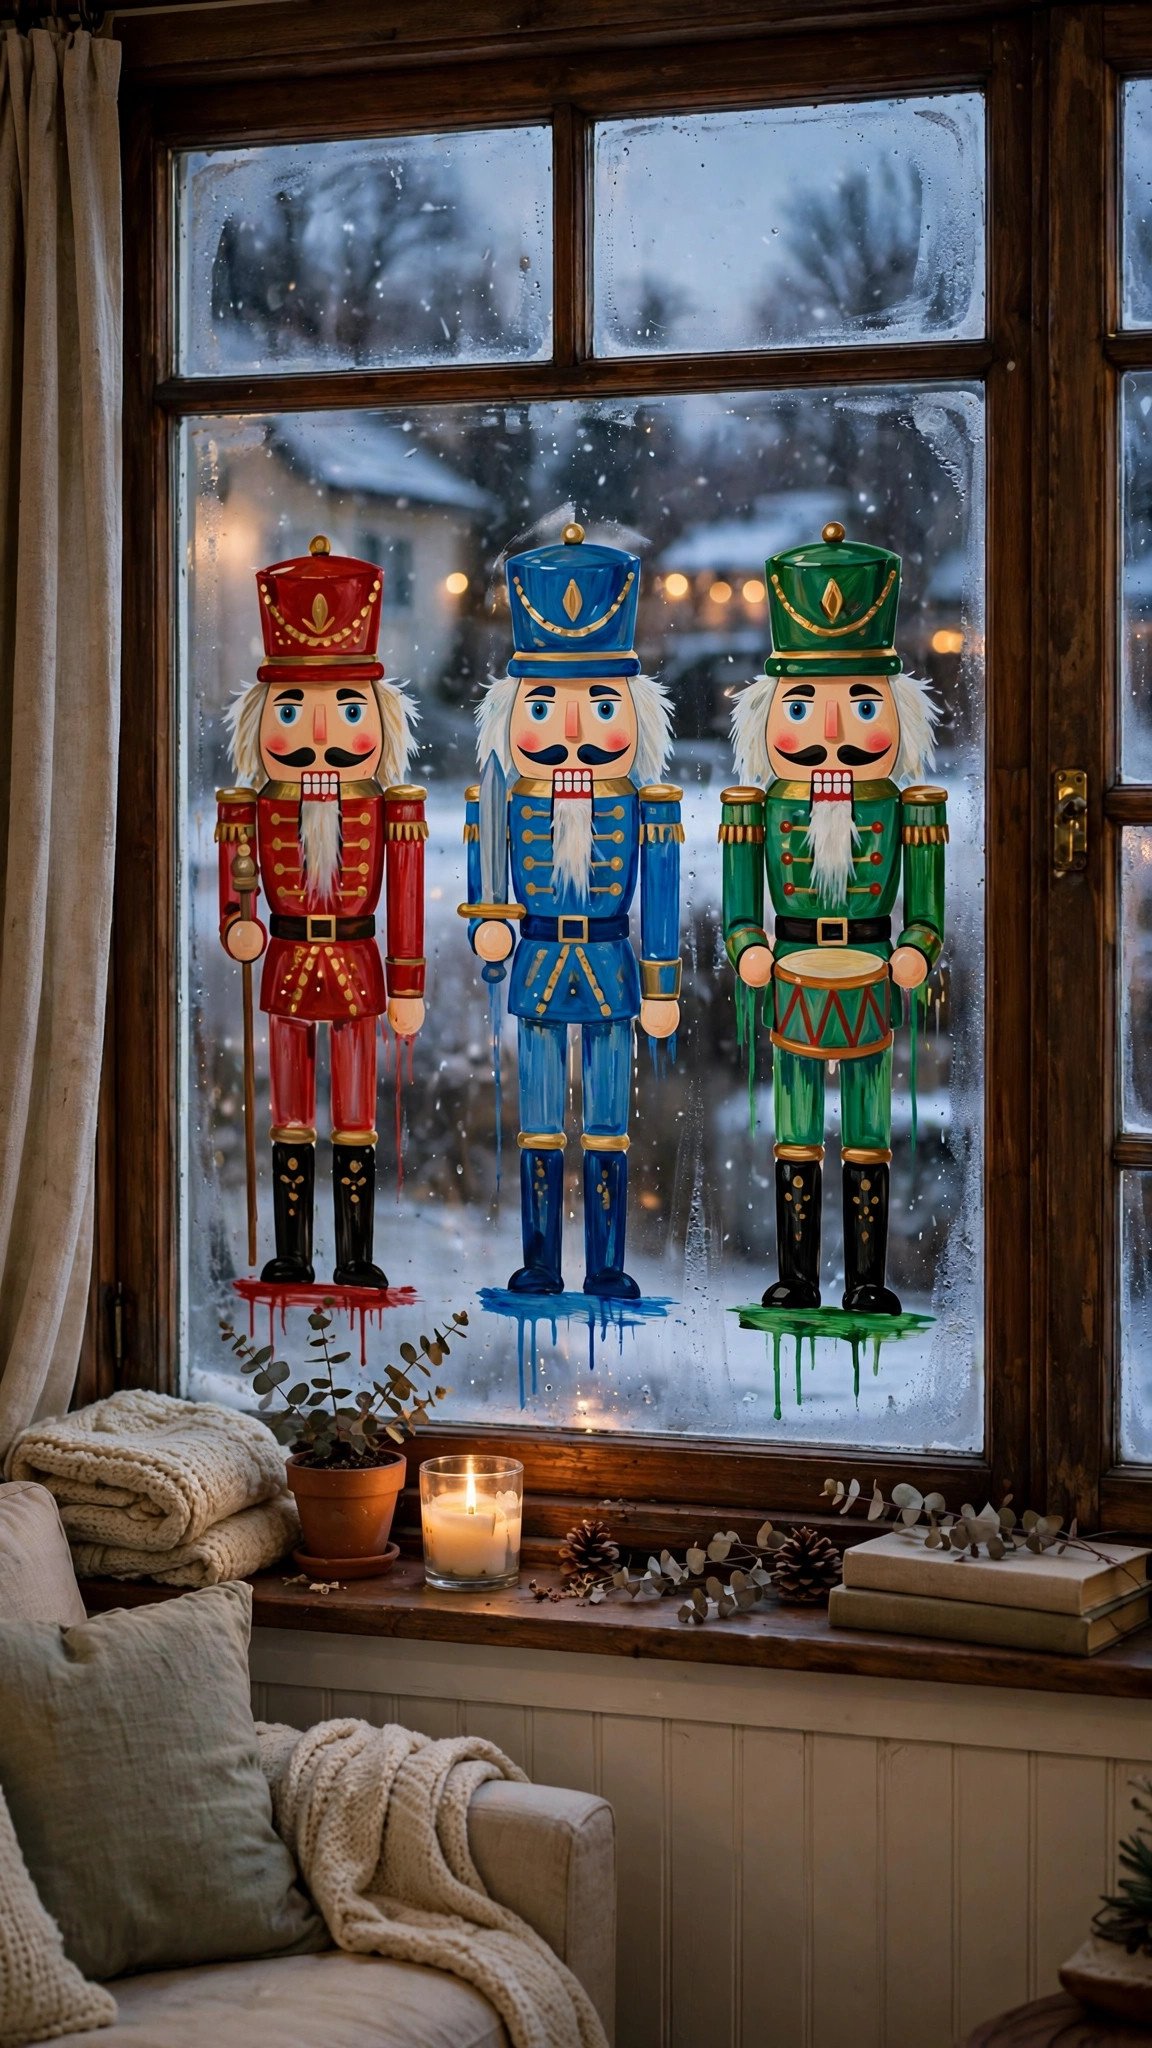
Three nutcrackers standing in a row bring the ballet to your window. Each nutcracker is a tall, straight figure with a big hat, a jacket, and white teeth, and the three together look like toy soldiers guarding the house. It is a bold, colorful design, and it suits a front window where the whole street can see it.
Paint the three figures side by side, using the same shape for each one, then give them different hat and jacket colors — red, green, and blue — so the group feels coordinated but not identical. Keep the faces simple: two dots for eyes, a straight line for a mouth, and a row of white teeth. Add a few snowflakes between the figures, and a thin strip of fake snow along the bottom. This is a low-cost idea, and it suits a front window best.
- Quick tip: Paint the hats and jackets first, then add the faces last, when the paint is dry, so the small details stay sharp.
16. A Snow Globe Surrounded by Big Ornaments
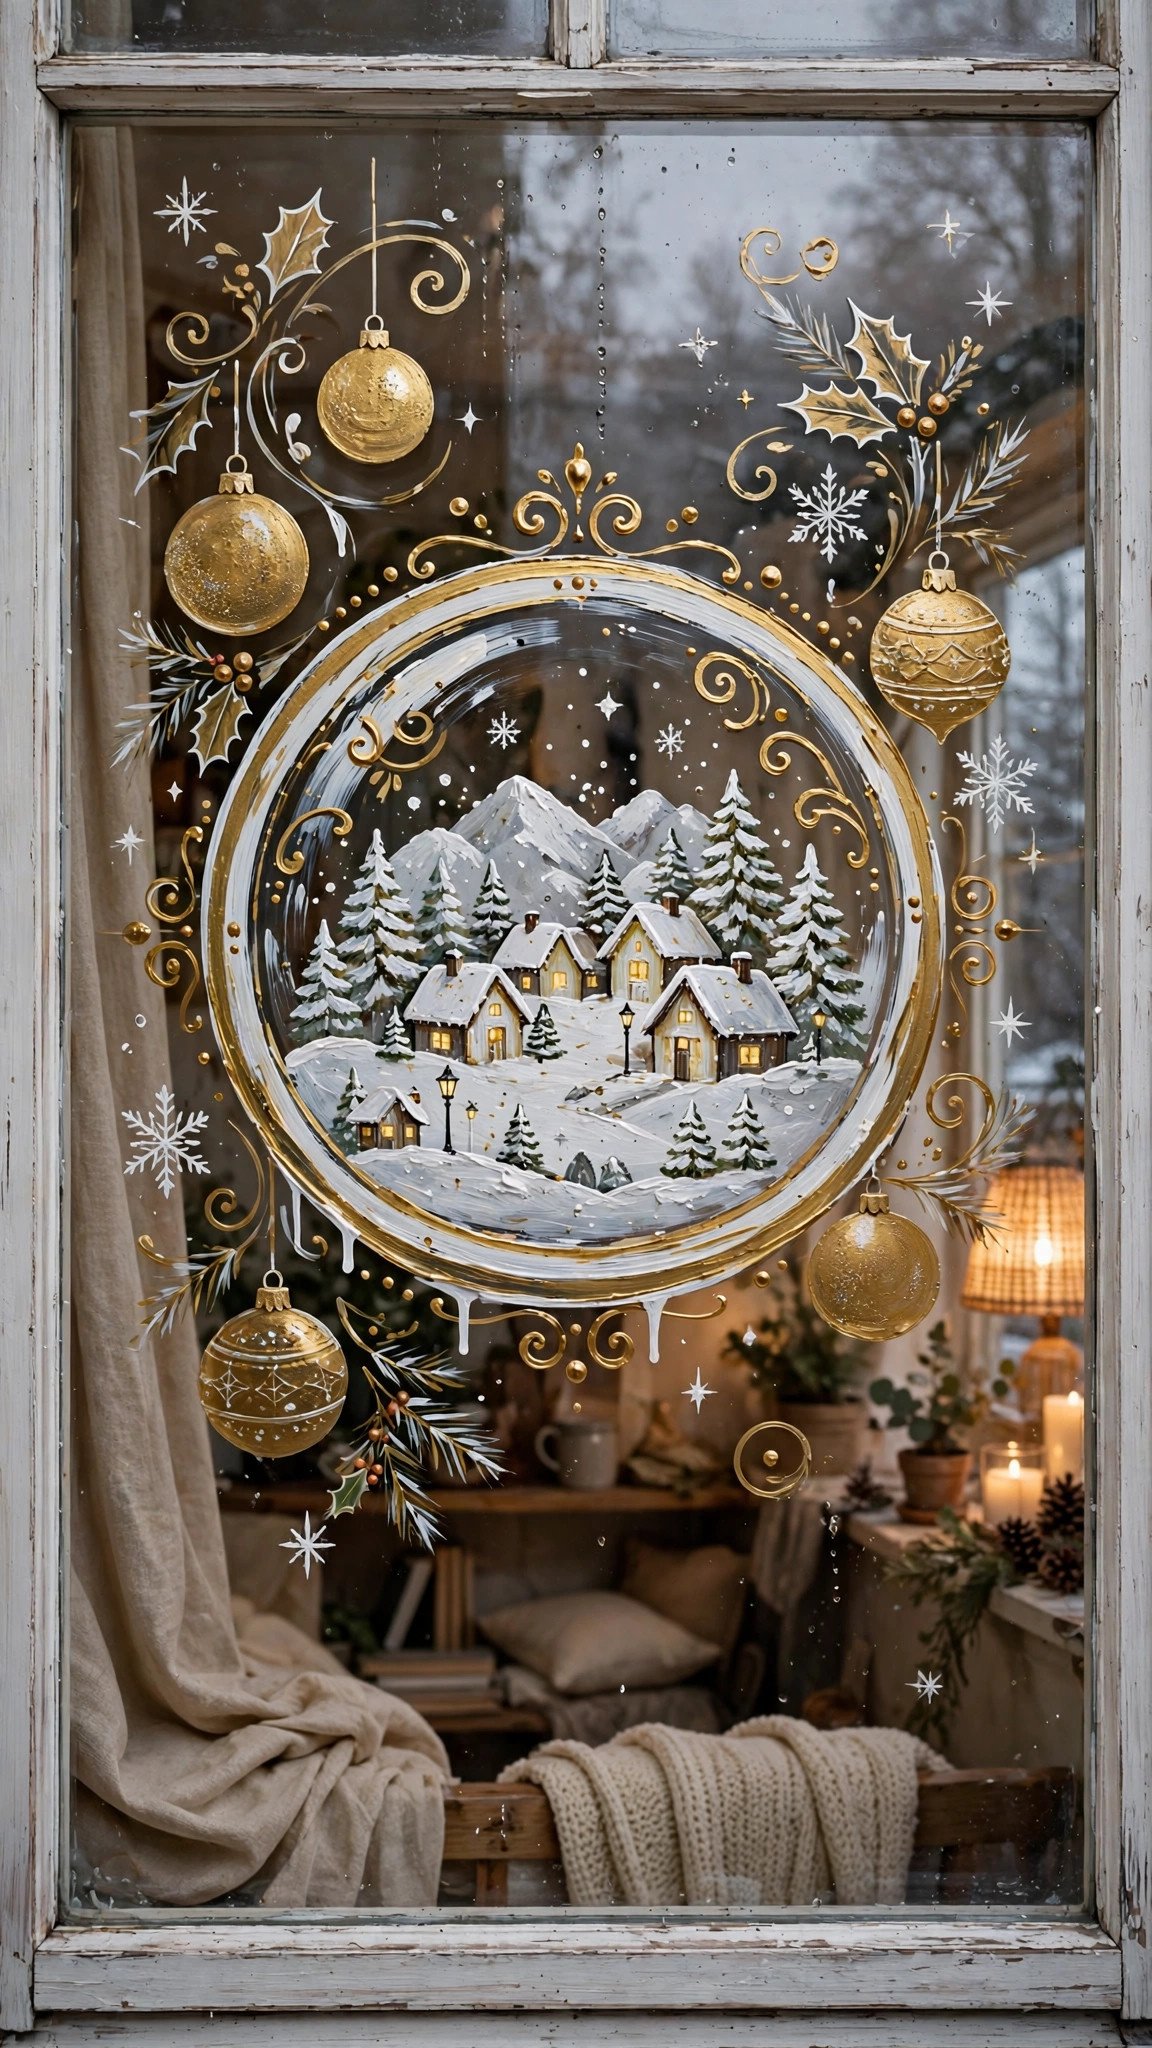
A snow globe surrounded by big ornaments is the boldest window on this list. The snow globe is a huge circle in the center of the glass, with a tiny snowy tree and house inside it, and oversized red and green ornaments frame it on both sides. It is the design people photograph from the sidewalk, and it turns a plain window into a shop display.
Paint the snow globe as one large circle, then add the little scene inside it — a small tree, a tiny house, and white dots for falling snow. Then paint the big ornaments around it, as circles at least a foot wide, in red and green, with caps and ribbons at the top. Keep the rest of the glass fairly clear so the globe stays the center of attention. This is a low-cost idea, and it suits a big front window or a storefront best.
- Quick tip: Paint the globe’s base last, as a small stand under the circle, so the globe looks like it is sitting on the sill.
17. A North Pole Signpost to Santa’s Workshop

A North Pole signpost turns a window into a storybook page. A wooden signpost stands in the middle of the glass, with arrows pointing toward Santa’s Workshop, Elf Village, and the North Pole, and candy canes and evergreen trees cluster around the bottom. It is a sweet, old-fashioned design, and it makes visitors smile before they even reach the door.
Paint the signpost first, as a tall post with three or four arrow signs pointing in different directions, and letter each sign in bold, readable letters. Then add the candy canes and small evergreen trees around the base, and a few snow dots in the open space. Check from outside that the words read the right way round — if you paint from inside, flip the letters. This is a low-cost idea, and it suits a front door window or an entryway pane best.
- Quick tip: Letter the signs with a chalk marker, not a brush, so the words come out clean and easy to read.
18. Giant Candy Canes With Falling Snow
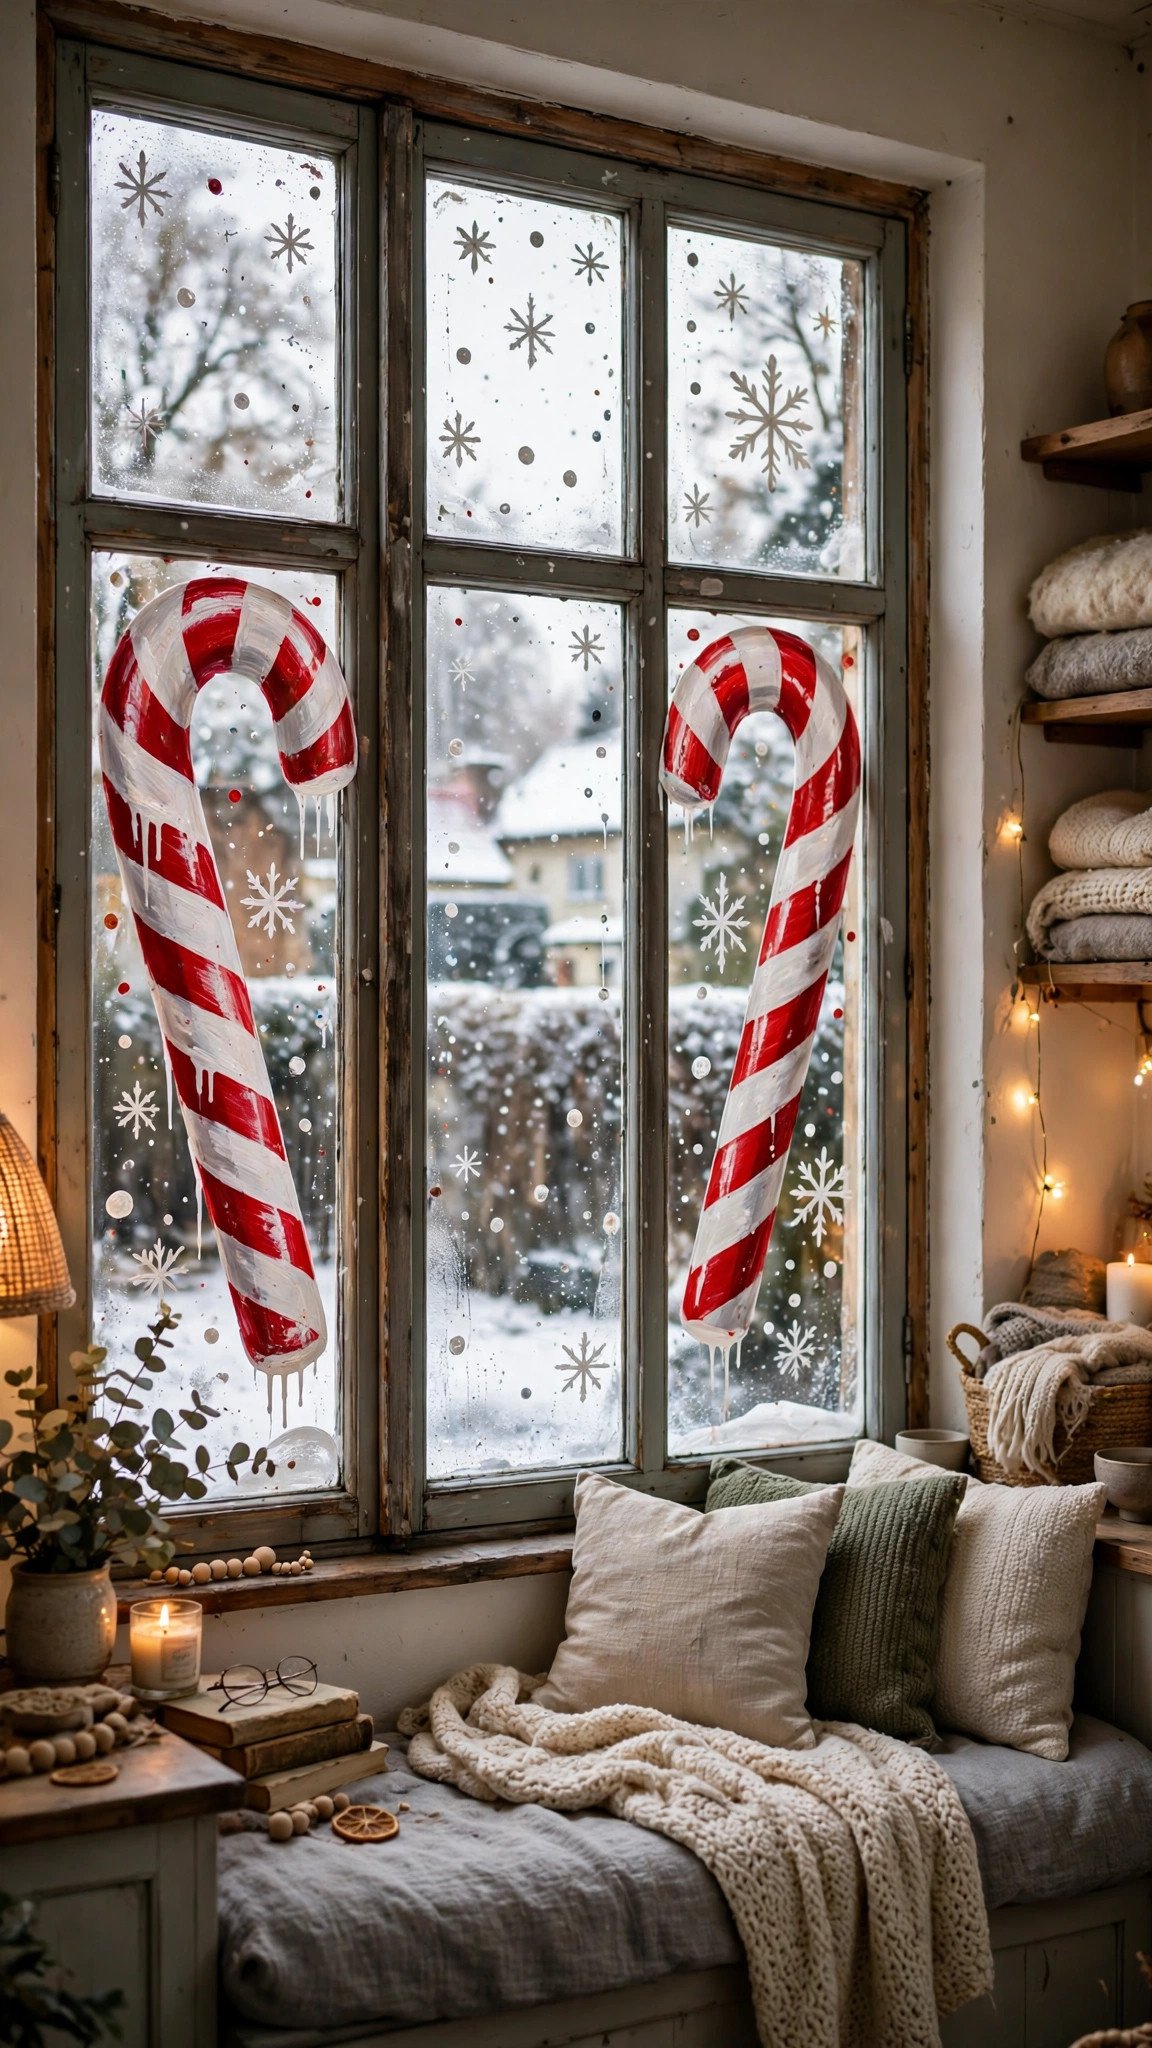
Giant candy canes are the easiest big statement you can paint on a window. Two oversized candy canes, taller than a person, lean against each other in the middle of the glass, with snow falling around them. They are much easier to see from the street than a dozen tiny ones, and they take less than an hour to paint.
Outline the two canes first, as tall curved hooks, then fill them with red stripes, leaving white gaps between the stripes. Scatter snow dots around them — big flakes near the canes, smaller dots toward the edges — and add a red bow where the two canes cross. Because the shapes are so big and simple, this is a great choice for a first window painting with kids. This is a low-cost idea, and it suits a big front window best.
- Quick tip: Use painter’s tape to mask the white stripes, so the red stripes come out straight and even.
Which Christmas Window Painting Idea Fits Your Window?
The right idea depends on your window size, your skill, and who will see it. A small window suits a single wreath, a reindeer face, or hanging ornaments — one big shape, not a whole scene. A big front window suits a village, a sleigh scene, or a snow globe, because there is room for a story. A tall, narrow window suits stacked snowmen or a tall tree, because the design uses the height.
Your skill matters too. If you have never painted a window, start with ornaments, candy canes, or a snowflake border — big shapes, no details, and mistakes wipe off easily. If you enjoy drawing, try the doodle tree or the clock tower village, where the details are the fun. And if kids are helping, pick gnomes, penguins, or the gingerbread house — designs where wobbly lines only add charm.
Plan Your Christmas Window Painting in 4 Simple Steps
Step 1: Pick your window and your design. Choose one window, one palette, and one design — a window you actually look through, not the biggest one in the house. A clear plan keeps the project fun instead of overwhelming.
Step 2: Clean the glass and gather washable supplies. Wash the window, dry it, and lay down an old sheet on the sill and floor. Use washable window paint or chalk markers, and test a small spot first, especially on tinted or coated glass.
Step 3: Sketch big shapes first, then add details. Tape a paper sketch behind the glass if it helps, and paint the large shapes before the small ones. Leave some clear glass around the art so the window still feels bright and the room stays light.
Step 4: Step back, check both sides, and let it dry. Look at the window from inside and from outside, and fix anything that looks wrong while the paint is still damp. Once it is dry, enjoy it all December — and wipe it off with warm soapy water in January.
Christmas Window Painting Mistakes to Avoid
The most common mistake is covering the whole window. A painted window should still be a window — if you fill every inch, the room goes dark, and the design looks crowded. Leave clear glass around the art, and let the light do half the work.
Do not use permanent paint on a window you plan to clean in January. Acrylic and glass paint are much harder to remove than washable tempera or chalk markers, and they can damage coated or tinted glass. Always test a small spot first, and never paint in direct sun, because the paint dries too fast and leaves streaks. And do not paint words from the inside without checking them from outside — backwards lettering is the one mistake everyone notices.
FAQS
What paint is best for Christmas window painting?
Washable window paint or washable chalk markers are best for Christmas window painting. They are made for glass, they come off with water, and they are safe for kids. Use washable tempera for big filled areas and chalk markers for outlines and lettering.
Can I use acrylic paint on windows?
You can, but acrylic paint is much harder to remove from windows than washable paint. It can dry permanently and may damage coated or tinted glass. If easy cleanup matters, choose washable window paint or chalk markers instead.
How do I remove window paint after Christmas?
Wipe washable window paint off with warm soapy water and a sponge, then dry the glass with a cloth or squeegee. Chalk markers wipe off with a damp cloth. Always test your cleanup method on a small spot first.
What is the easiest Christmas window painting idea for beginners?
Hanging ornaments, giant candy canes, and a snowflake border are the easiest Christmas window painting ideas for beginners. They use only straight lines, circles, and dots, so they are hard to get wrong and look finished fast.
Can kids paint windows safely?
Yes, kids can paint windows safely with washable, non-toxic window paint or chalk markers. Supervise young children, protect the floor below the window, and keep them off furniture and ladders when reaching high glass.
How do you paint words on a window so they read correctly?
Tape a printed copy of the words behind the glass and trace them from the inside, or paint the words backwards on purpose so they read correctly from outside. Always step outside to check the lettering before the paint dries.
Will window paint damage tinted or coated glass?
Window paint can damage tinted or coated glass, so always test a small hidden spot first and read the paint label. Some washable markers should not be used on glass with UV film or fog-free coatings — check the manufacturer’s instructions before painting.
Conclusion
A painted Christmas window does not need skill, money, or a whole weekend. It needs one window, washable paint, and a design with big, simple shapes. Start with hanging ornaments or candy canes, and let the window grow into a village or a sleigh scene next year.
The best window is the one that makes your family smile every time they pass it. When the snowflakes catch the evening light, and the reindeer grins from the glass, the whole house feels like Christmas. Pick one idea from this list, paint it this weekend, and let your window do the decorating.