17 DIY Backyard Playground Ideas Kids Will Love (Budget-Friendly Builds)
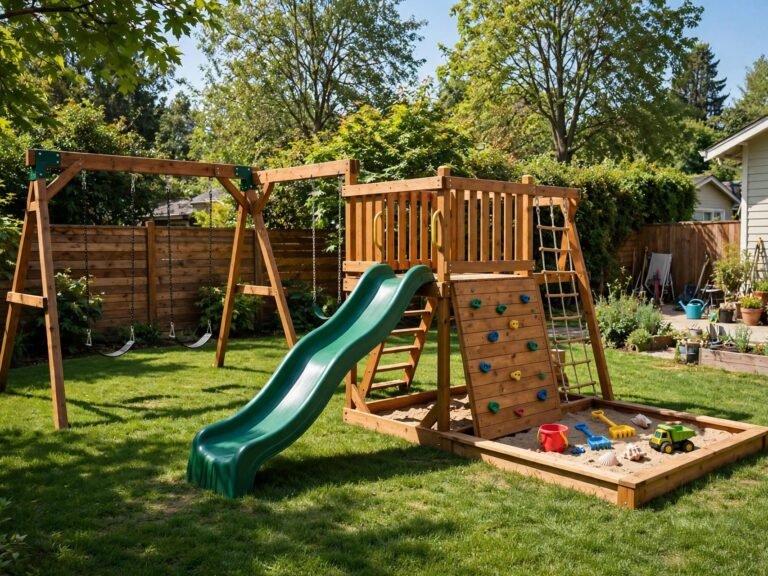
A backyard playground gives kids a fun place to climb, explore, create, and burn off energy without leaving home. You don’t need an expensive playset or a huge garden to make it happen. With a little creativity, some basic materials, and a few weekend projects, you can turn an ordinary outdoor space into a fun play area.
These 17 DIY backyard playground ideas include everything from simple balance beams and homemade sandboxes to creative mud kitchens, climbing features, and outdoor activity stations. Some projects use affordable materials you may already have, while others require a little more planning and construction.
Whether you have a small backyard or plenty of room to experiment, you’ll find ideas that suit different spaces, budgets, and ages. Each project also includes useful material suggestions and safety considerations to help you plan a play area your children can enjoy.
Quick Answer: The 5 Best DIY Backyard Playground Builds to Start With
If you’re not sure where to begin, start with a project that matches your available space, budget, and DIY experience.
- Wooden Balance Beam: A simple ground-level activity that encourages balance and coordination.
- DIY Sandbox: An inviting play area where younger children can dig, build, and explore.
- Pallet Mud Kitchen: A creative outdoor station for imaginative cooking and messy play.
- Painted Rock Hunt: An inexpensive activity that turns an ordinary backyard into a treasure hunt.
- Outdoor Building Station: A dedicated space for blocks, creative projects, and hands-on activities.
These smaller projects are easier to plan than a complete playground. You can add more features gradually as your children grow and their interests change.
1. A DIY A-Frame Swing Set
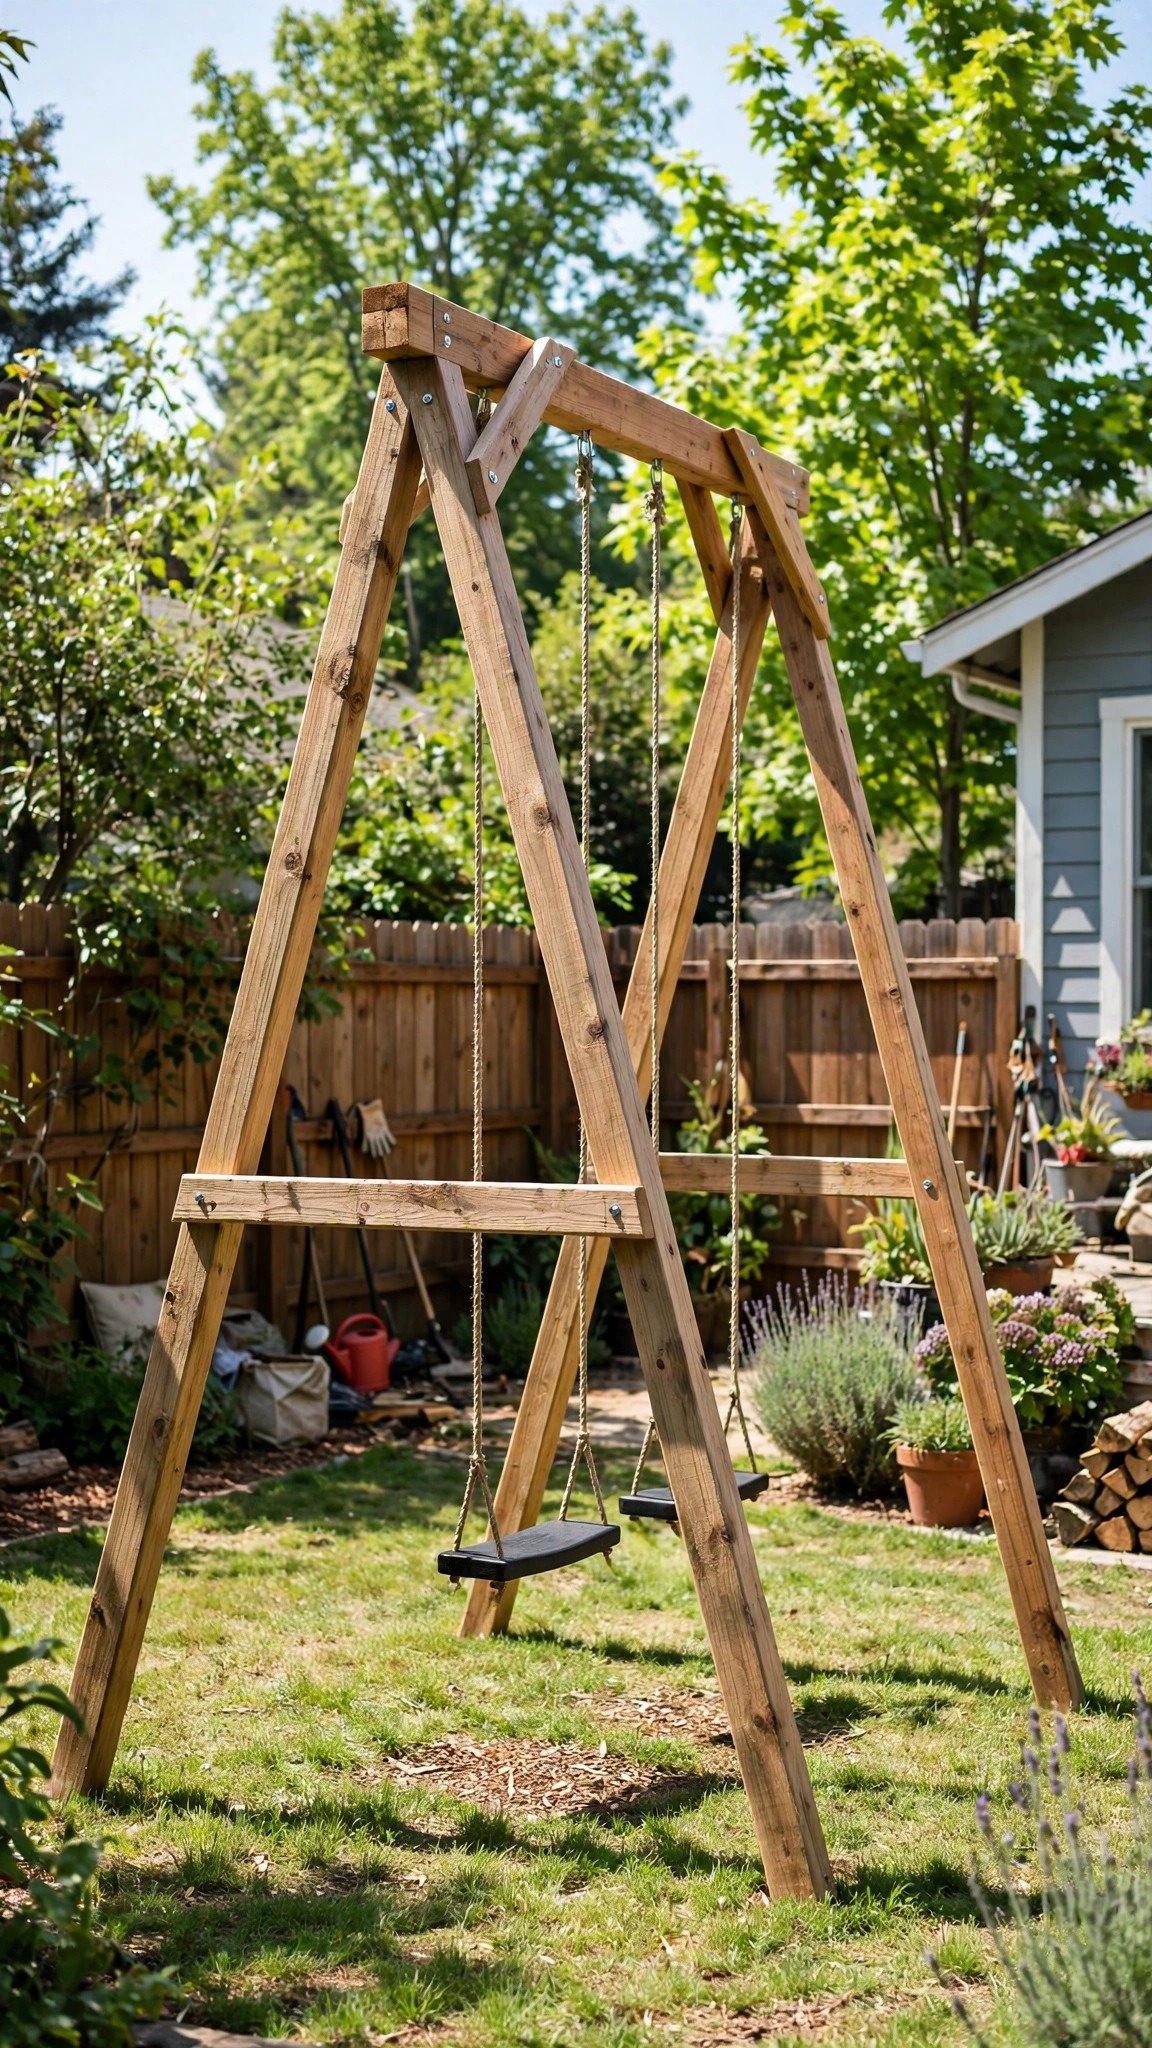
An A-frame swing set can become the main attraction in a backyard playground. Its traditional design features two angled support frames connected by a strong horizontal beam, with swings hanging from the top.
You can customize the design with one or two seats, depending on your available space. Wooden frames also blend nicely into cottage-style gardens and natural backyard landscapes.
Choose outdoor-rated structural timber and properly rated swing hardware designed for the intended load. The frame needs suitable ground anchoring and a stable foundation. Keep the surrounding area clear and install appropriate impact-absorbing surfacing beneath and around the swings.
Materials to consider: Structural outdoor timber, rated swing hangers, compatible swing seats, approved fasteners, ground anchors, and suitable playground surfacing.
2. A Tire Swing From a Strong Branch
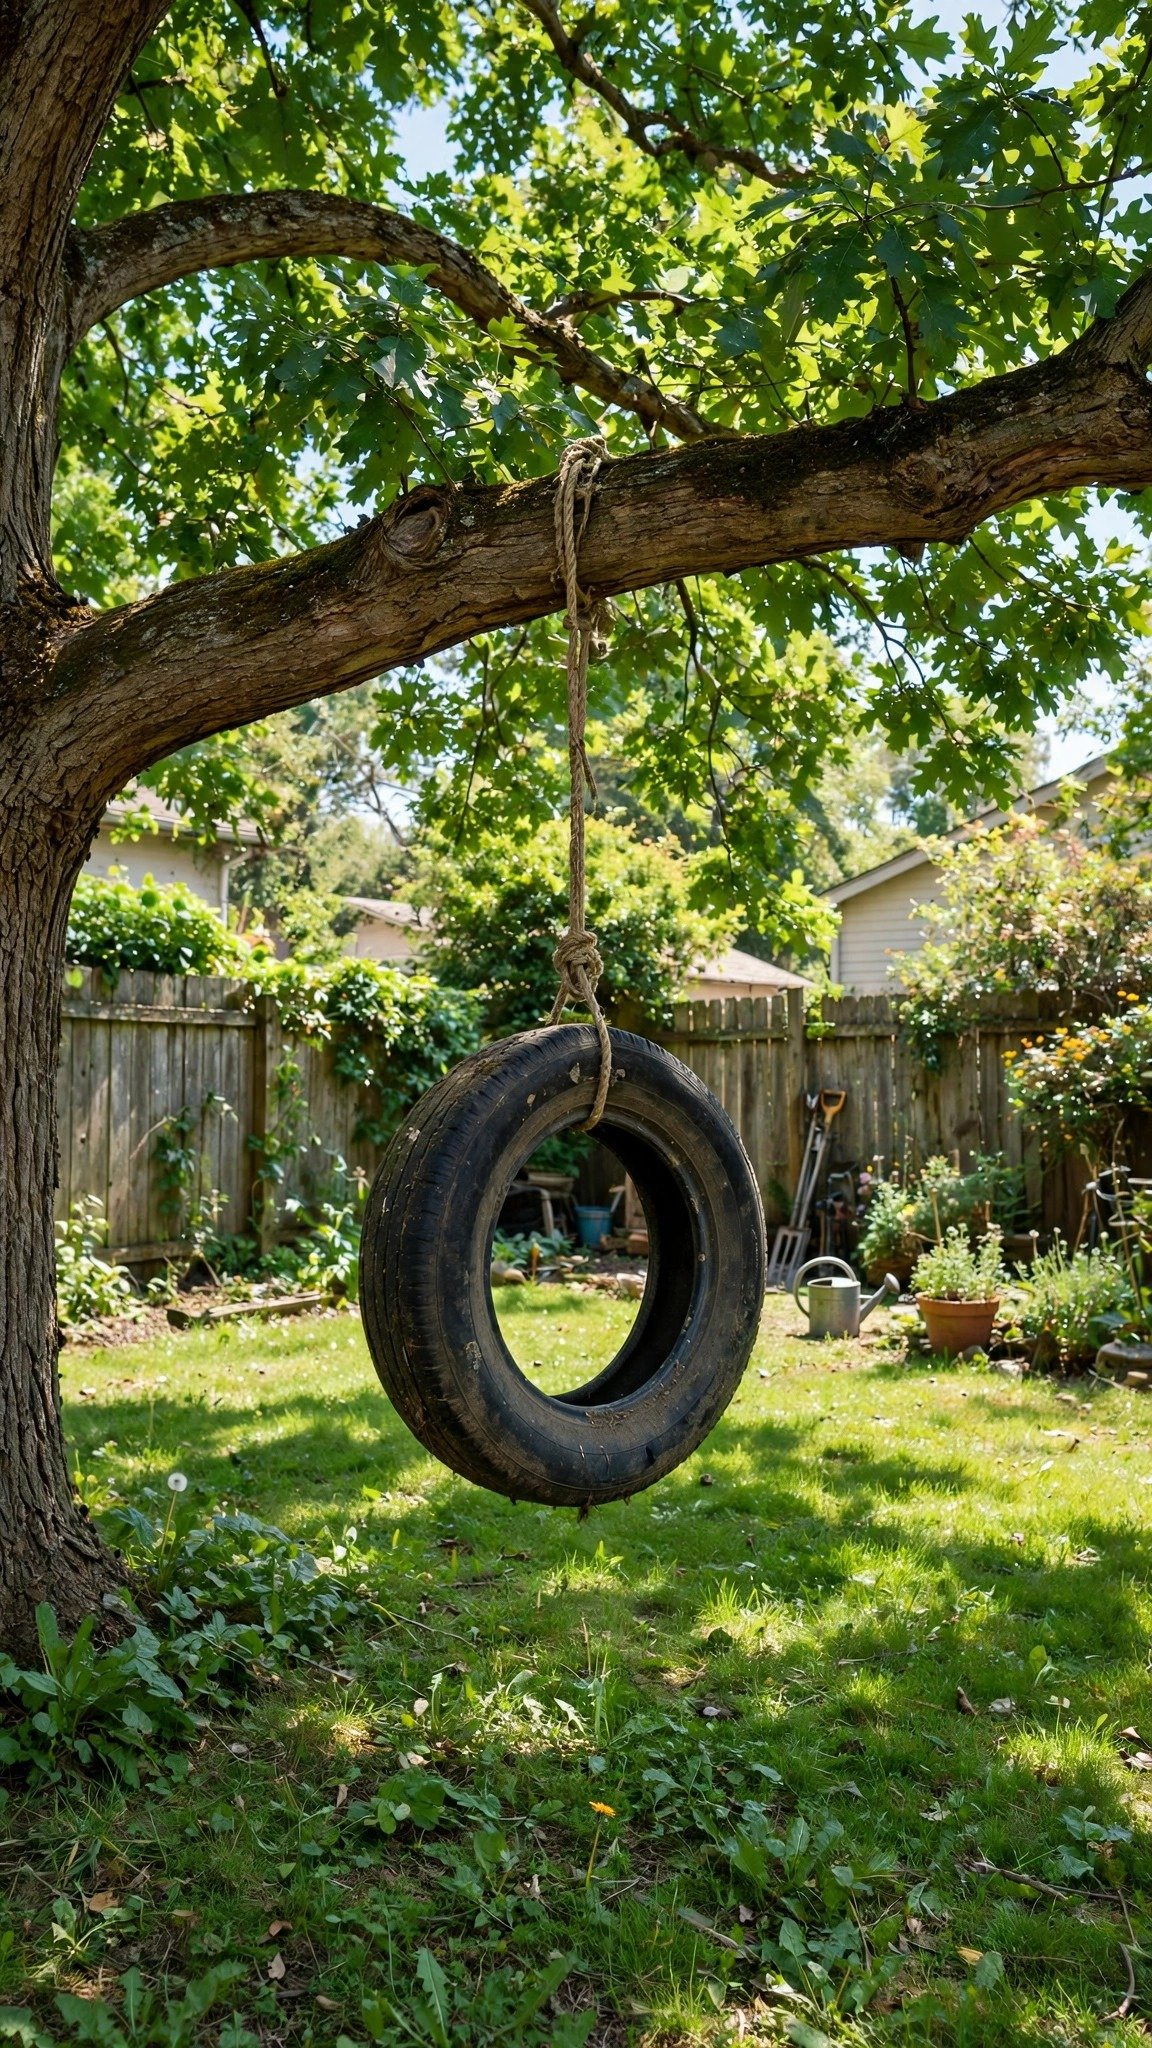
A tire swing adds a nostalgic touch to an outdoor play area. It can be an attractive alternative to a traditional swing set, especially when you want to reuse an old tire.
You can hang a properly prepared tire from a suitable support using a purpose-designed swing attachment. Horizontal tire swings offer a different experience from traditional vertical designs, giving children another way to enjoy outdoor play.
However, don’t assume an ordinary tree branch can support a swing. A qualified person should assess the tree, branch, attachment, and surrounding clearance before installation. Use equipment specifically designed for outdoor swings, and make sure the tire drains properly so rainwater doesn’t collect inside.
Materials to consider: A suitable tire, purpose-designed swing hardware, approved support system, drainage equipment, and impact-absorbing ground cover.
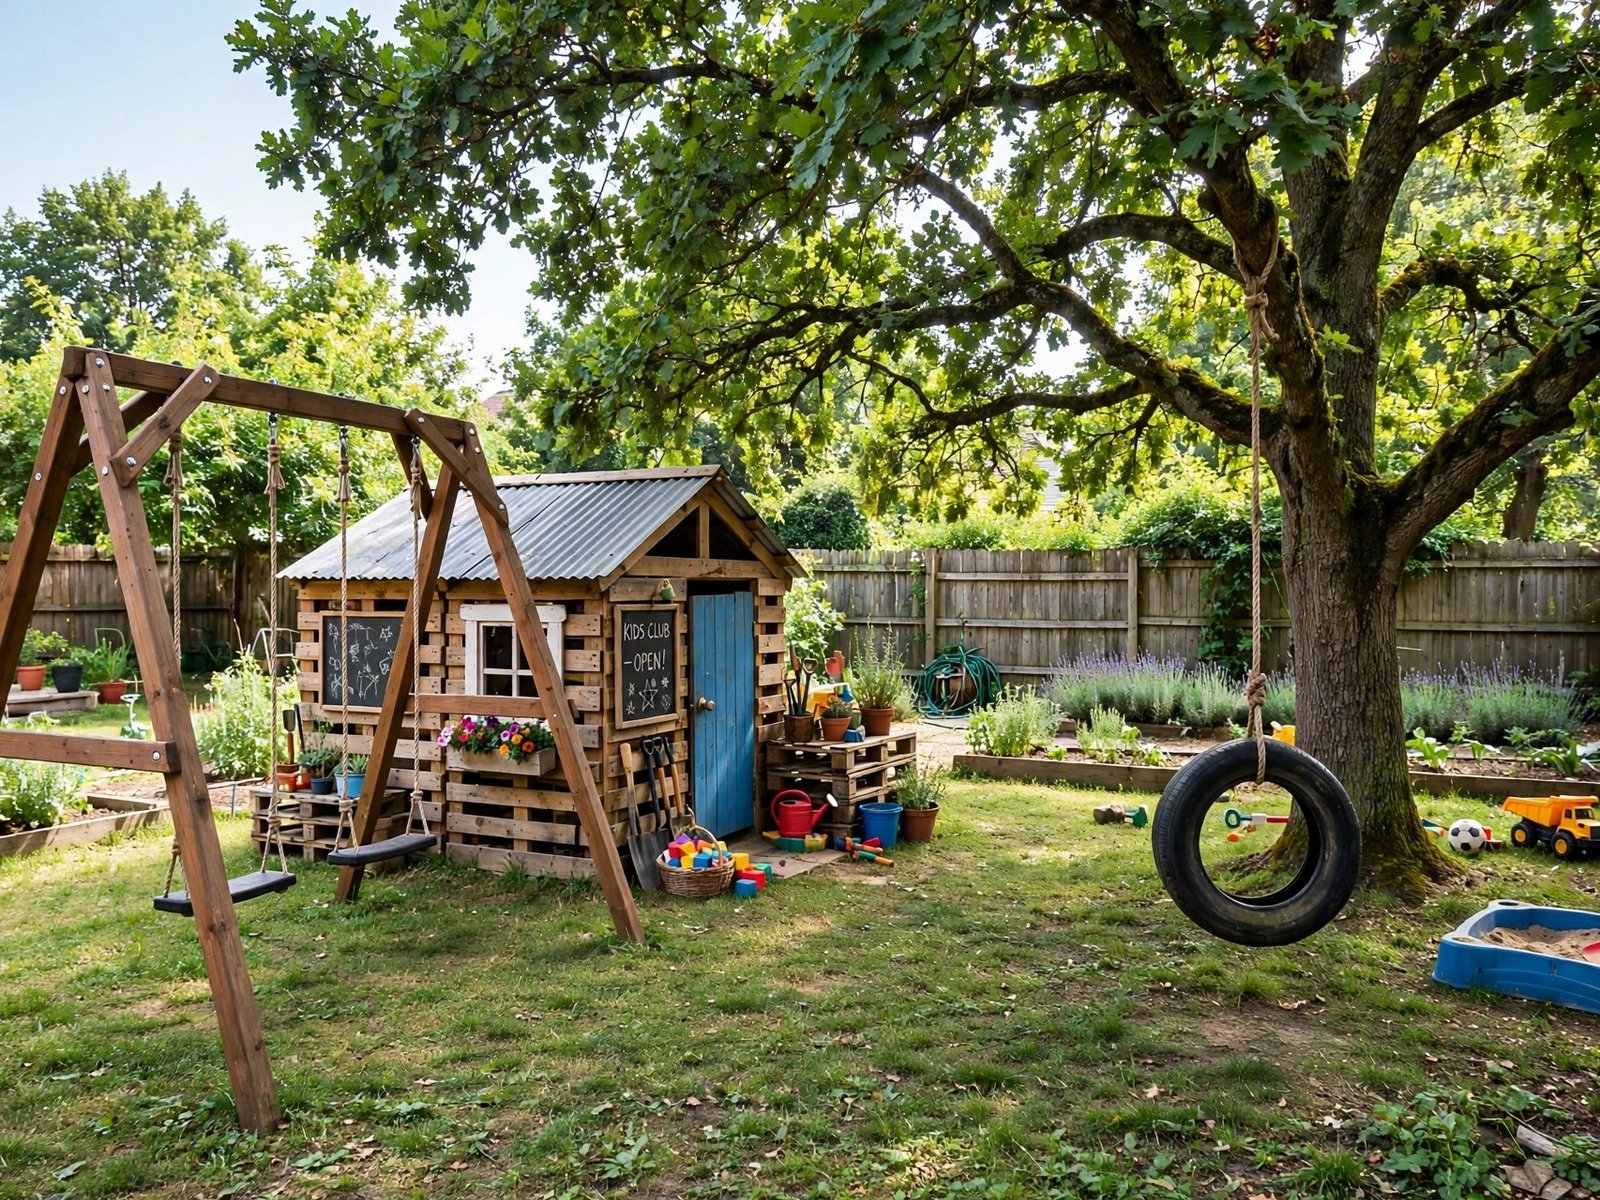
3. A Pallet Playhouse
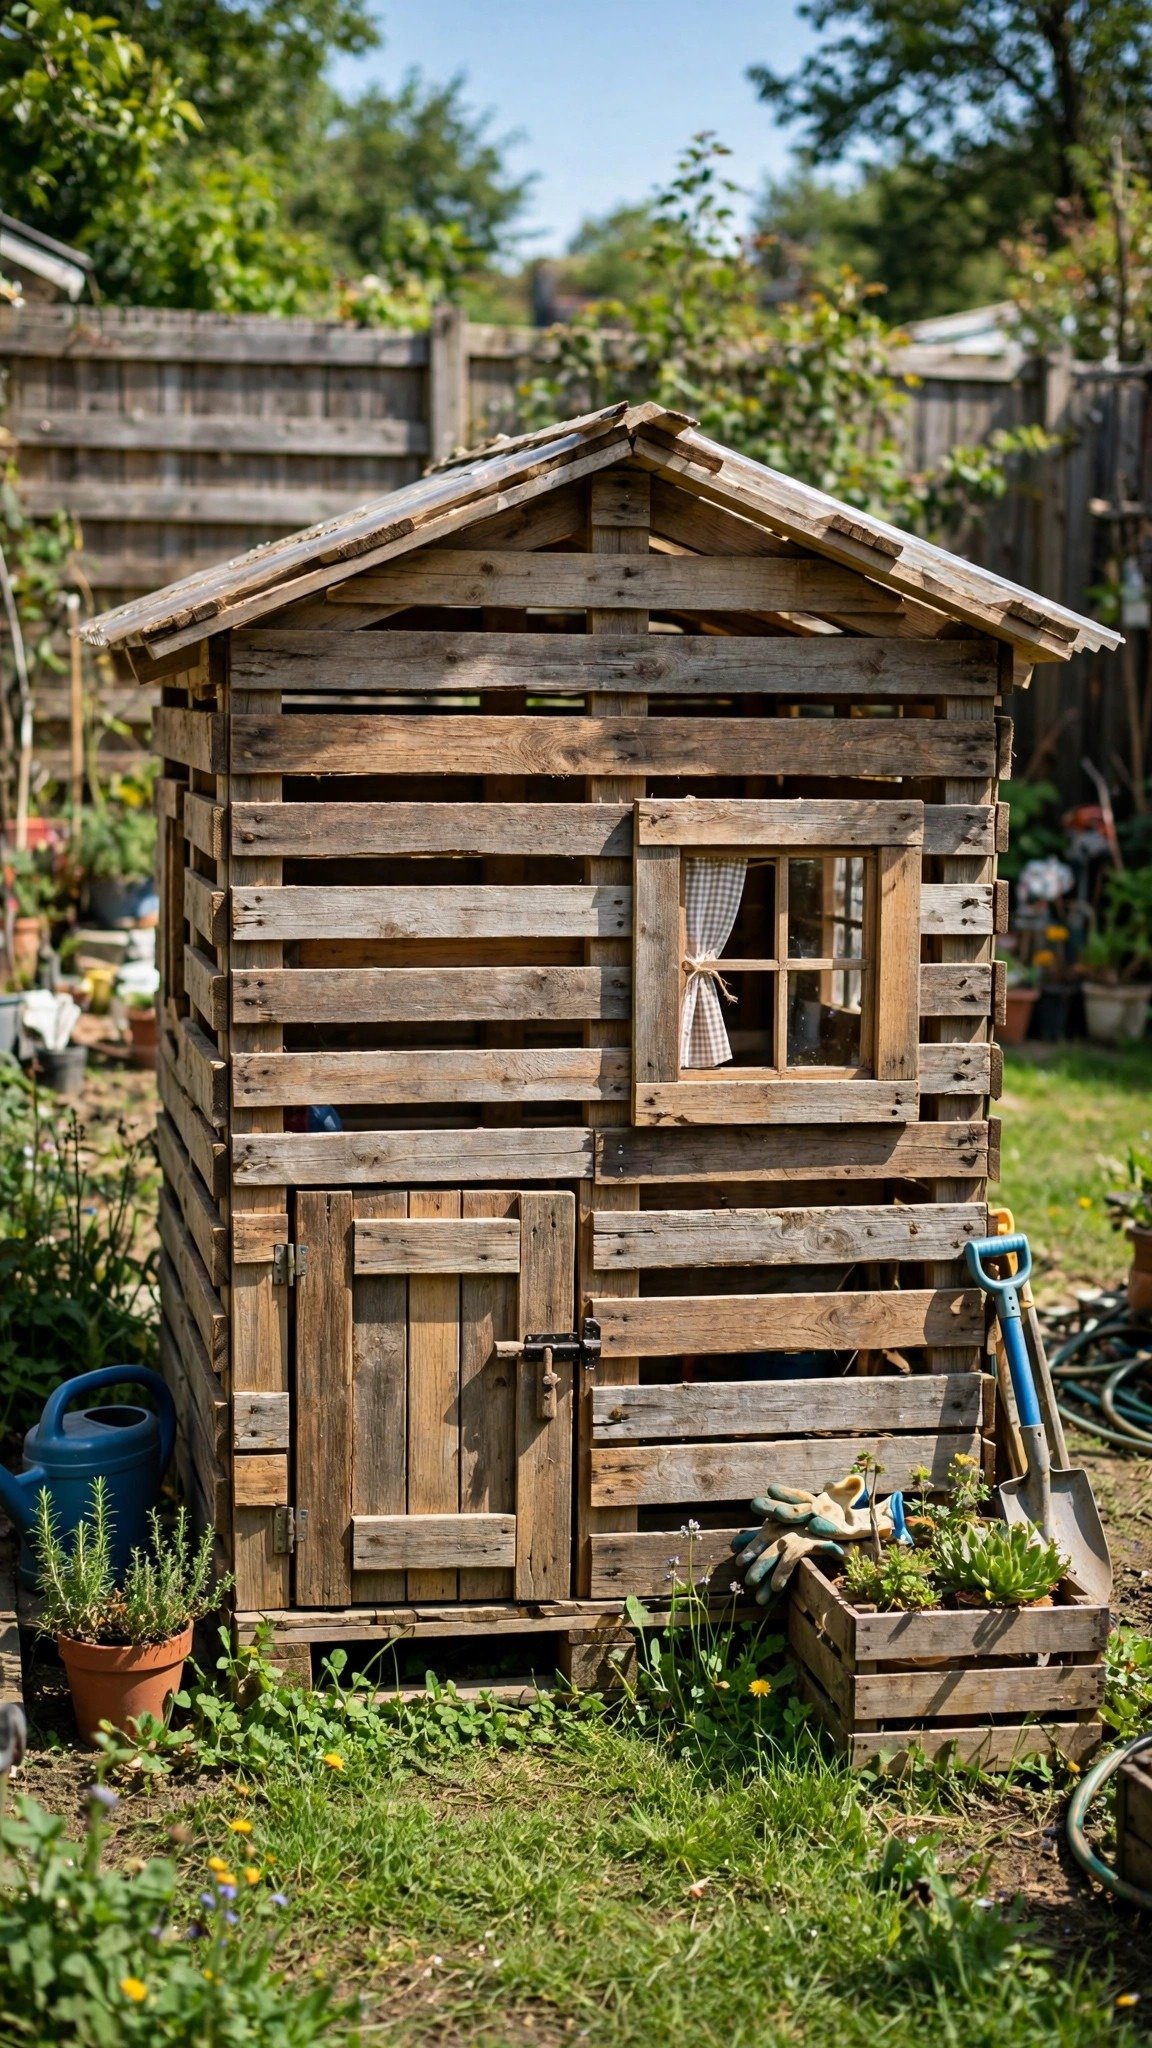
A pallet playhouse gives children a little space of their own for imaginative games, reading, and pretend adventures. It can look like a tiny cottage, garden clubhouse, or colorful outdoor hideaway.
Start with a suitable design and carefully selected wood. Heat-treated pallets marked HT are preferable to chemically treated pallets, but the marking alone doesn’t guarantee that a pallet is clean or suitable for children’s play. Inspect every piece for contamination, damage, and protruding nails.
You can personalize the finished playhouse with weather-resistant paint, colorful decorations, and a small outdoor table. Keep the structure stable, appropriately low, and easy for adults to supervise. Avoid creating enclosed spaces where children could become trapped.
Materials to consider: Suitable reclaimed timber, exterior-grade screws, sandpaper, weather-resistant paint, roofing materials, and appropriate structural supports.
4. A DIY Sandbox With a Bench Lid
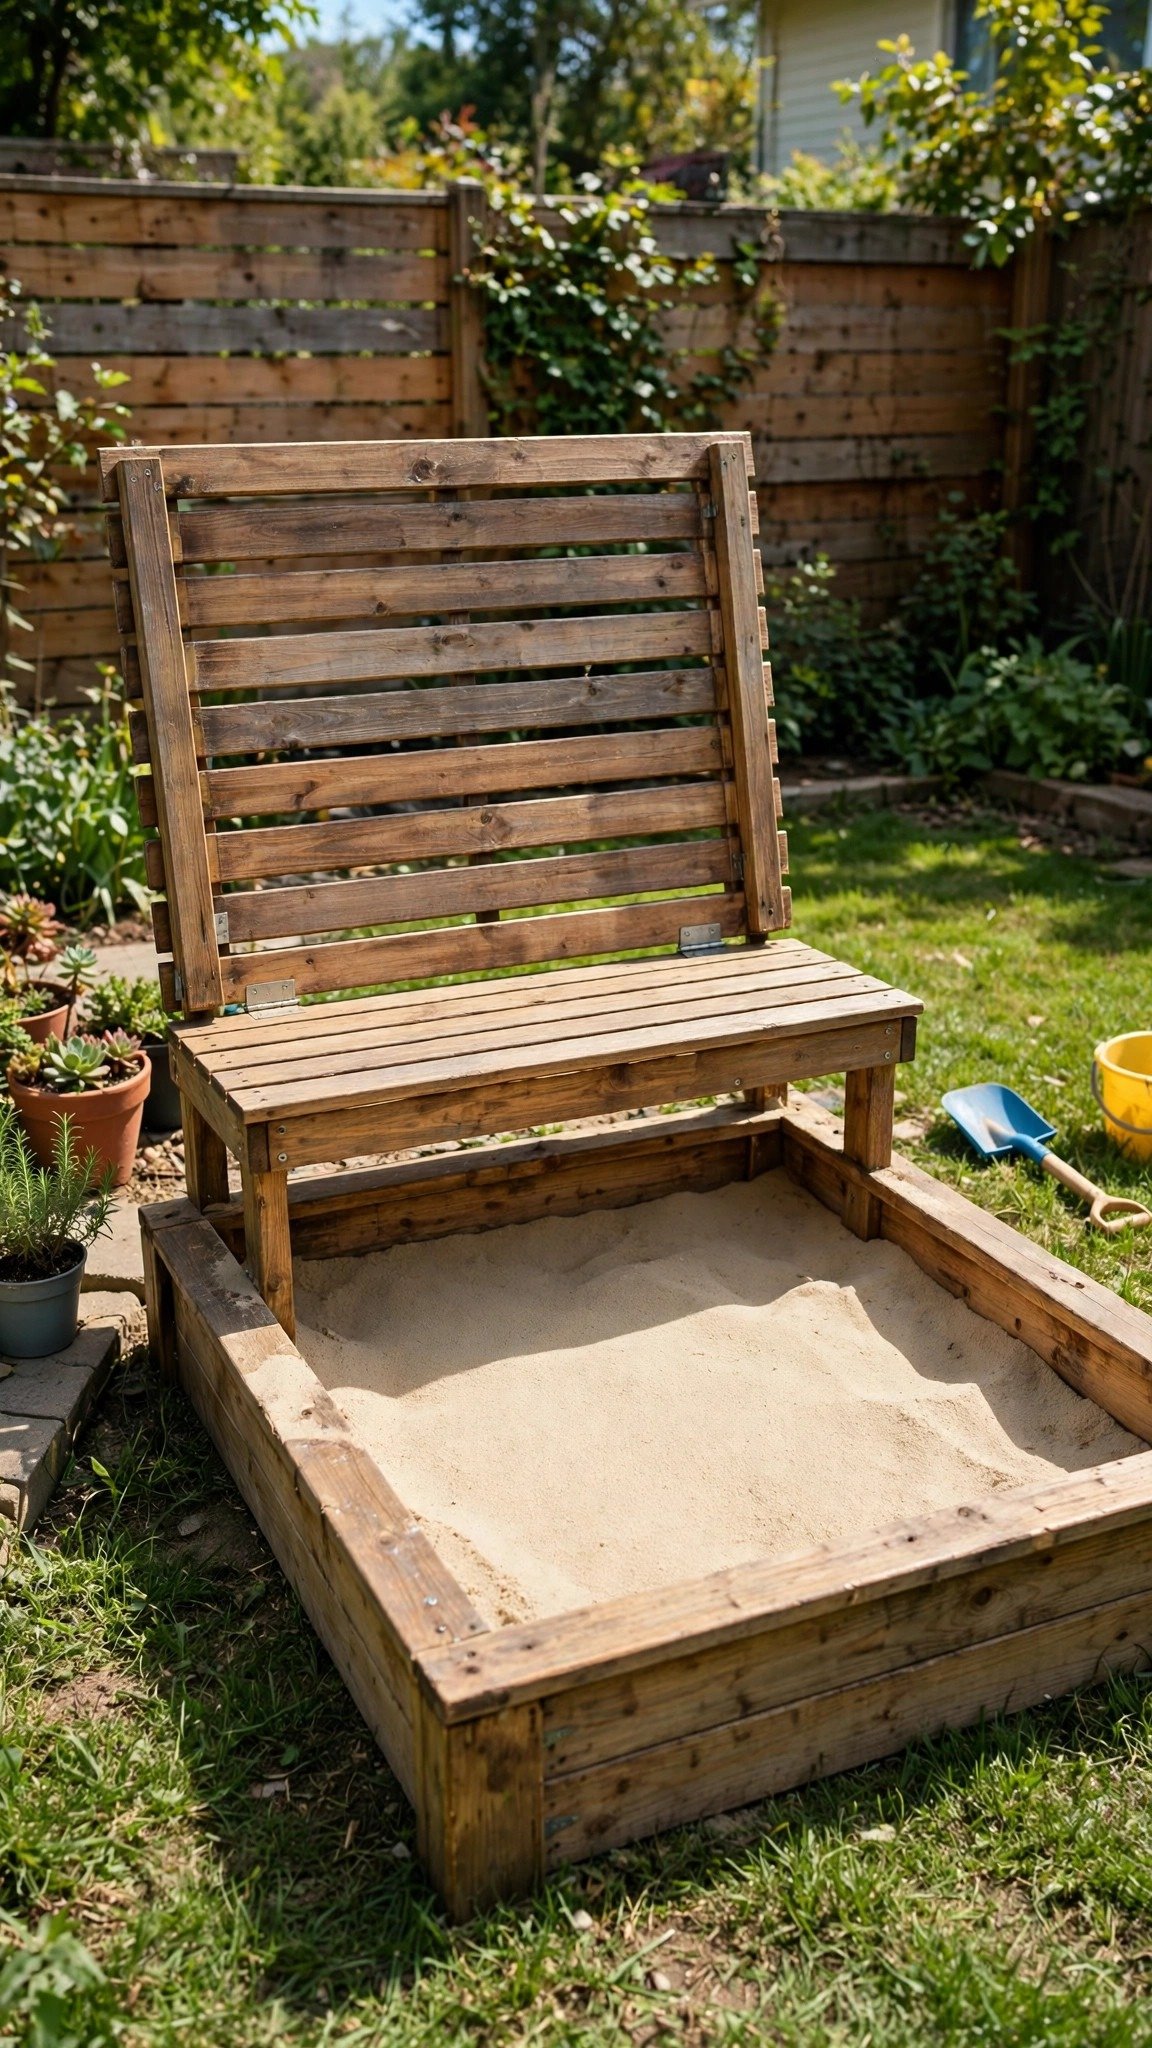
A sandbox creates an inviting play area where younger children can dig, scoop, build sandcastles, and experiment with different shapes. It’s also a practical addition to smaller backyards because you can design it to fit an available corner.
Build a sturdy wooden frame with smooth edges and fill it with clean, child-safe play sand. A hinged cover is especially useful because it protects the sand from animals, falling leaves, and unwanted debris when children finish playing.
For a more functional design, consider a folding lid that converts into seating when the sandbox is closed. Choose weather-resistant materials and make sure hinges and moving parts cannot pinch little fingers.
Place the sandbox somewhere with partial shade, and inspect the sand regularly. Replace contaminated sand and keep the cover securely closed when the area isn’t being used.
Materials to consider: Suitable outdoor timber, clean play sand, landscape fabric where appropriate, protective cover, compatible hinges, and child-safe seating hardware.
5. A Mud Kitchen From Old Pallets
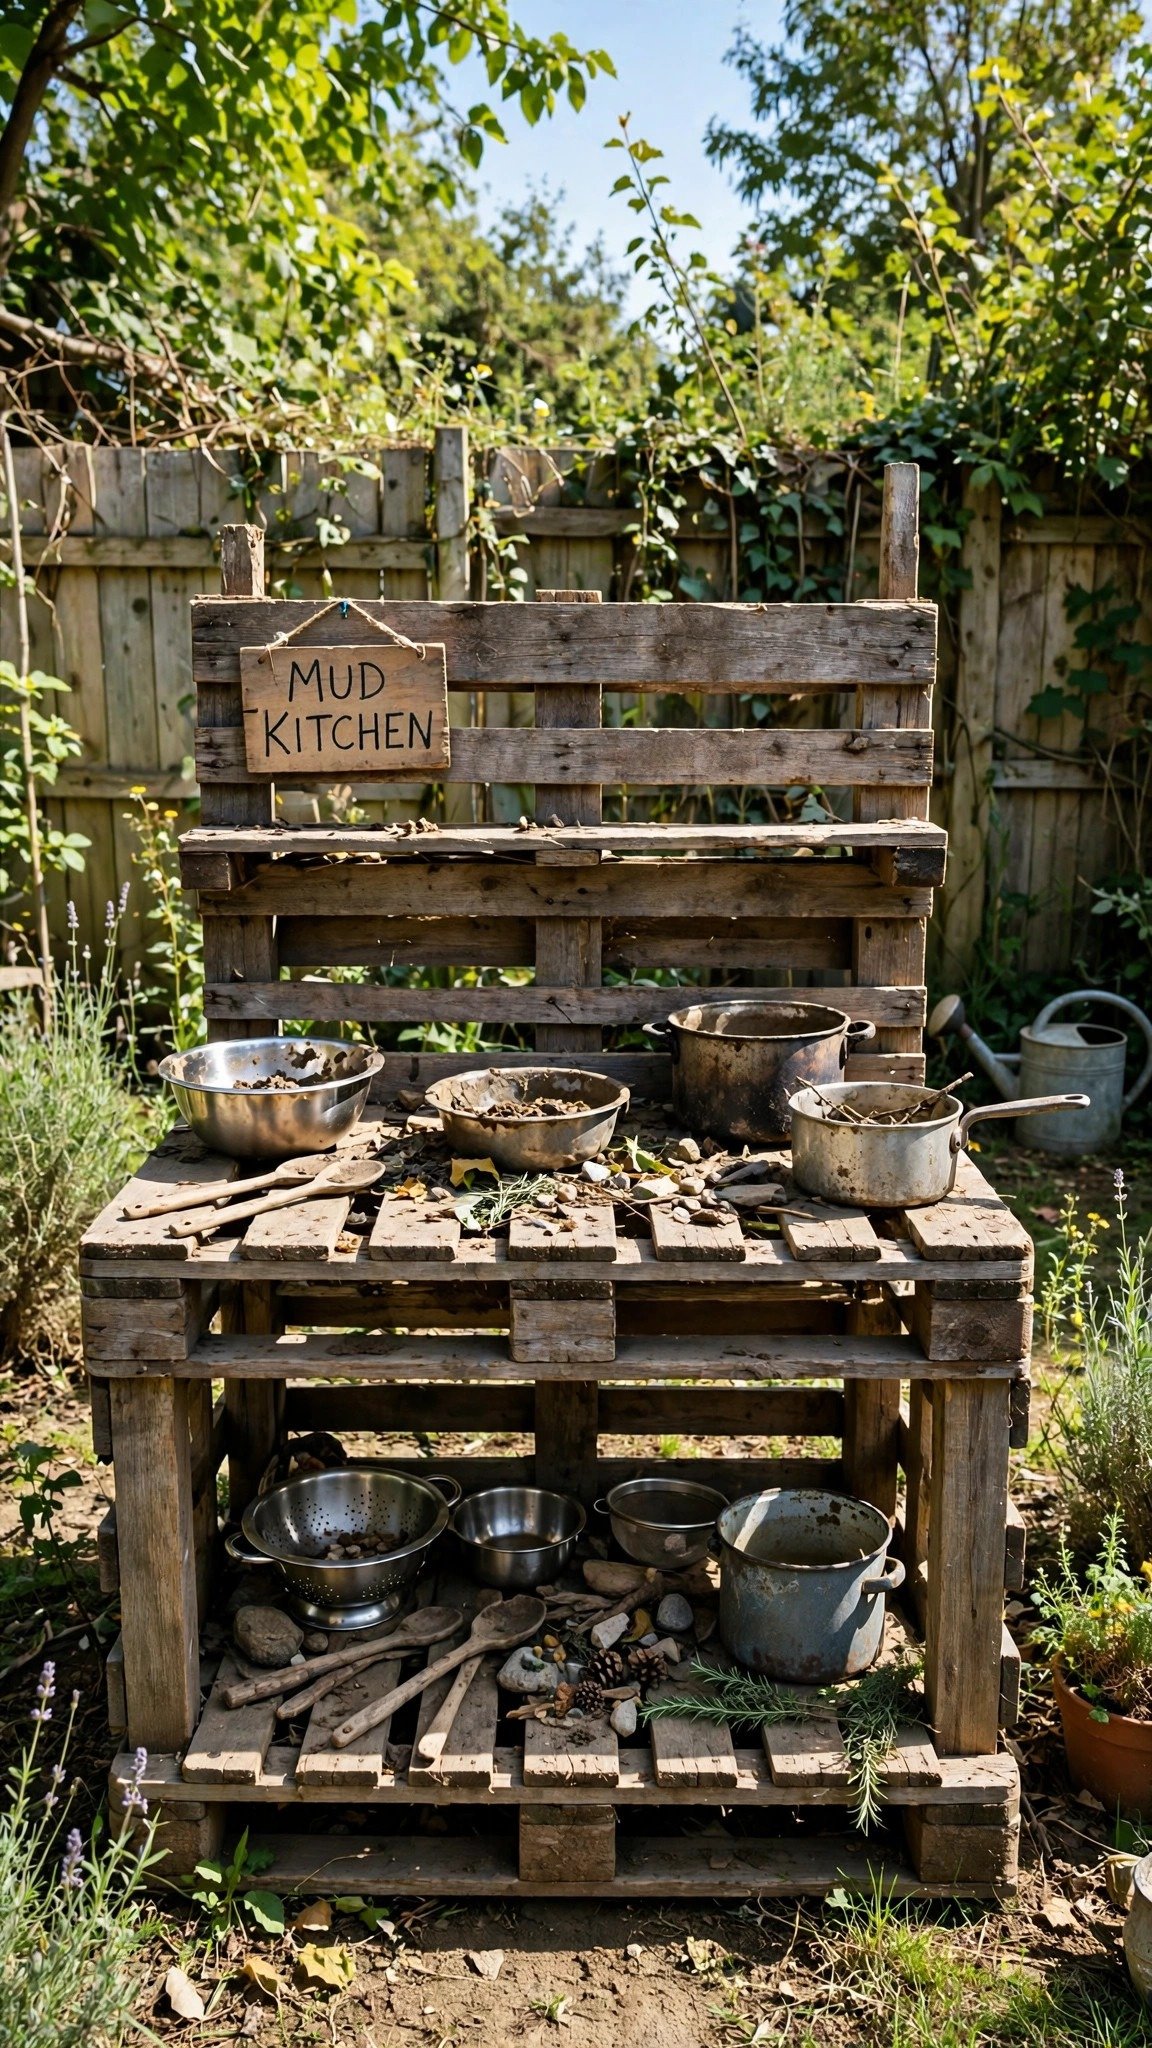
A mud kitchen is a wonderful way to encourage imaginative outdoor play. Children can pretend to prepare meals, mix natural ingredients, and create their own little restaurant using everyday kitchen utensils.
You can make a simple version with a sturdy outdoor table or a properly constructed wooden counter. Add stainless steel bowls, old pots, wooden spoons, and containers for water and natural materials.
A small shelf underneath provides convenient storage, while hooks can hold lightweight utensils. If you have room, add a water container with a controlled outlet so children can experiment with pouring and mixing.
Keep the kitchen close to a suitable water source and choose materials that are easy to clean. Avoid sharp utensils, broken containers, and untreated reclaimed wood that may contain harmful substances.
Materials to consider: A sturdy outdoor table, suitable reclaimed timber, stainless steel bowls, wooden spoons, storage containers, sandpaper, and weather-resistant finishes.
6. A Climbing Wall on a Wooden Panel
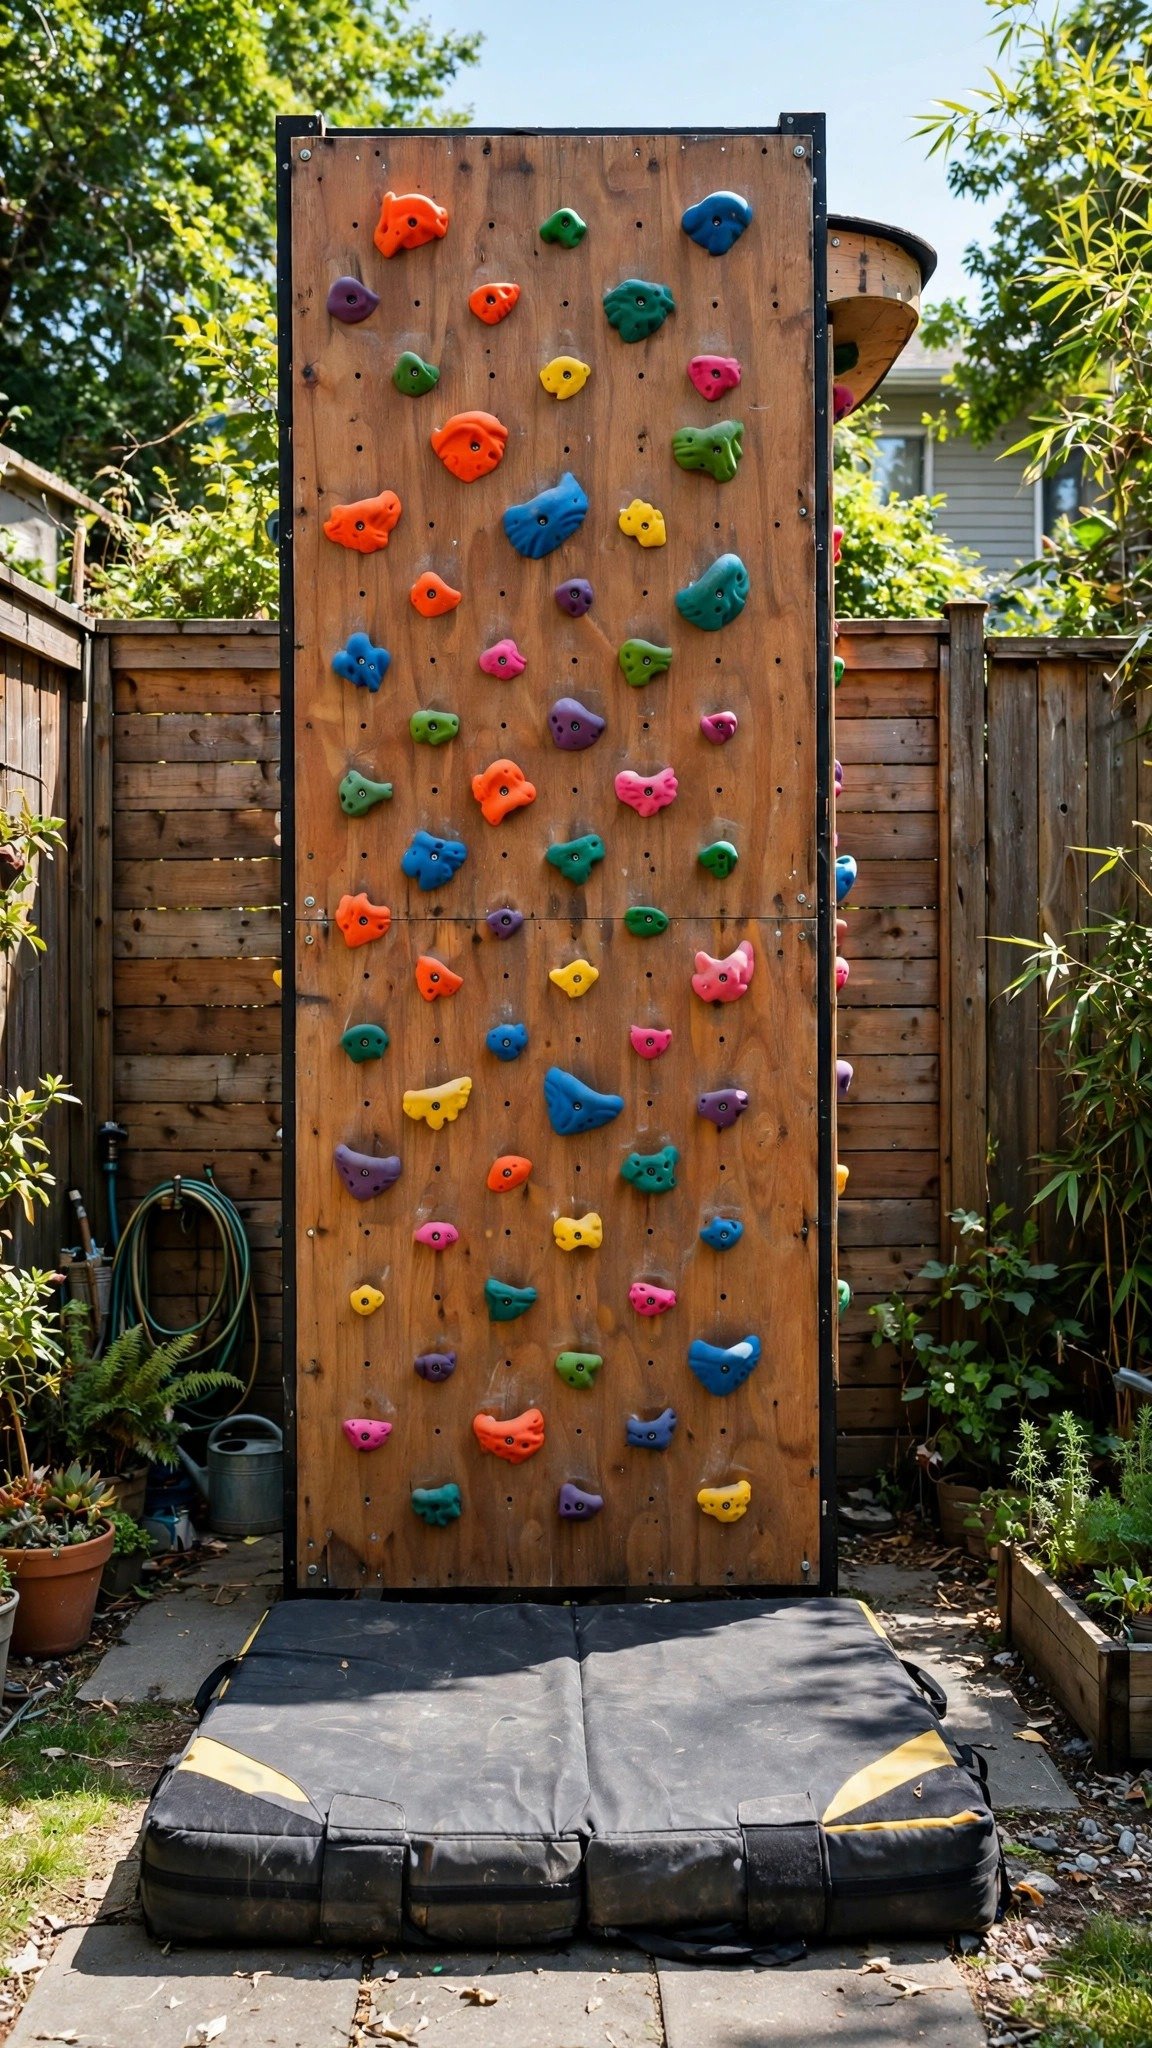
A climbing wall brings a little adventure into an ordinary backyard. It gives children an opportunity to challenge themselves, develop coordination, and enjoy active play.
For a more colorful design, use climbing holds in different shapes and colors. You can arrange them into simple patterns or create different routes for children with varying abilities.
The important part is the construction behind the wall. A sheet of plywood attached to an ordinary fence isn’t automatically strong enough to support climbing. The entire assembly, including its frame, fasteners, holds, and foundation, must be designed for climbing loads.
Keep the design appropriate for the children’s ages and abilities, and use suitable impact-absorbing surfacing. Have the structure professionally assessed if you’re unsure about its strength.
Materials to consider: Exterior-rated structural panels, professionally designed support framing, climbing holds, approved fasteners, and appropriate playground surfacing.
7. A Wooden Balance Beam
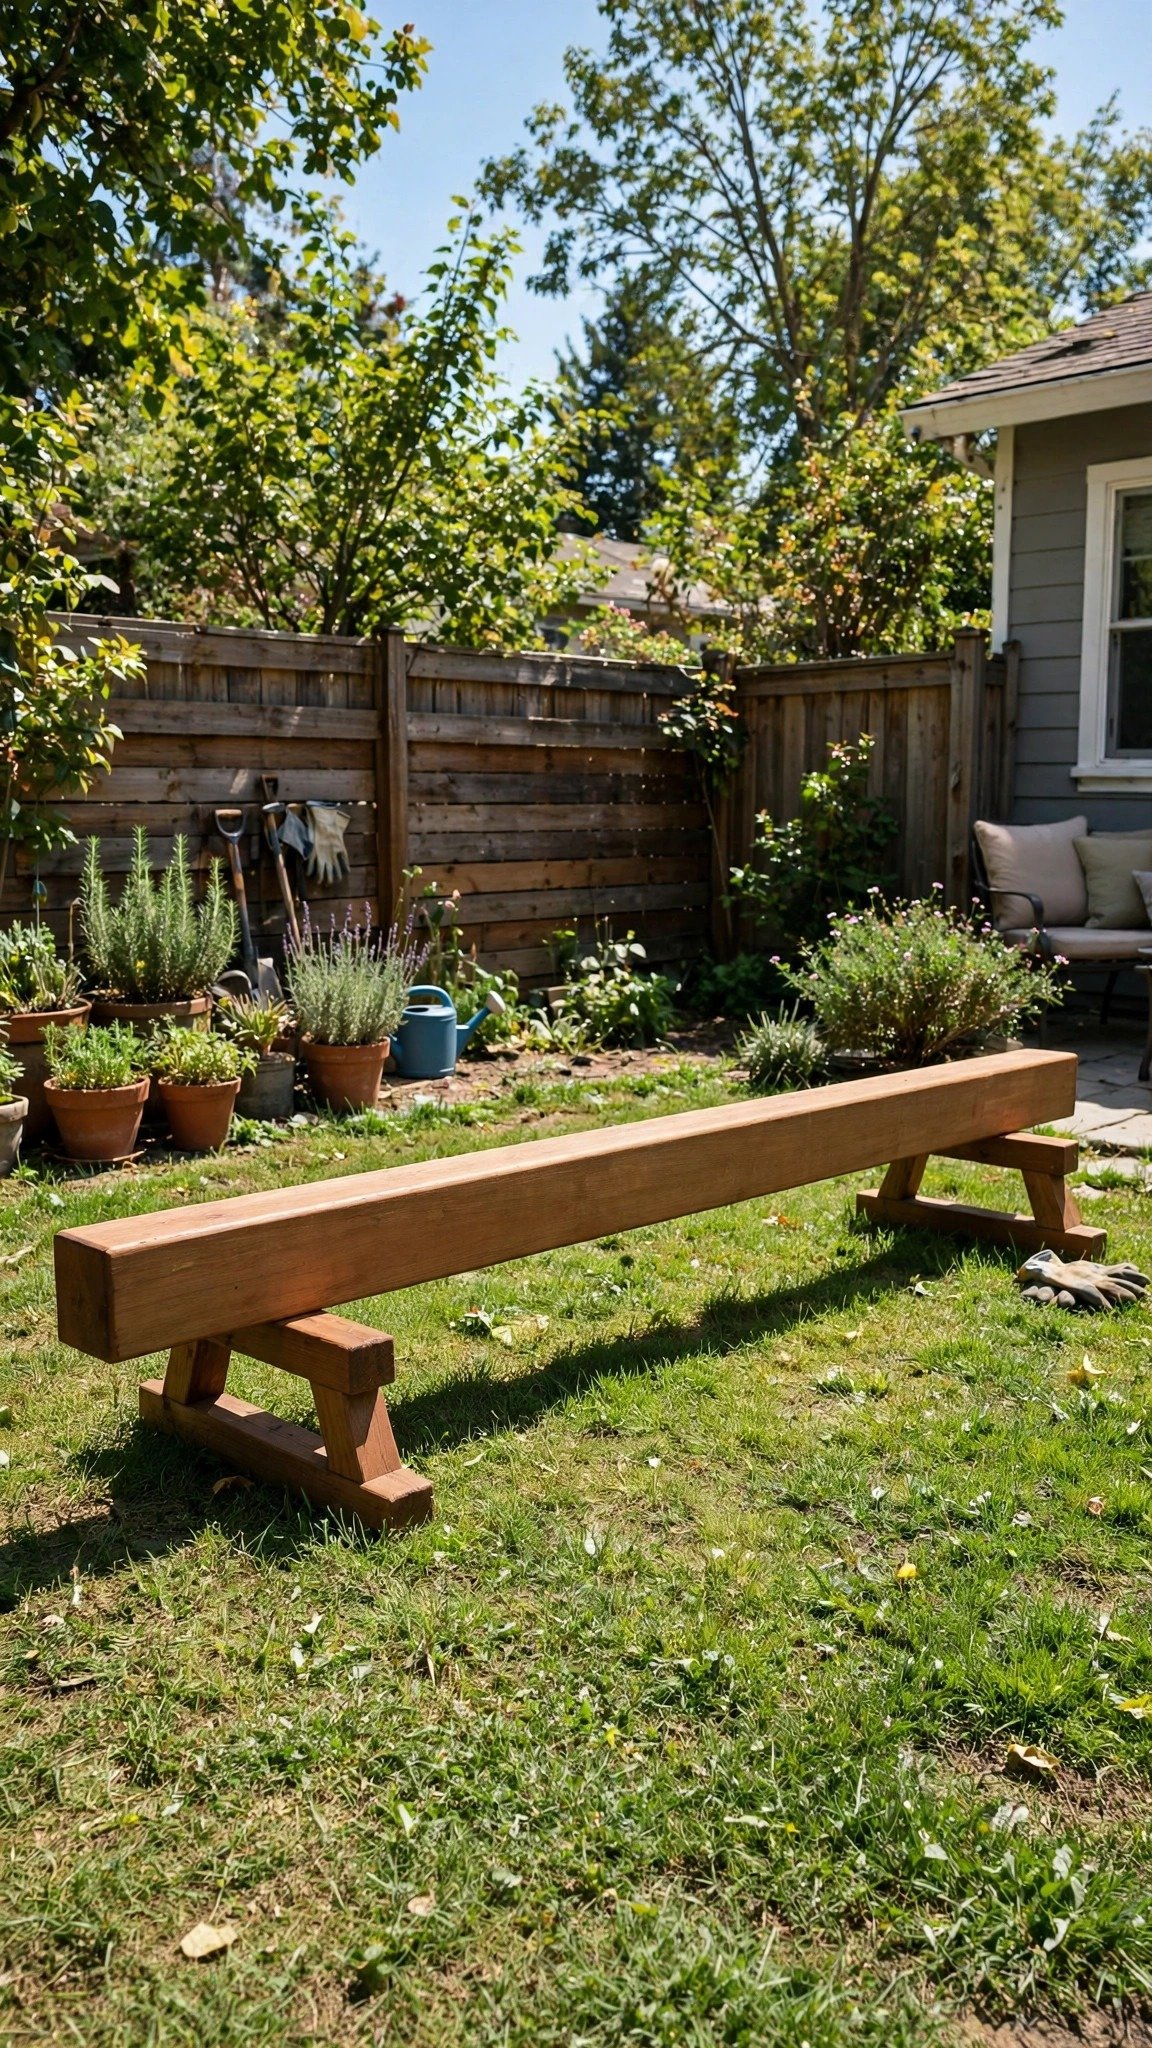
A wooden balance beam is one of the simplest ways to introduce active play into a backyard. It encourages children to walk carefully, maintain balance, and experiment with different movements.
You can create a ground-level balance feature using a smooth, appropriately sized wooden beam. Choose a design that stays close to the ground rather than turning it into an elevated obstacle.
Sand the accessible surfaces and round off sharp corners. Make sure the beam cannot roll, slide, or shift during play. You can also paint it in bright colors or add simple patterns to make the activity more inviting.
For younger children, keep the challenge easy. Older kids can try walking sideways, stepping over small markers, or carrying a lightweight object while balancing.
Materials to consider: Smooth outdoor-rated timber, stable supports if required, suitable fasteners, sandpaper, and weather-resistant paint.
8. A Rope Bridge Between Two Low Platforms
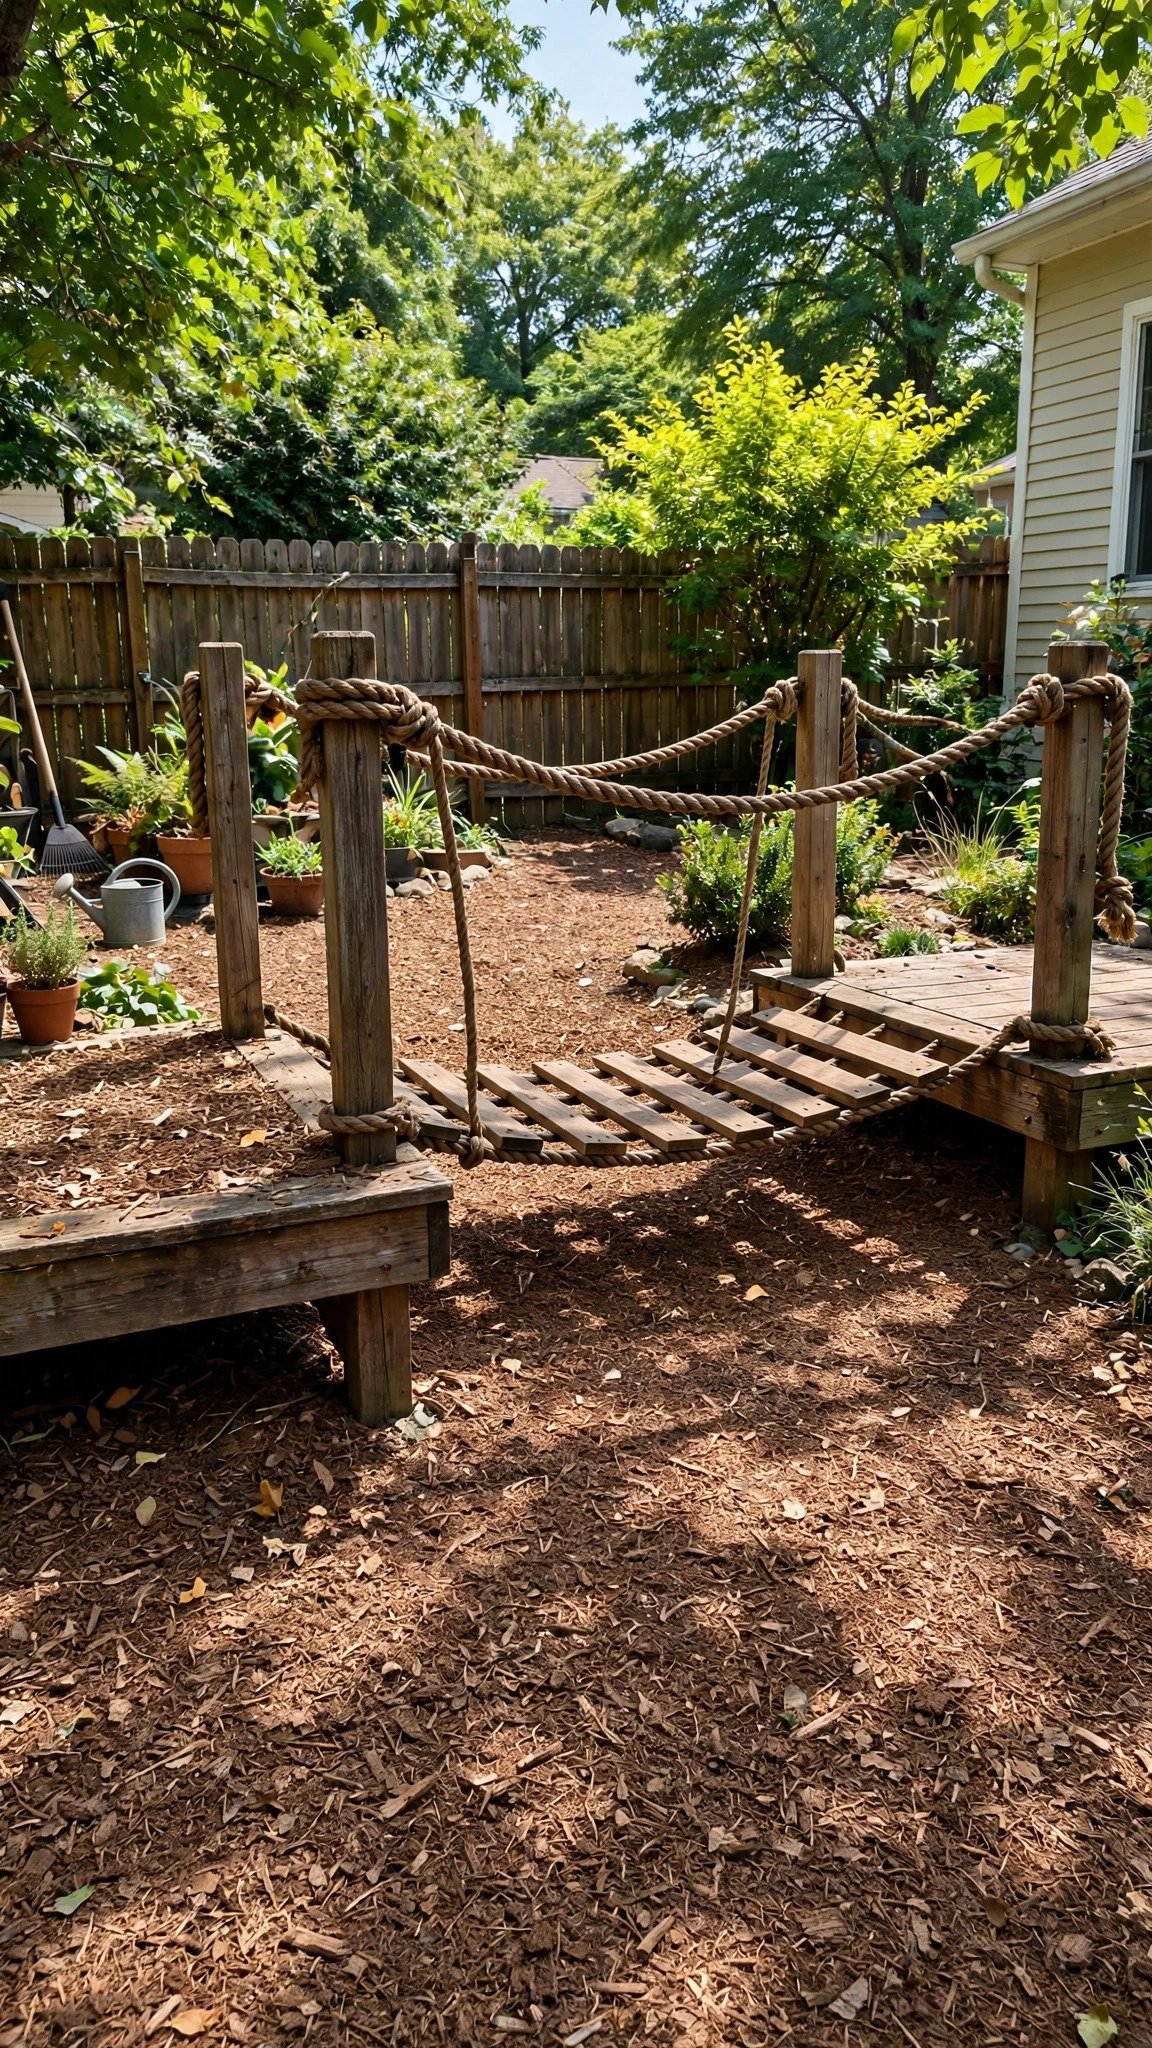
A rope bridge can bring a woodland-adventure feel to a backyard playground. With two small platforms connected by a bridge, children can enjoy imaginative games and pretend they’re crossing a river or exploring a forest.
The design looks exciting, but it requires careful structural planning. Both platforms need secure foundations, and the bridge must use purpose-designed components capable of supporting the expected loads.
Avoid homemade rope arrangements or improvised handrails. Children can fall through gaps, become caught in loose ropes, or lose their balance on unstable surfaces. Keep the design age-appropriate and use a qualified playground installer for an elevated structure.
You can recreate the same adventurous appearance with a ground-level balance trail if you prefer a simpler project.
Materials to consider: Properly designed support platforms, rated bridge components, approved connections, protective surfacing, and professional installation where needed.
9. A Climbing Rope With Knots
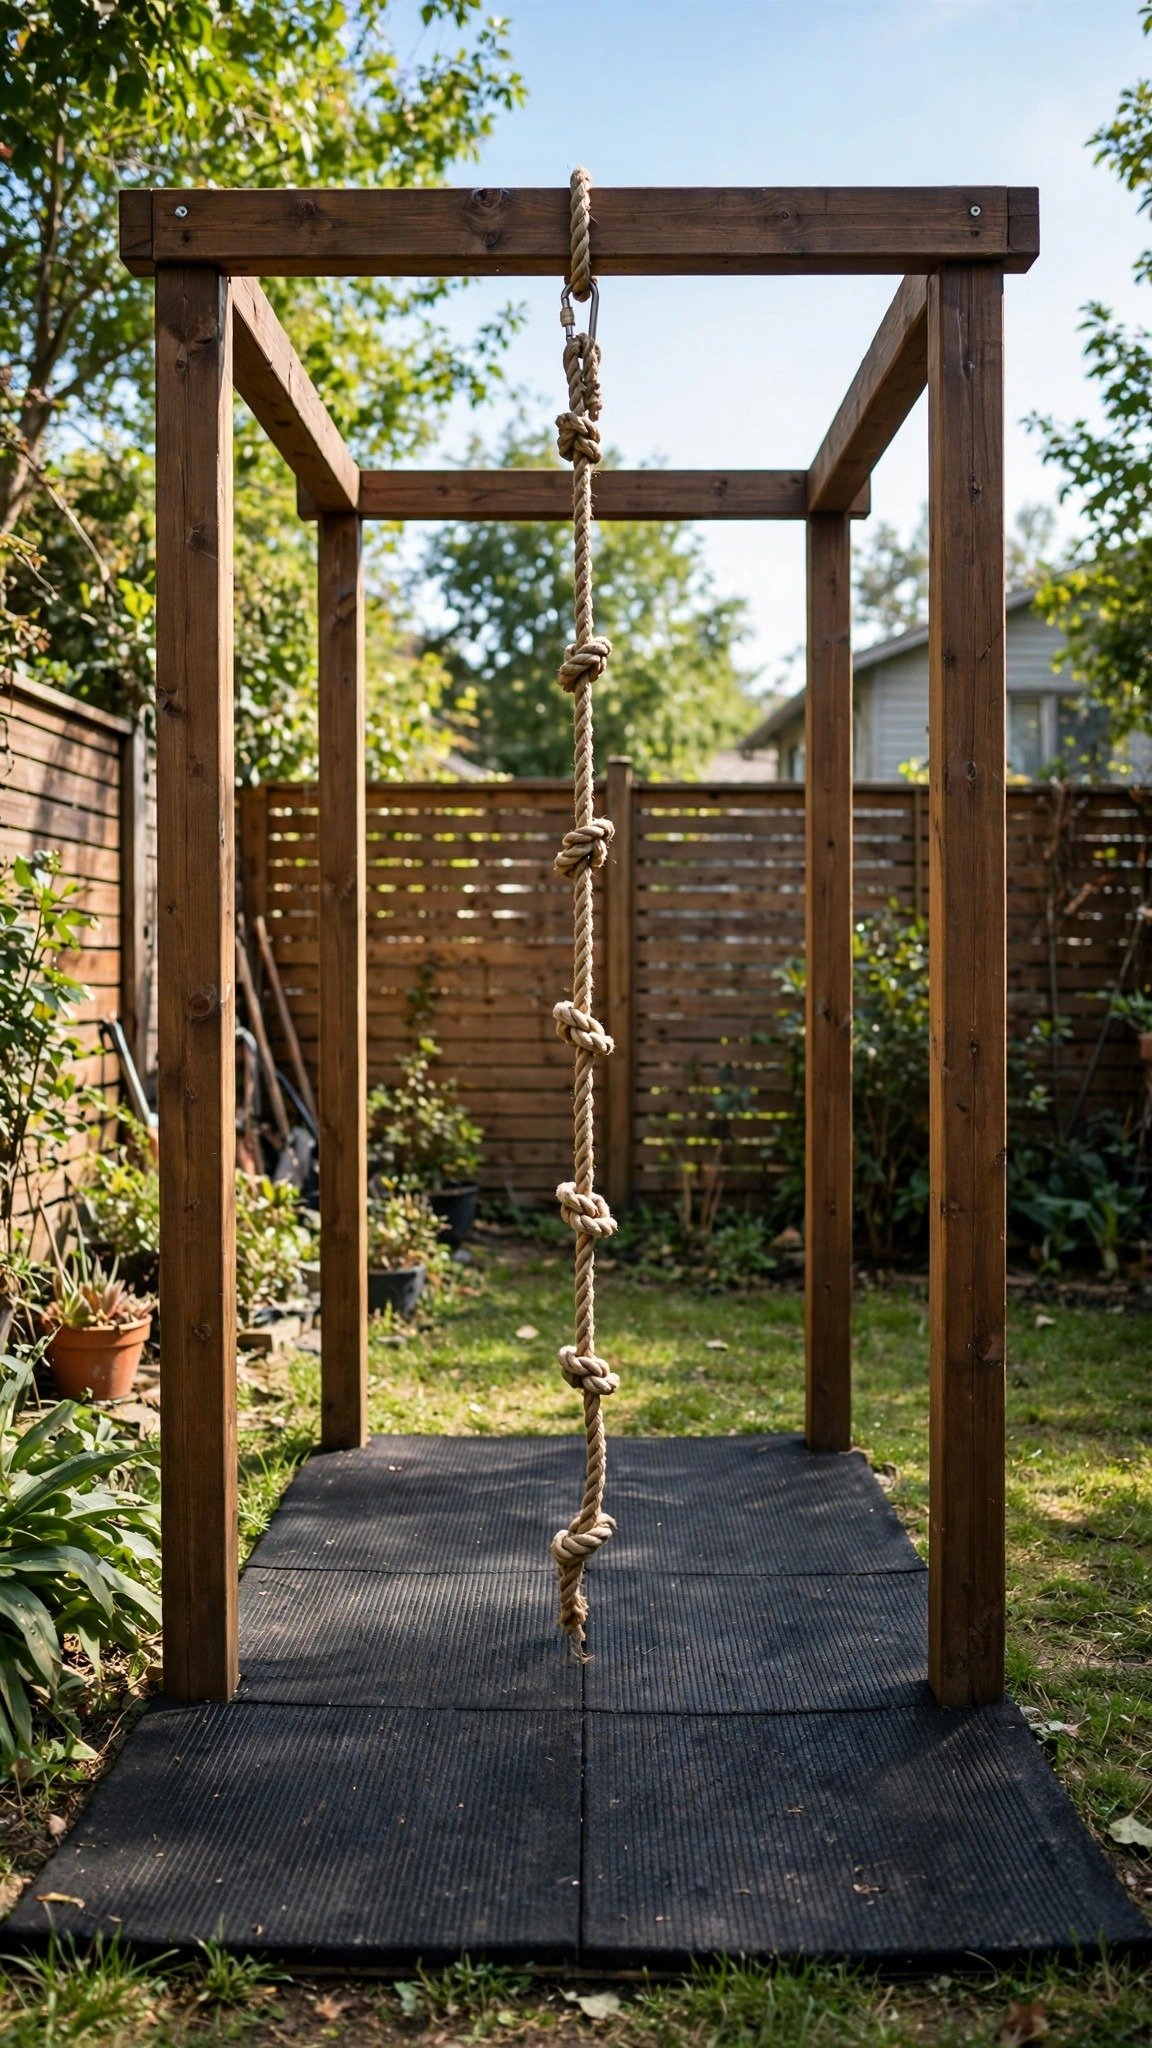
A climbing rope can look like a fun addition to a natural-style playground. Its textured appearance also fits beautifully into a backyard with wooden play features and landscaping.
However, hanging ropes create specific safety concerns. Loose ropes can cause entanglement, and a poorly secured rope may detach during use. A simple rope tied to a tree branch isn’t a safe substitute for purpose-designed playground equipment.
If you want to introduce a climbing activity, consider a commercially manufactured climbing feature designed for children’s play. Follow the manufacturer’s installation instructions and age recommendations.
For a lower-risk alternative, create a ground-level rope trail or use fixed stepping features that encourage children to practice coordination without climbing a suspended rope.
Materials to consider: Age-appropriate commercial climbing equipment, manufacturer-approved fixings, suitable support structures, and appropriate impact-absorbing surfacing.
10. A Small Slide on a Mound
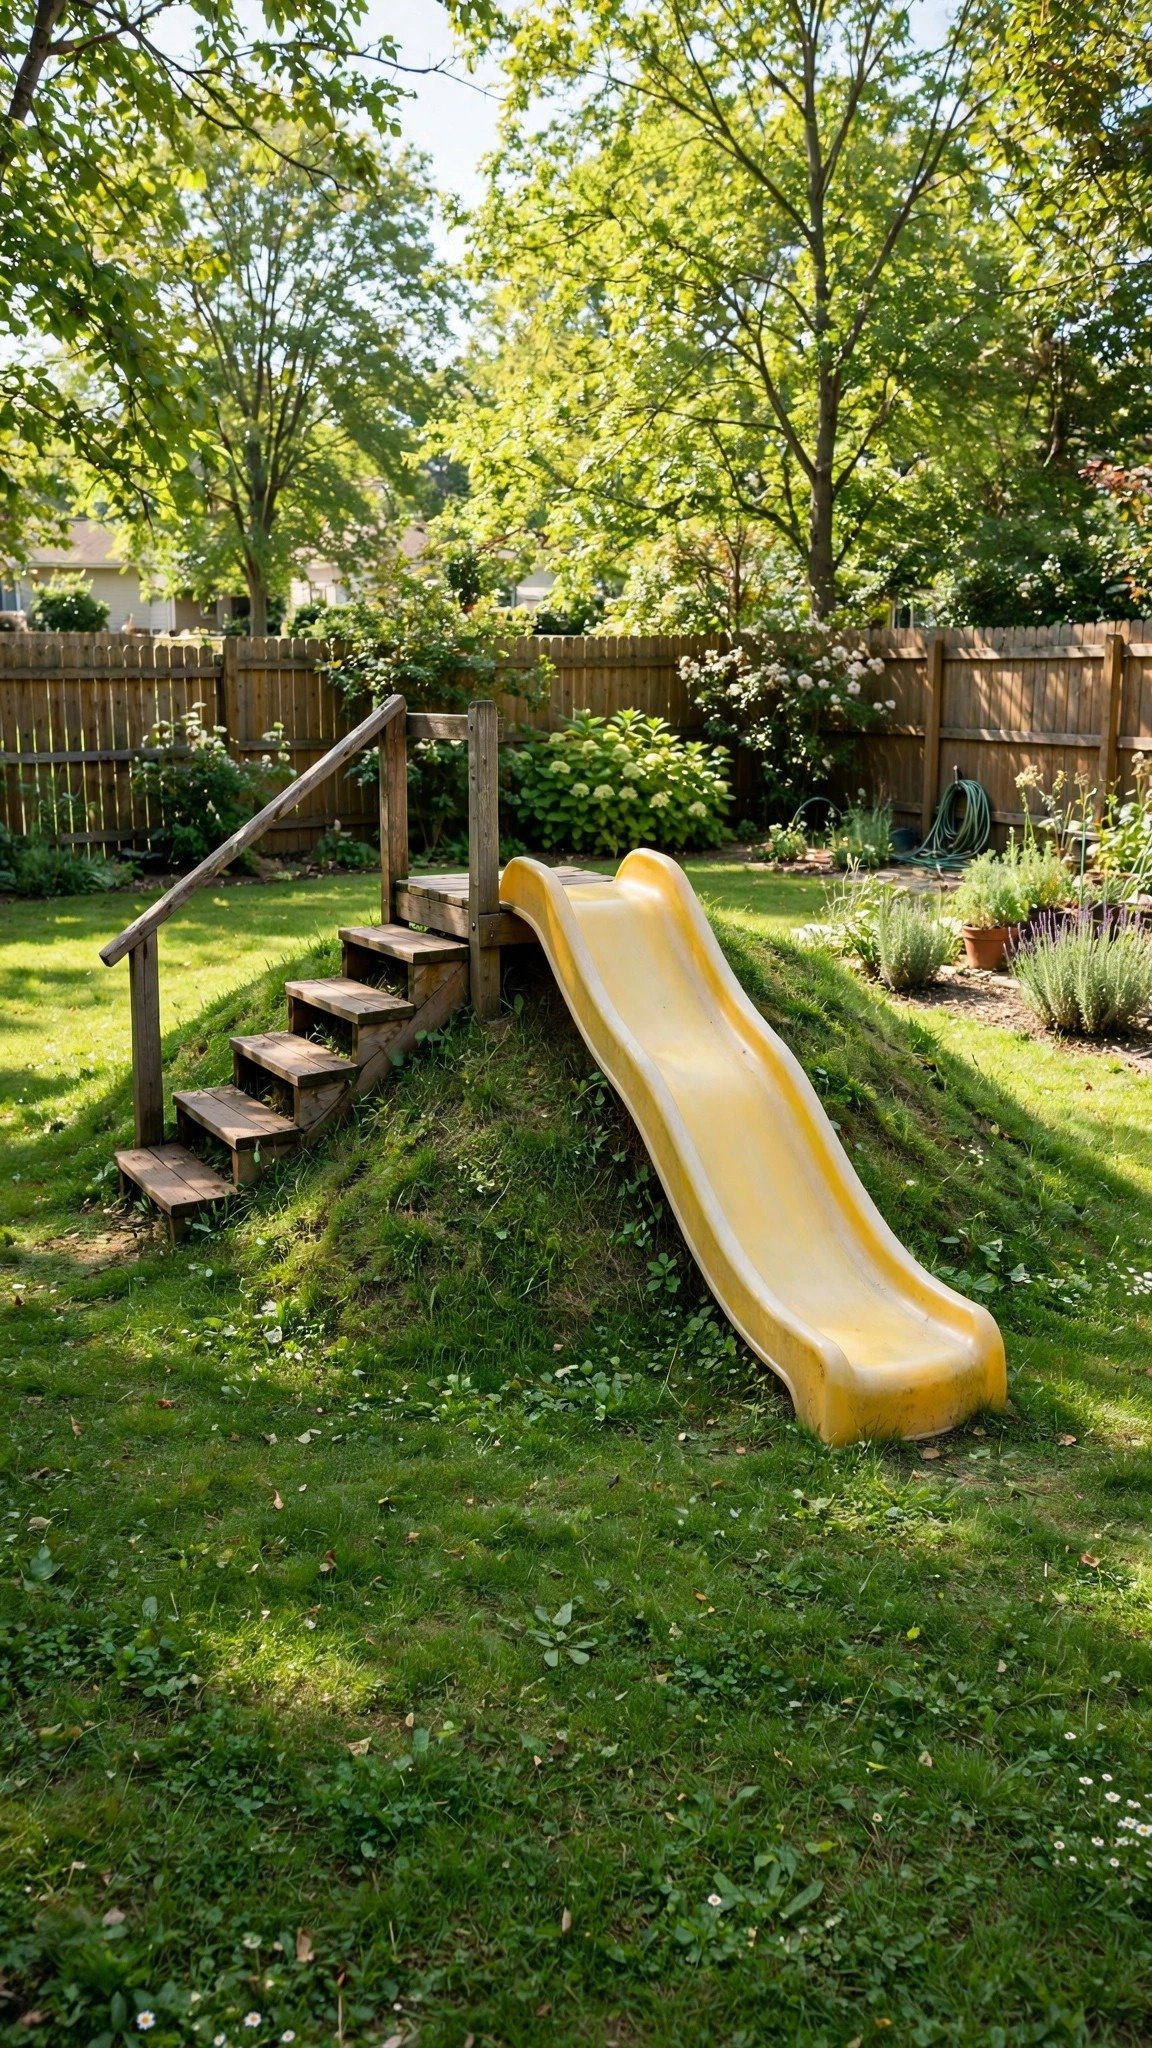
A small grassy mound can give a backyard a playful landscape feature. It creates a natural place for children to climb, roll, and explore, while a properly installed slide adds another activity.
Start by planning the shape and location of the mound. Gentle slopes and a stable surface make the area more practical for everyday play. You can surround it with low plants, decorative stones outside the play zone, or a simple garden border.
If you want to attach a slide, choose a product specifically designed for the intended installation. Follow its requirements for slope, platform height, anchoring, clearance, and landing space. Don’t improvise the slide attachment using ordinary timber or loose stakes.
This idea works especially well in gardens where you want play features to blend naturally with the landscape.
Materials to consider: Clean soil, grass seed, a suitable manufactured slide, approved mounting hardware, and appropriate landing surfacing.
11. A DIY Water Play Station
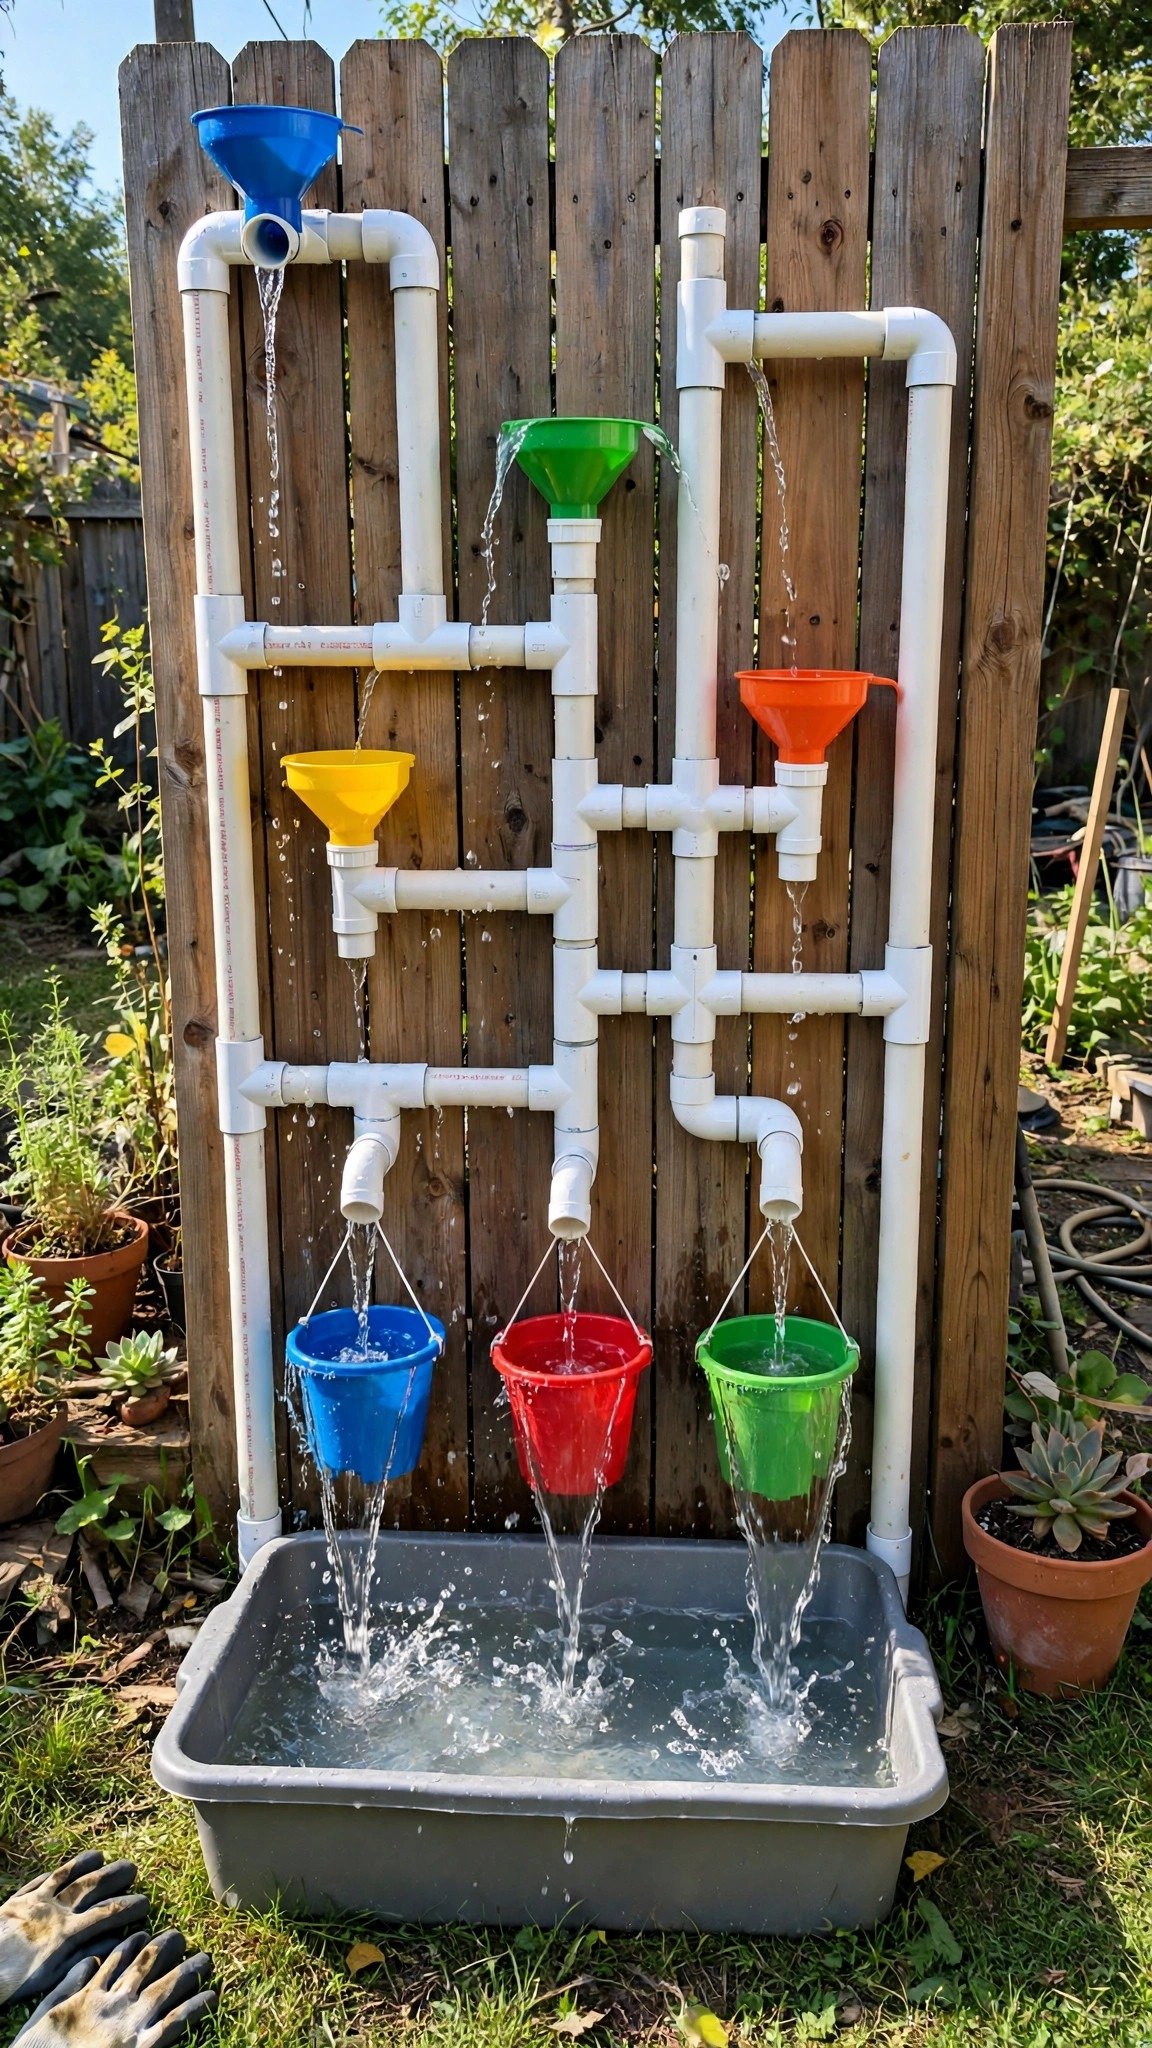
A backyard water station offers a refreshing activity during warm weather. Children can pour, scoop, measure, and watch water travel through different containers and channels.
You can create a simple setup using a low outdoor table, plastic funnels, measuring cups, and large water containers. Attach short sections of suitable tubing to a secure panel to create different routes for the water.
A collection tub underneath helps reduce waste because children can reuse the water for another experiment. Add a few colorful containers to make the station more visually appealing.
Keep the water shallow, empty containers after play, and supervise children closely around water. Even small amounts of standing water can present a drowning risk for young children.
Materials to consider: A low stable table, suitable tubing, funnels, measuring cups, water containers, and a collection tub.
12. A Natural Log Climber
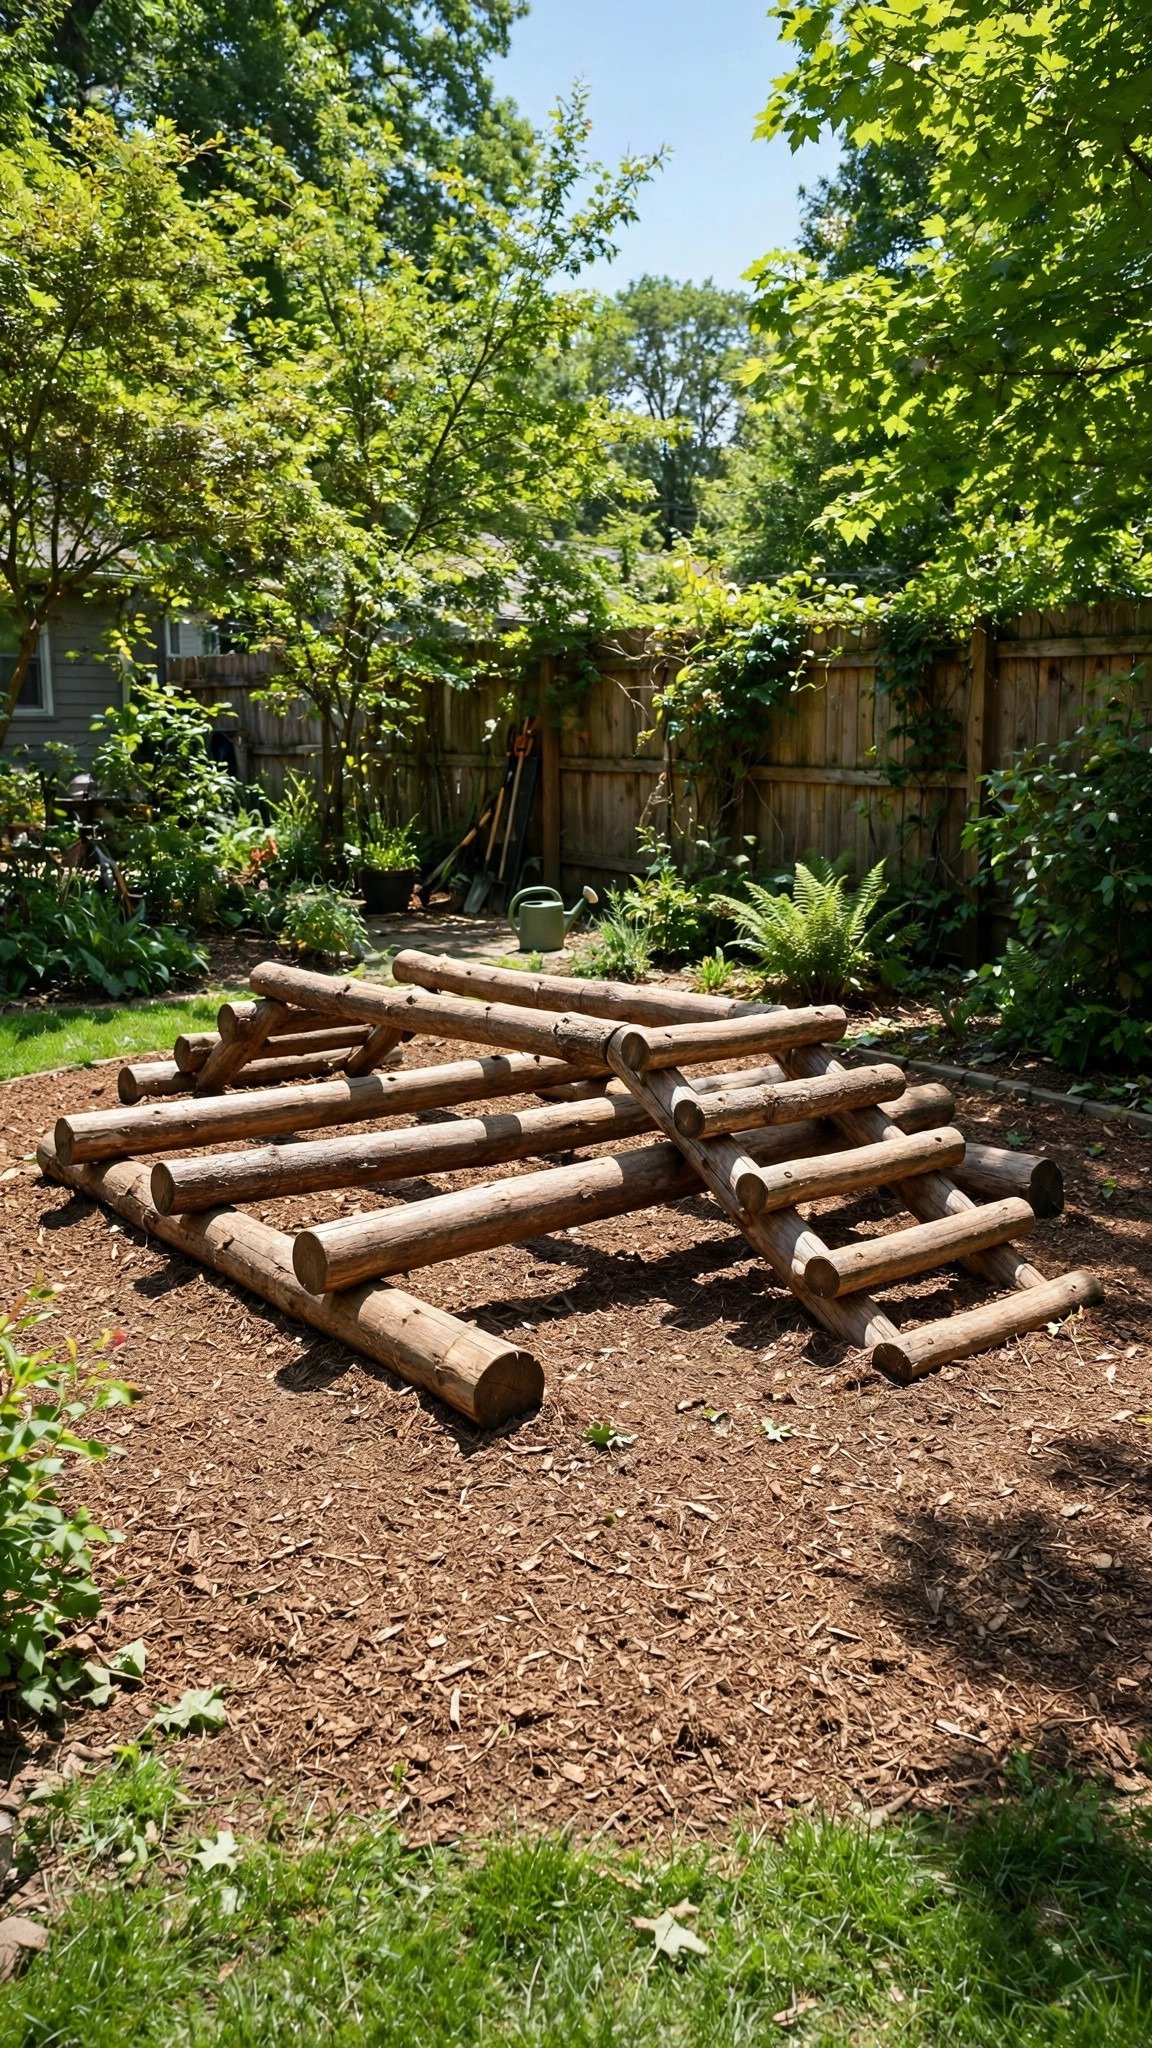
If you love nature-inspired backyard designs, a log climbing trail can make a beautiful addition to your outdoor space.
Use suitable, sound timber to create a series of low stepping and balancing features. Arrange the logs in different lengths and directions to give children several ways to explore the area.
You can keep the design simple with ground-level logs or combine it with other natural play elements such as stepping stones and a small outdoor discovery area.
Check every log for rot, sharp edges, loose bark, and insect damage. Secure the pieces so they cannot roll or shift, and avoid using logs that may contain chemical treatments. Maintain clear walking space around the activity.
Materials to consider: Sound untreated logs, suitable ground anchors, a shovel, sandpaper, and appropriate outdoor surfacing.
13. A Backyard Tunnel Course
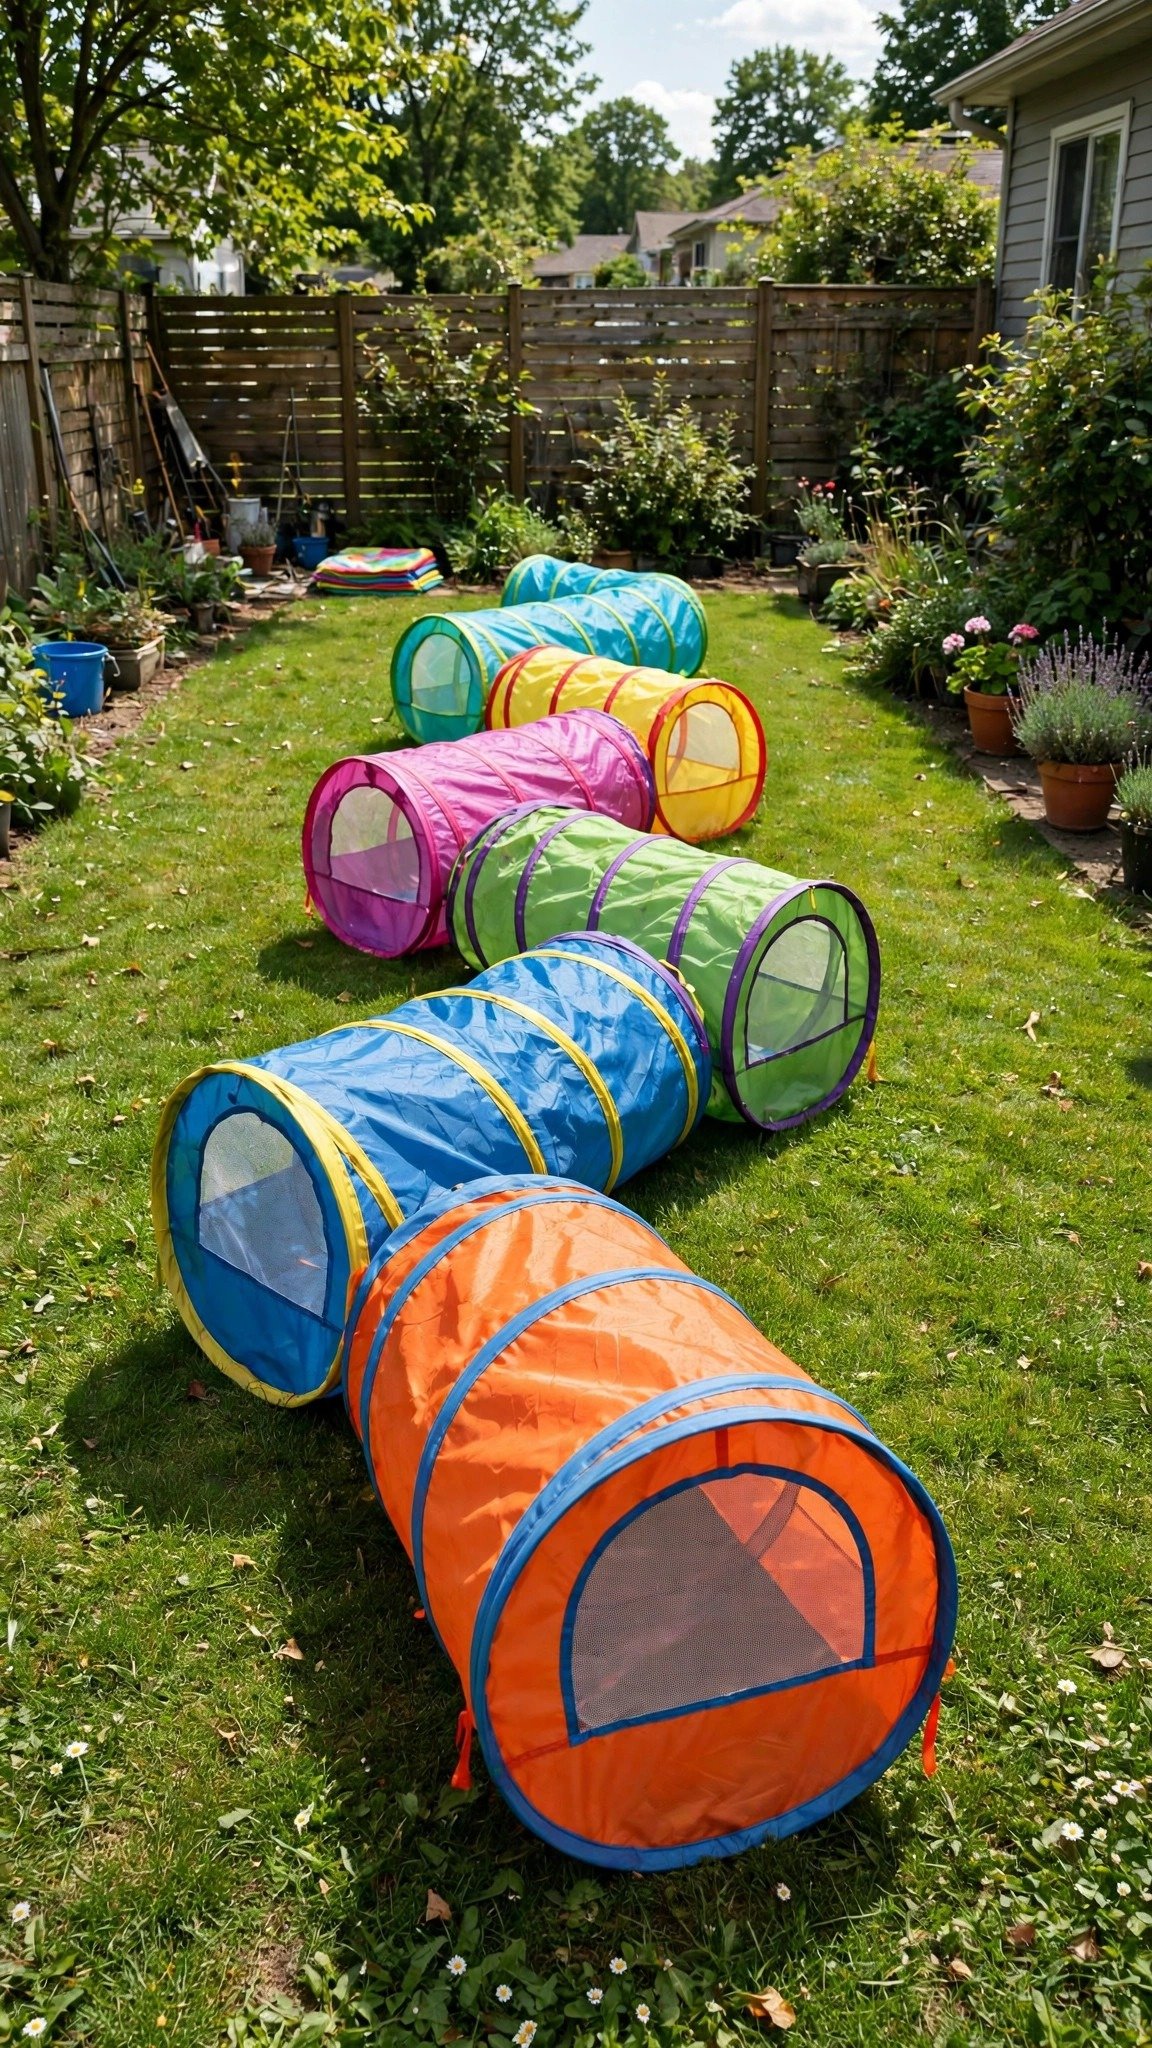
A tunnel course is an excellent choice when you want a flexible playground activity without permanent construction.
Use pop-up children’s play tunnels and arrange them in a zigzag pattern across the lawn. Children can crawl through each section, race to the finish, or play imaginative games with friends.
For an extra challenge, add large cardboard boxes, colorful markers, or a simple finish-line ribbon. You can rearrange the tunnels whenever children want something different.
Choose tunnels designed for children’s play and secure them according to the manufacturer’s instructions. Check that the fabric is intact and the openings remain clear.
The biggest advantage is that you can fold the tunnels away after playtime, leaving your backyard open for other activities.
Materials to consider: Children’s play tunnels, large cardboard boxes, suitable ground anchors, and activity markers.
14. An Outdoor Building Station
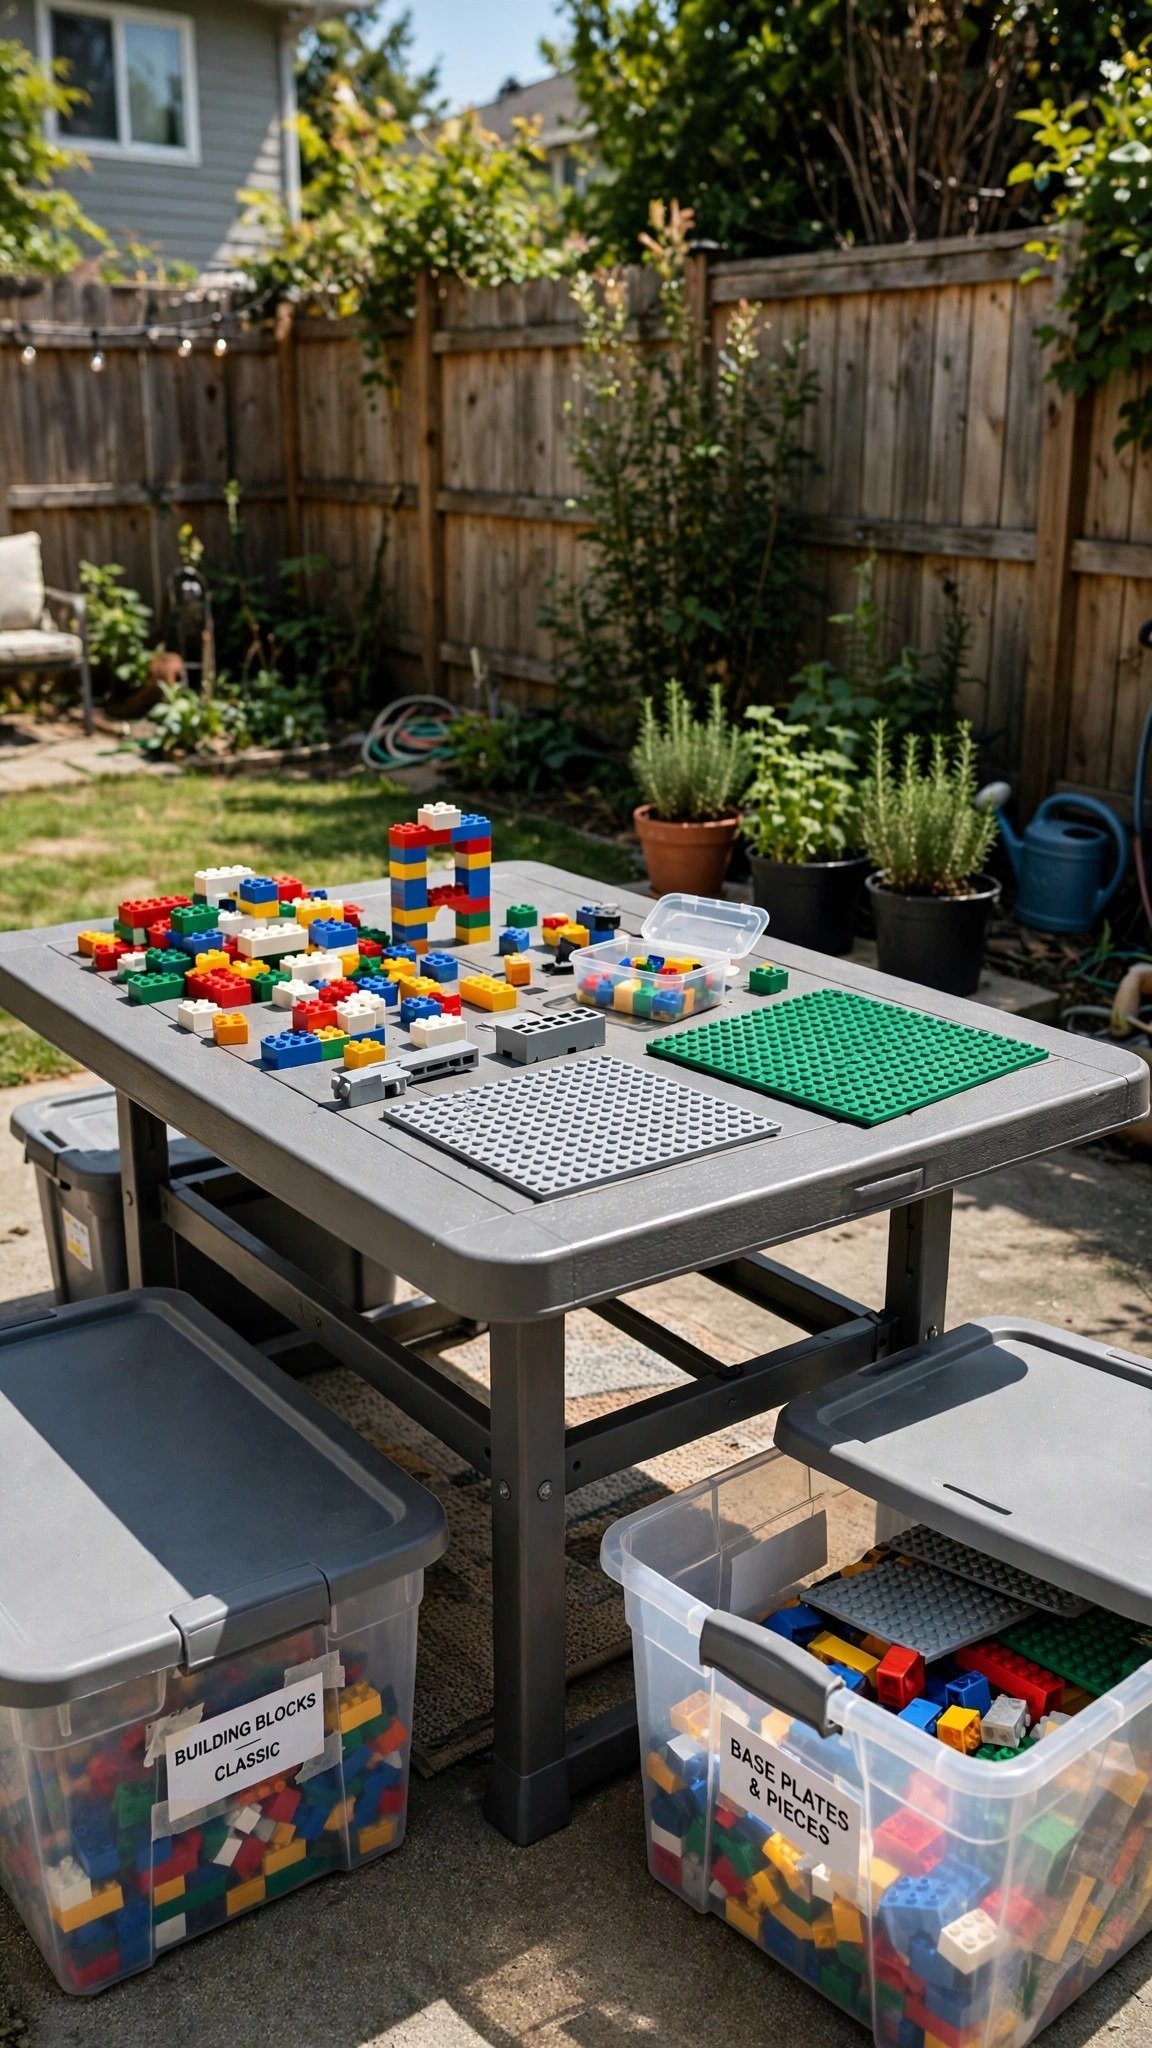
An outdoor building station gives children a dedicated place to create towers, houses, bridges, and imaginary cities.
Start with a sturdy weather-resistant table and add storage bins for blocks and other building materials. If your children enjoy construction toys, you can attach compatible building plates to the tabletop using an appropriate fixing method.
A shaded location makes the station more comfortable during warm afternoons. Add a small shelf or waterproof storage box to keep the materials organized between play sessions.
Choose toys suitable for your children’s ages, especially when younger siblings share the space. Small building pieces can pose choking hazards for toddlers.
Materials to consider: A stable outdoor table, age-appropriate building blocks, compatible building plates, storage bins, and a shade canopy.
15. Make a Backyard Ball Toss Board
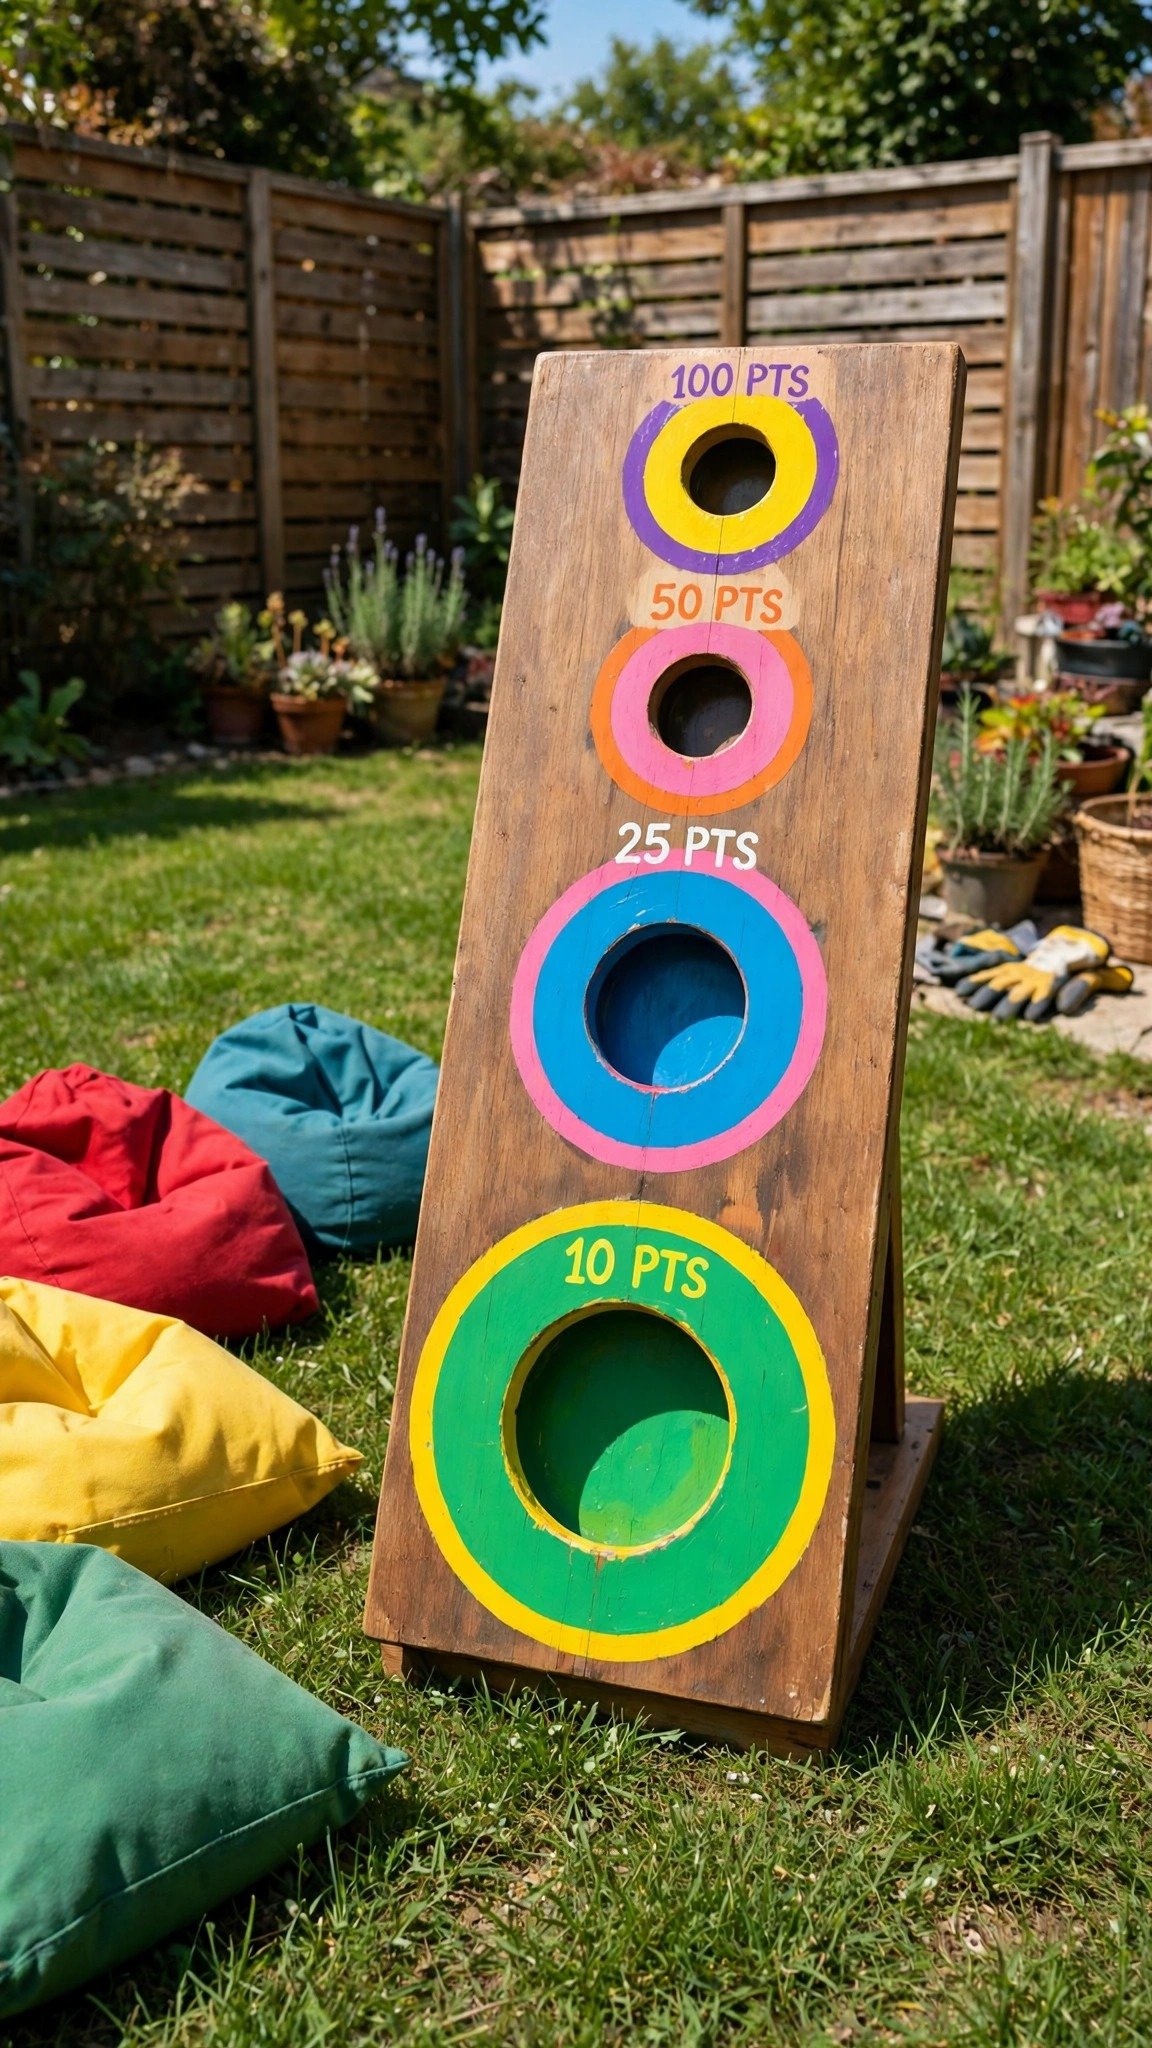
A ball toss board creates a simple game that children can enjoy individually or with friends. It also works well in smaller backyards because you can store the board against a wall when it’s not being used.
You can create a colorful target board with several openings or use a ready-made children’s tossing game. Different target sizes make the activity interesting for children with different skill levels.
Use soft balls or beanbags rather than hard objects. Sand every cut edge thoroughly, secure the board against tipping, and keep the playing area away from windows and garden decorations.
For an educational twist, add numbers to the targets and let children keep score. You can also introduce color-based challenges to make the game more interactive.
Materials to consider: Suitable plywood, a jigsaw if building the board, outdoor paint, sandpaper, soft balls, and beanbags.
16. A Toy Pulley System
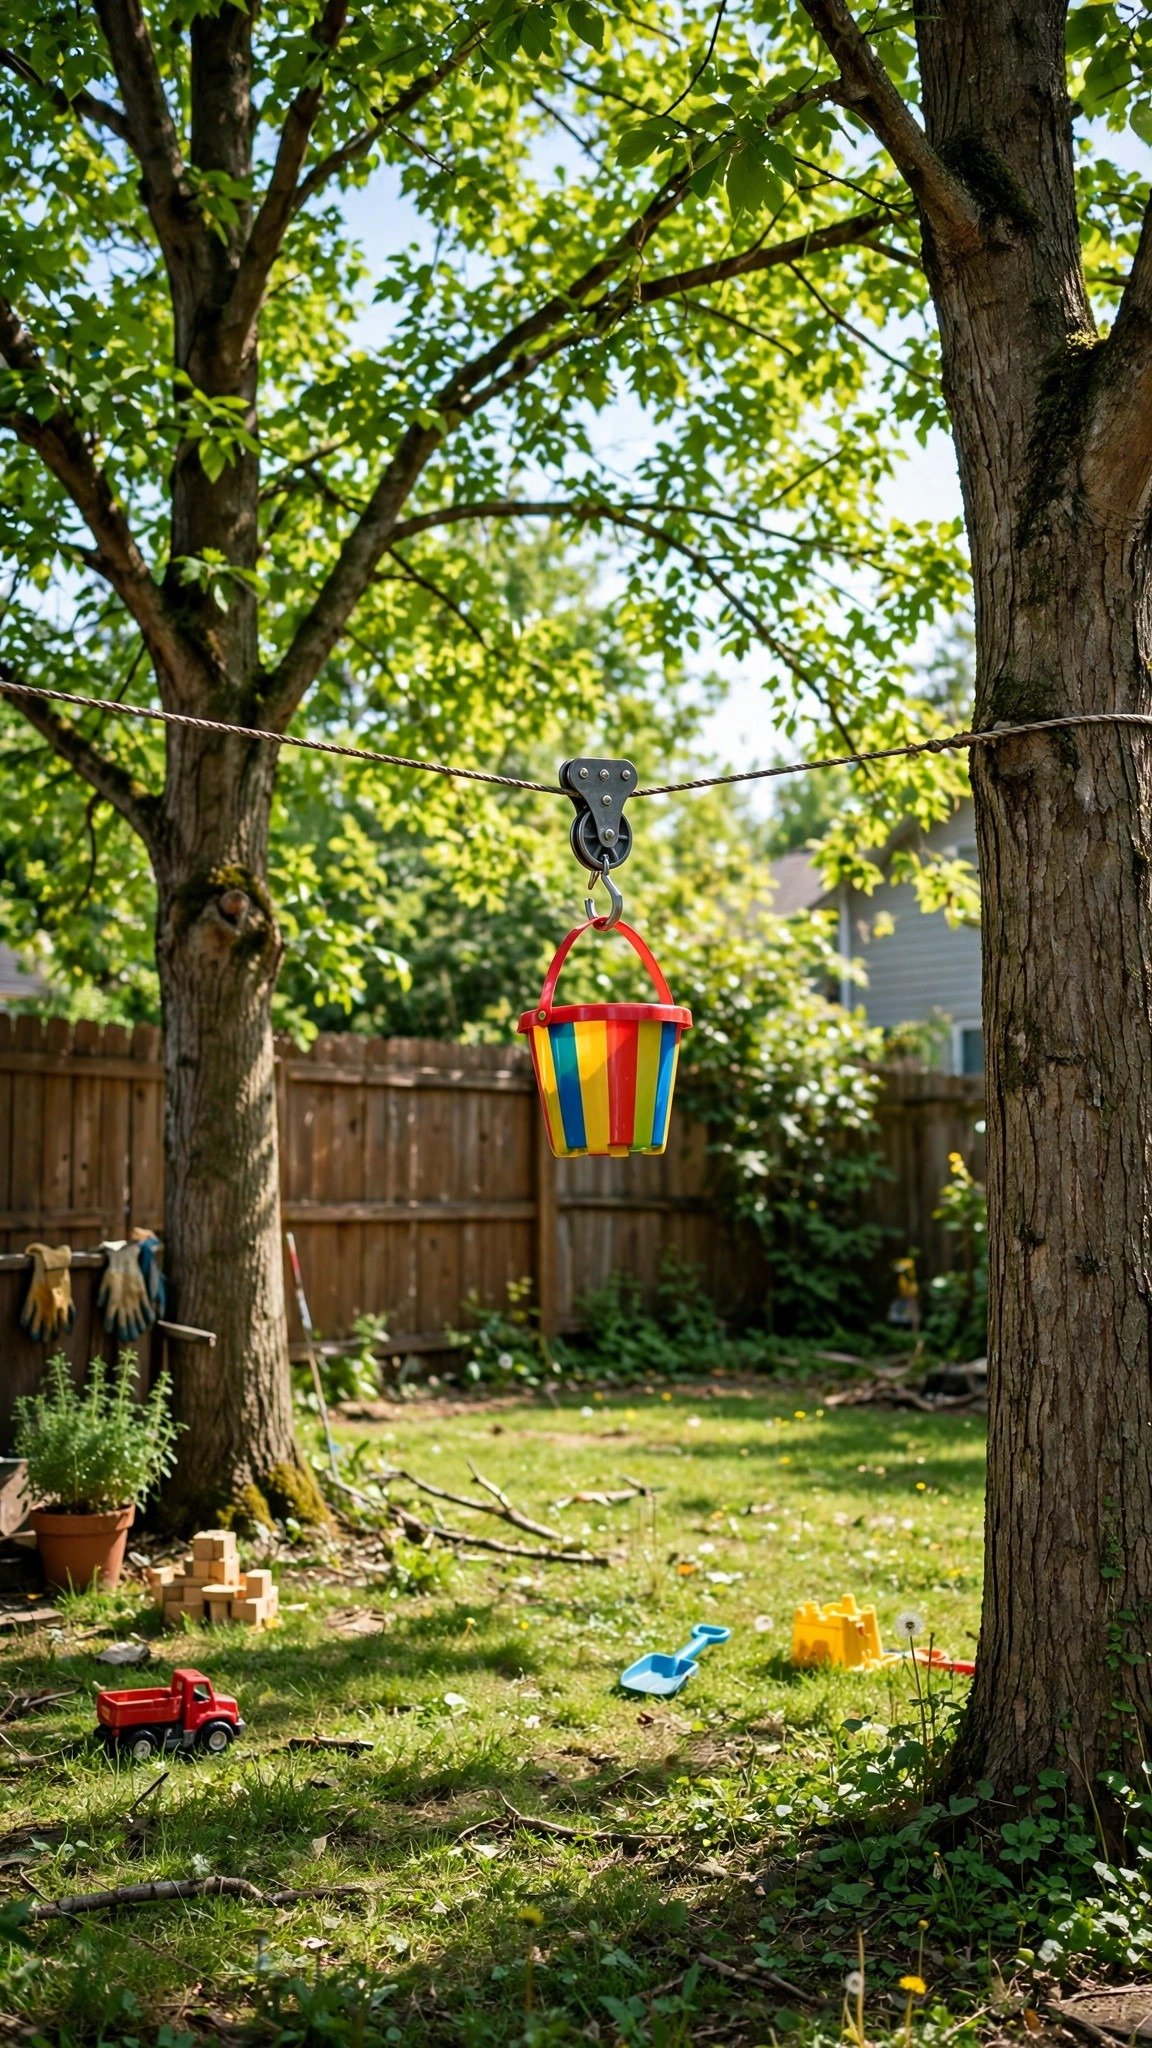
A toy pulley system is a build that gives kids the thrill of a zip line without the height: a rope strung at a slight decline between two sturdy anchor points, a pulley, and a colourful bucket that slides along it. Kids load the bucket with toys, send it across the yard, and run to the other end to catch it. It suits kids from about four up, and it is the build that makes the whole yard feel like an adventure.
Mount the rope at a slight decline so the bucket slides smoothly on its own, and use a clothesline pulley for a budget-friendly option. Make sure the anchor points are sturdy enough to handle the rope tension, and tie a thick stop knot at the end so the bucket cannot hit the tree. A colourful bucket is easy to spot as it travels across the yard. The pulley system also teaches kids how things move — without a single lesson, because they are too busy playing to notice.
What you need: a long rope, a clothesline pulley, a colourful bucket, two sturdy anchor points, a stop knot.
17. A Painted Rock Hunt Trail
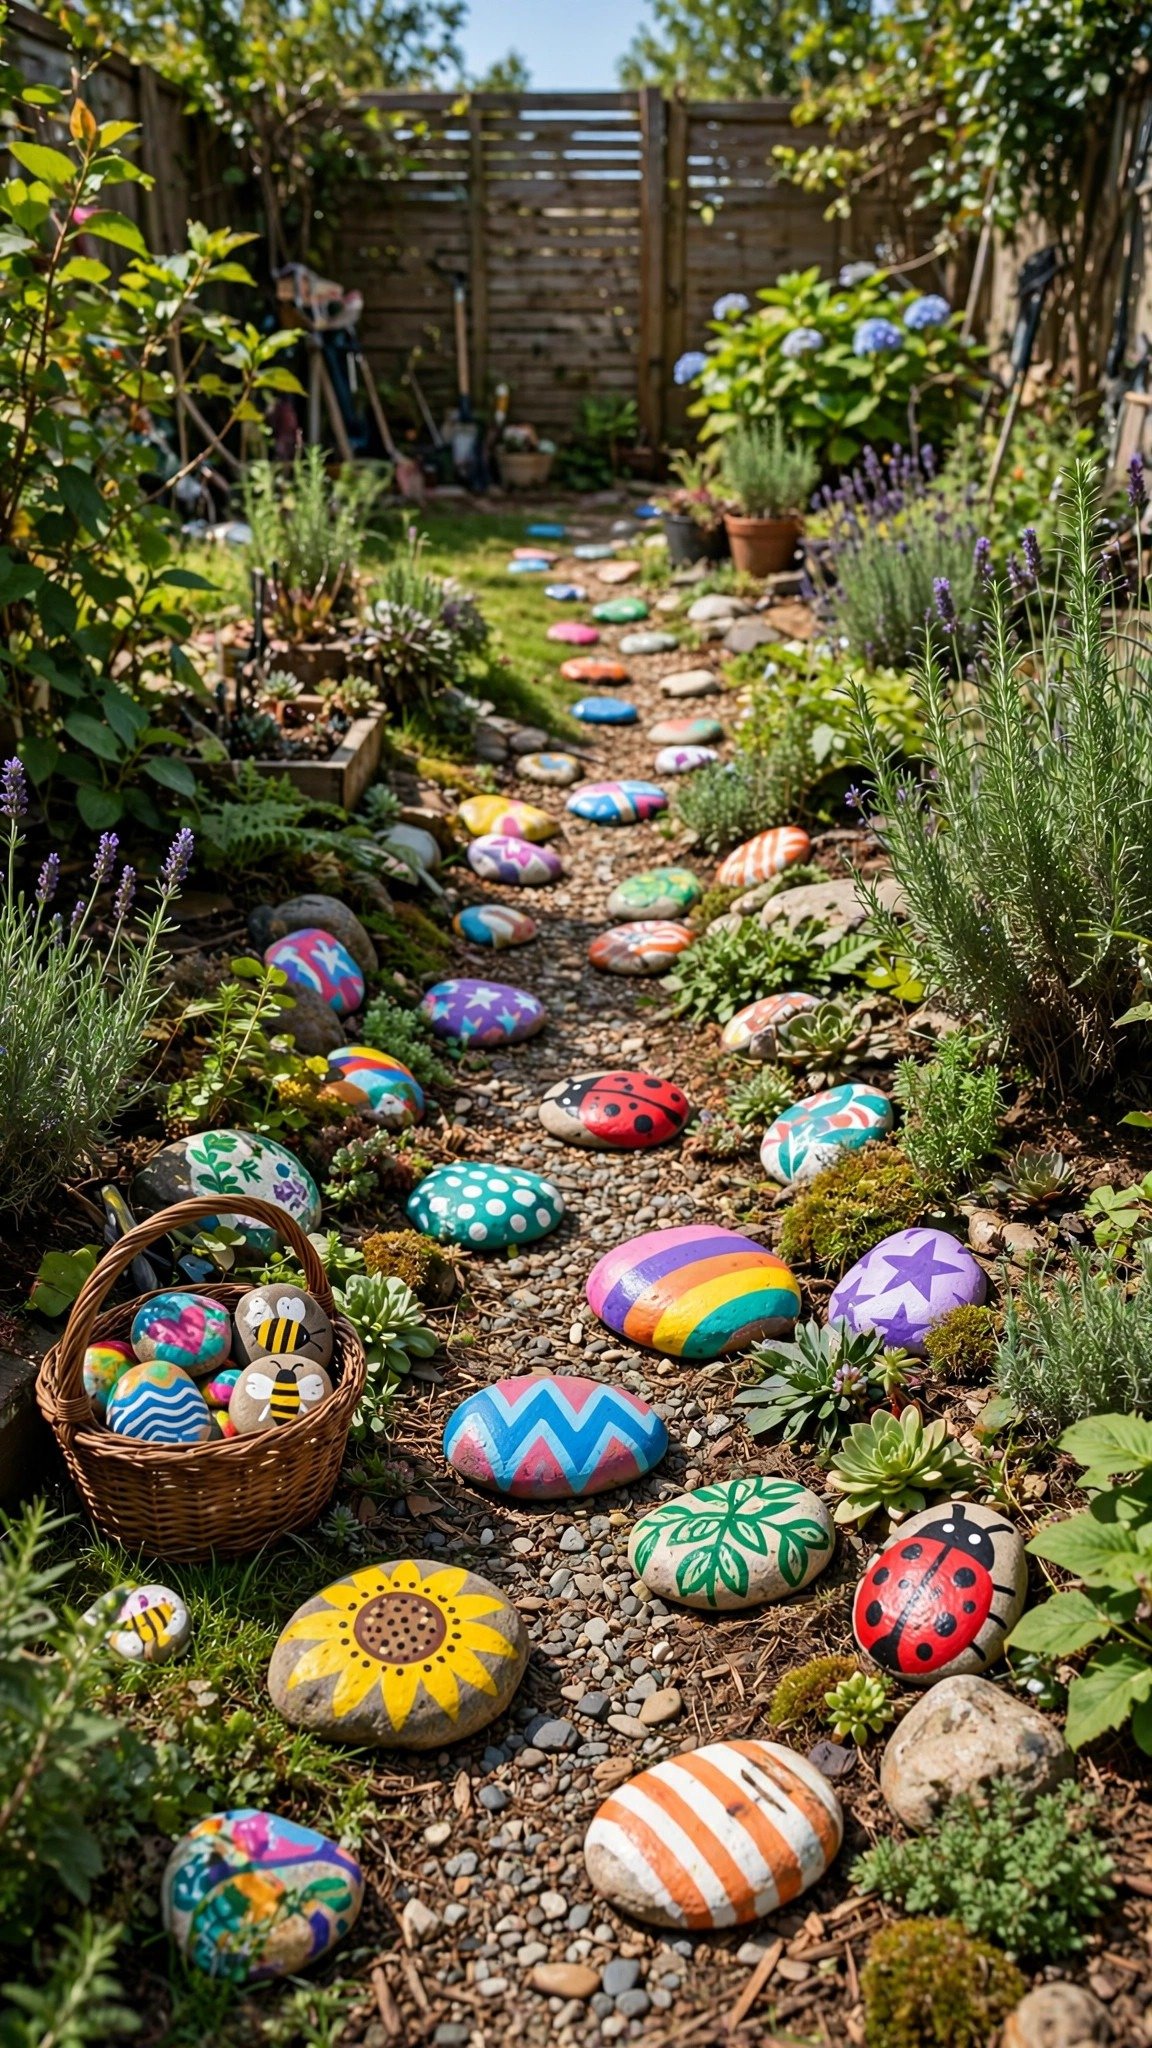
A painted rock hunt trail is a build that costs almost nothing: smooth rocks, acrylic paint, and a clear sealant. Paint the rocks with numbers, letters, animals, or patterns, seal them so the rain cannot wash the paint away, and hide them around the yard. Kids hunt for them, collect them in a basket, and the game refreshes itself every time you hide the rocks in new spots. It suits kids from about three up, and it is the build that turns a walk around the yard into a treasure hunt.
Use flat, palm-sized stones for the best painting surface, and acrylic pens for detailed designs. Seal every rock with a clear acrylic spray so the artwork survives the rain, and hide them in places kids can actually reach — flower pots, under benches, beside the path. Laminate a simple checklist so kids can tick off what they find, and rotate the hiding spots each week. The rock hunt also works brilliantly for birthday parties and playdates.
What you need: smooth flat rocks, acrylic paint or pens, clear acrylic sealant, a basket, a laminated checklist.
FAQs
What is the cheapest DIY playground idea?
The cheapest builds cost almost nothing: a painted rock hunt needs only rocks and paint, a balance beam needs one plank, and a tire swing needs one old tyre and a rope. A mud kitchen from old pallets and a log climber from free logs are nearly free too. Start with what you already have — pallets, tyres, and planks lying around the yard.
How do I make sure my DIY play structure is safe?
Anchor every structure deep into the ground so it cannot tip, sand every surface smooth to remove splinters, and use bolts rather than nails for anything that moves. Lay soft ground — mulch or rubber tiles about nine inches deep — under anything kids climb or jump from. Test every build yourself before the kids use it, and check the bolts and ropes every season.
What is the best wood for outdoor play equipment?
Cedar and redwood are the best choices because they naturally resist rot and insects without harsh chemicals. Heat-treated pallets (marked “HT”) are safe too. Avoid chemically treated wood where little hands touch it. Whatever wood you use, seal it with a clear outdoor finish once a year to keep it strong.
Can I build a DIY playground in a small backyard?
Yes. In a small yard, build up instead of out: a climbing wall on a fence, a rope bridge low to the ground, and foldable equipment like a tunnel course that packs away. One compact build — a balance beam, a sandbox, or a water station — gives kids real play without crowding the yard. Start with one build and see how much room is left.
How long does it take to build a DIY playground?
It depends on the build. Quick wins like a balance beam, a tire swing, or a painted rock hunt take about an hour. Afternoon builds like a sandbox, a mud kitchen, or a ball toss board take a few hours. Weekend builds like a swing set, a pallet playhouse, or a climbing wall take a full weekend. Build one project at a time and the playground grows over the summer.
What tools do I need for a DIY backyard playground?
Most builds need only basic tools: a saw, a drill, a screwdriver, a tape measure, and sandpaper. A level helps keep structures straight, and a spade is useful for digging anchor holes and trenches. You do not need expensive power tools — a hand saw and a drill will build almost everything on this list.
How do I maintain a wooden DIY playground?
Apply a fresh coat of waterproof sealant once a year, tighten all bolts every spring and autumn, and inspect the wood for splinters and rot. Rake the ground cover to keep it deep under climbing and jumping spots. Replace any wood that has gone soft or cracked, and take ropes and fabric down in winter so they last longer.
Conclusion
Creating a backyard playground doesn’t have to mean buying an expensive playset or transforming your entire garden. With thoughtful planning, you can introduce enjoyable activities using practical materials and designs that suit your available space.
From a colorful mud kitchen and a simple sandbox to a painted rock trail or an outdoor building station, each idea offers a different way for children to enjoy their surroundings. Start with one project that matches your budget and DIY experience, then gradually add more features as your family needs change.
Most importantly, prioritize safe construction, suitable materials, and regular maintenance. A well-planned backyard play area can give children more opportunities to explore, create, and enjoy outdoor play right at home.