32 Kitchen Counter Coffee Bar Ideas for a Cozy, Cafe-Style Kitchen
There is something special about walking into your kitchen and finding your coffee spot ready for the morning. No searching for filters, moving things around, or clearing a crowded counter before making your first cup. These kitchen counter coffee bar ideas will help you create a coffee corner that looks beautiful, keeps everyday essentials organised, and makes your morning routine easier.
Whether you have a spacious countertop or just a small corner to work with, the right setup can make a big difference. From stylish trays and mug storage to different brewing stations, cosy decor, and budget-friendly solutions, these ideas will help you create a coffee bar that fits your kitchen, your style, and the way you enjoy your coffee.
1. Measure First, So the Coffee Zone Fits the Counter You Have
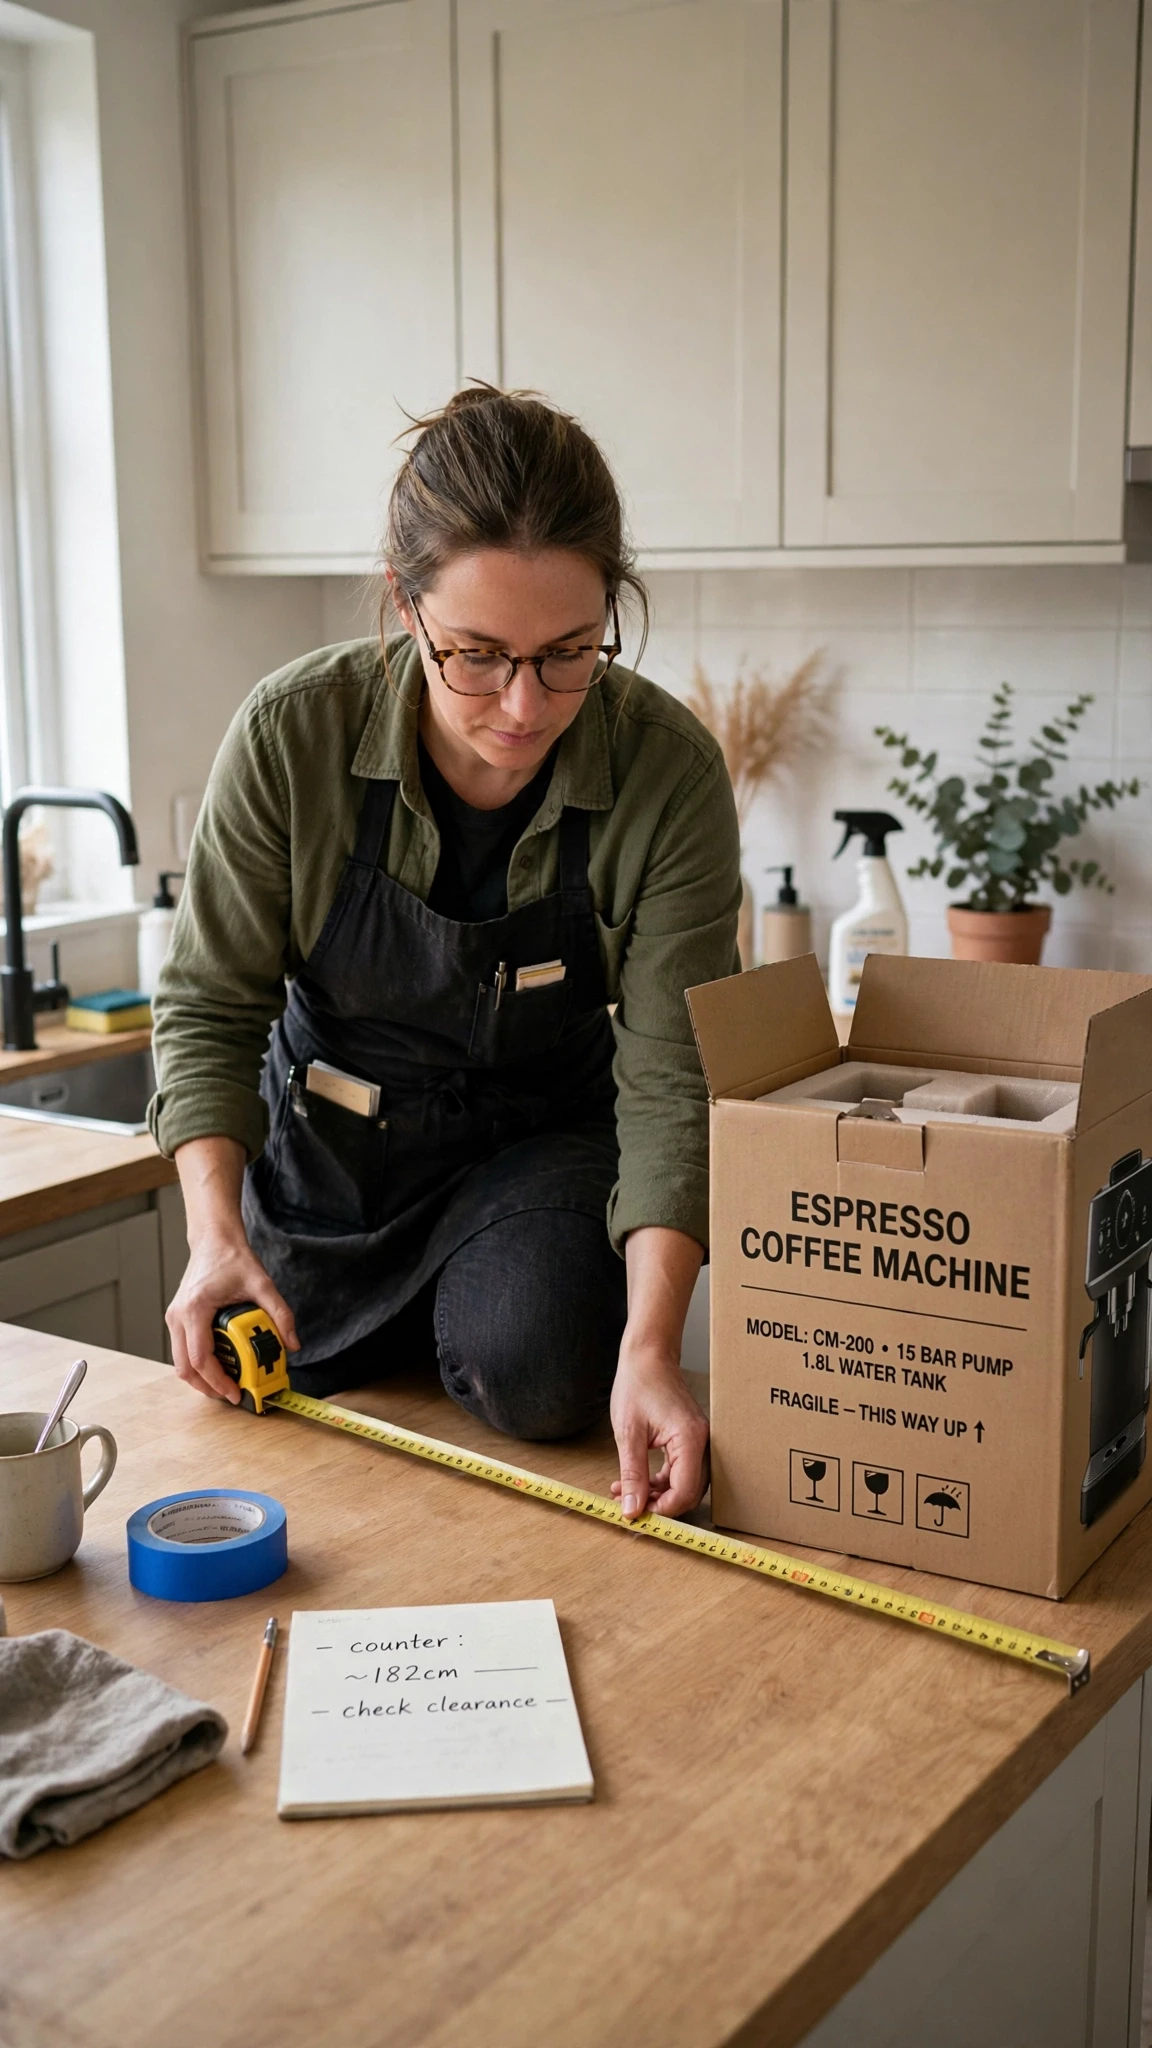
Before you buy a single tray or hook, grab a tape measure and learn what your counter can actually hold. Note the width of the stretch you want to use, the depth from the wall to the edge, and the height under your upper cabinets, since a tall machine under a low cabinet is a daily frustration. A zone that fits its space feels calm from the start, while one that crowds the edge or blocks a cabinet door will annoy you every morning.
- Width check: measure the open stretch, then leave a few inches free on each side
- Depth rule: keep the machine and supplies well back from the counter edge
- Height check: confirm the machine fits under cabinets with room to lift a lid or pour water
- Cooking space: reserve at least one clear stretch of counter for food prep
2. One Tray to Hold Every Coffee Essential Together
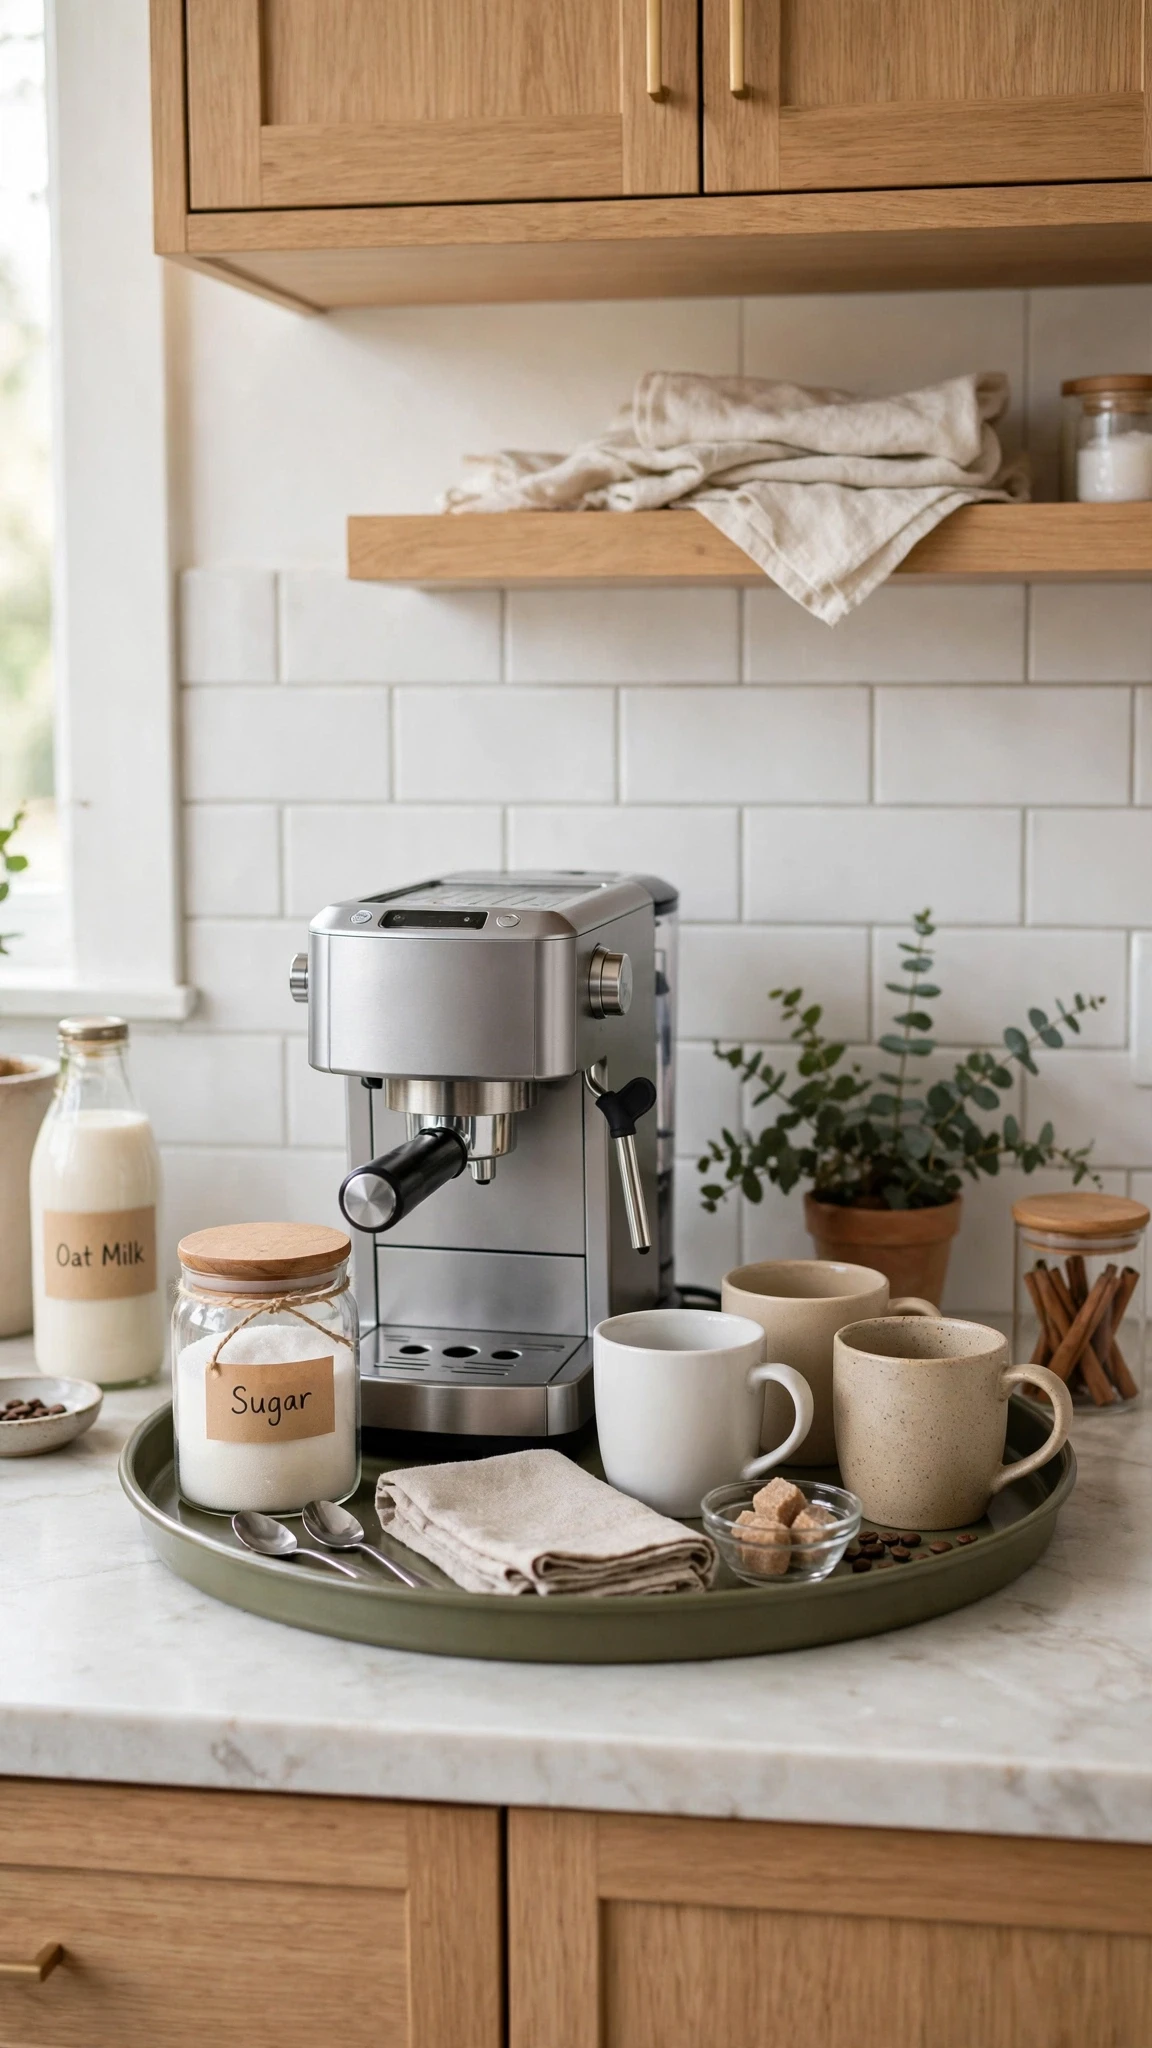
A tray is the simplest fix for a coffee corner that keeps spreading across the counter. It draws a visible border around your machine supplies, your sugar, and your spoons, so everything reads as one station instead of scattered clutter. Pick a tray that fits your zone with a little room to spare, and group only the daily essentials inside it. Anything you use less than once a week belongs in a cabinet, not on the tray.
- Tray pick: a rimmed tray keeps small items from sliding off
- Daily only: machine supplies, sweetener, and spoons earn a tray spot
- Lift test: you should be able to lift the tray to wipe the counter beneath it
3. Place the Machine Near Water and Power, Not in the Middle
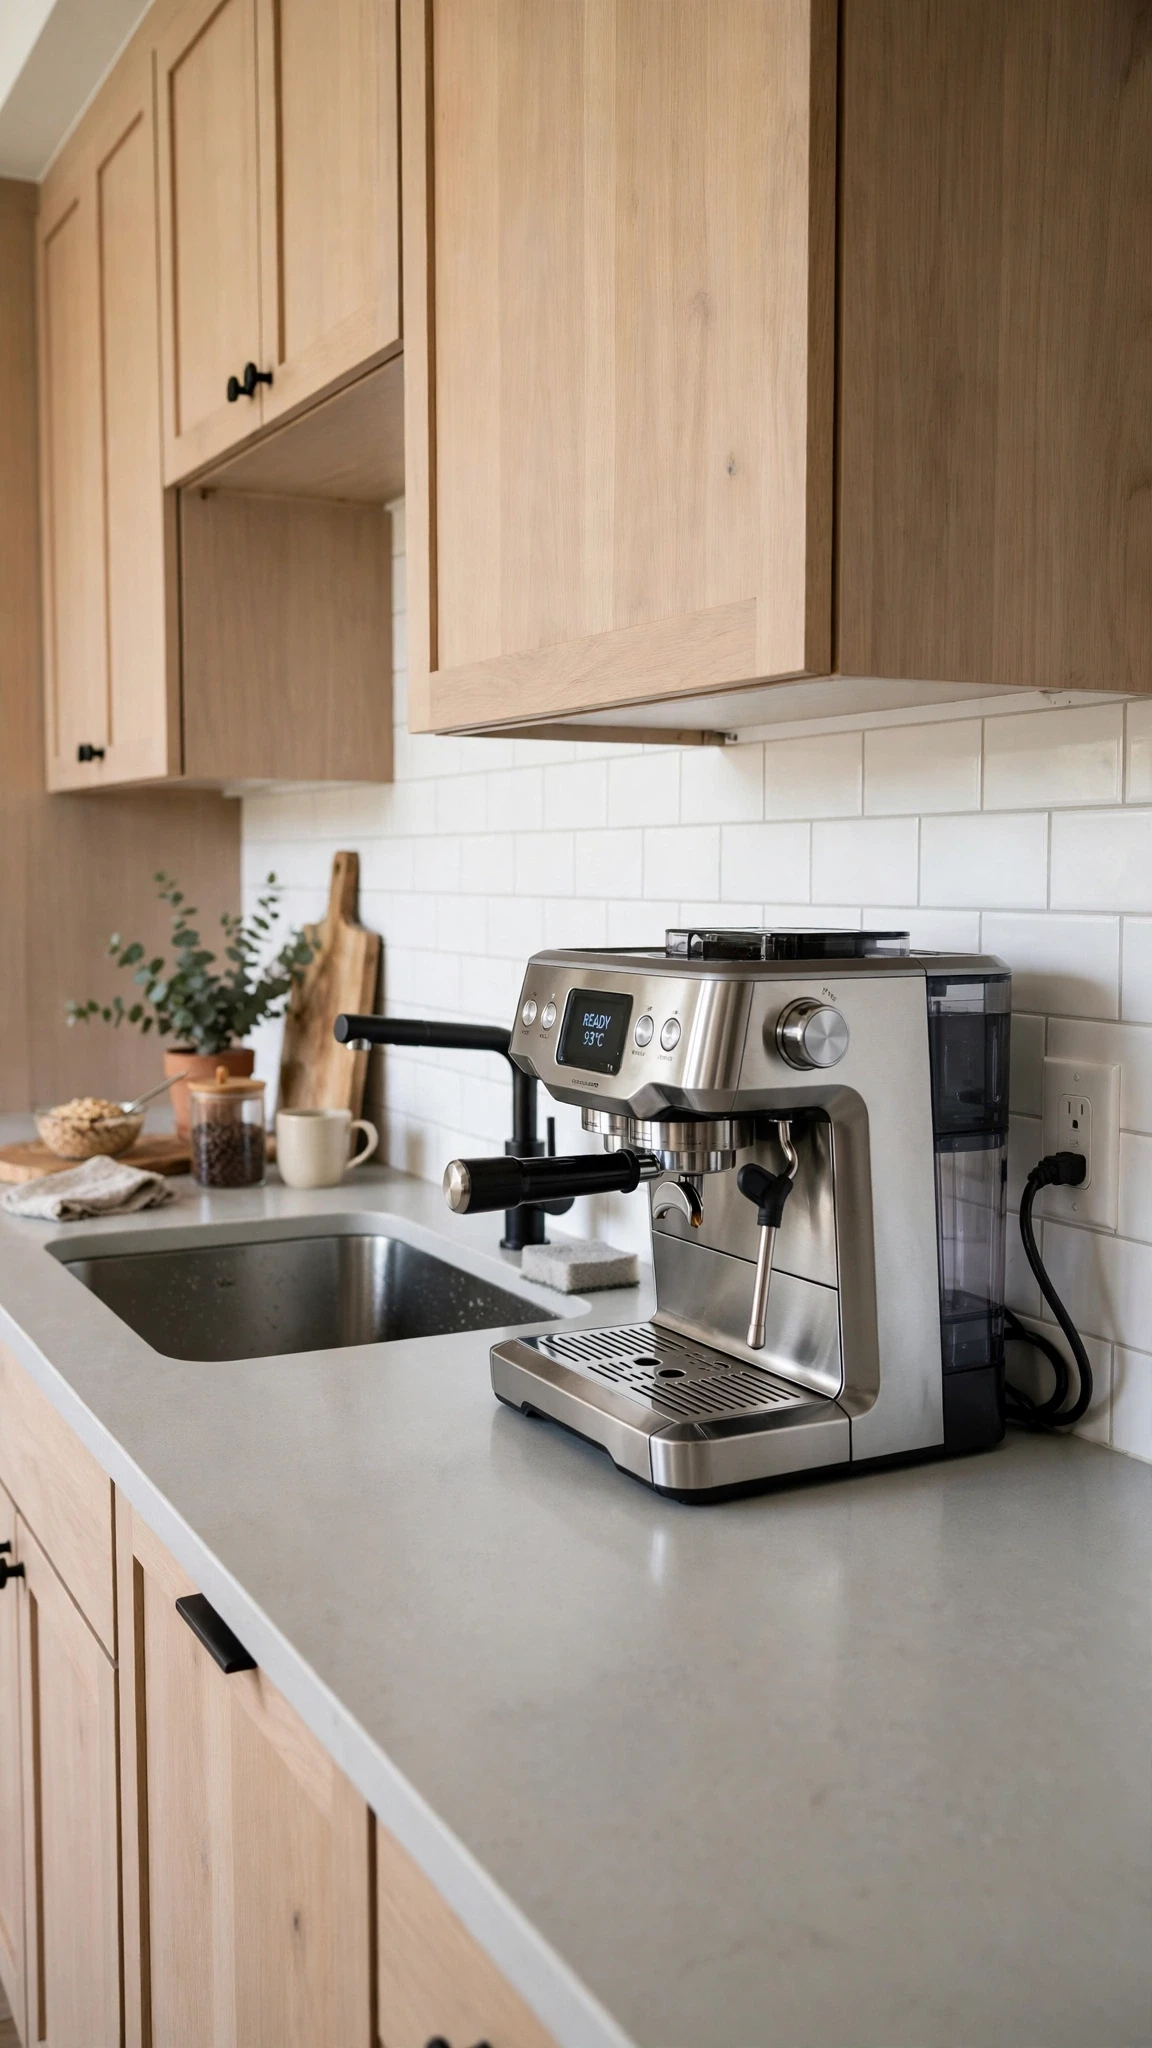
Your machine’s spot decides how smooth every morning feels, so place it where the practical things already are. A spot near the sink means easy filling and quick rinsing, and a spot near an outlet means no cord stretched across the counter. Avoid the middle of your longest counter run, since that is usually prime cooking space, and keep the machine away from the stove, where heat and steam do it no favors.
- Water first: a spot within a step or two of the sink saves daily trips
- Cord rule: the cord should reach the outlet without crossing a walkway or the sink
- Heat check: keep the machine clear of the stove and toaster
- Workflow spot: place it at one end of the counter, not the center
4. A Morning Flow Layout, From Grinding to Brewing to Pouring
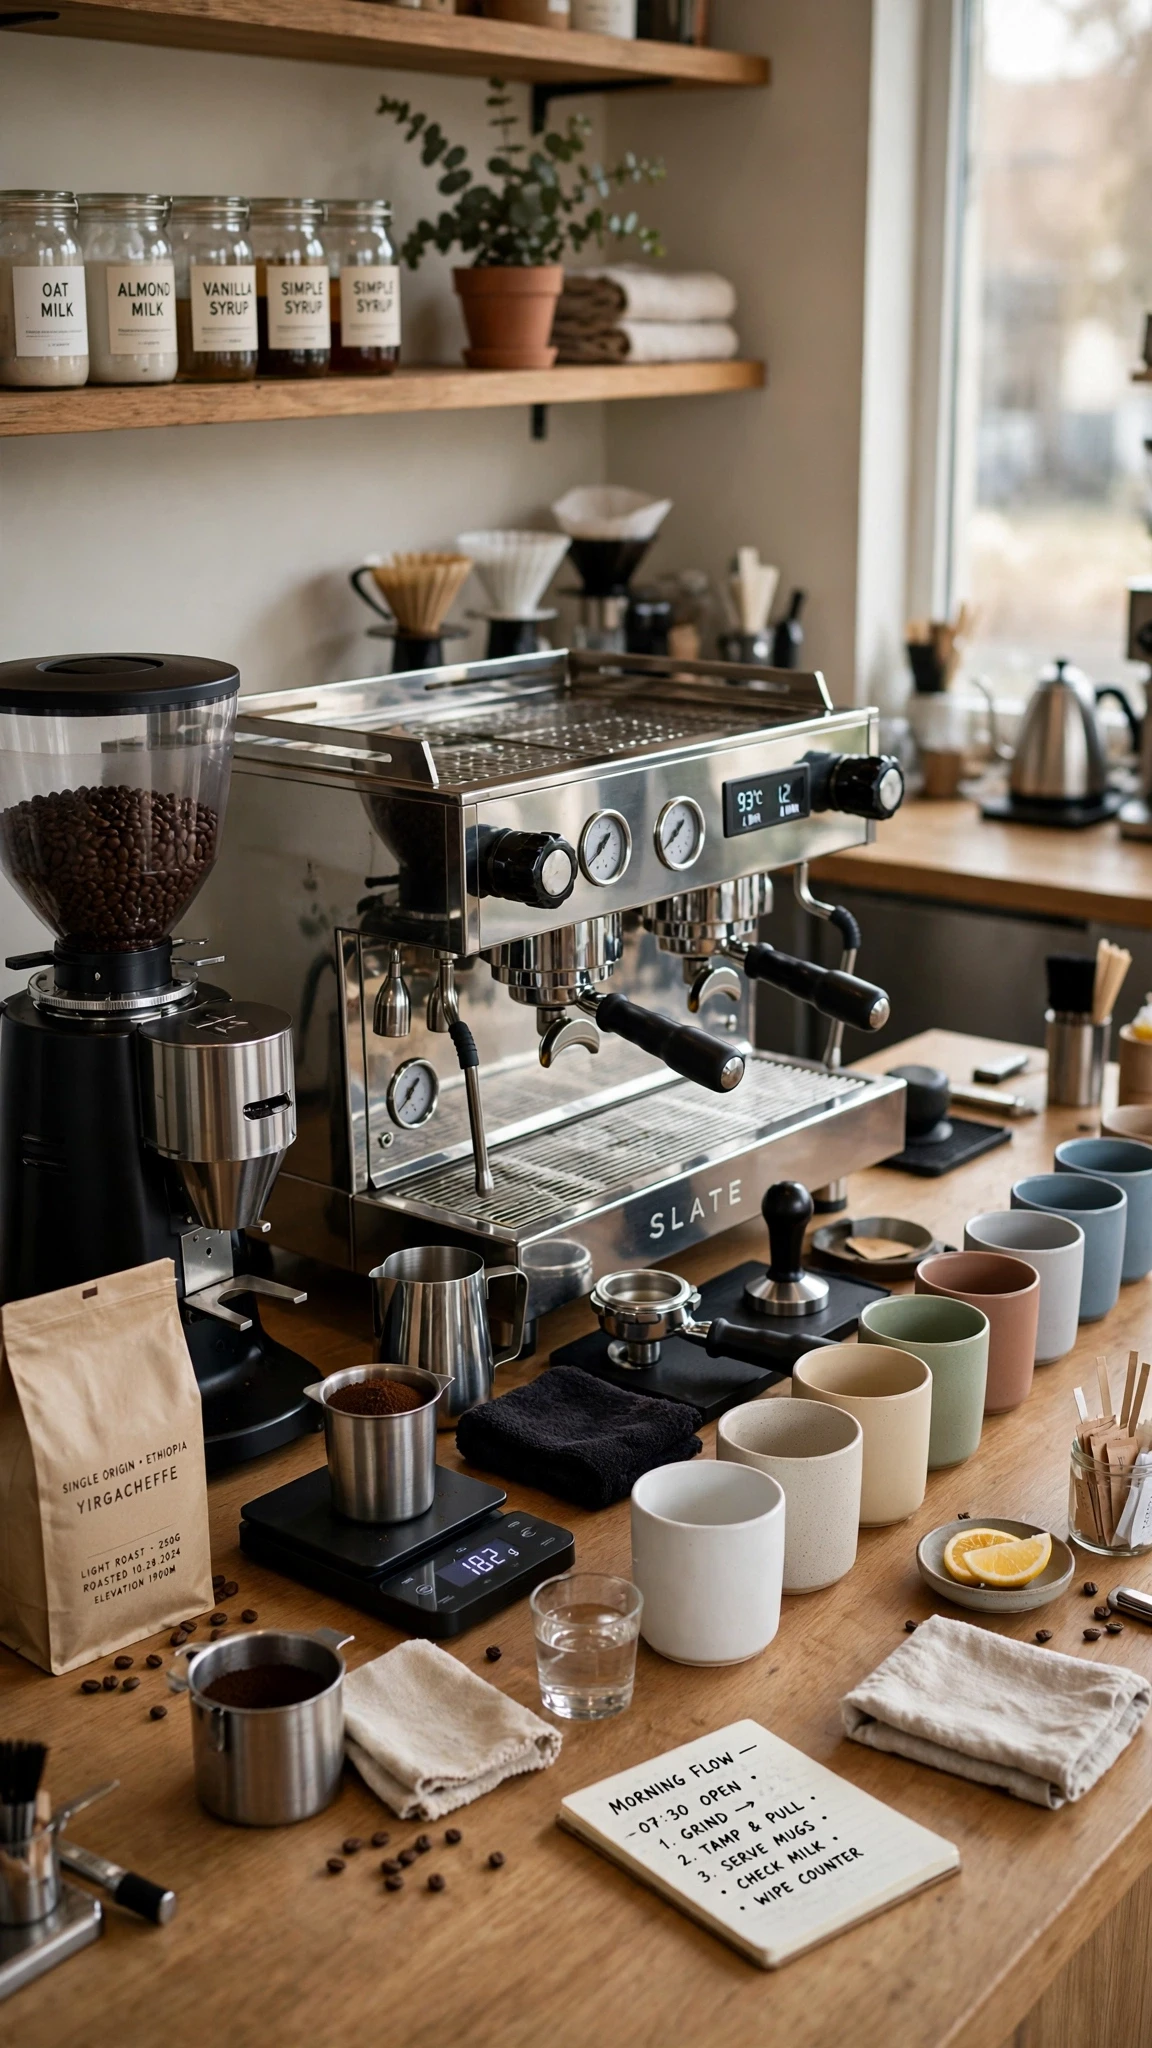
Think of your coffee bar as a tiny assembly line and arrange it in the order you actually use it. Beans and grinder on one side, machine in the middle, mugs and sweetener on the far side, so your hands move in one direction instead of zigzagging across the counter. This flow matters most on busy mornings, when you are working on autopilot and every extra step feels like an obstacle. Stand where you brew and mime the routine once; any awkward reach tells you something needs moving.
- Order rule: grinder, then machine, then mugs, in the direction you move
- Reach test: everything daily should be reachable without a step stool
- Landing spot: leave a clear patch beside the machine for a finished mug
- Left or right: set the flow to match your dominant hand
- Reset habit: return each piece to its flow spot after brewing
5. A Sleek Espresso Machine as the Station’s Anchor
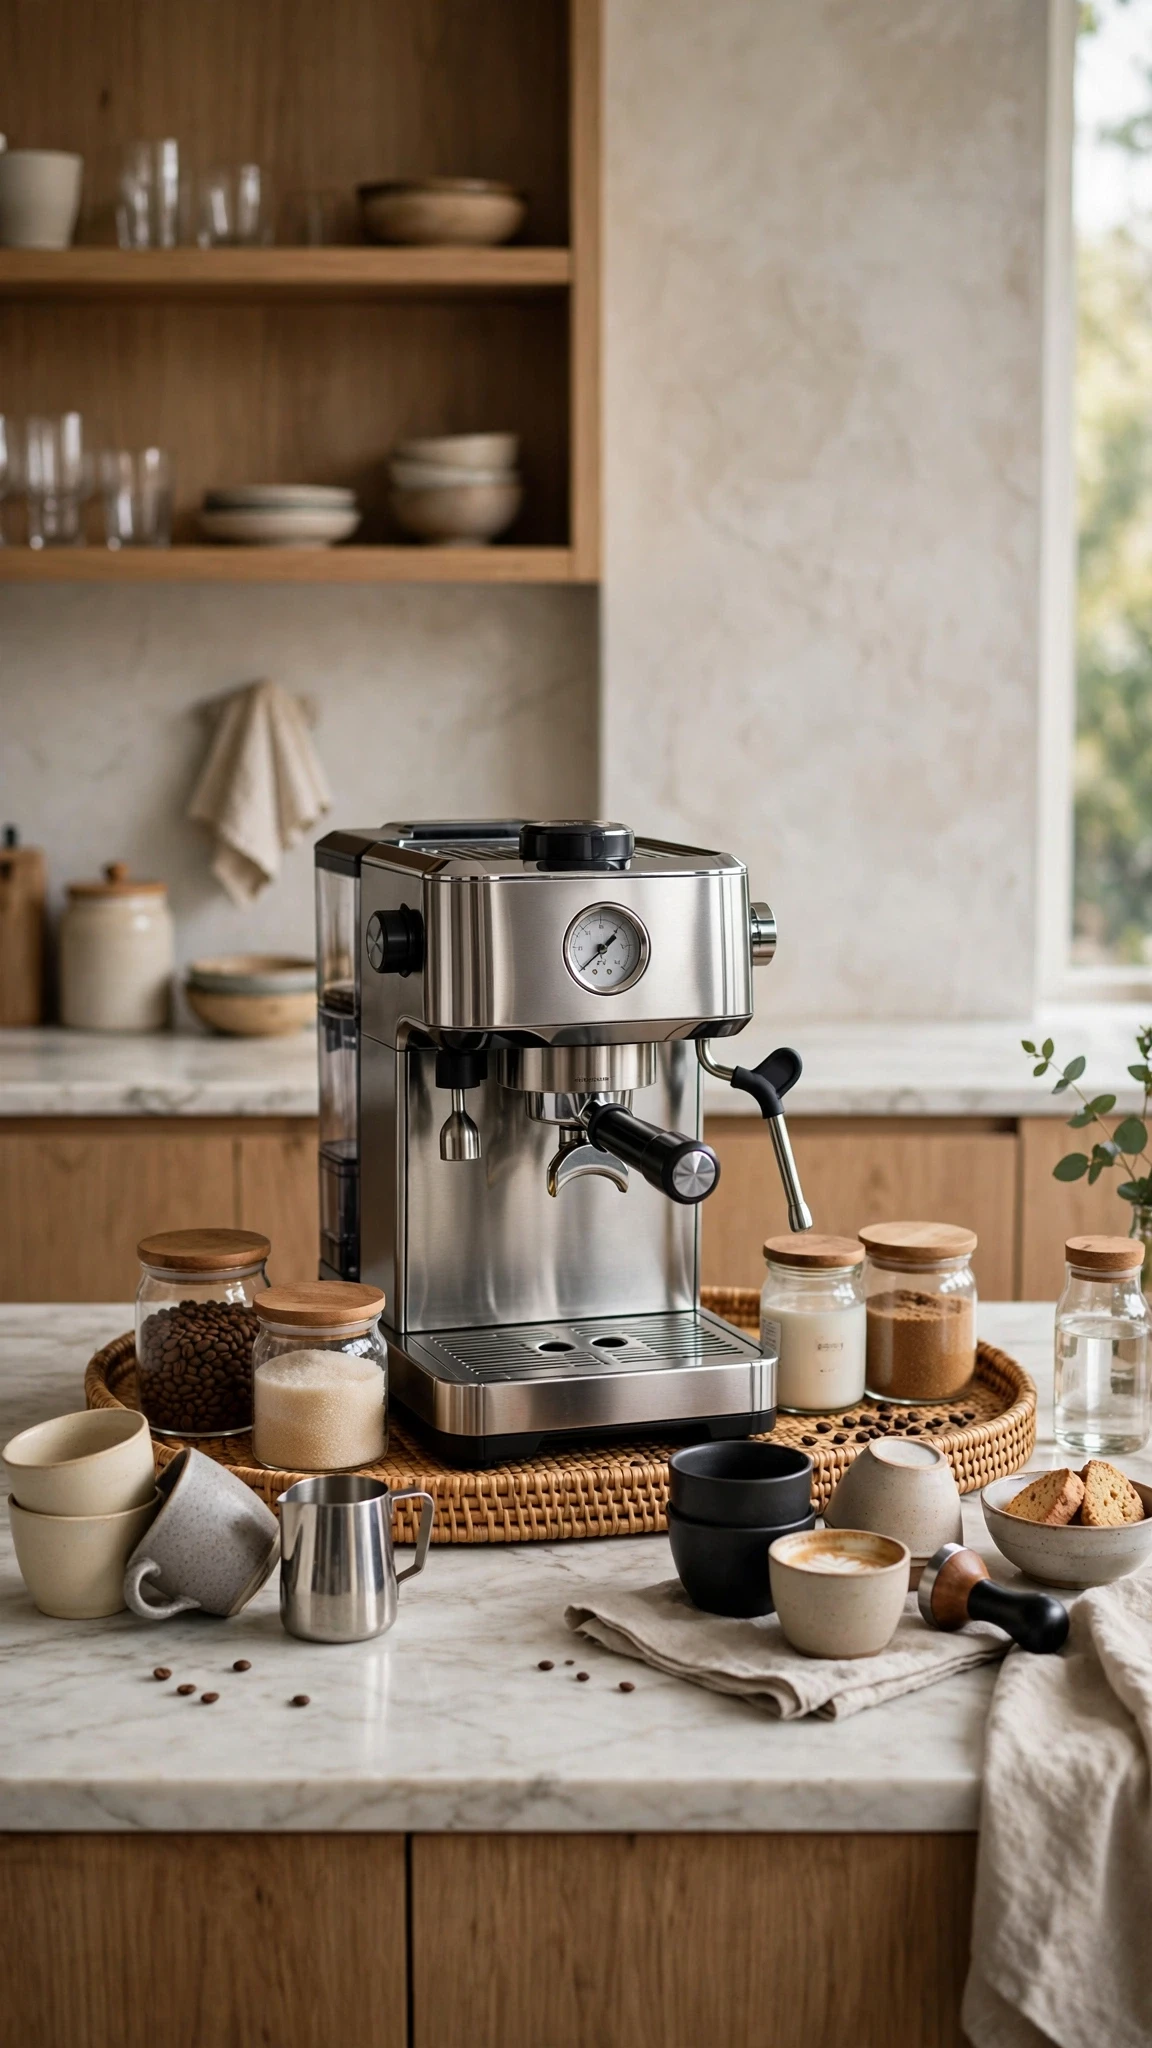
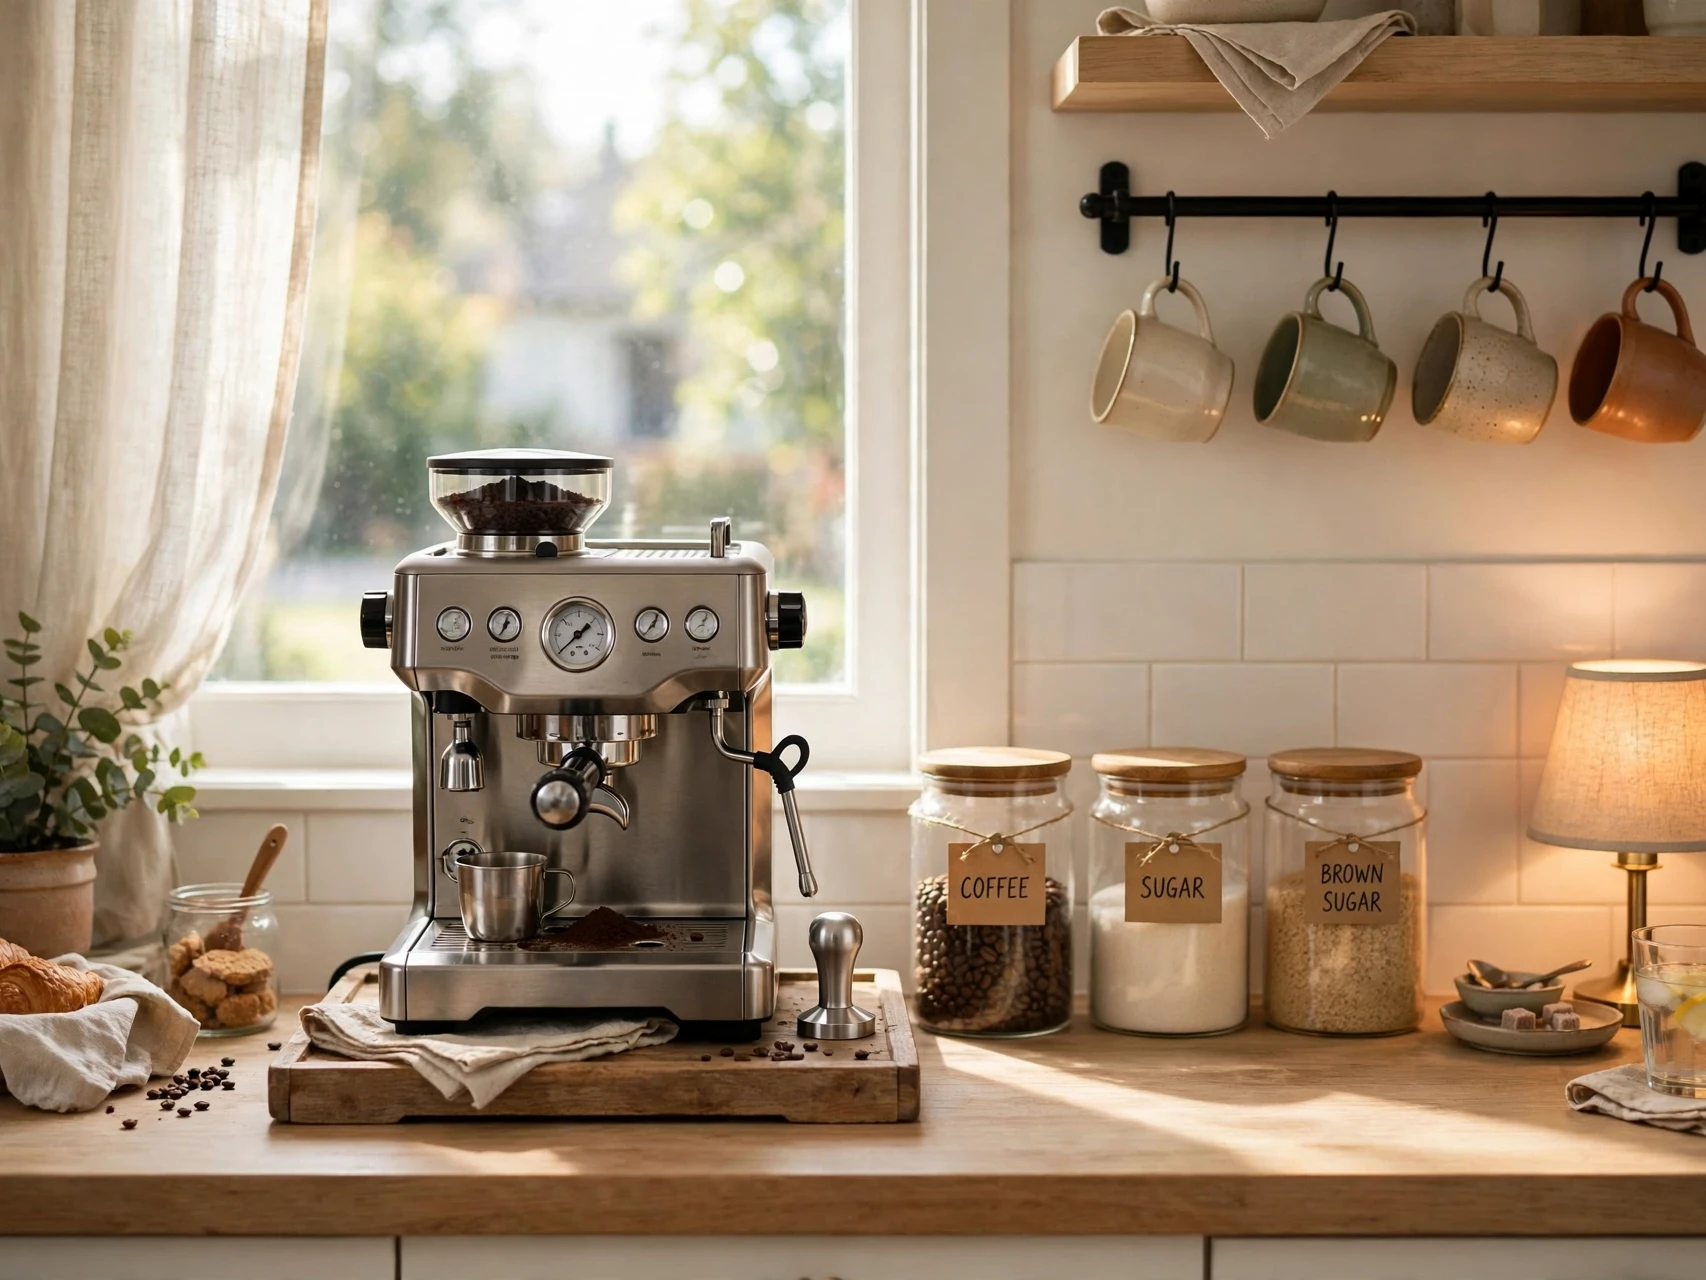
An espresso machine can become the centrepiece of your kitchen coffee bar, especially if you enjoy making café-style drinks at home. Give it a dedicated spot on the counter where you have enough room to operate the machine, place your cup, and access the water tank without moving other items around. Keeping your grinder, coffee beans, and favourite mugs nearby also makes the setup feel organised.
For a polished look, pair a stainless-steel or black espresso machine with a wooden tray, a small container for coffee tools, and a few neatly arranged cups. If your machine has a manufacturer-designed cup-warming surface, you can use it for mugs. Otherwise, store your cups on a nearby shelf or mug rack.
- Anchor spot: center the machine on its tray or board
- Low neighbors: keep jars and cups lower than the machine’s top
- Cup ready: store two daily cups upside down on top, if space allows
- Wipe habit: a quick wipe of the drip tray each morning keeps it looking sharp
6. A Pour-Over Corner for Slow, Ritual Mornings
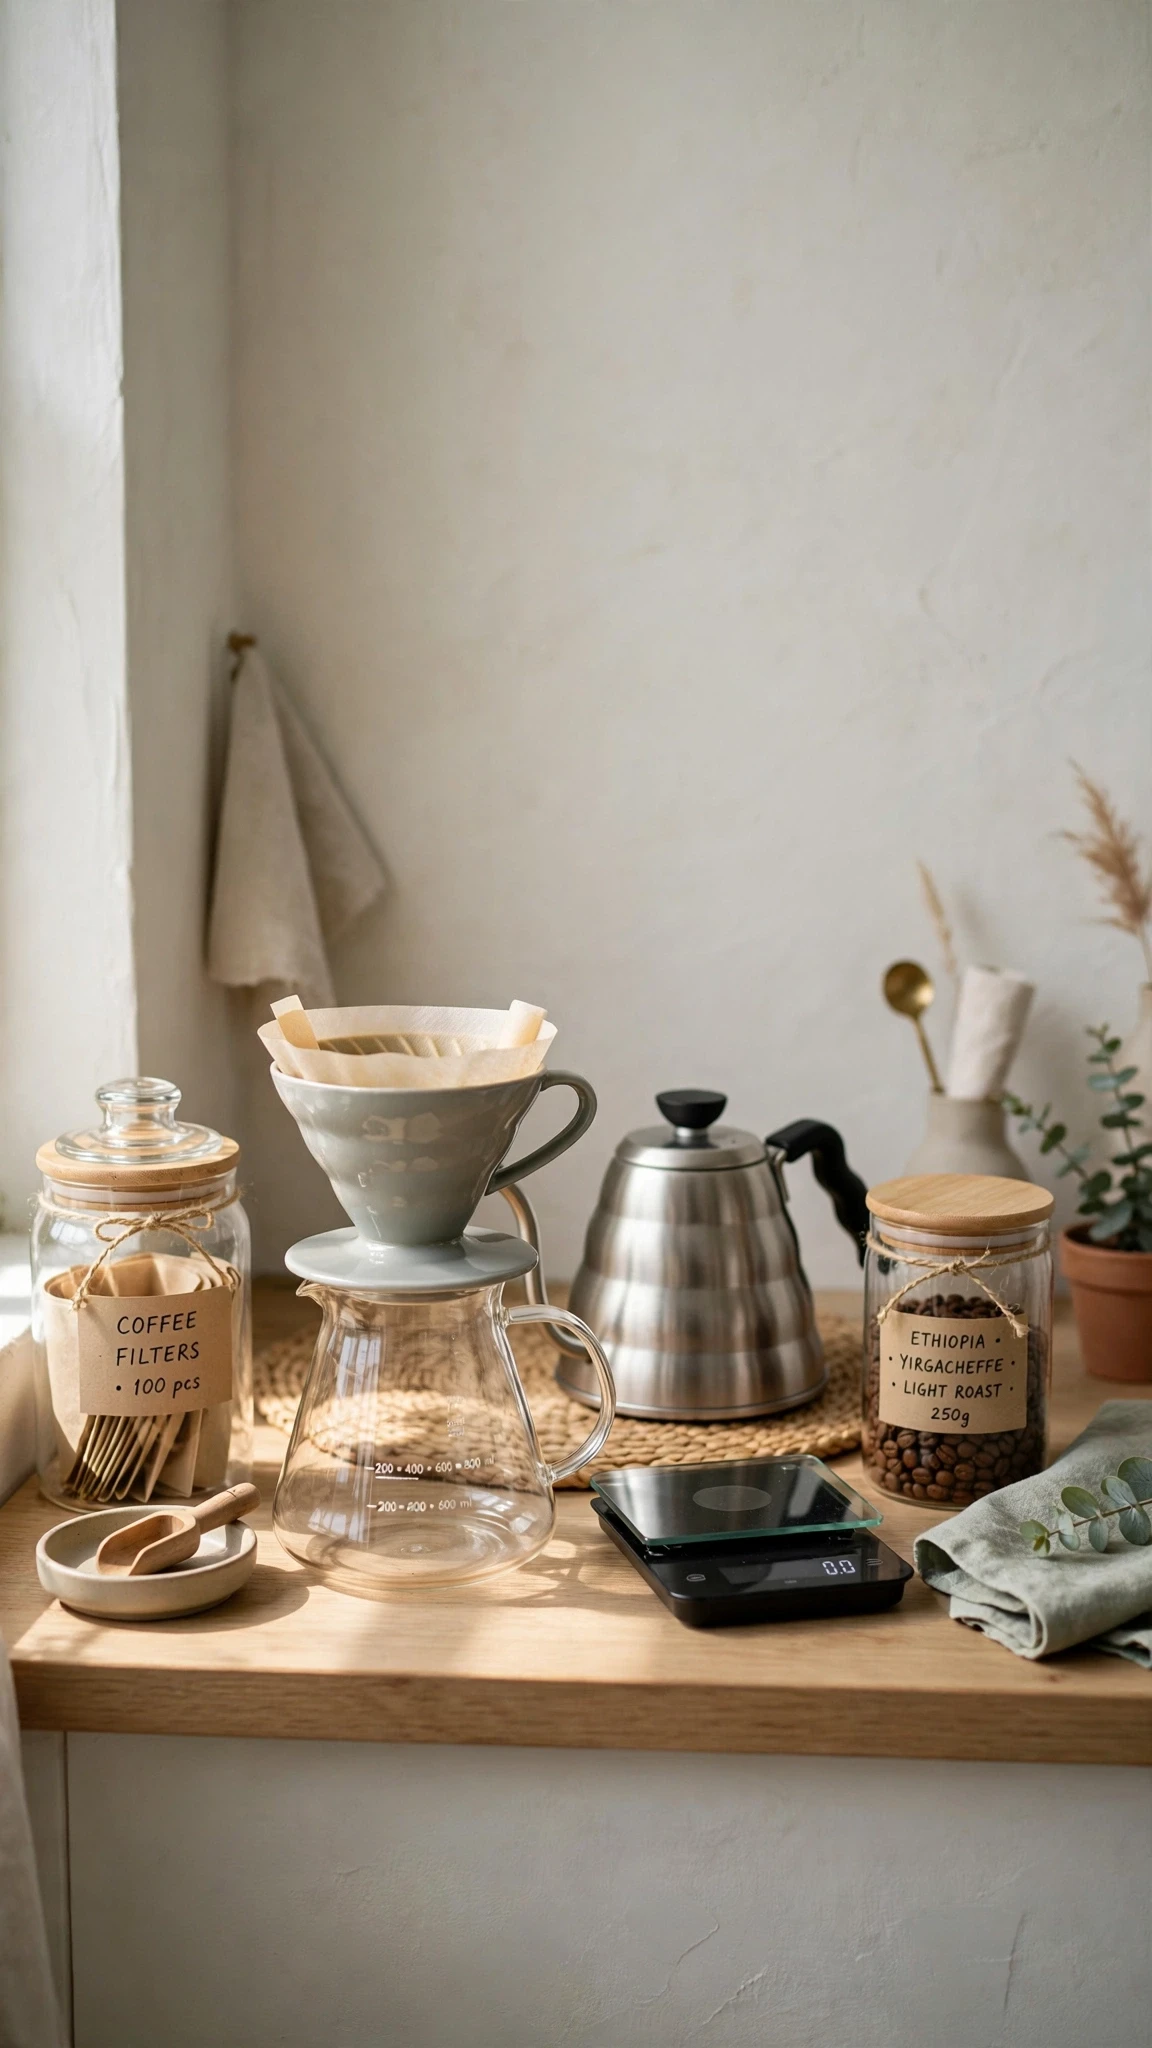
Pour-over brewing suits people who enjoy the ritual as much as the coffee, and its setup can be beautifully simple: a dripper, a kettle, filters, and a carafe or favorite mug. Because the gear is small, a pour-over corner fits on counters where a big machine never would, and it looks best when the pieces are visible rather than hidden away. Keep the dripper on a small stand or over its carafe, the kettle beside it, and filters in a jar within reach, so the whole ritual sits ready.
- Gear list: dripper, kettle, filters, and a carafe or large mug
- Stand trick: a small dripper stand keeps the setup tidy between brews
- Filter jar: a glass jar for filters looks neat and keeps them dry
7. A Manual Brewing Pair for Hands-On Mornings
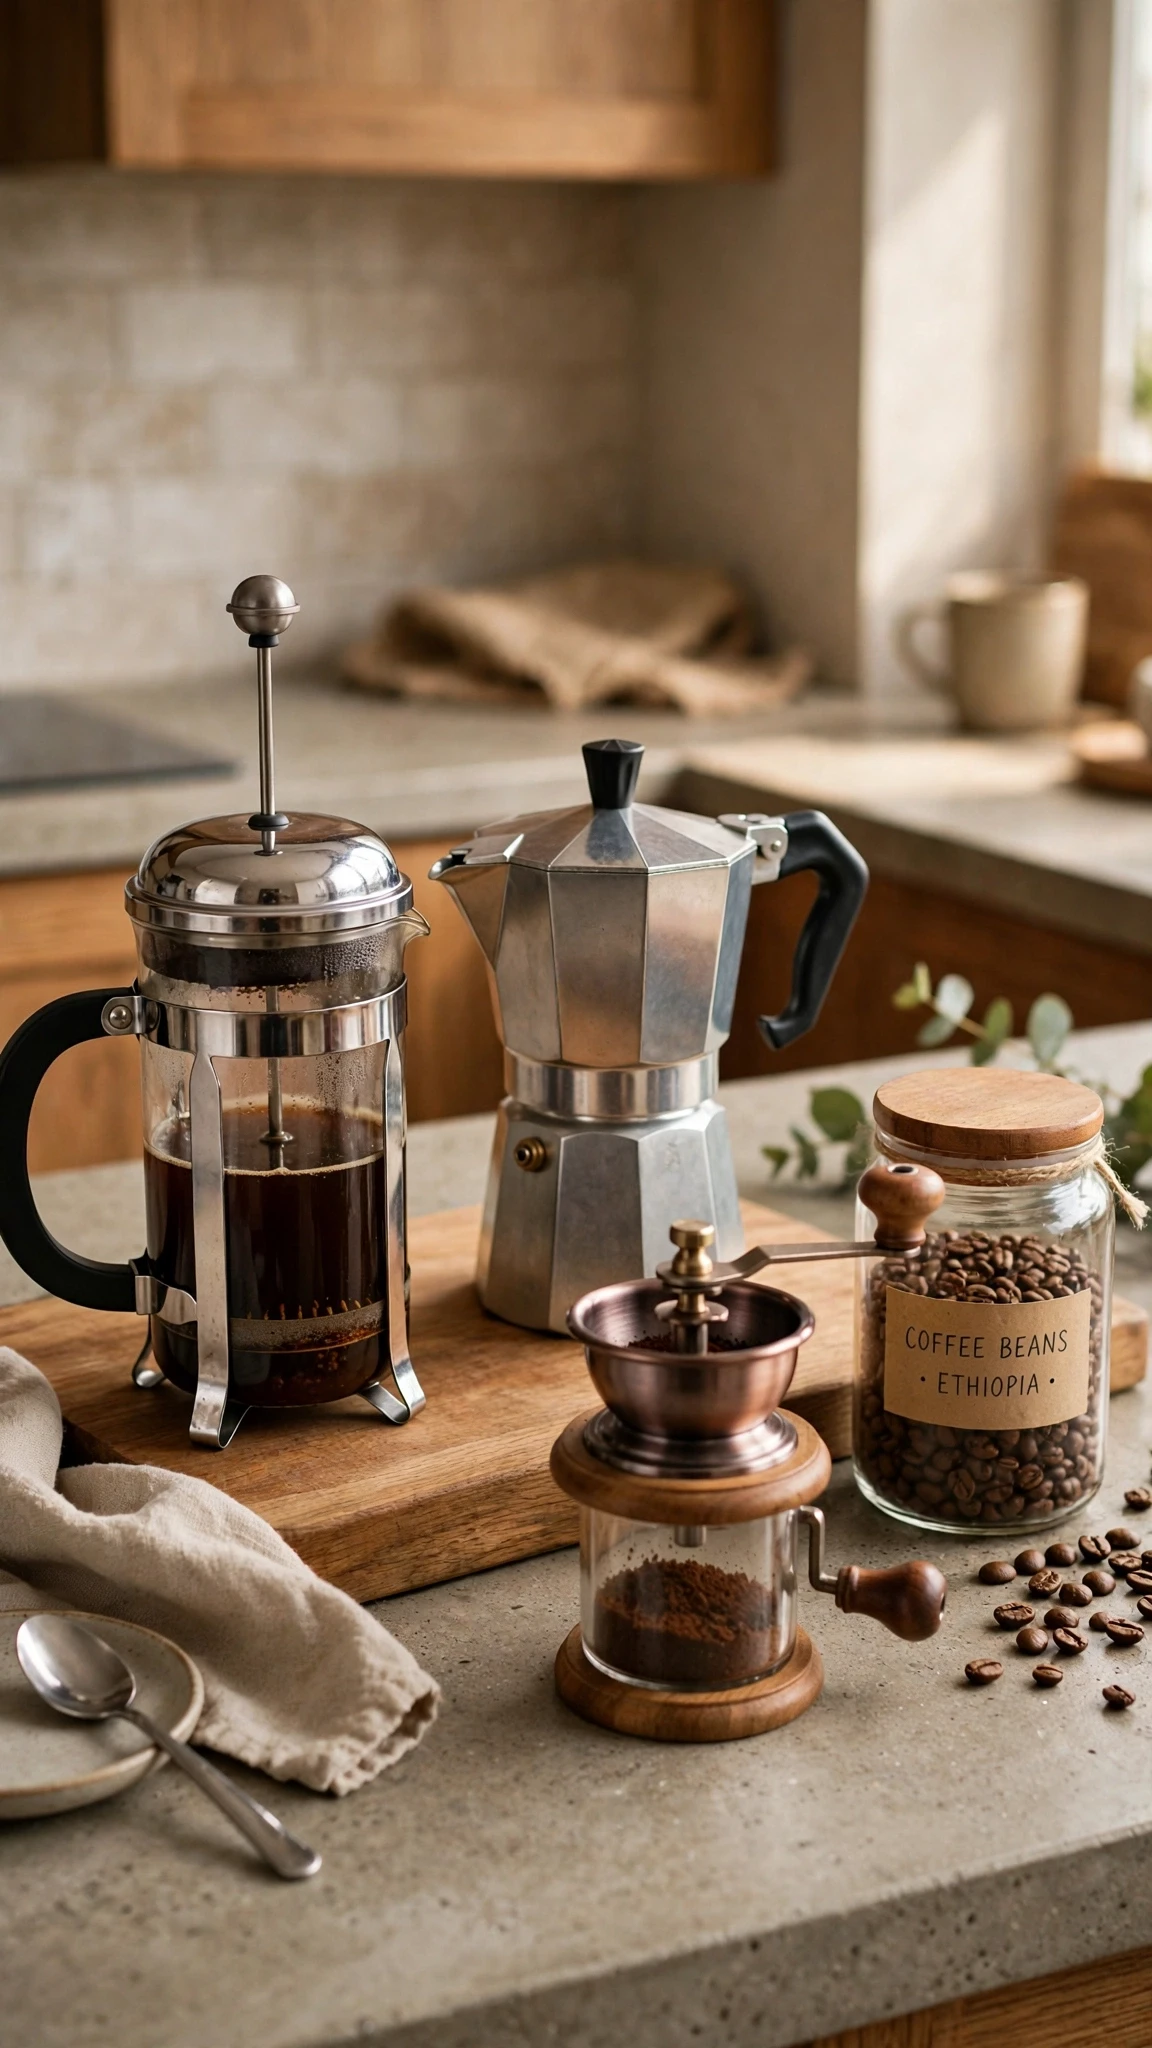
Some mornings call for a French press, others for a moka pot or a Chemex, and a manual brewing pair lets you keep two favorites out without crowding the counter. The trick is treating them as one station: both presses or pots on a single board or tray, with a shared grinder and a jar of beans beside them. Rotate which one you use by mood, and store the rest of your brewing gear in a cabinet so the counter holds only the pair you actually reach for.
- Pair rule: two brewers you genuinely use weekly, no more
- Shared base: one board or tray holds both, plus the grinder
- Bean jar: one jar of beans serves both brewers
- Cabinet rest: extra brewers live in a cabinet, not on the counter
8. A Drip Machine Setup That Serves the Whole Household
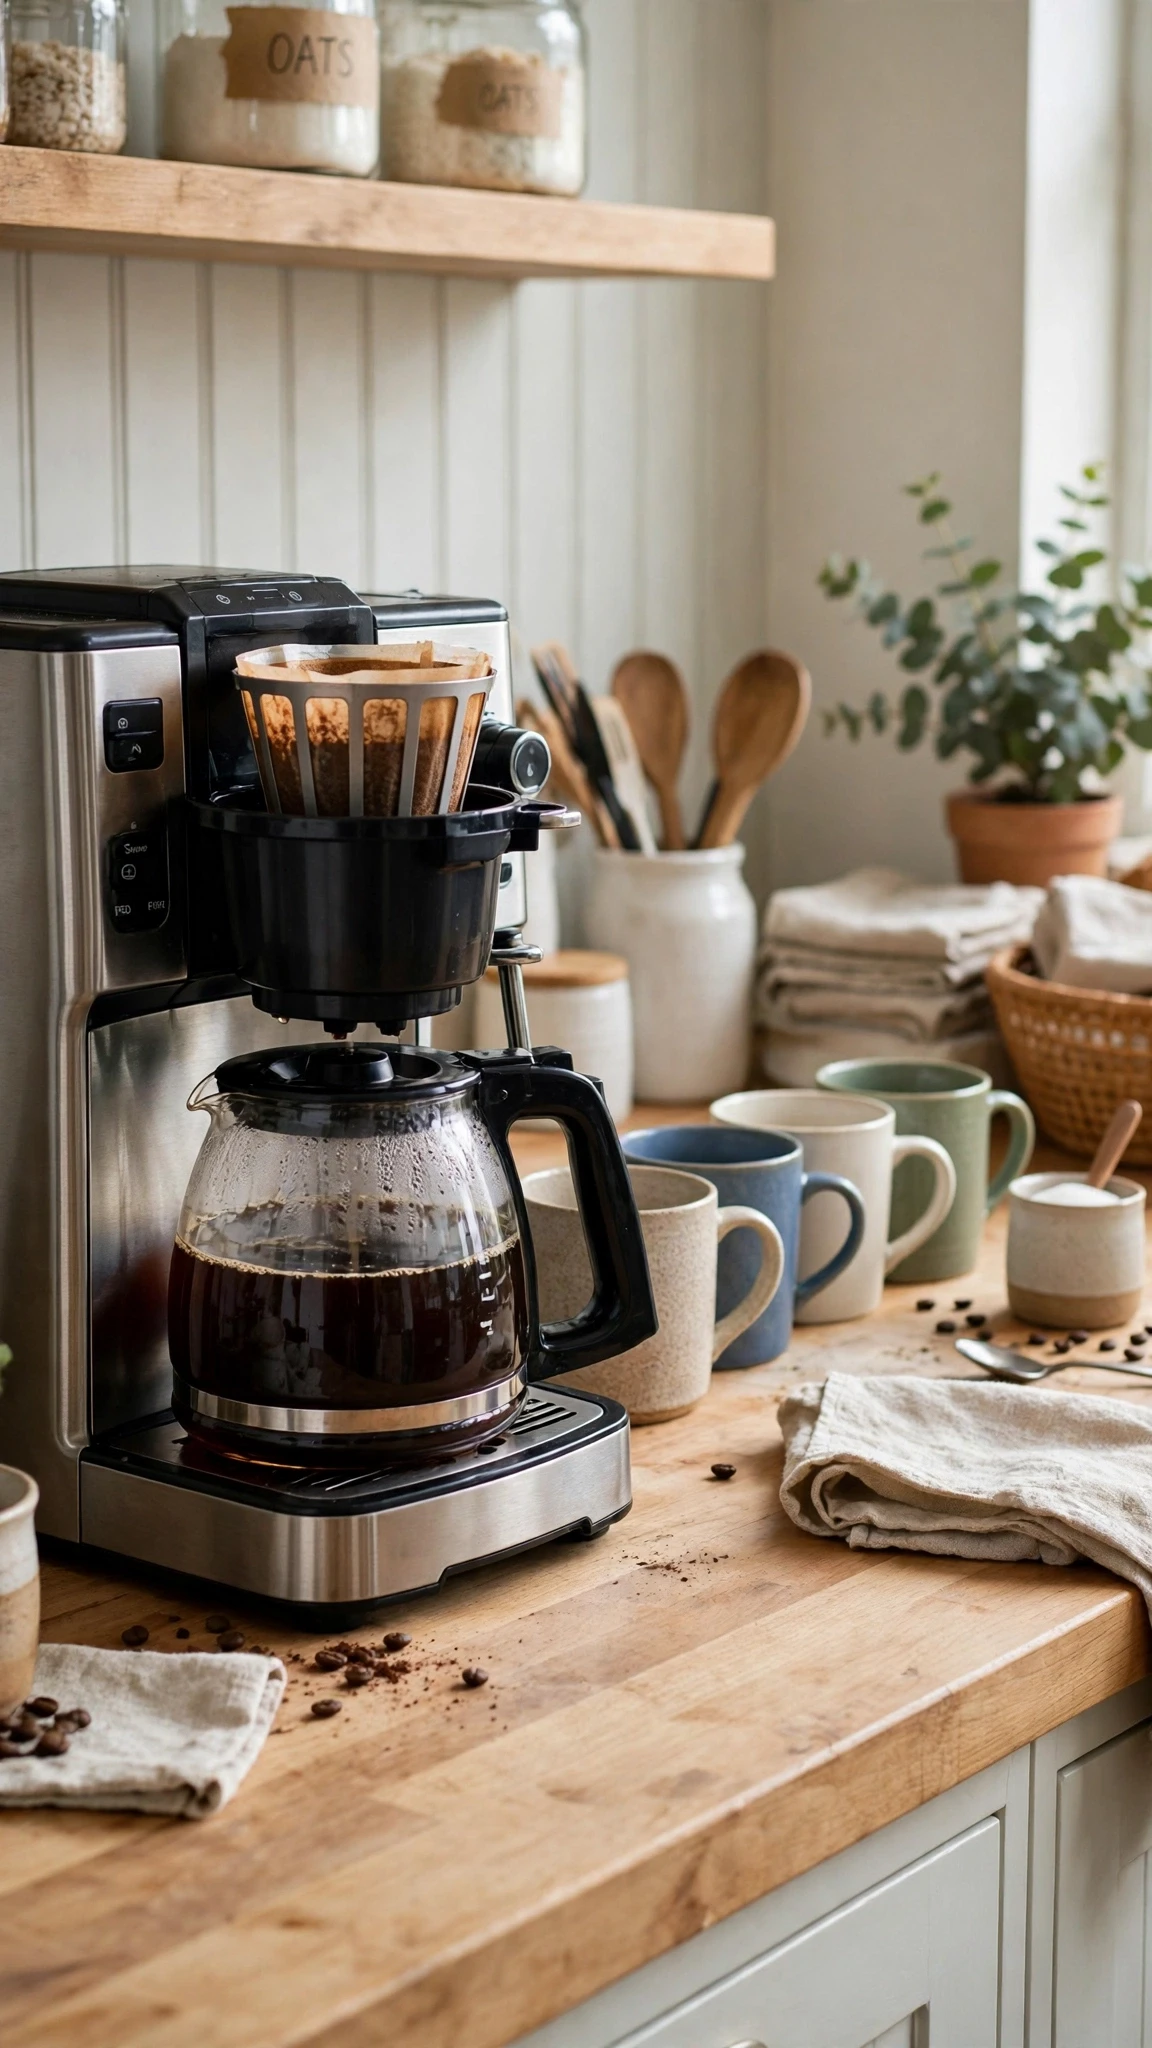
If drip coffee is part of your everyday routine, keep your coffee maker in a practical and easy-to-reach spot. Place it near a power outlet, with enough clearance to open the lid, fill the water reservoir, and remove the carafe comfortably. Store paper filters, coffee grounds, and measuring spoons in a nearby drawer or container so everything is ready when you need it.
A simple wooden tray or small shelf can help define the coffee station without making the counter feel crowded. Choose accessories that complement your kitchen, such as ceramic canisters, a matching sugar bowl, or a small plant. Remember to empty and clean the carafe and filter basket regularly rather than leaving used grounds sitting in the machine.
- Pouring room: leave space to lift the carafe clear of the machine
- Filter basket: filters and scoop in one small container beside the machine
- Pot habit: rinse the carafe after the last cup so mornings start clean
- Mug row: line up household mugs on hooks or a shelf above
- Fresh pot rule: brew a fresh half pot rather than reheating an old one
9. A Cold Brew Station for Iced Coffee Season
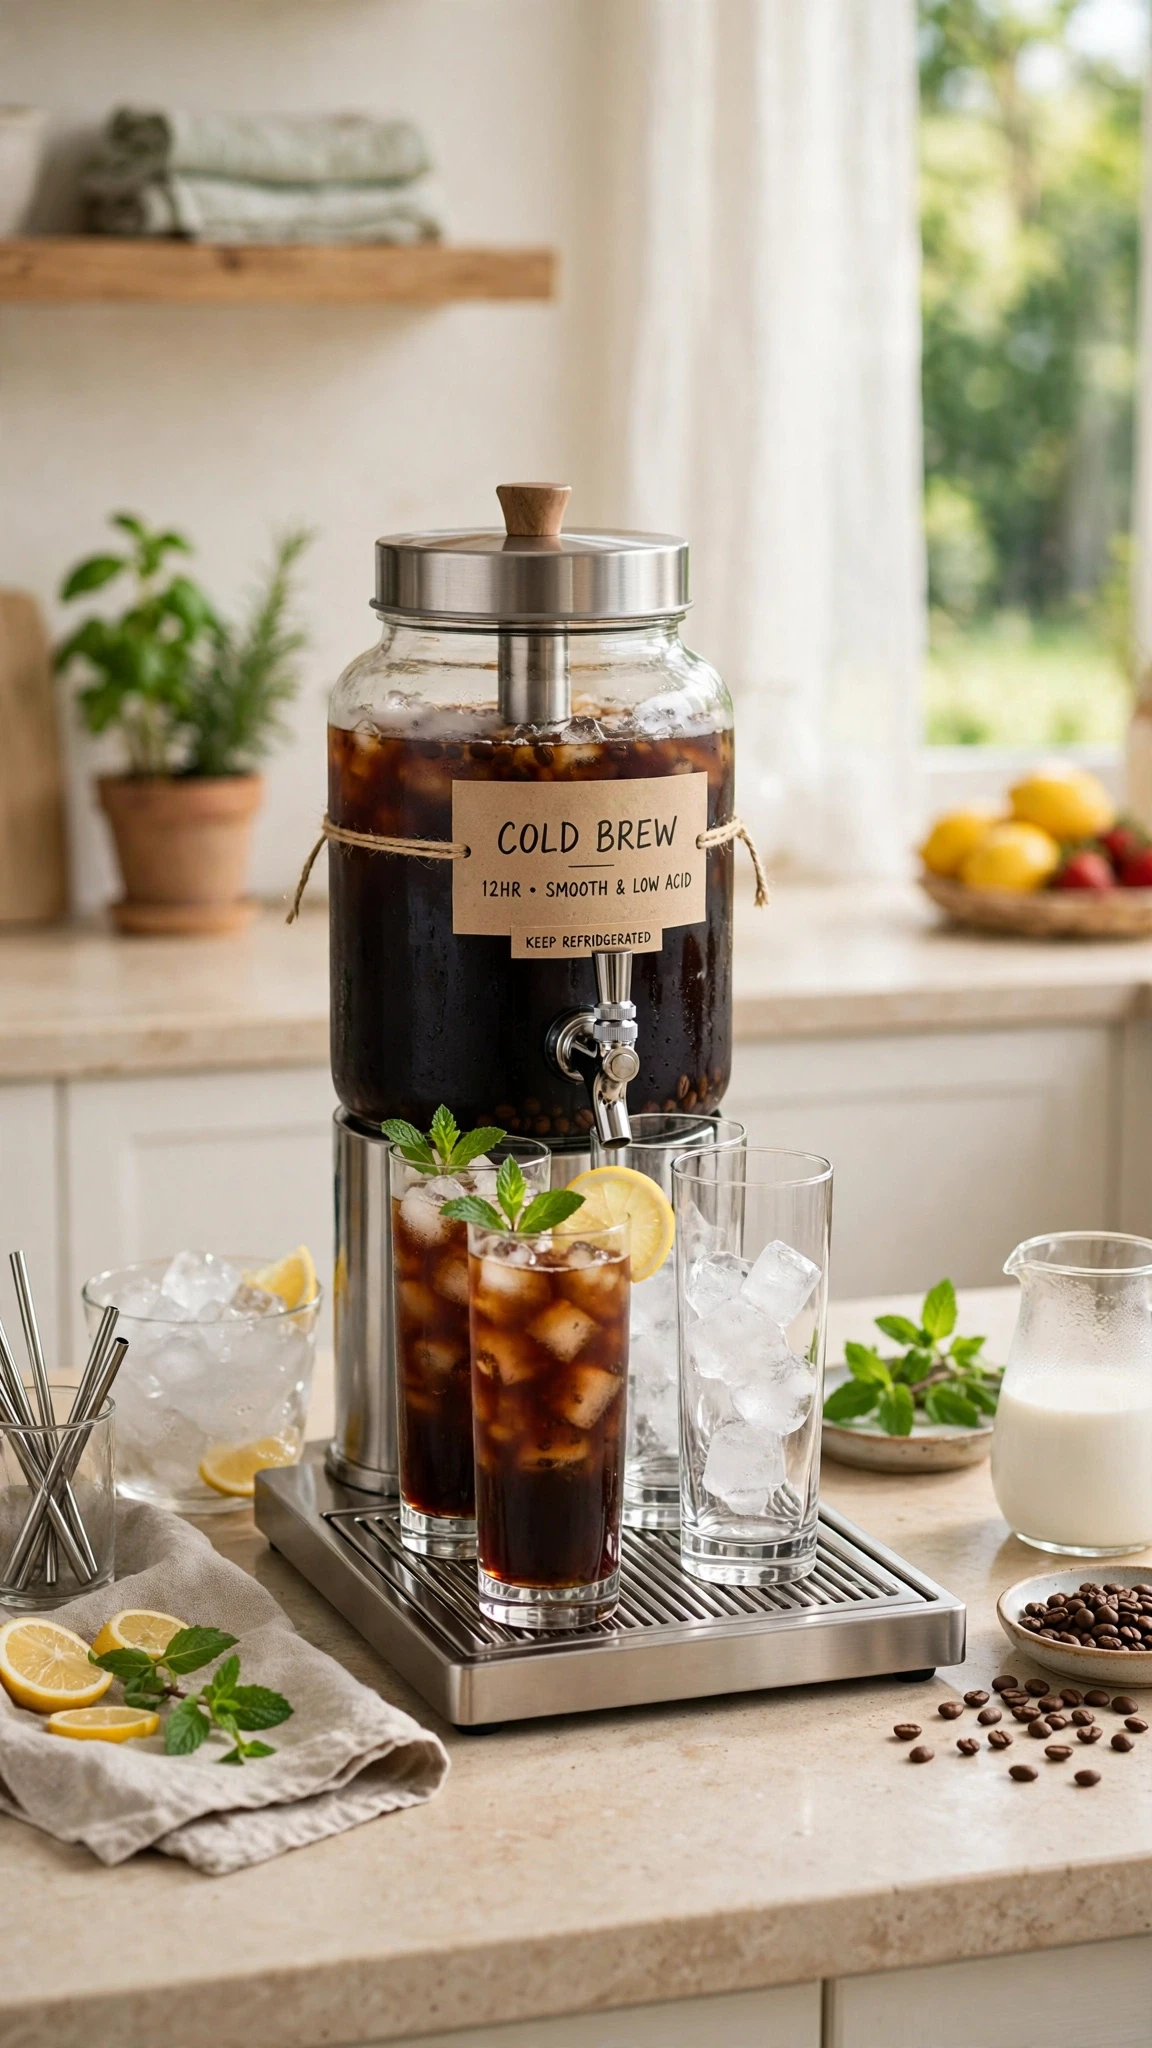
When warm weather arrives, a cold brew station keeps iced coffee ready without a daily brewing session. A large jar or dedicated cold brew maker lives on the counter during the season, filled the night before and tapped through the day, with a small tray underneath to catch drips. Keep glasses nearby rather than in a far cabinet, and store sweetener and a milk bottle in the fridge door so the whole iced routine stays in one corner of the kitchen.
- Brewer pick: a large mason jar with a filter or a dedicated cold brew maker
- Night-before habit: fill it in the evening so mornings need no brewing
- Glass spot: two or three tall glasses on the tray beside the jar
10. Open Shelving Above for Mugs, Jars, and Daily Cups
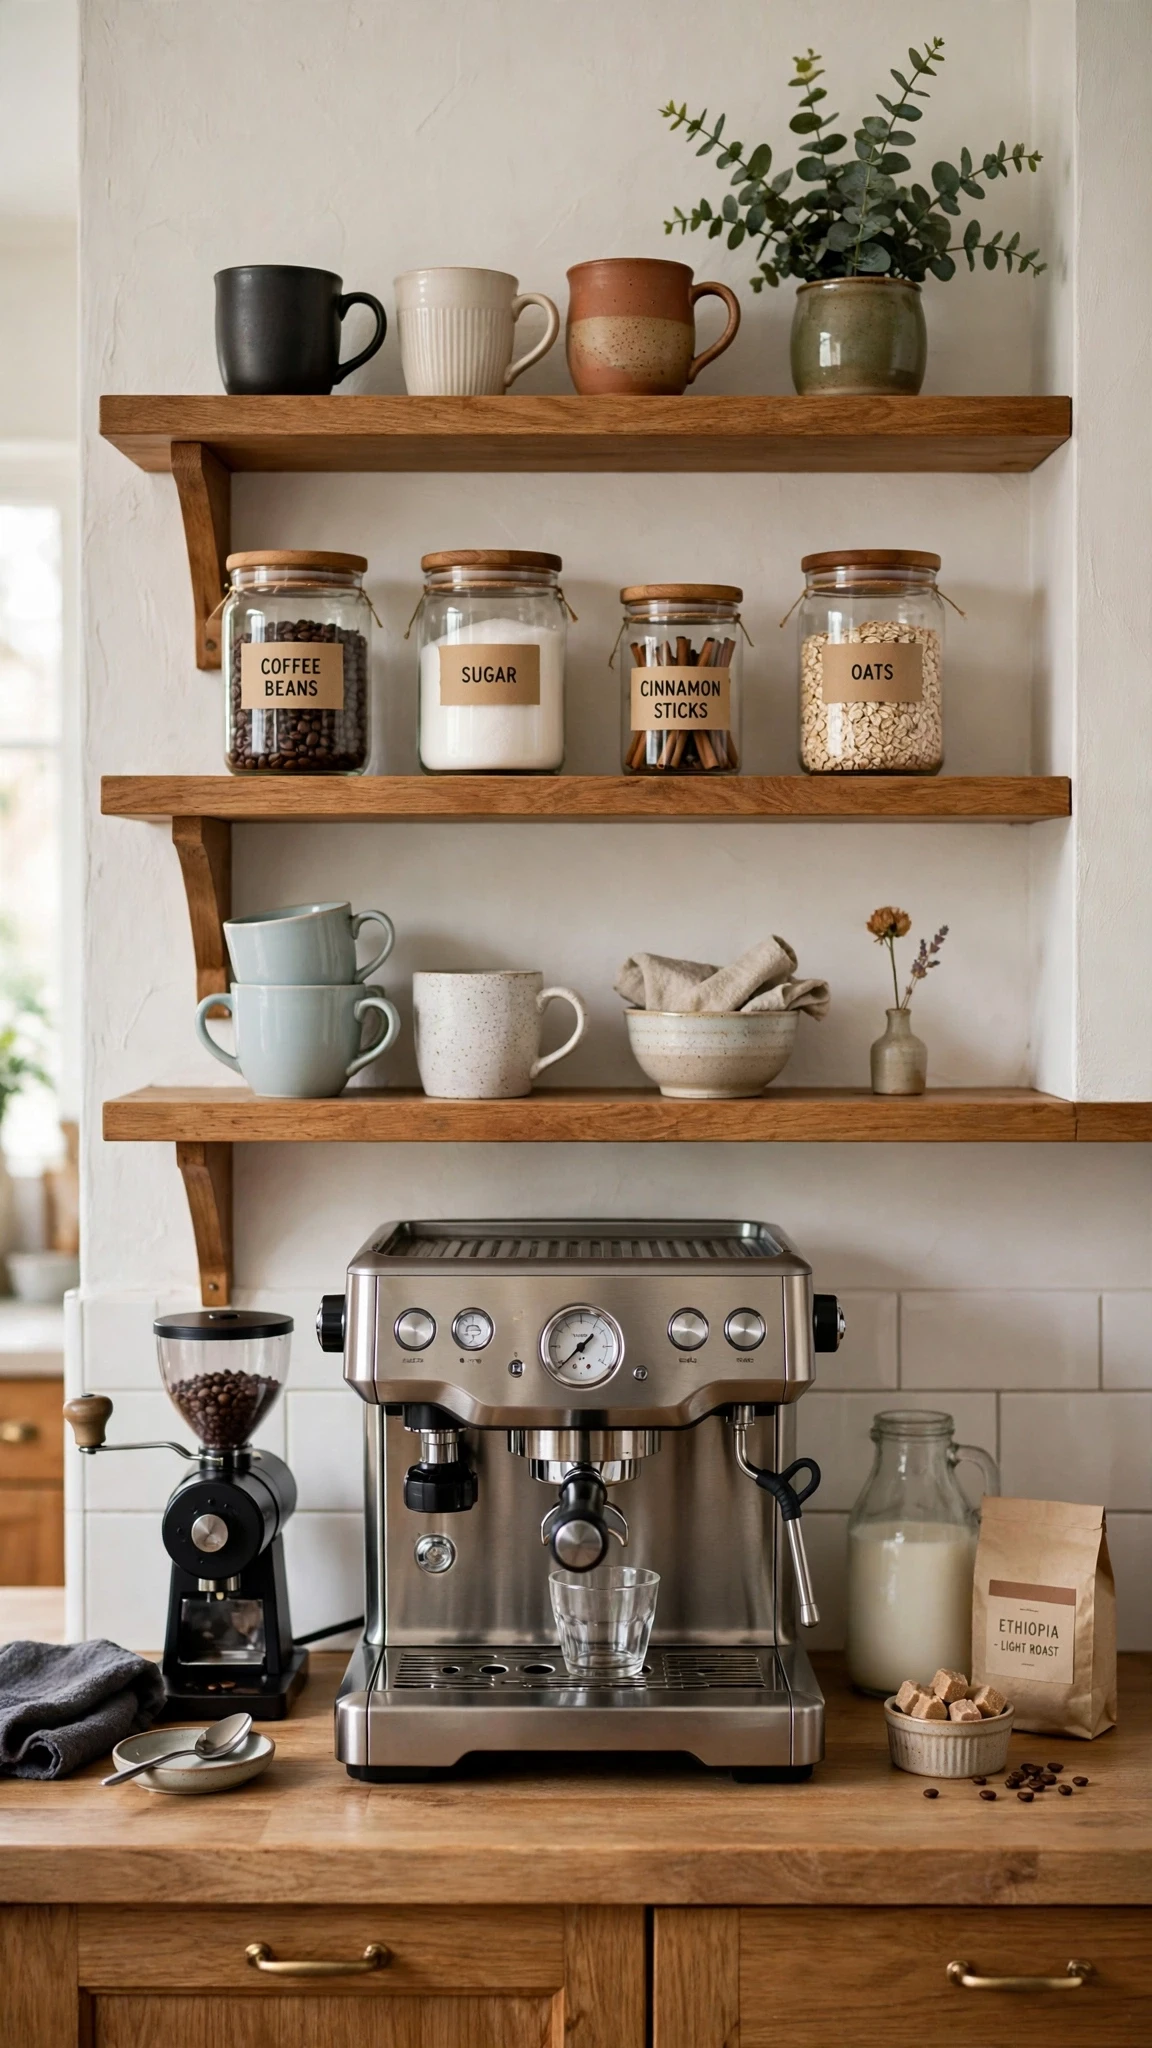
Open shelves above the coffee zone turn dead wall space into storage, and they put your prettiest mugs and jars on display at the same time. One or two shelves are plenty: the lower shelf for daily mugs and the coffee jar, the upper one for lesser-used cups and a small plant. Keep the shelves shallow enough that nothing hides behind something else, and leave a little breathing room on each shelf so the display looks curated rather than crammed.
- Shelf count: one or two shelves above the zone is enough
- Daily low: everyday mugs and beans on the lower shelf, within reach
- Display high: prettier, rarely used pieces go up top
- Depth rule: shallow shelves keep every item visible
11. Under-Cabinet Hooks That Hang Your Mugs Out of the Way
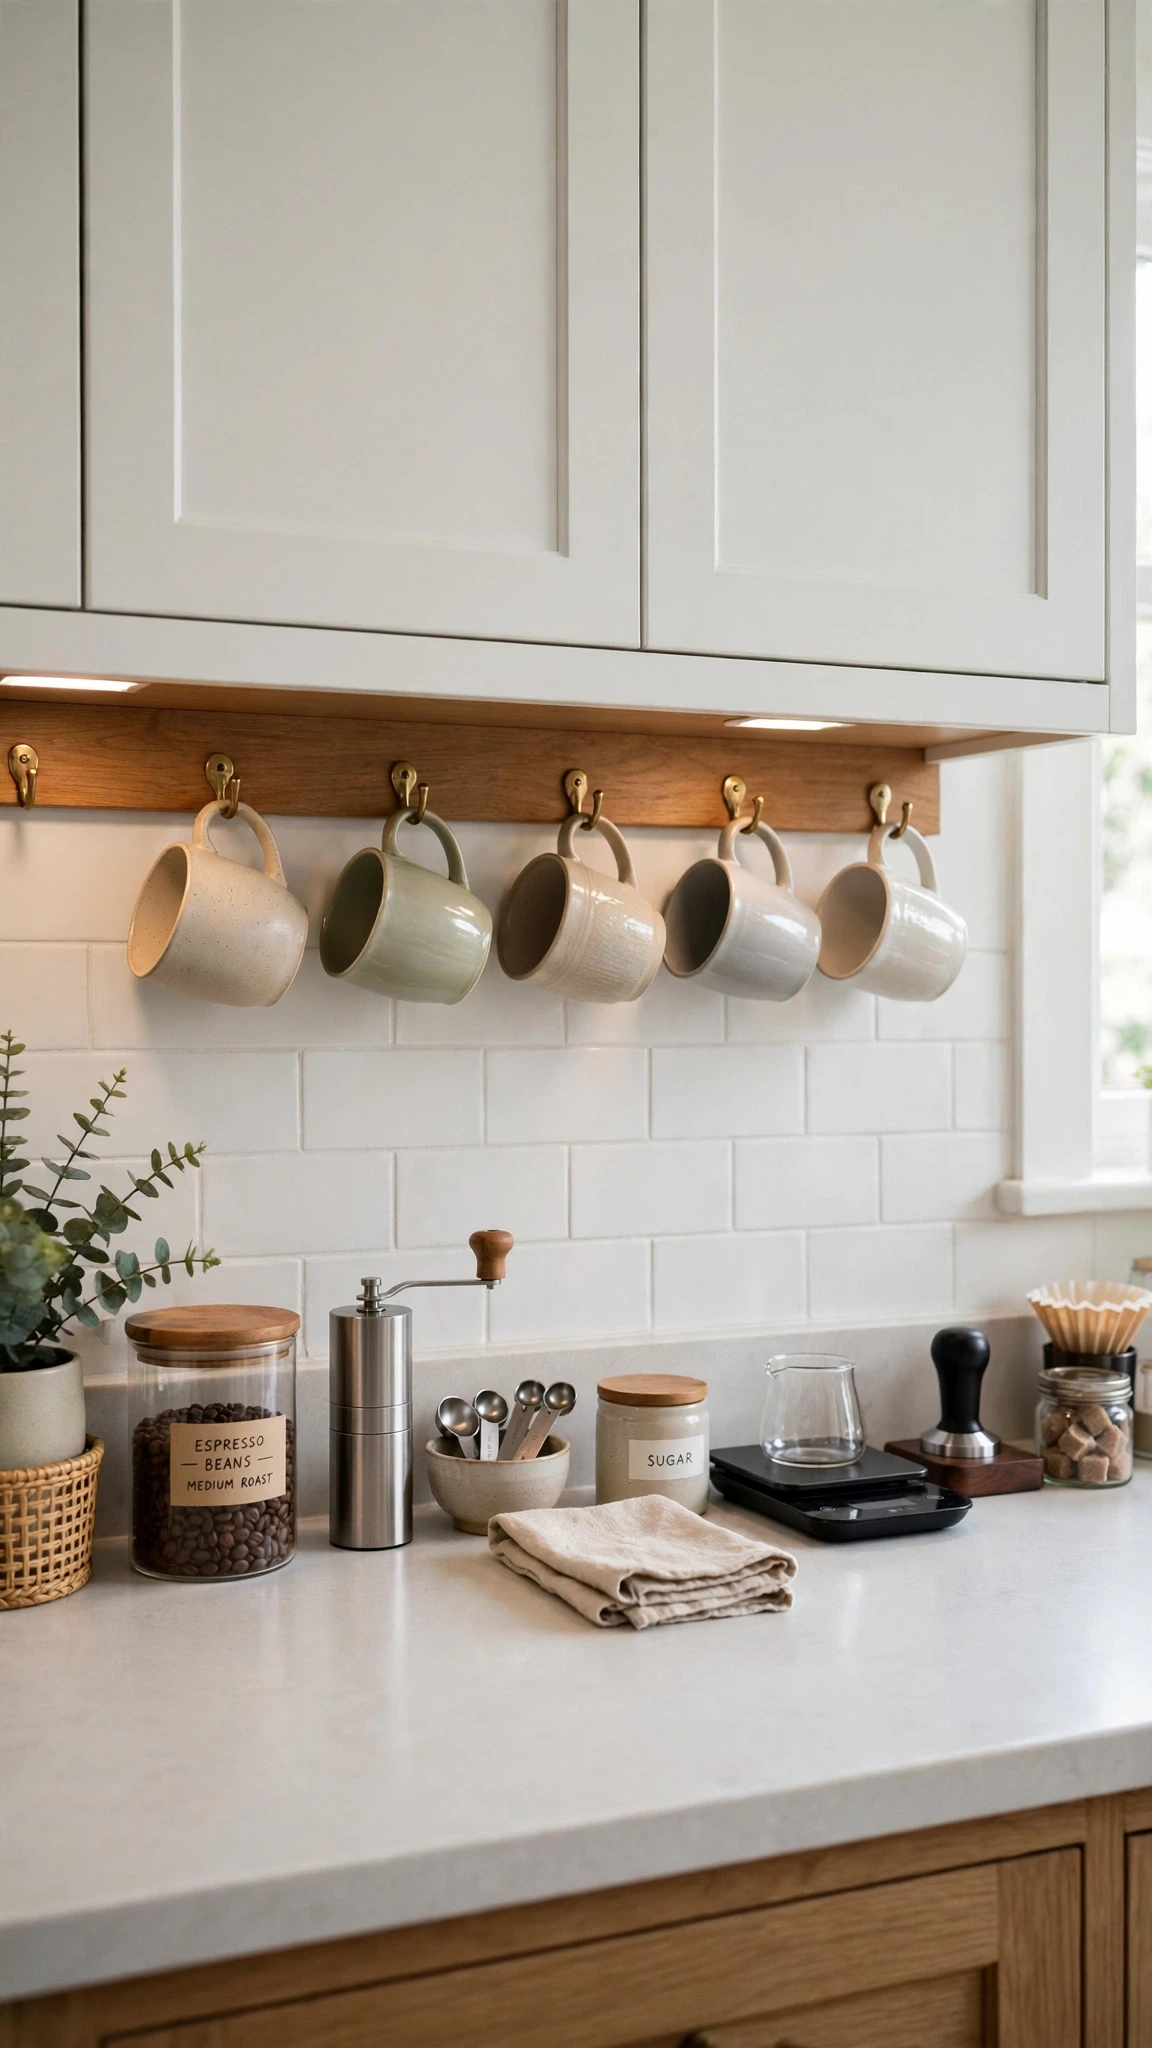
The space under your upper cabinets is often wasted, yet it is perfect for mugs: hooks screwed or stuck beneath a cabinet hold a row of cups without using a single inch of counter. Hang your most-used mugs here, handles facing out, so grabbing one is a single motion. This trick shines in small kitchens, where every square inch of counter counts, and it turns a plain cabinet underside into a charming mug display.
- Hook type: screw-in hooks for a lasting fix, adhesive hooks for rentals
- Mug order: daily mugs at the front, occasional ones at the back
- Spacing tip: leave a finger’s width between mugs so they don’t clink
- Weight check: confirm adhesive hooks hold your heaviest mug
12. A Tiered Mug Stand That Shows Off Your Favorites
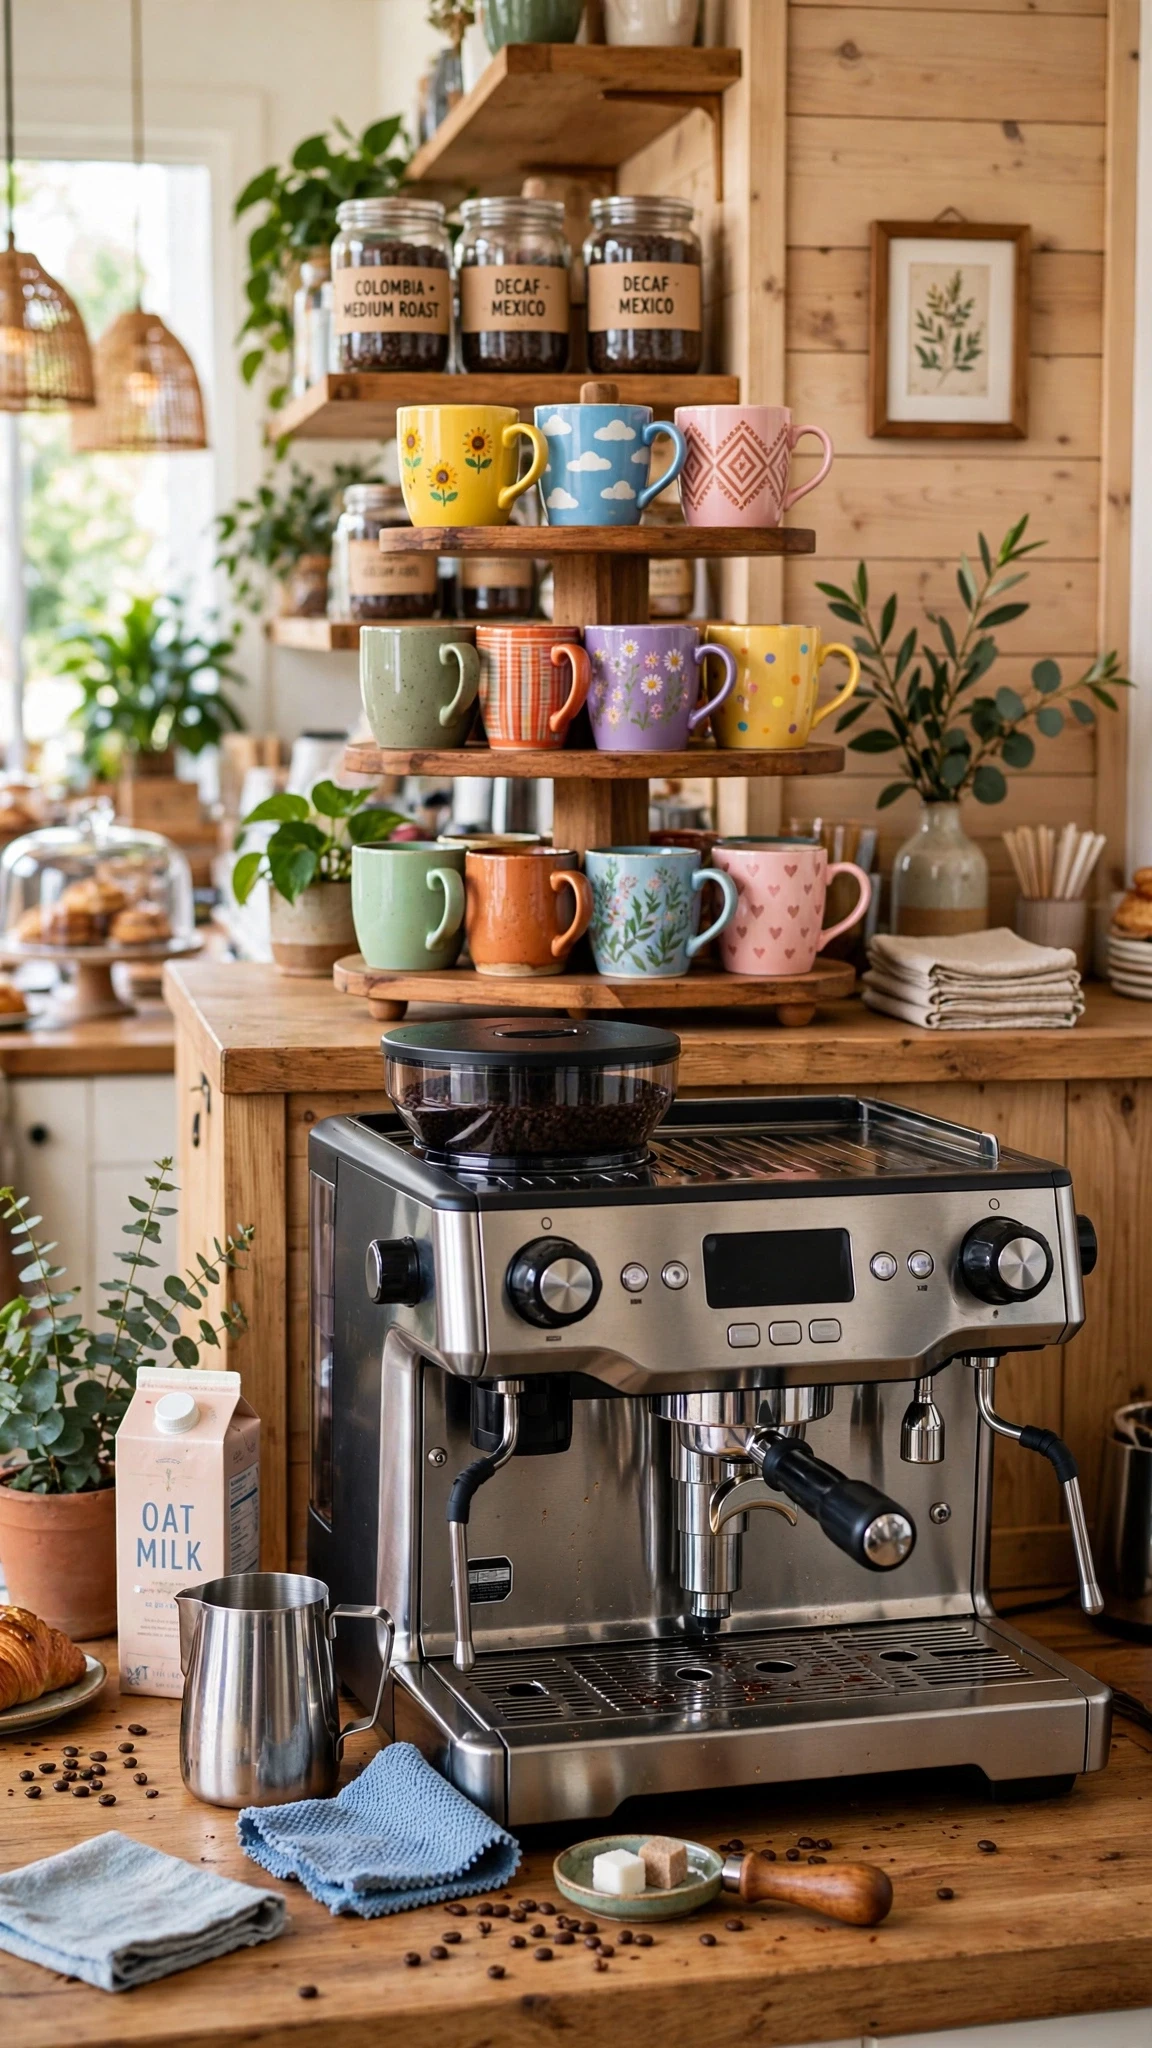
A tiered stand gathers your mugs into a compact tower that looks intentional and saves counter space at the same time. Two or three tiers hold a surprising number of cups in a small footprint, and the vertical shape adds height to a coffee zone that might otherwise sit flat. Place the stand at the back of the zone so mugs are visible but not in the way of brewing, and rotate the front-facing mugs now and then to show off different favorites.
- Tier count: two tiers suit small zones, three suit bigger ones
- Back placement: the stand sits behind the machine’s working area
- Favorite front: turn your best mugs outward
- Stability check: a weighted base stops the stand tipping when a mug is grabbed
- Rinse rule: rinse mugs right after use so the stand stays clean
13. Glass Canisters for Beans, Sugar, and Tea
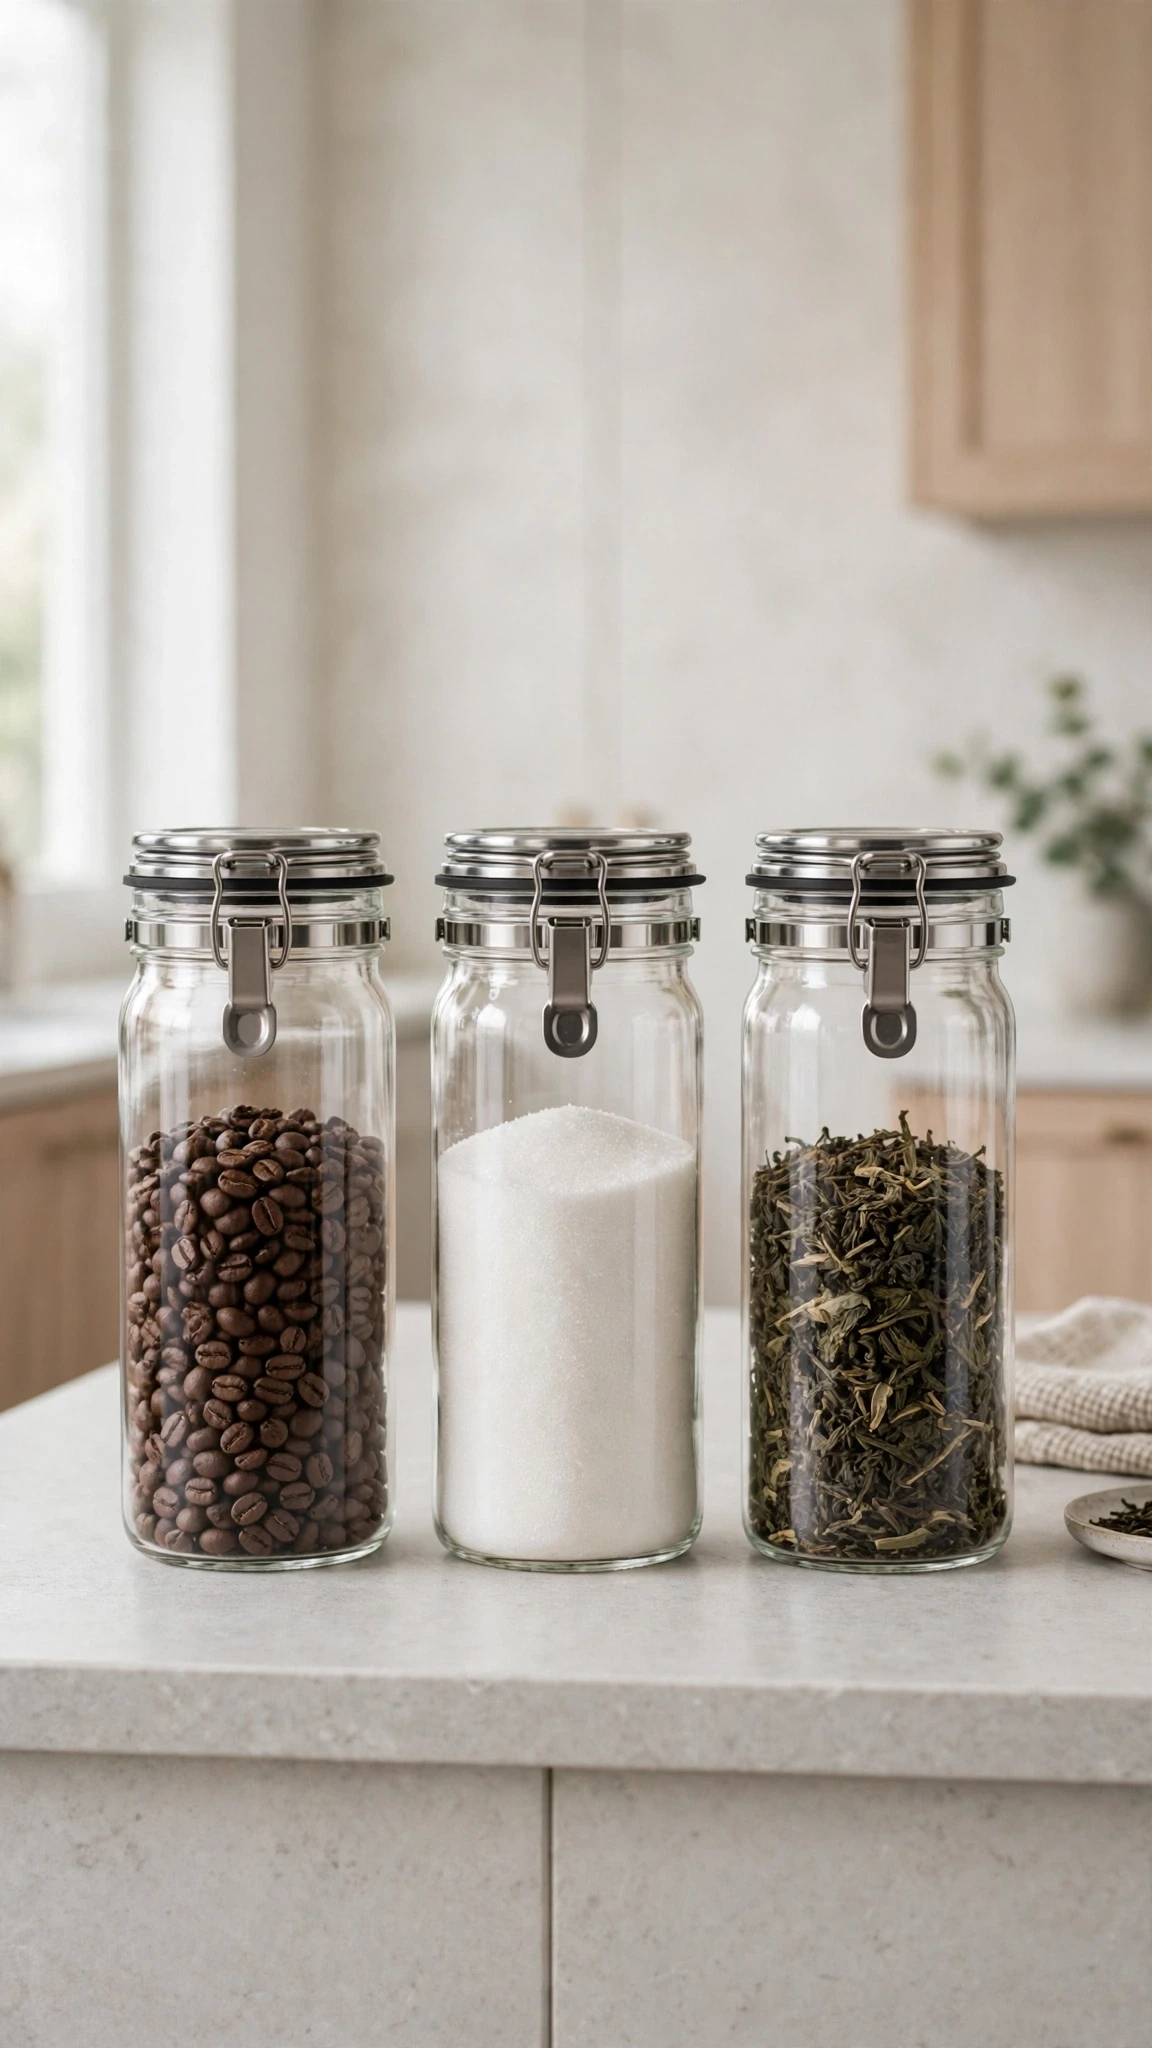
Clear glass canisters are a lovely way to organise the smaller essentials on your coffee bar. They work especially well for sugar, tea bags, individually wrapped sweeteners, and coffee pods because you can see what is inside at a glance. Choose containers with airtight lids to keep their contents clean and protected from moisture.
For whole coffee beans or ground coffee, however, an opaque, airtight container is a better choice. It helps protect coffee from light and keeps your setup looking neat. Use matching containers with simple labels if you want a coordinated display that feels both practical and decorative.
14. Tall Storage Jars for Syrups, Snacks, and Stirrers
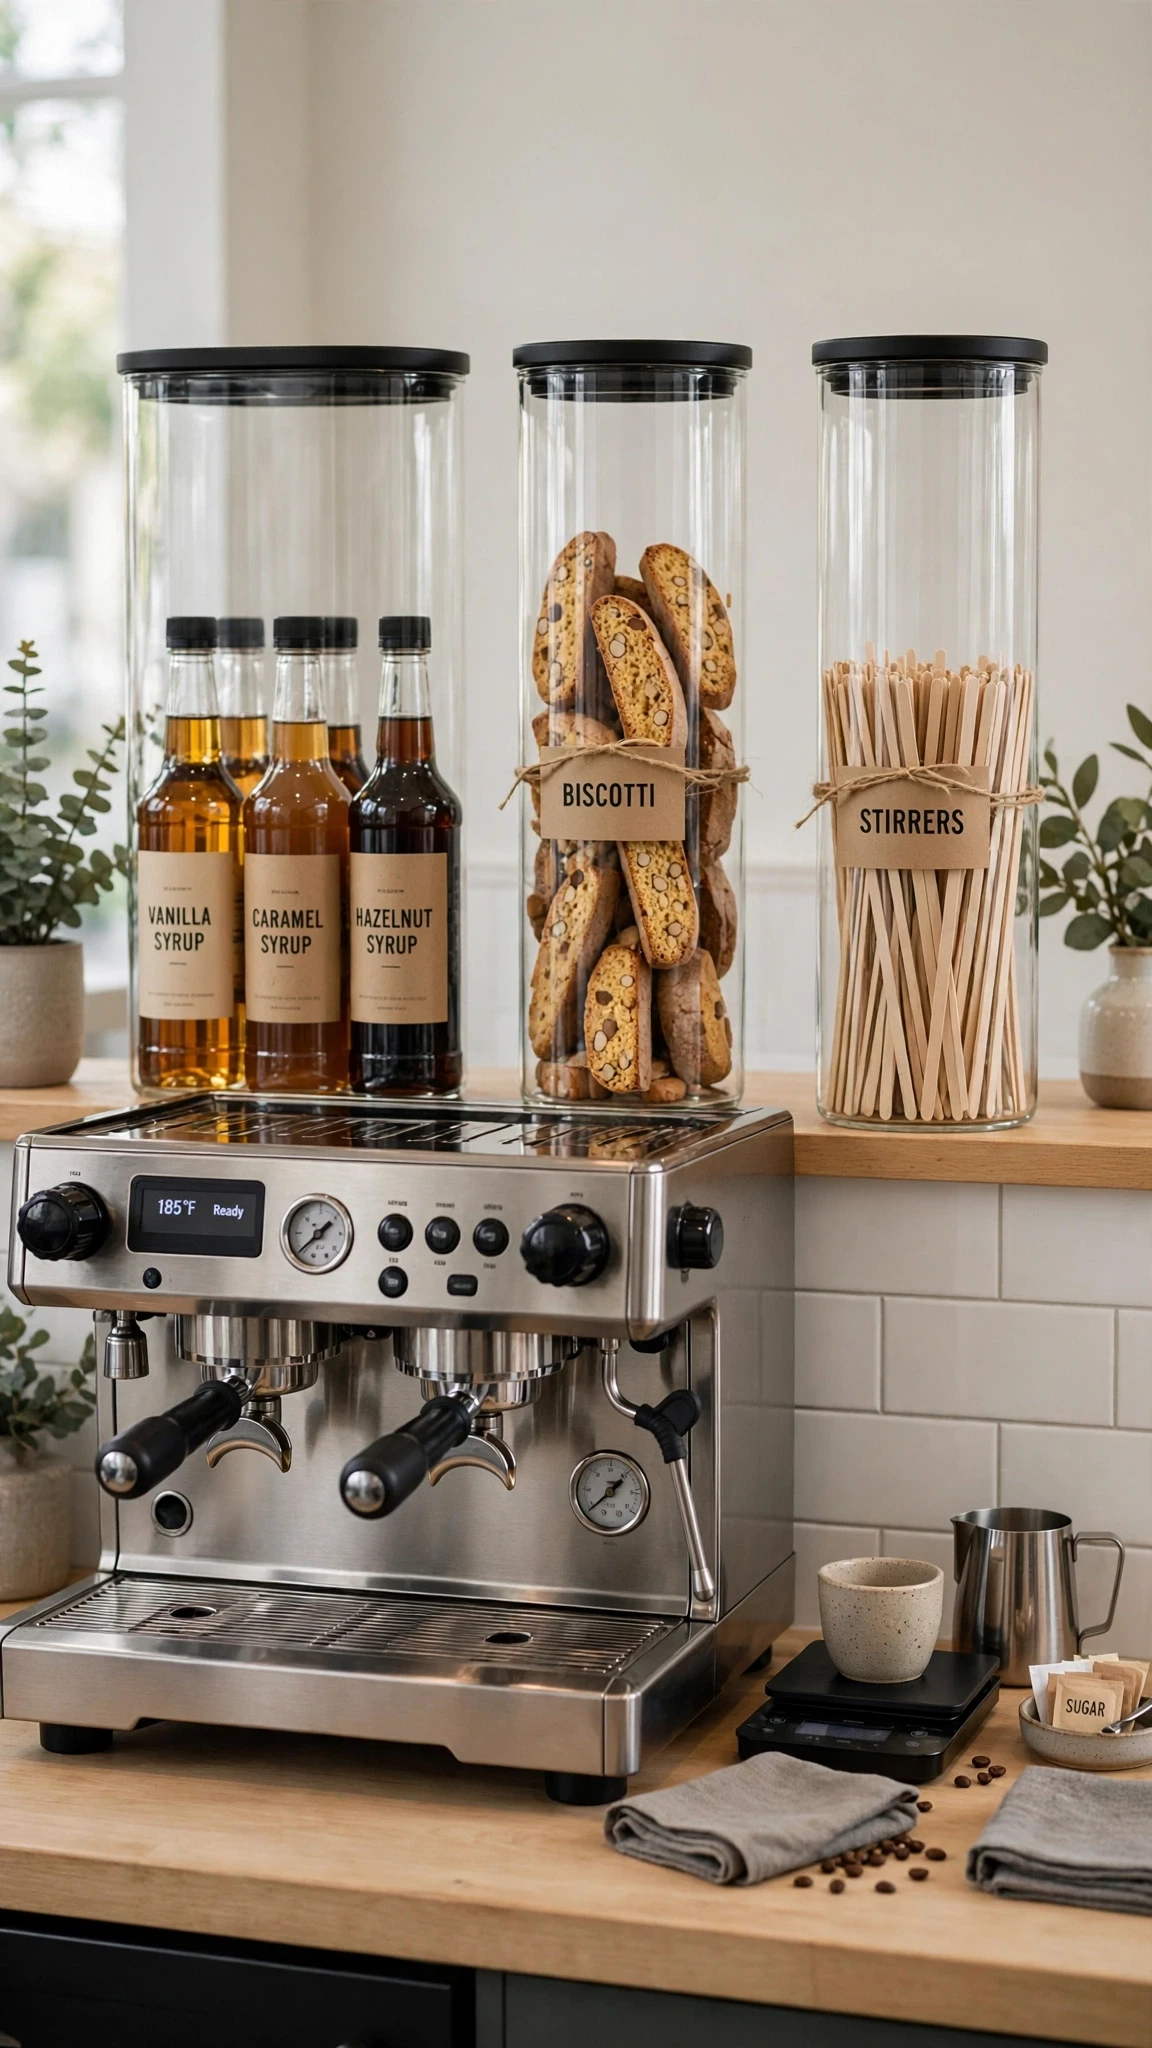
Tall jars handle the long, awkward supplies that never fit neatly in a drawer: syrup bottles, biscotti, stir sticks, and straws. A row of tall, slim jars at the back of the zone keeps these upright and visible, and their height adds a pleasing vertical line behind the lower machine and mugs. Group syrups together, snacks together, and tools together, so you reach for one jar instead of hunting through a drawer.
- Tall and slim: slim jars fit a row into a narrow back strip
- Group rule: syrups, snacks, and tools each get their own jar
- Back row: tall jars sit behind the machine, not in front of it
- Lid choice: pour spouts on syrup jars stop sticky drips
15. A Drawer Caddy for Filters, Spoons, and Pods
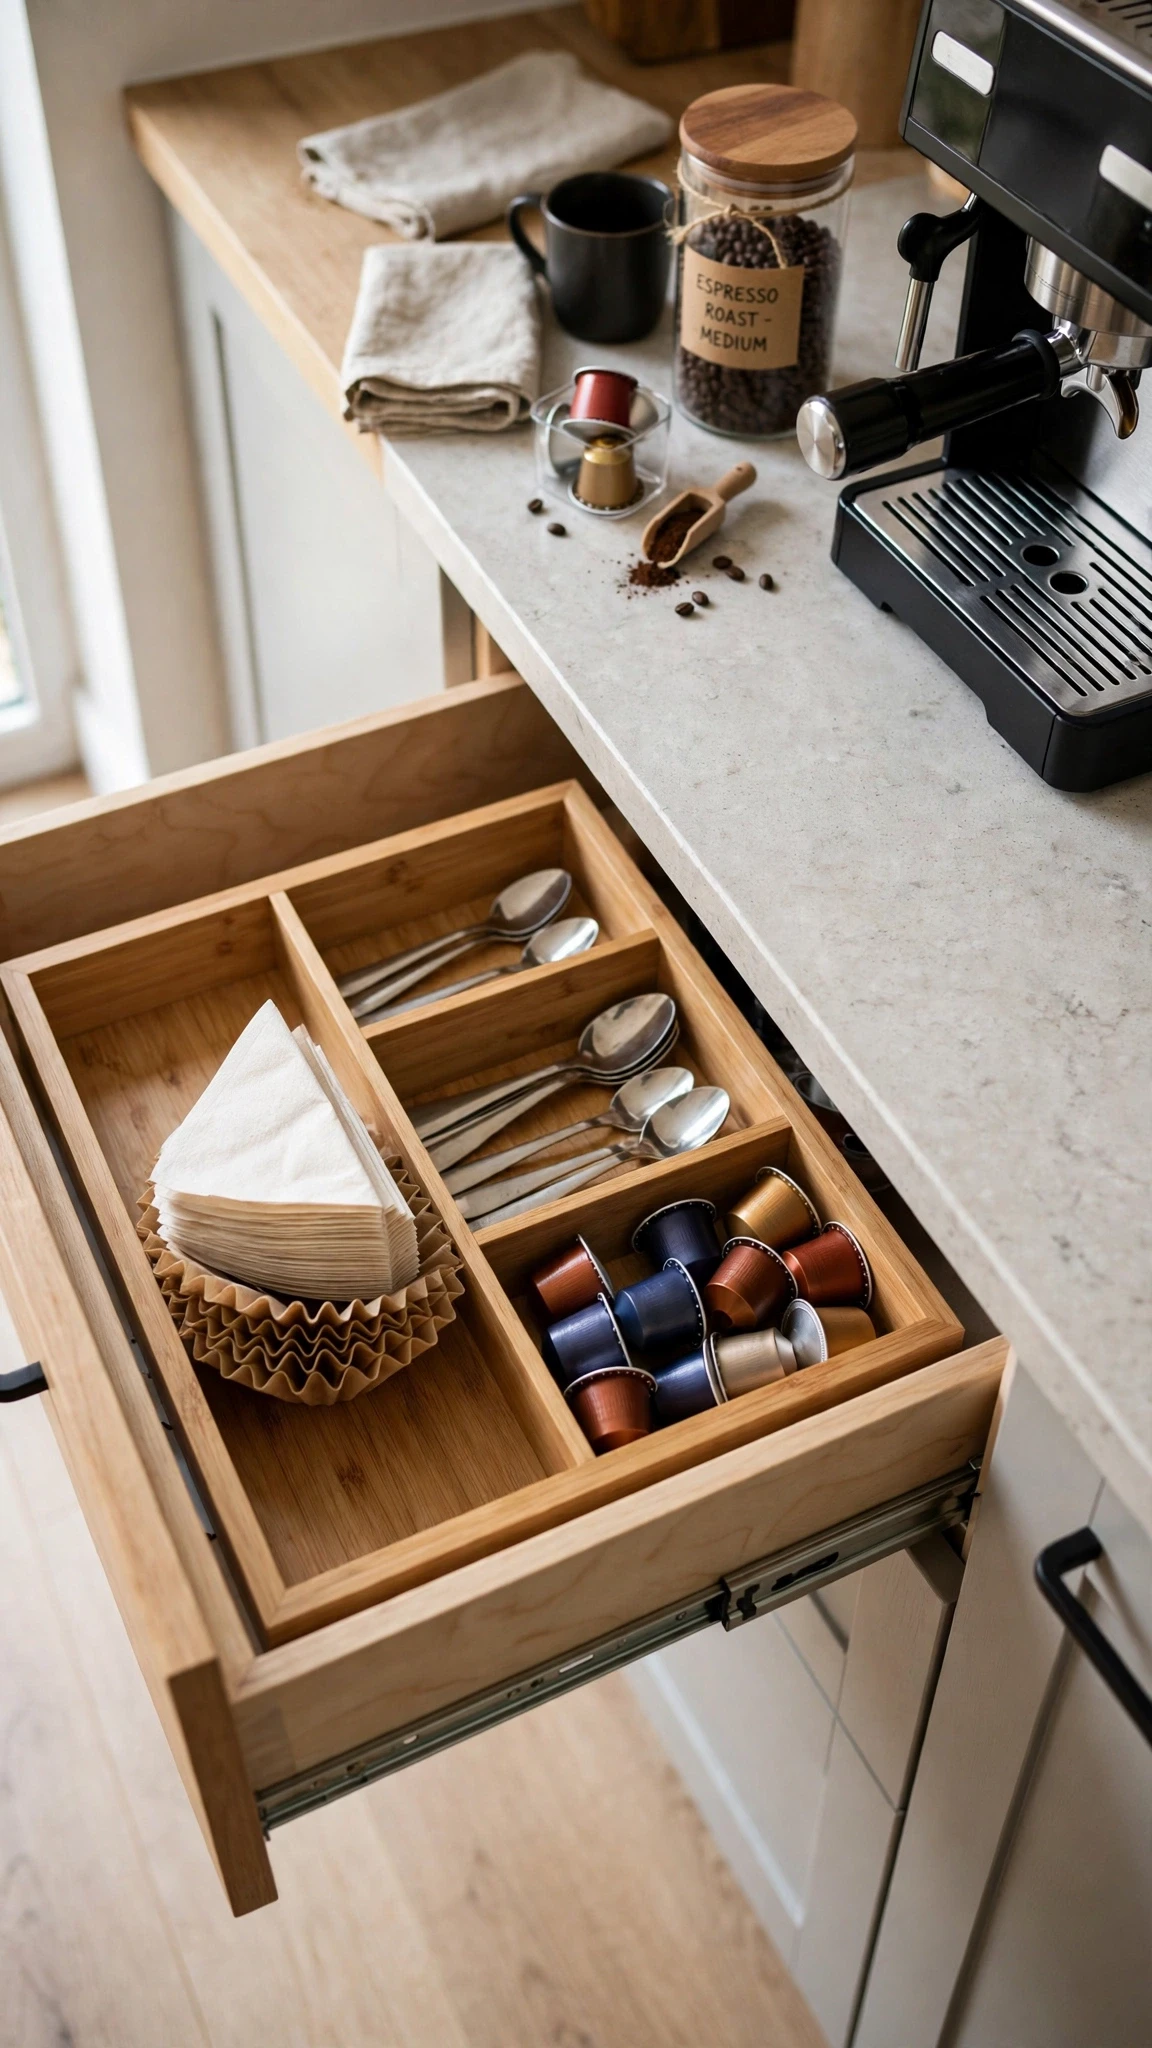
A small caddy inside the nearest drawer swallows the fiddly supplies that otherwise scatter across the counter: paper filters, measuring spoons, pods, and cleaning tablets. Dividers or small cups inside the caddy keep categories separate, so you find a filter in one glance instead of digging. This is the unglamorous fix that makes a coffee bar feel tidy, because the counter holds only the beautiful pieces while the small stuff stays hidden but close.
- Nearest drawer: the caddy lives in the drawer closest to the machine
- Dividers: small cups or a divided tray separate filters, spoons, and pods
- One caddy: everything small in one container, not loose in the drawer
- Restock cue: check the caddy when you open a new bag of beans
16. One Station for Coffee Drinkers and Tea Drinkers
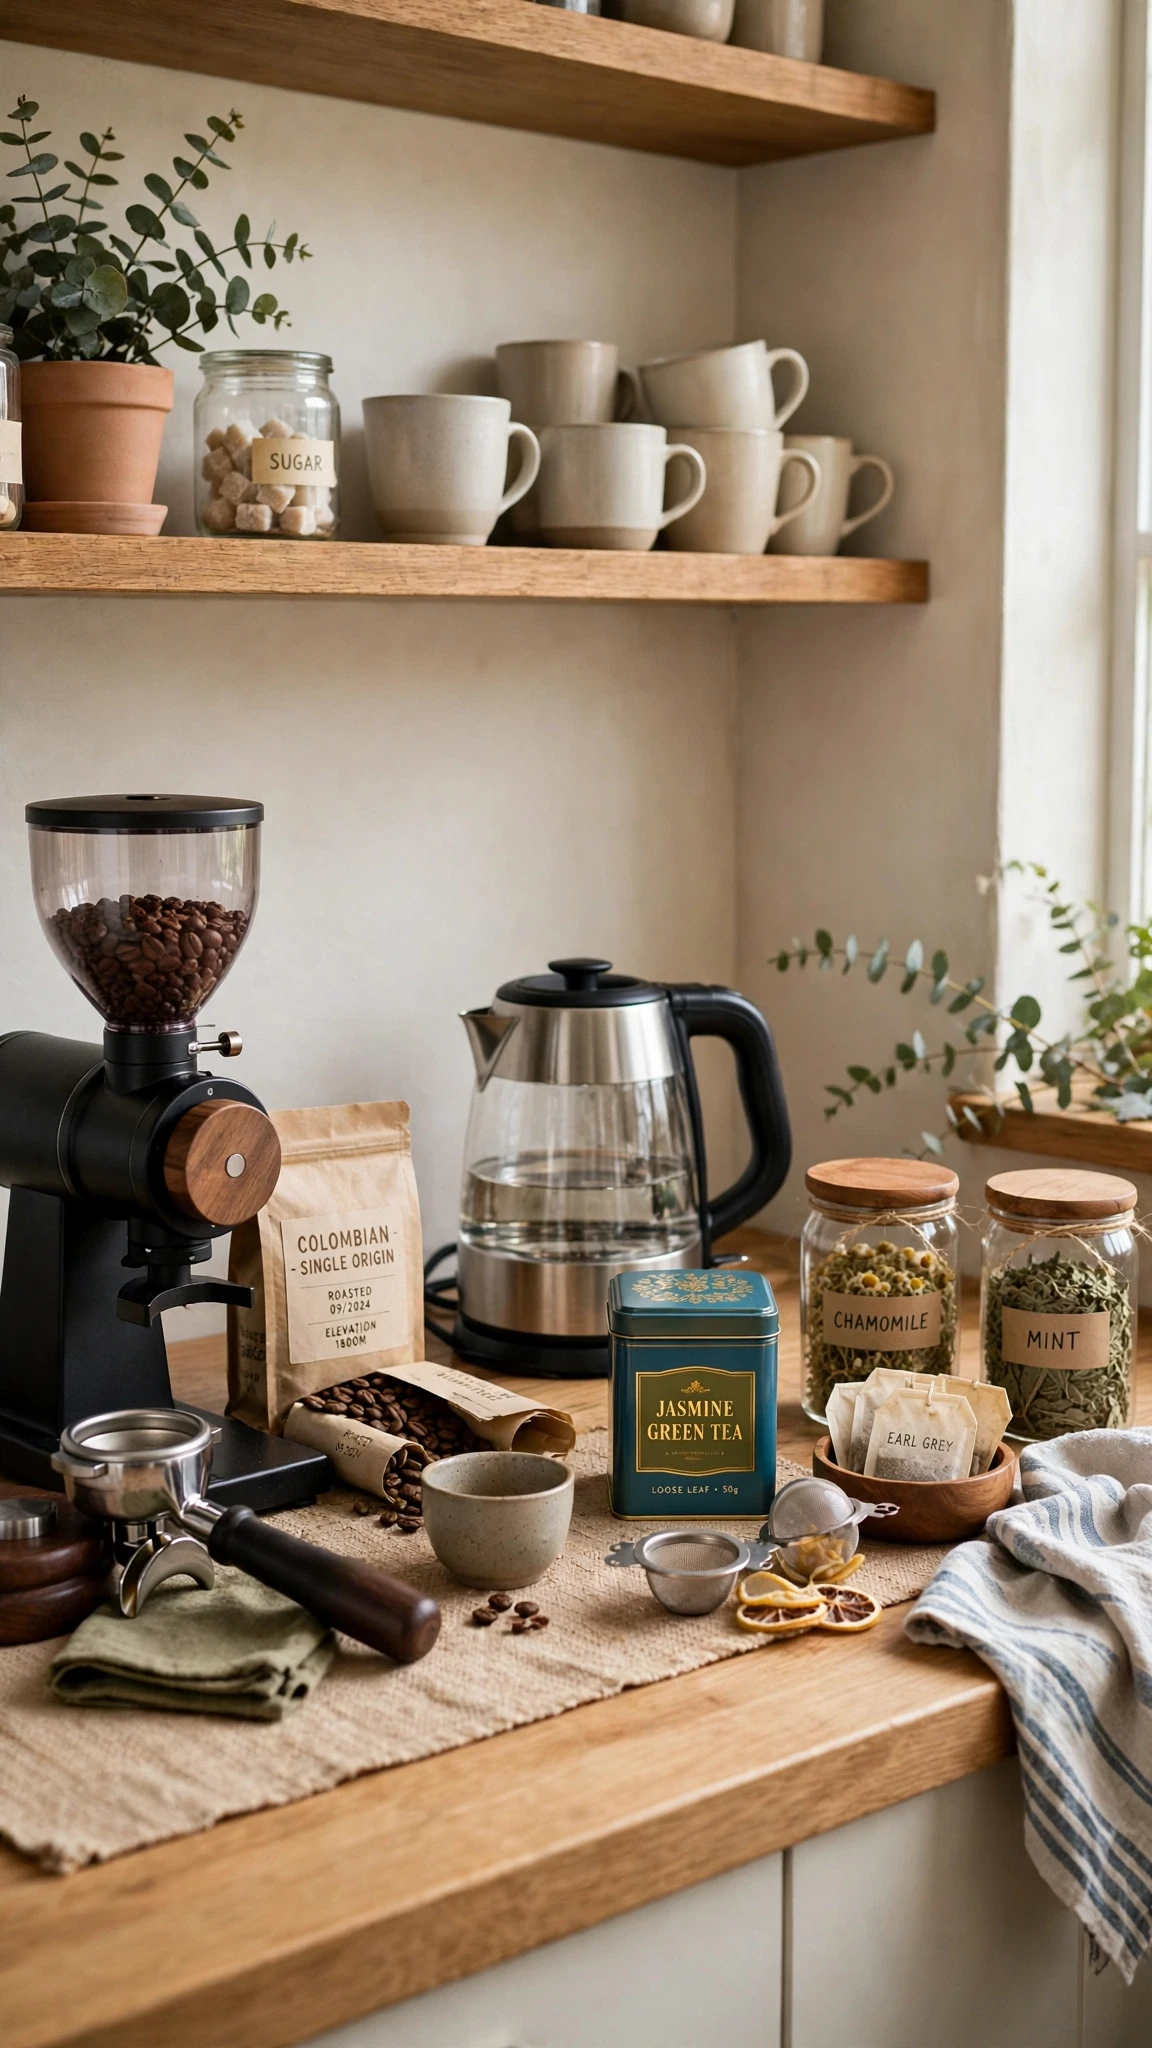
Mixed households need one station that serves both, or the counter ends up split into two competing corners. Share the base: one tray or board, one kettle, and one set of mugs, with coffee gear on one side and tea on the other. A small tin of tea bags beside the bean jar, and a shared honey pot, make the station feel like one household habit rather than two separate setups fighting for space.
- Shared base: one tray holds both coffee and tea supplies
- Side rule: coffee gear on one side, tea on the other
- Shared kettle: one kettle serves both drinks
- Common extras: honey, lemon, and milk serve both sides
- Shared sweetener: one honey pot and one sugar jar serve both sides
17. A Wooden Board Base That Grounds the Whole Bar
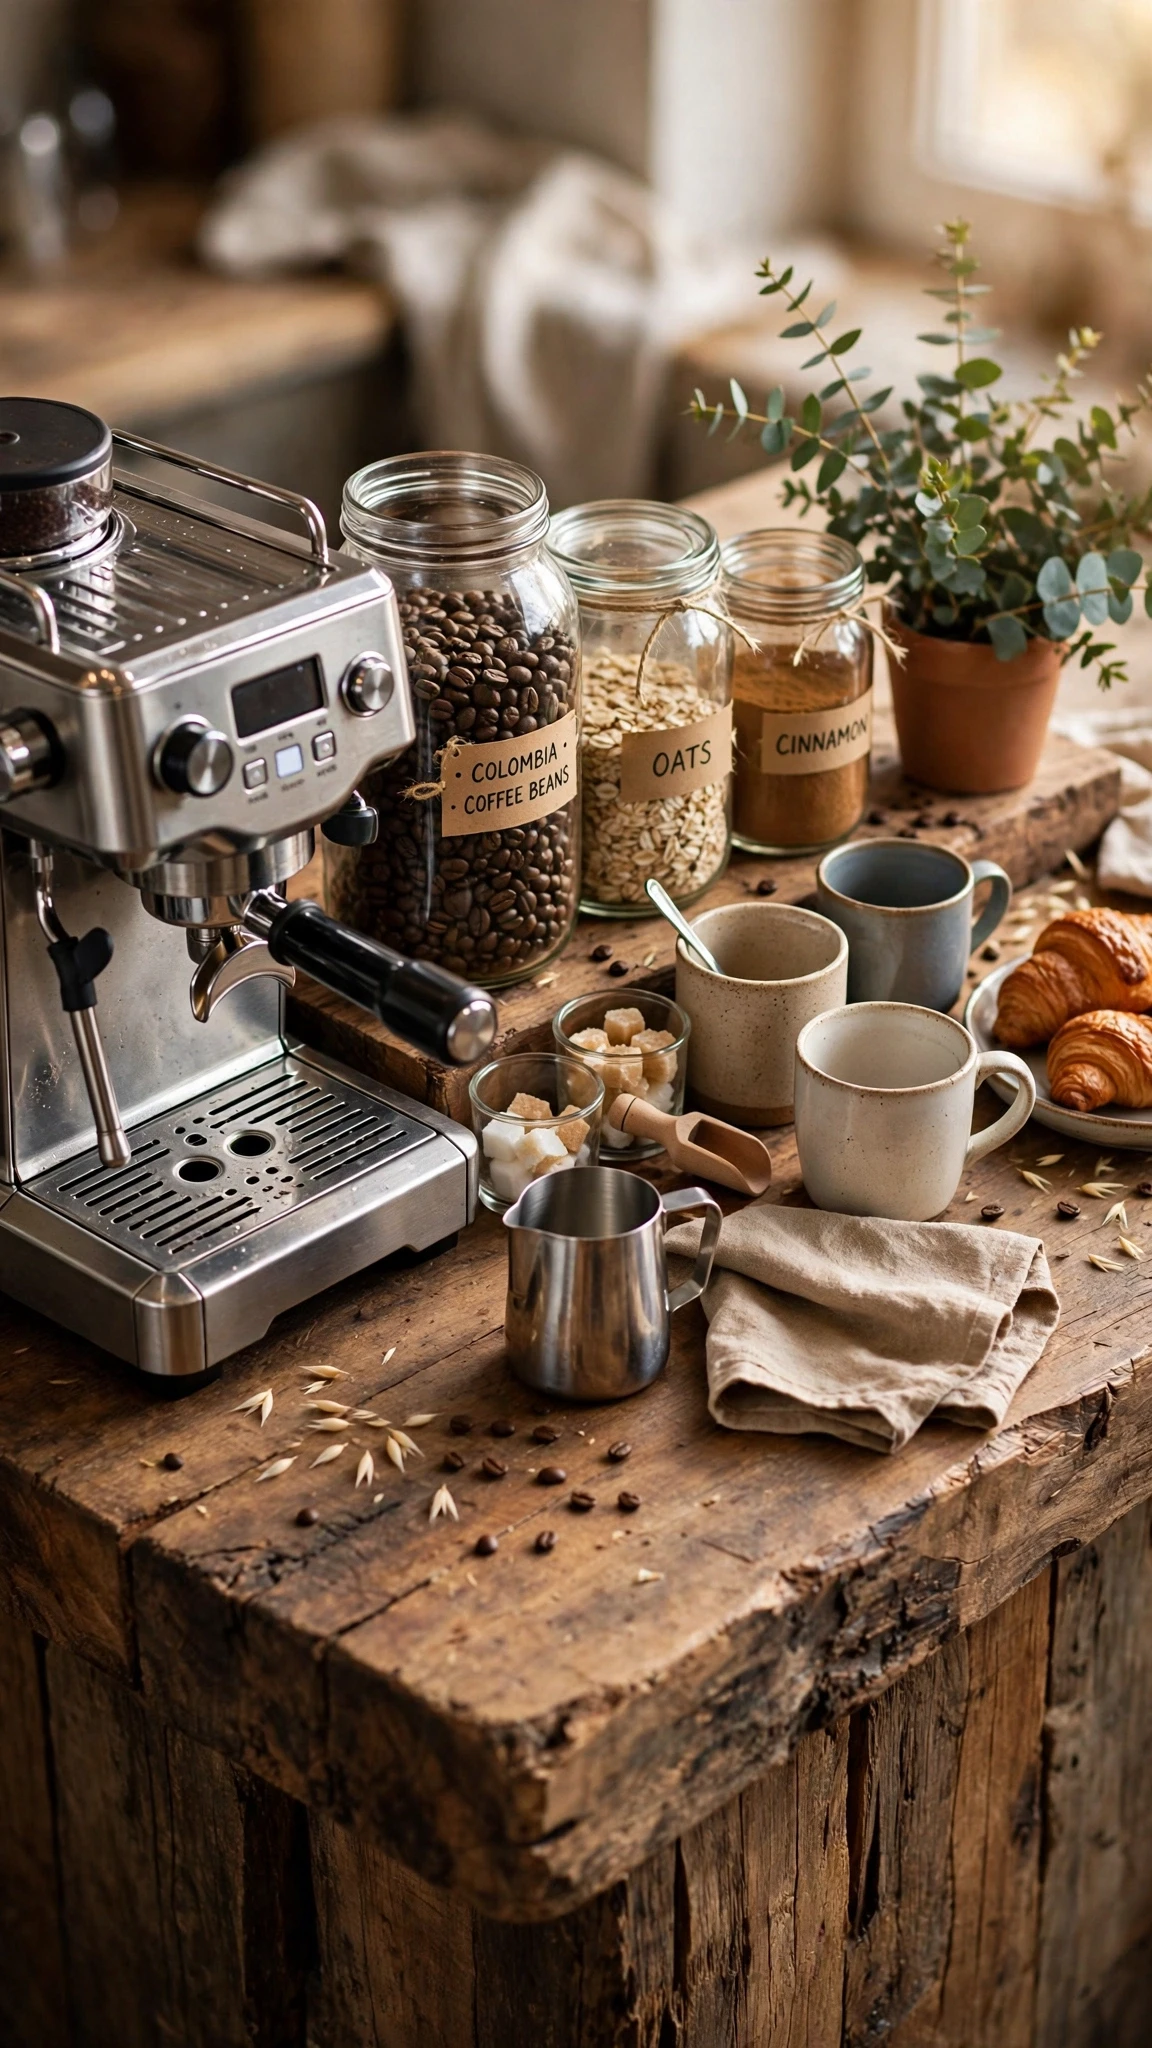
A thick wooden board under your coffee setup does the work of a tray with a warmer, more relaxed feel. It grounds the machine, the jars, and the mugs on one natural surface, protects the counter from drips and heat marks, and slides aside easily when you need the counter for cooking. Choose a board large enough to hold your daily pieces with a little margin, and oil it now and then so the wood stays rich instead of drying out.
- Board size: big enough for machine plus one row of daily supplies
- Heat shield: wood protects the counter from a hot machine base
- Slide test: the board should move aside with one hand
18. A Woven Tray for Warmth and Easy Cleanup
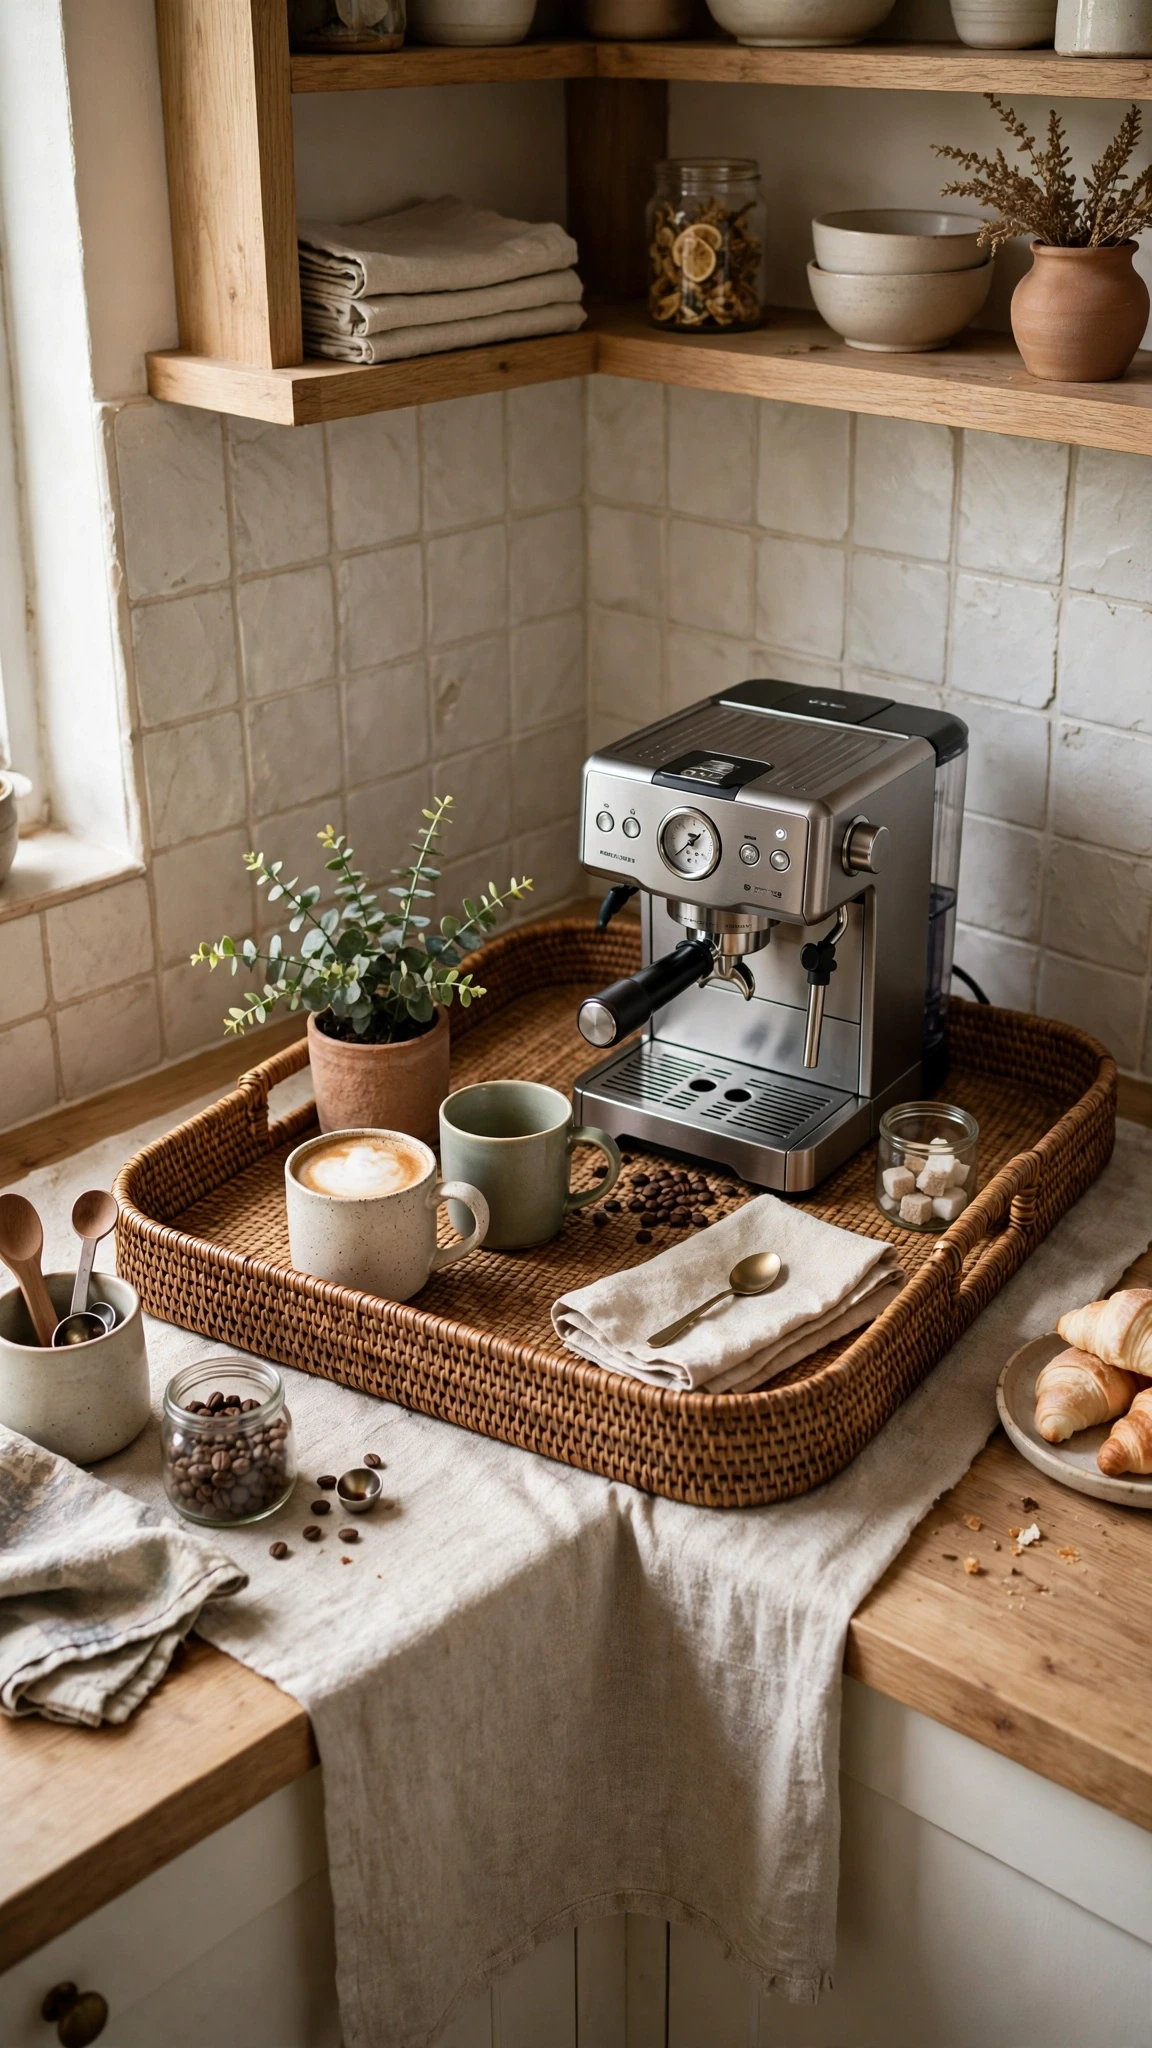
A woven tray in rattan or seagrass softens a kitchen full of hard surfaces and gives the coffee bar a cozy, collected feeling. The texture alone warms up steel and stone counters, and the raised edge corrals small items the way a board cannot. Woven trays also forgive a busy household: crumbs and drips wipe off the surface, and the tray itself hides small imperfections better than a glossy one.
- Texture win: woven fiber warms steel, stone, and white counters
- Edge bonus: the rim stops small items sliding off
- Wipe care: a damp cloth handles most drips and crumbs
- Dry rule: keep the tray away from standing water
19. A Marble or Stone Tier for an Elegant Lift
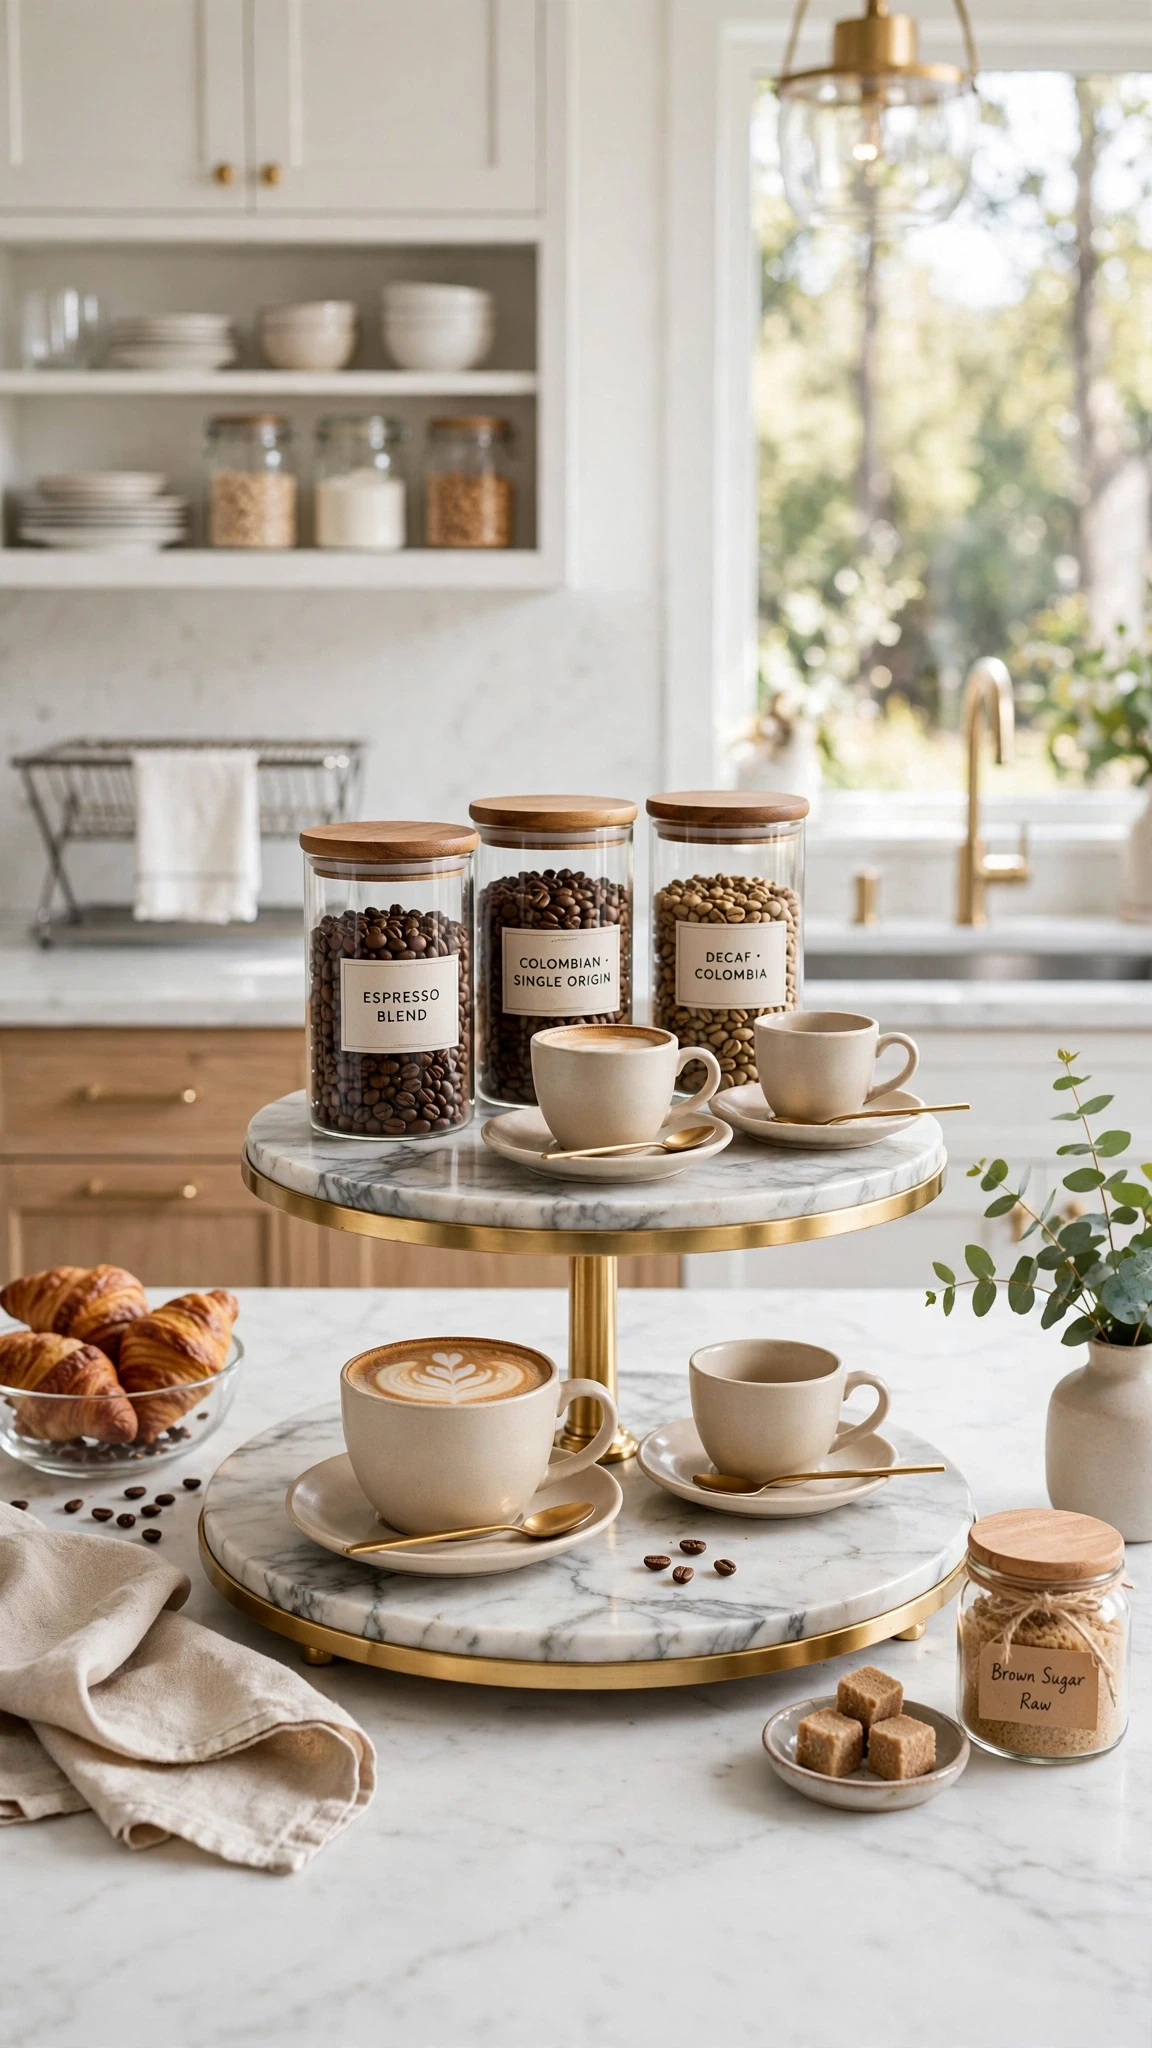
A marble or stone tiered stand lifts your coffee supplies onto two levels, which adds elegance and doubles the display space in the same footprint. The lower tier holds daily jars and cups, the upper tier holds a small plant or a pretty canister, and the stone itself brings a cool, polished note to the kitchen. This works best on counters with a little breathing room, since stone pieces carry visual weight and need space around them to shine.
- Two levels: daily supplies below, a display piece above
- Stone care: wipe spills quickly, since stone can stain
- Space rule: leave clear counter around the stand so it reads as a feature
- Weight check: stone is heavy, so place it once and leave it
20. A Color Story in Black, White, and Warm Wood
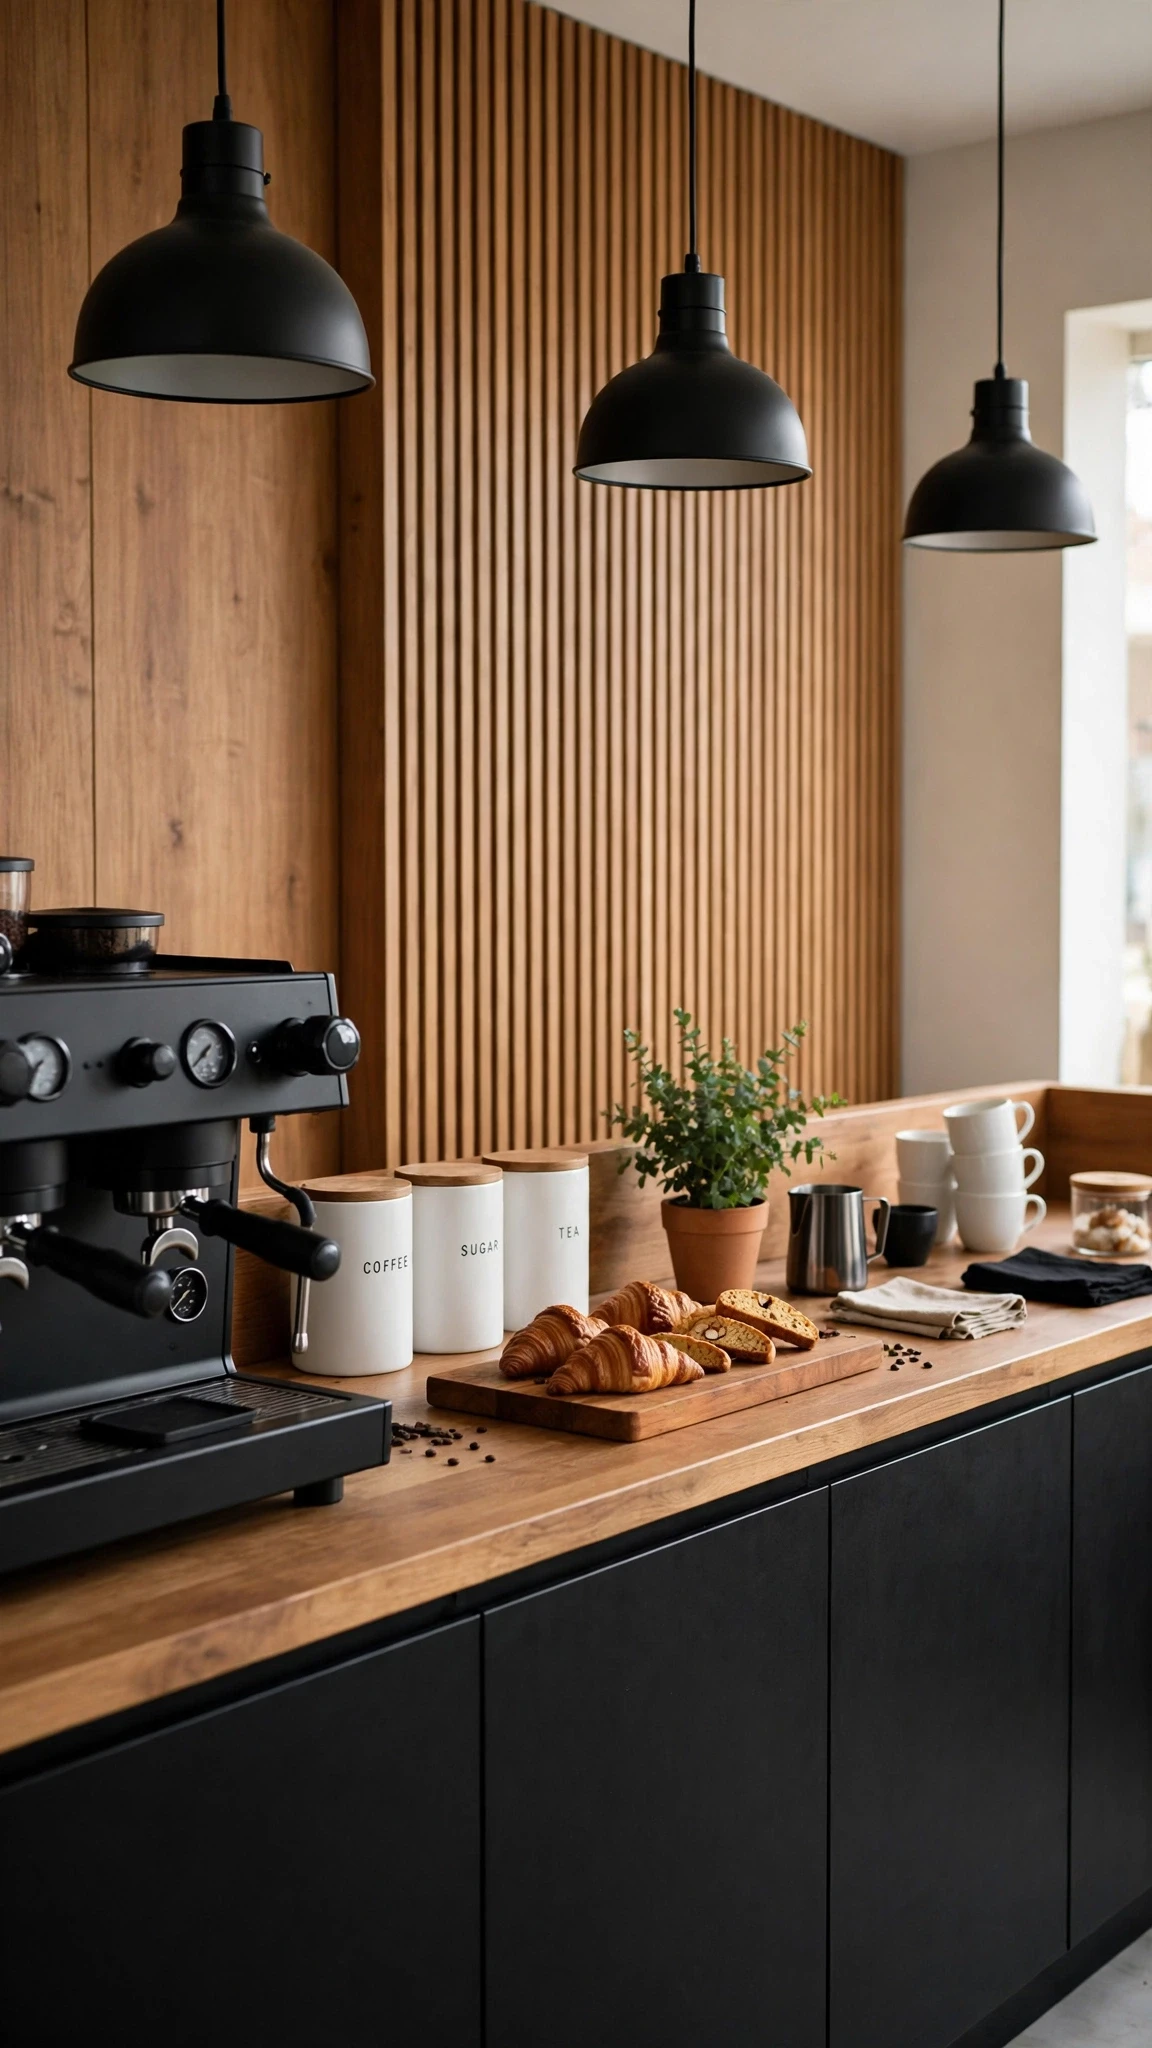
A coffee bar in black, white, and warm wood feels calm and cohesive without any effort, because the limited palette ties every piece together. Black machine or mugs, white canisters or cups, and a wooden board or tray give the eye just three notes to follow, and the bar reads as styled even when it holds a lot of gear. Add one green plant or a brass spoon for a single accent, and resist adding a fourth color, since restraint is what makes this scheme work.
- Palette rule: three colors only: black, white, and warm wood
- One accent: a plant or brass piece adds life without breaking the scheme
- Mix freely: pieces need not match, they only need to stay in palette
- Background check: the scheme suits both light and dark kitchens
- Step-back check: confirm the palette reads calm, not busy, from the doorway
21. Fresh Flowers or Greenery Beside the Machine
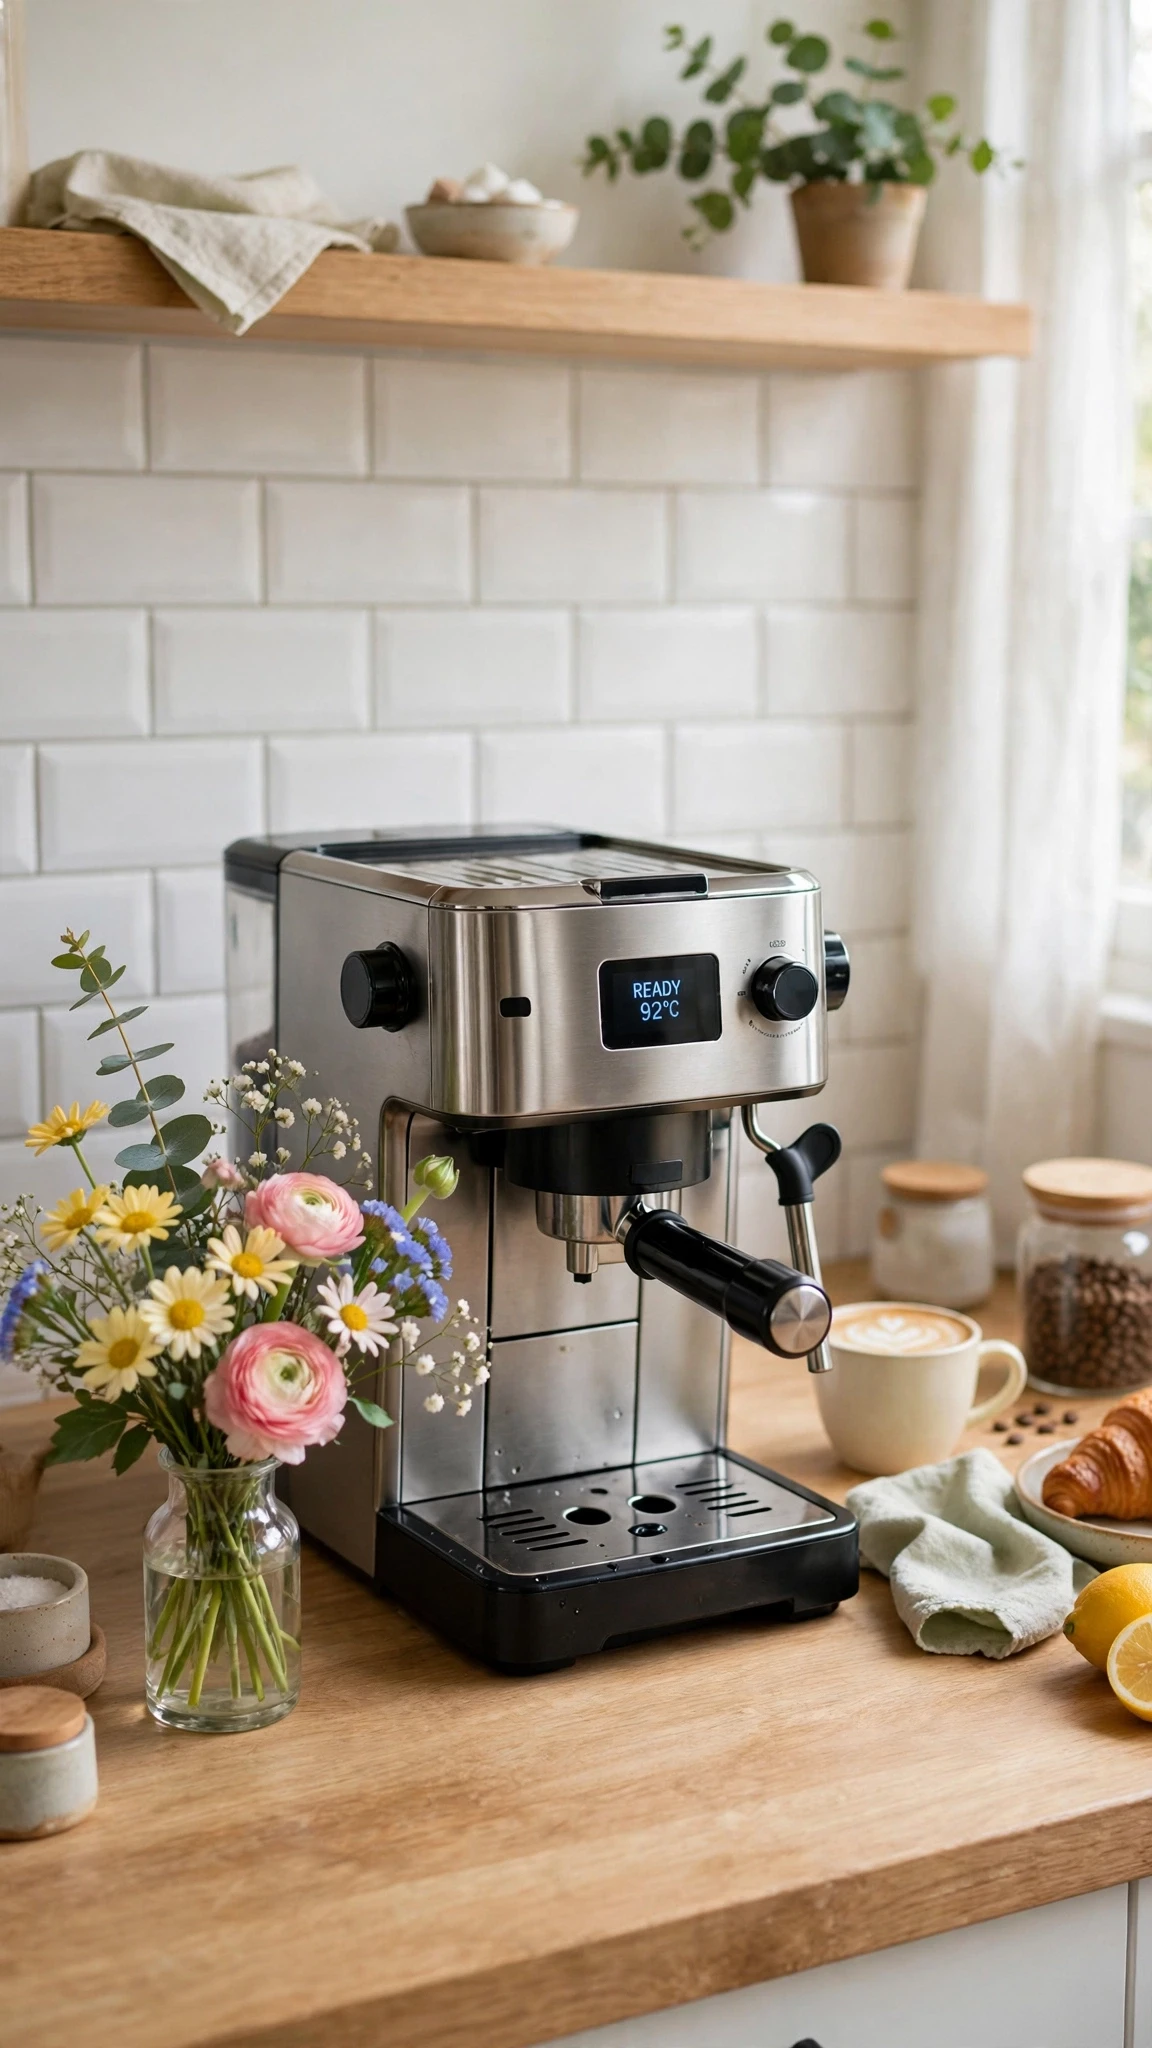
A small vase of fresh flowers or a potted herb beside the machine changes the whole feeling of a coffee bar, because living green softens all the hard equipment around it. A single stem in a bud vase takes almost no space, while a small potted plant adds a lush note that makes mornings feel less rushed. Keep the plant in a pot with a saucer to catch water, and choose something hardy that forgives a missed watering.
- Small vase: one or two stems are enough beside a machine
- Hardy picks: pothos, mint, or rosemary forgive neglect
- Saucer rule: always use a saucer to protect the counter
22. Artwork and a Small Sign for a Finished, Personal Feel
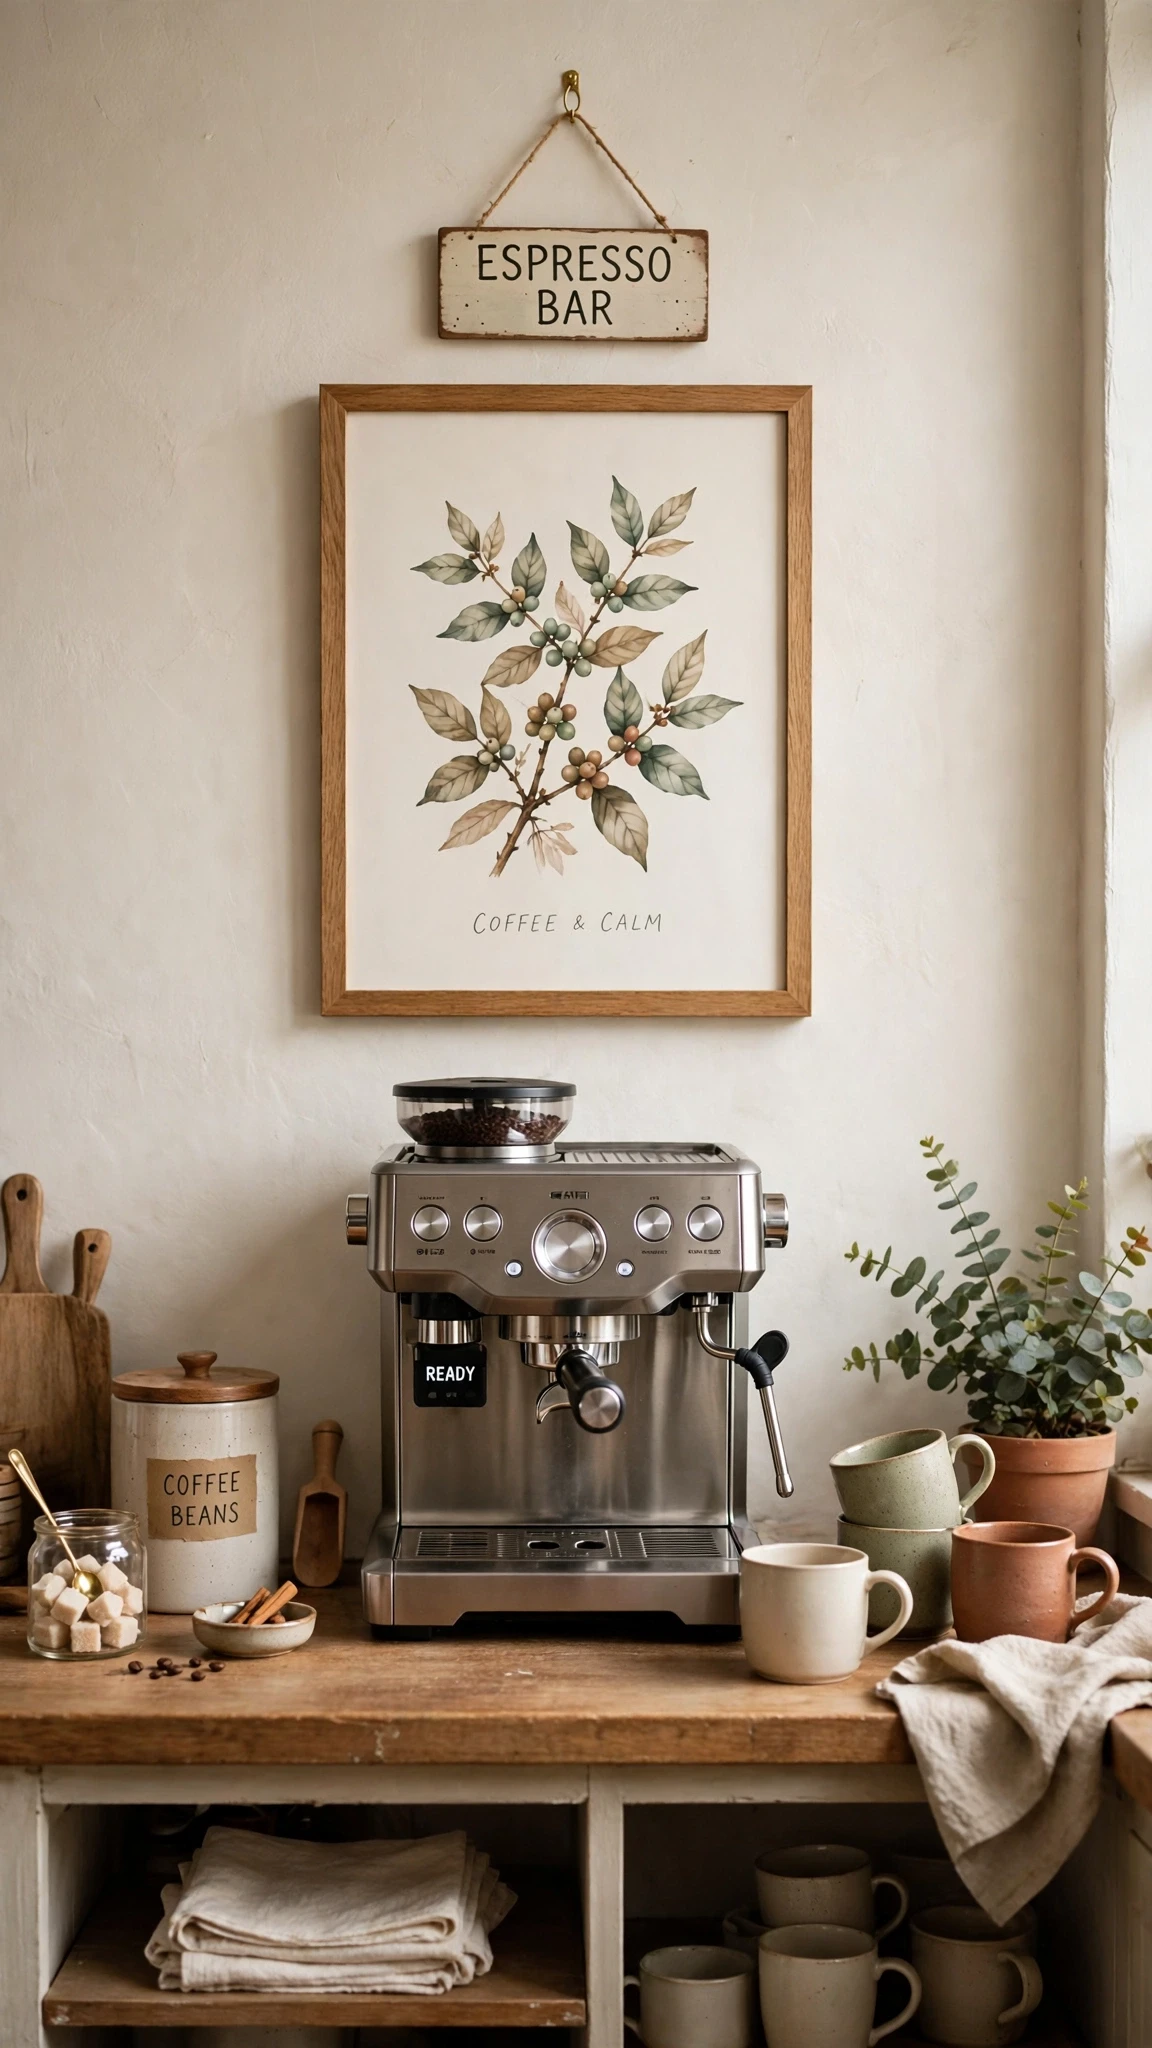
A framed print or a small sign above the coffee zone is the detail that turns a functional corner into a place with personality. It costs no counter space at all, since it lives on the wall, yet it tells guests this spot was planned rather than improvised. Pick art you actually like, whether a coffee print, a landscape, or a family photo, and hang it at eye level above the machine so it anchors the whole arrangement.
- Size rule: the frame should be narrower than the coffee zone below it
- Personal pick: choose art with meaning, not generic cafe words alone
- No-drill option: adhesive strips hold light frames in rentals
23. A Book or Two for Recipes and Slow Mornings
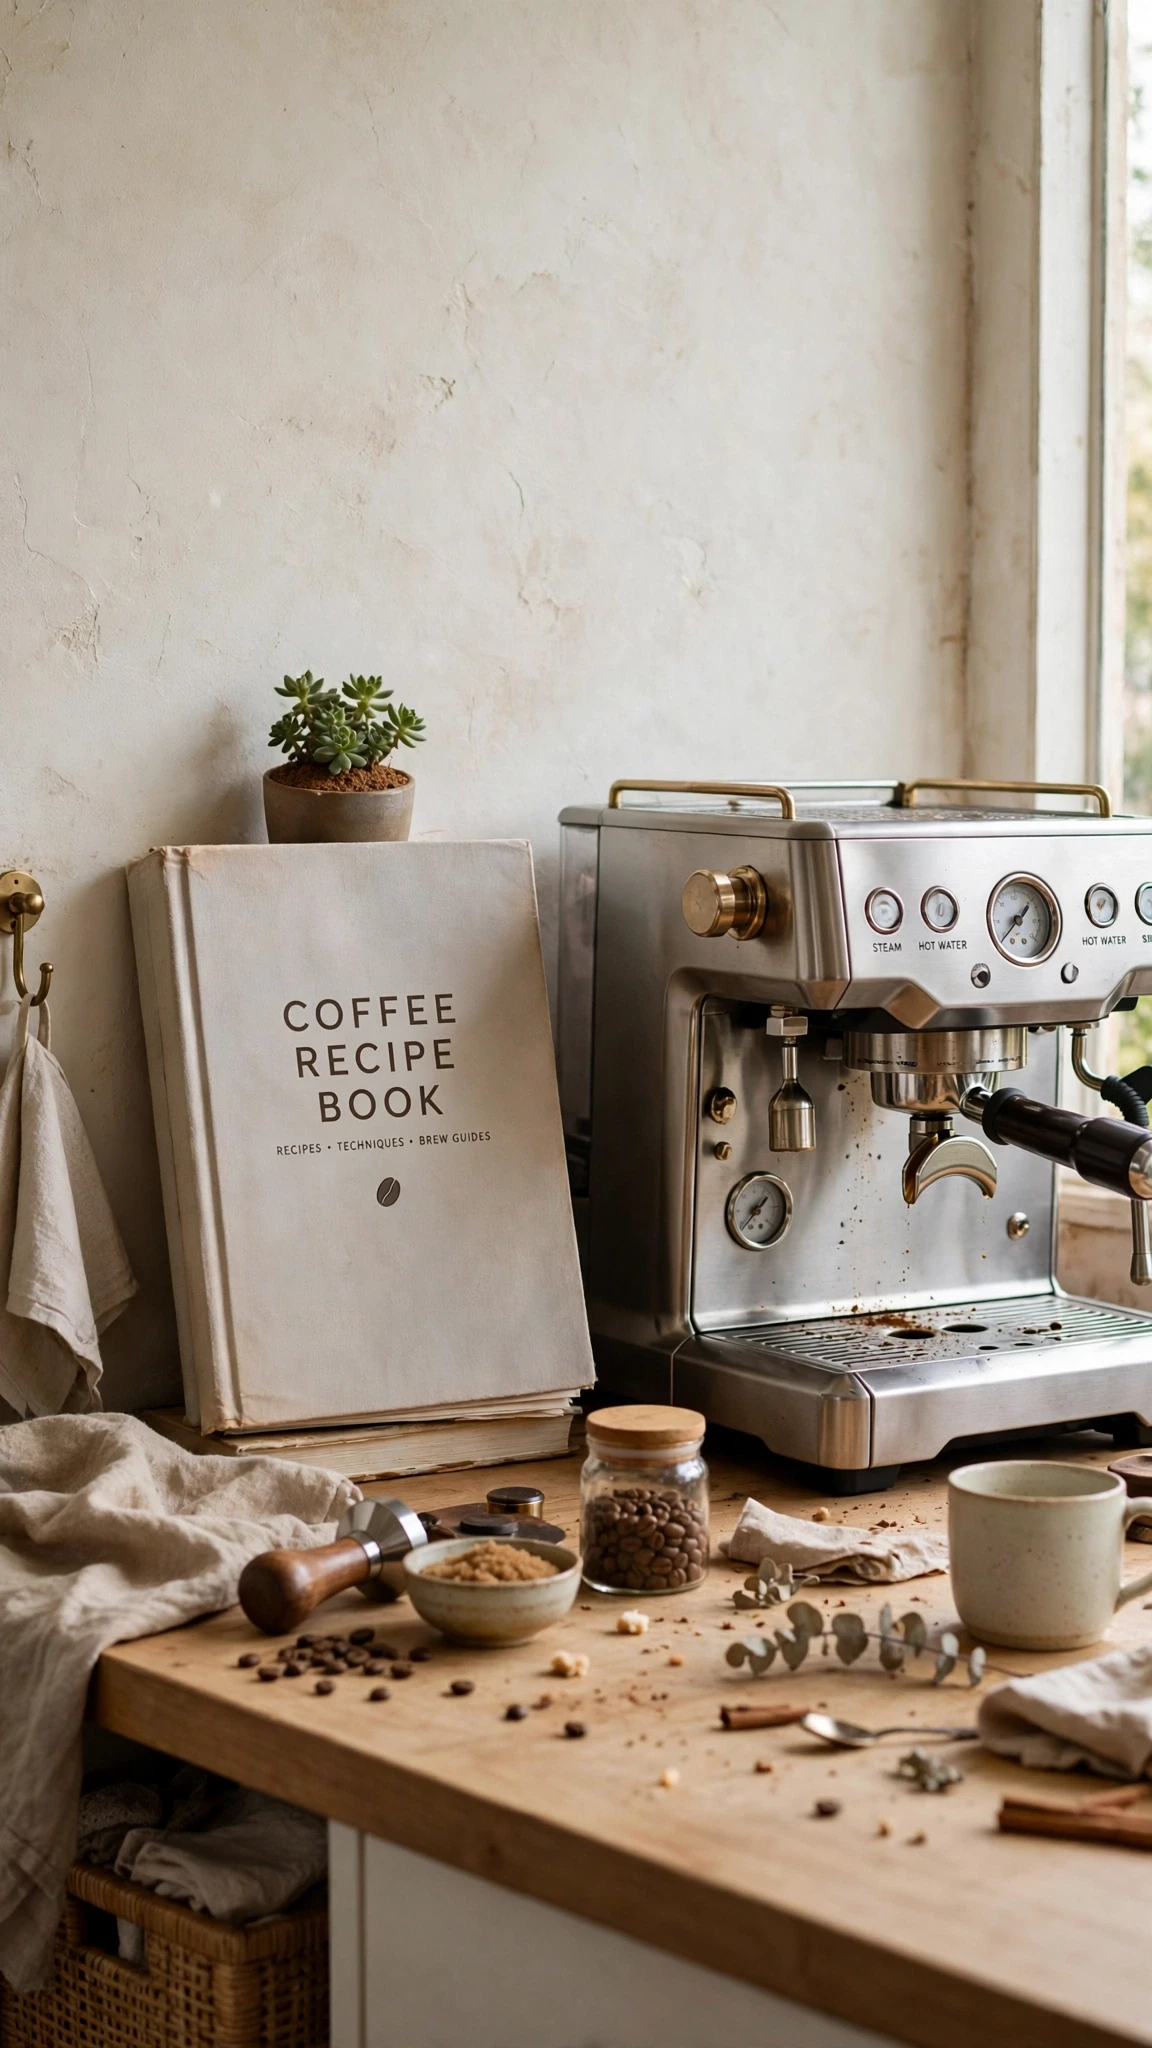
A cookbook or coffee guide leaning against the wall or lying flat on the bar adds a thoughtful, lived-in note, and it earns its place by being useful. Flip to a new brew method on a slow weekend, or use it as a riser to lift a small plant or candle to a better height. Keep it to one or two books you actually open, since a stack of unread books quickly becomes clutter dressed as decor.
- Useful only: books you open at least monthly earn a bar spot
- Riser trick: a flat book lifts a small plant or candle elegantly
- Lean spot: one book leaning against the wall fills a gap nicely
- Splash guard: keep books clear of the machine’s steam path
24. A Tea Towel and Cloth Napkins as Soft Styling
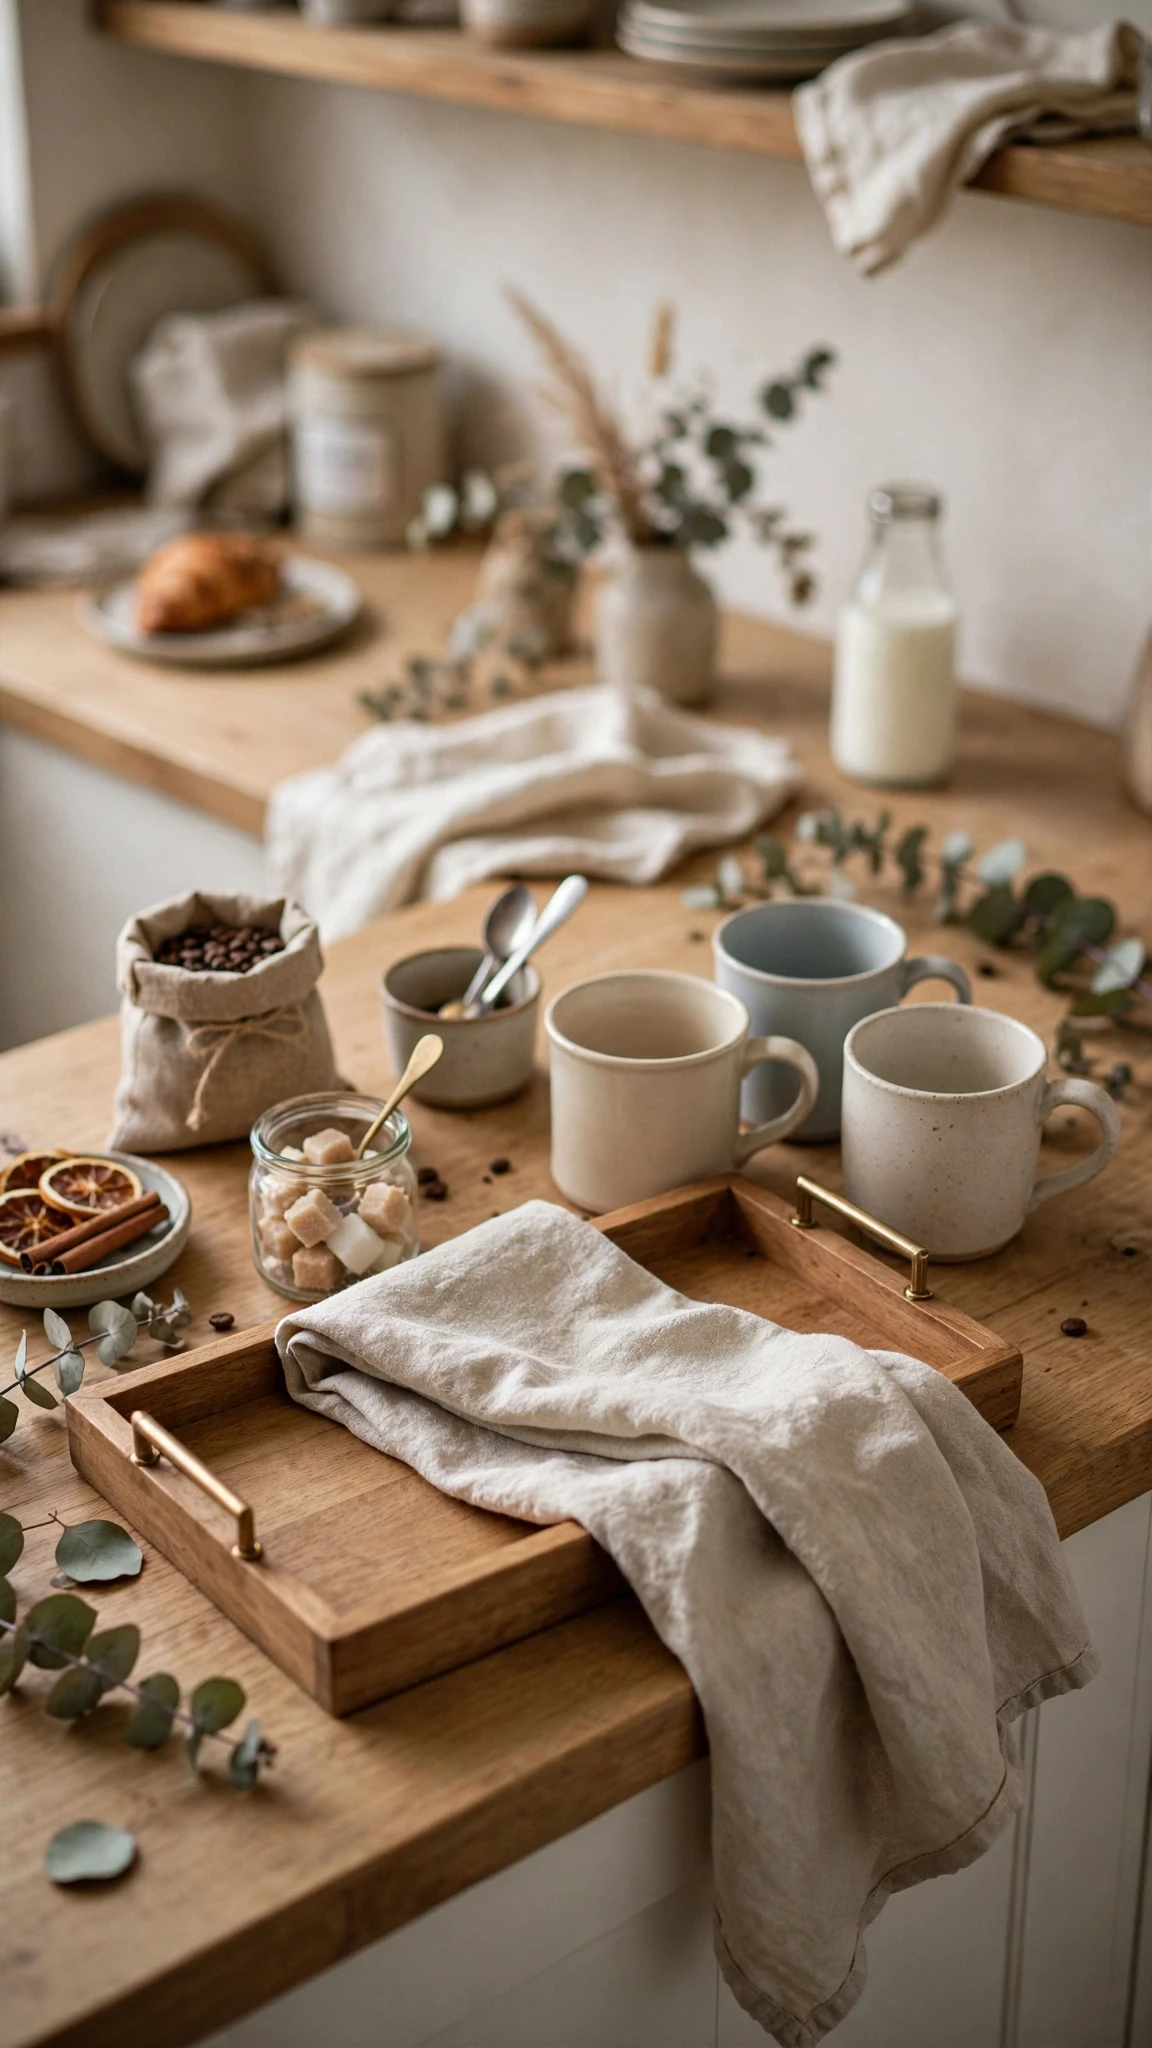
A folded tea towel draped over the edge of the tray, or a small stack of cloth napkins beside the mugs, softens a coffee bar in a way hard objects cannot. The fabric adds color and pattern, it is genuinely useful for wiping drips, and swapping it takes seconds when the season changes. Choose a towel in a color from your kitchen’s palette, and keep a second one in a drawer so a stained towel never stays on display.
- Fold rule: a neat fold reads styled, a crumpled towel reads messy
- Palette match: pick a towel color already in the kitchen
- Spare habit: keep a fresh towel in the nearest drawer
- Season swap: change the towel with the seasons for a quick refresh
- Napkin ring: a simple ring keeps cloth napkins rolled and neat
25. A Small Lamp That Makes Early Mornings Feel Warm
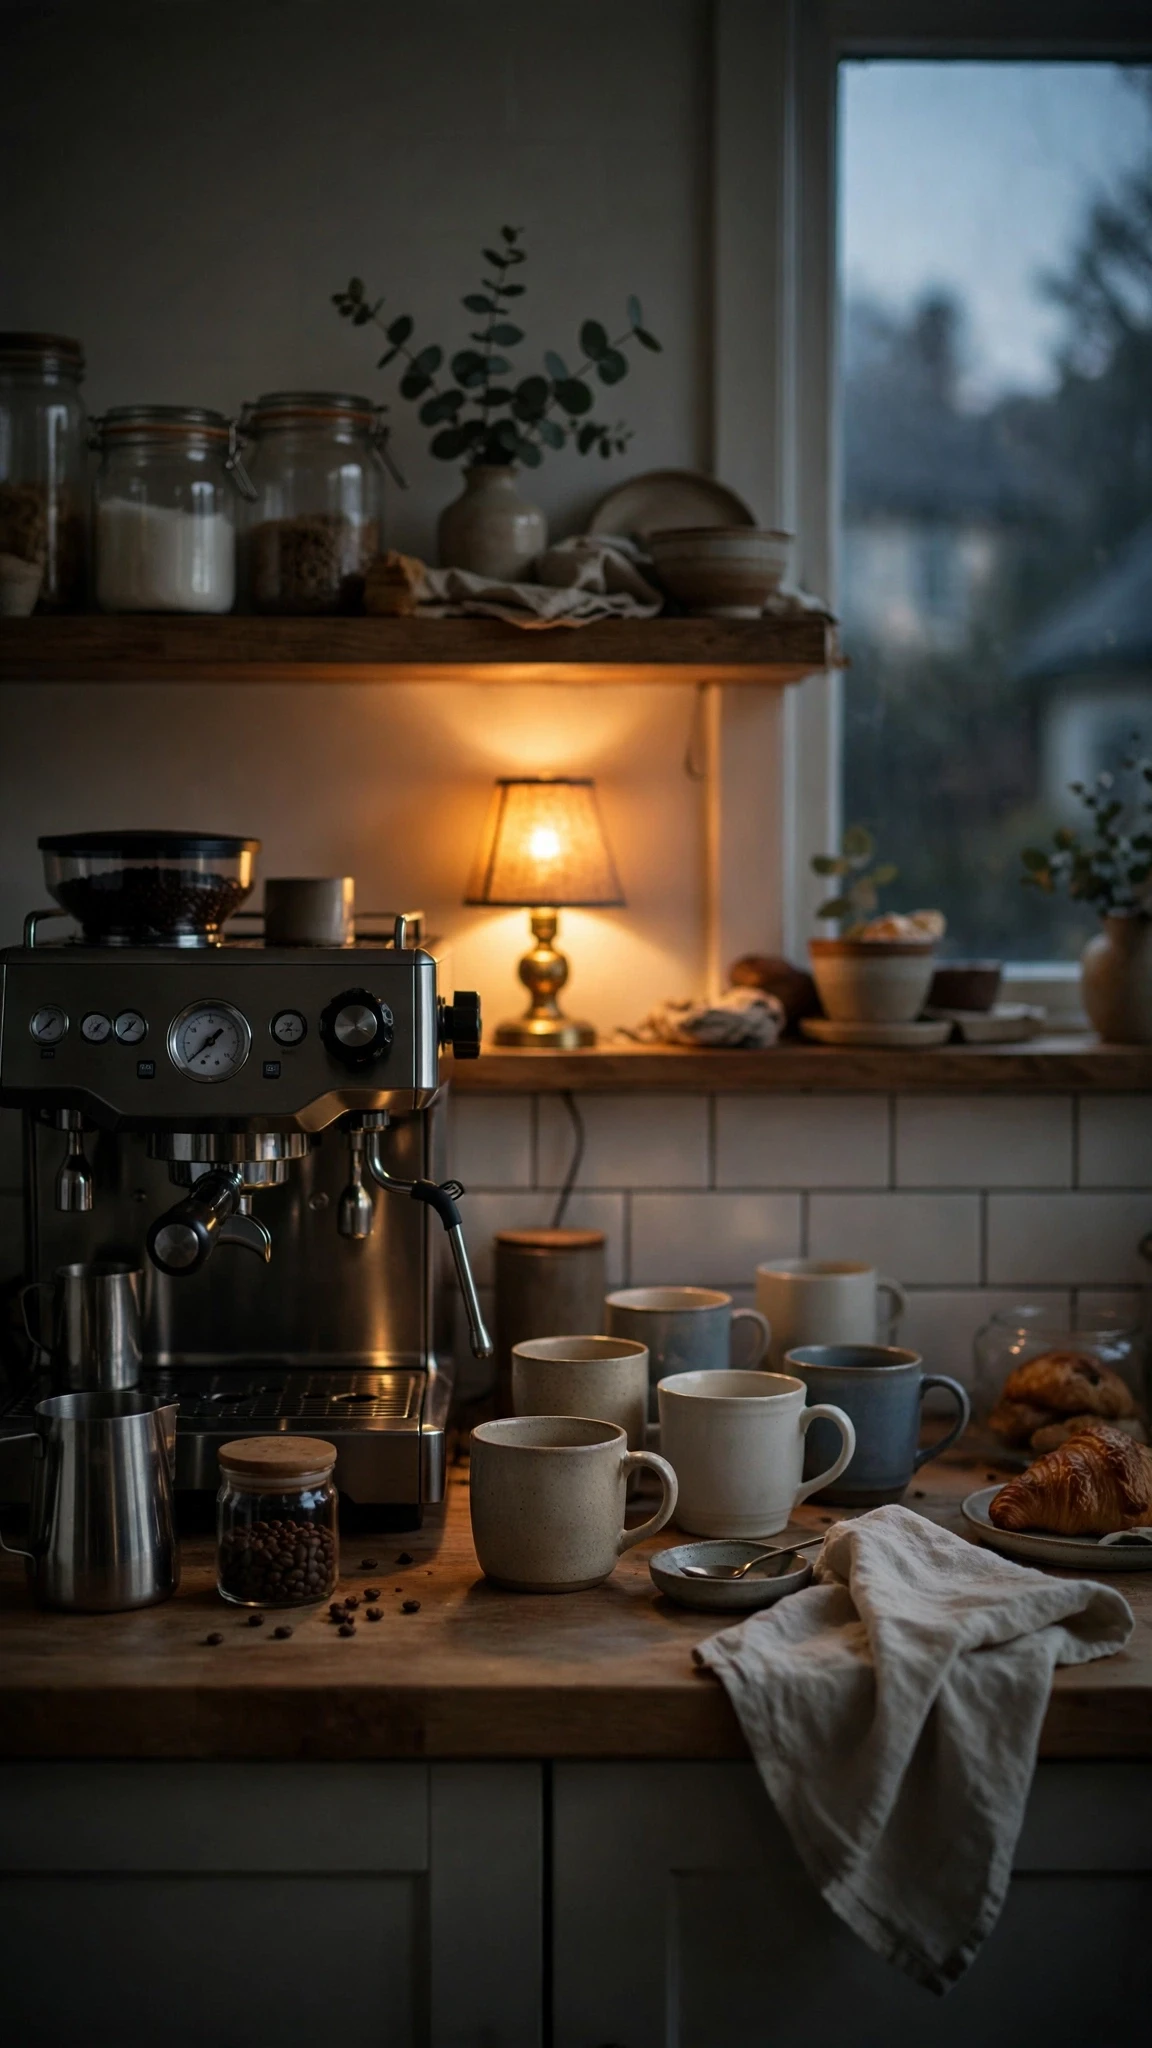
A tiny lamp on the counter turns early mornings from harsh to gentle, because its warm pool of light makes the coffee corner glow while the rest of the kitchen stays dim. A battery or plug-in lamp with a warm bulb is all you need, placed at the back of the zone where it lights the machine and mugs without shining in your eyes. On dark winter mornings, that small glow can be the best part of getting up.
- Warm bulb: choose a warm white bulb, not a bright daylight one
- Back placement: the lamp sits behind the machine, lighting the zone
- Small scale: a lamp under twelve inches suits most counters
26. Fairy Lights for a Cafe Glow After Sunset
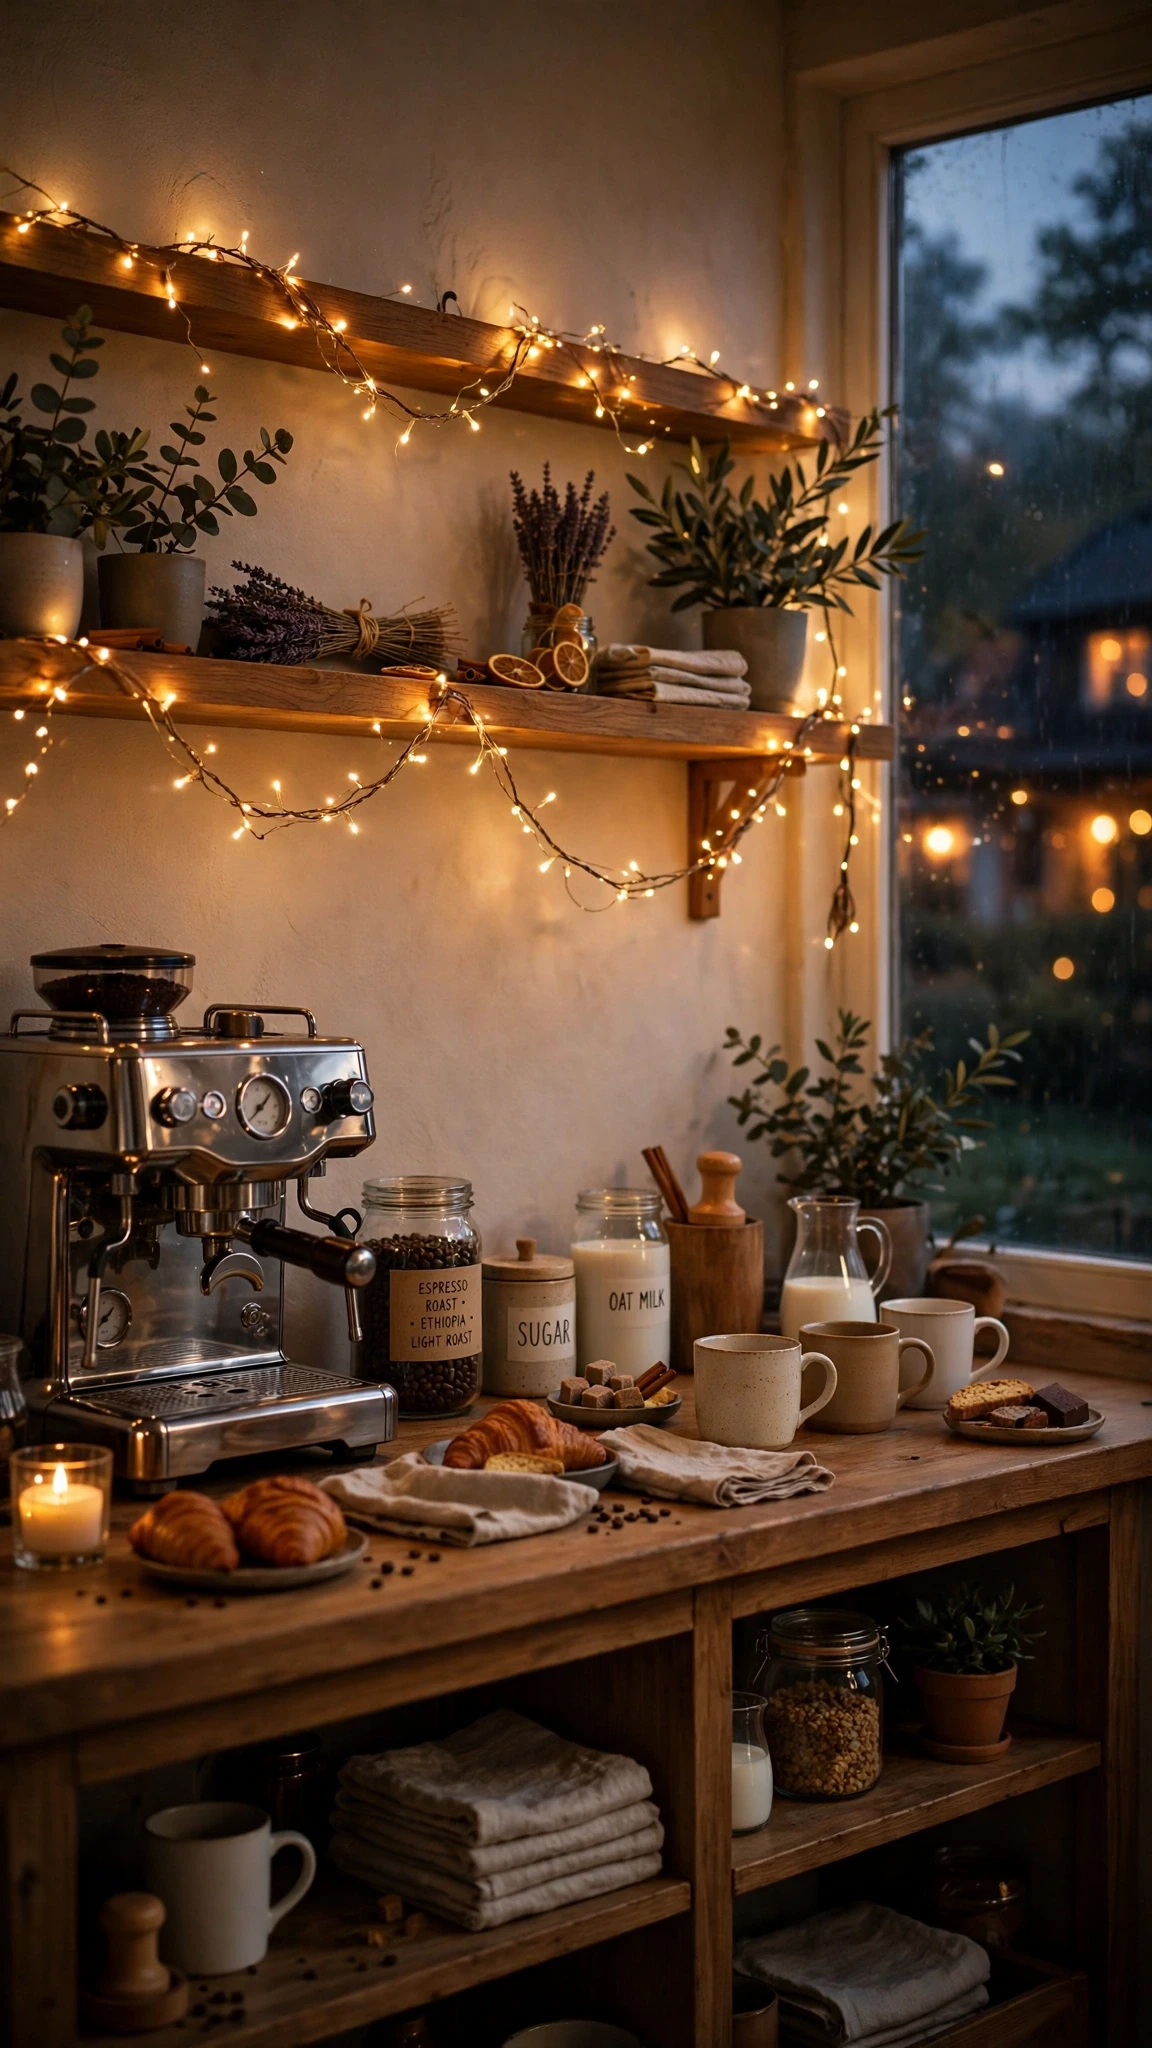
A string of fairy lights along the shelf above the coffee bar, or coiled in a jar on the counter, gives the kitchen a cafe glow in the evening that overhead lights never manage. The light is soft enough for winding down, pretty enough to leave on through dinner, and cheap enough to try without commitment. Battery-operated lights with a timer save you switching them nightly, and warm white beats bright white for a cozy feeling.
- Light color: warm white feels cozy, bright white feels clinical
- Shelf line: drape lights along the shelf above the bar
- Jar option: a jar of lights on the counter glows like a lantern
- Timer habit: a timer plug handles switching automatically
27. A Scented Candle or Diffuser for the Cafe Feeling
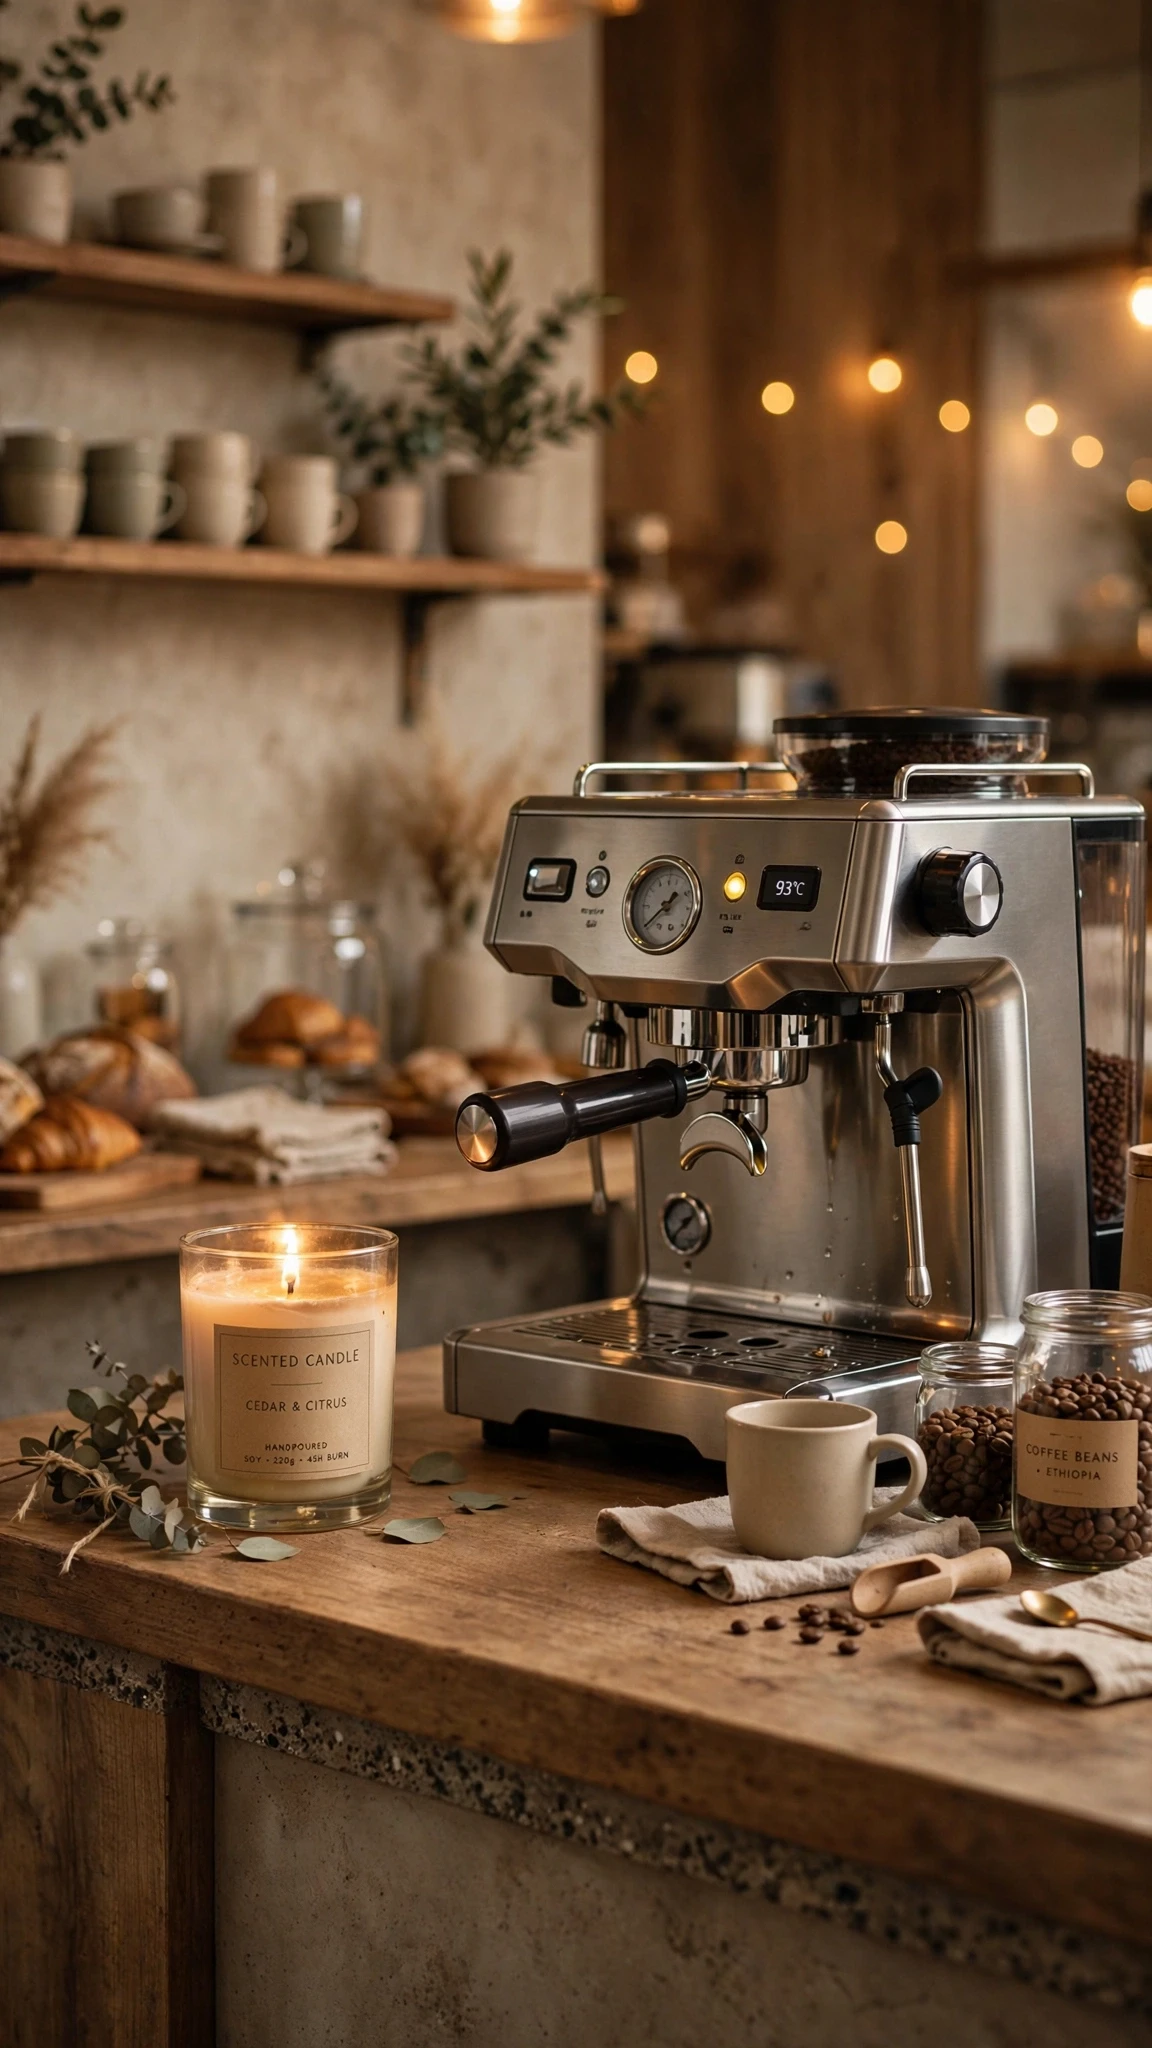
Scent finishes a coffee bar the way music finishes a cafe: a candle or diffuser beside the machine adds warmth that you notice before you even brew. Pick a scent that pairs with coffee, like vanilla, cedar, or cinnamon, and keep it away from the machine’s steam path so the scent stays clean. A reed diffuser suits homes that prefer no flame, while a lidded candle looks prettier and keeps dust out when unlit.
- Scent pairing: vanilla, cedar, or cinnamon suit coffee corners
- Steam check: keep scent sources clear of the machine’s steam
- Flame-free option: a reed diffuser gives scent without a flame
- Lid rule: a lidded candle stays dust-free between uses
28. A Tiny-Counter Plan, a Coffee Bar in Two Feet of Space
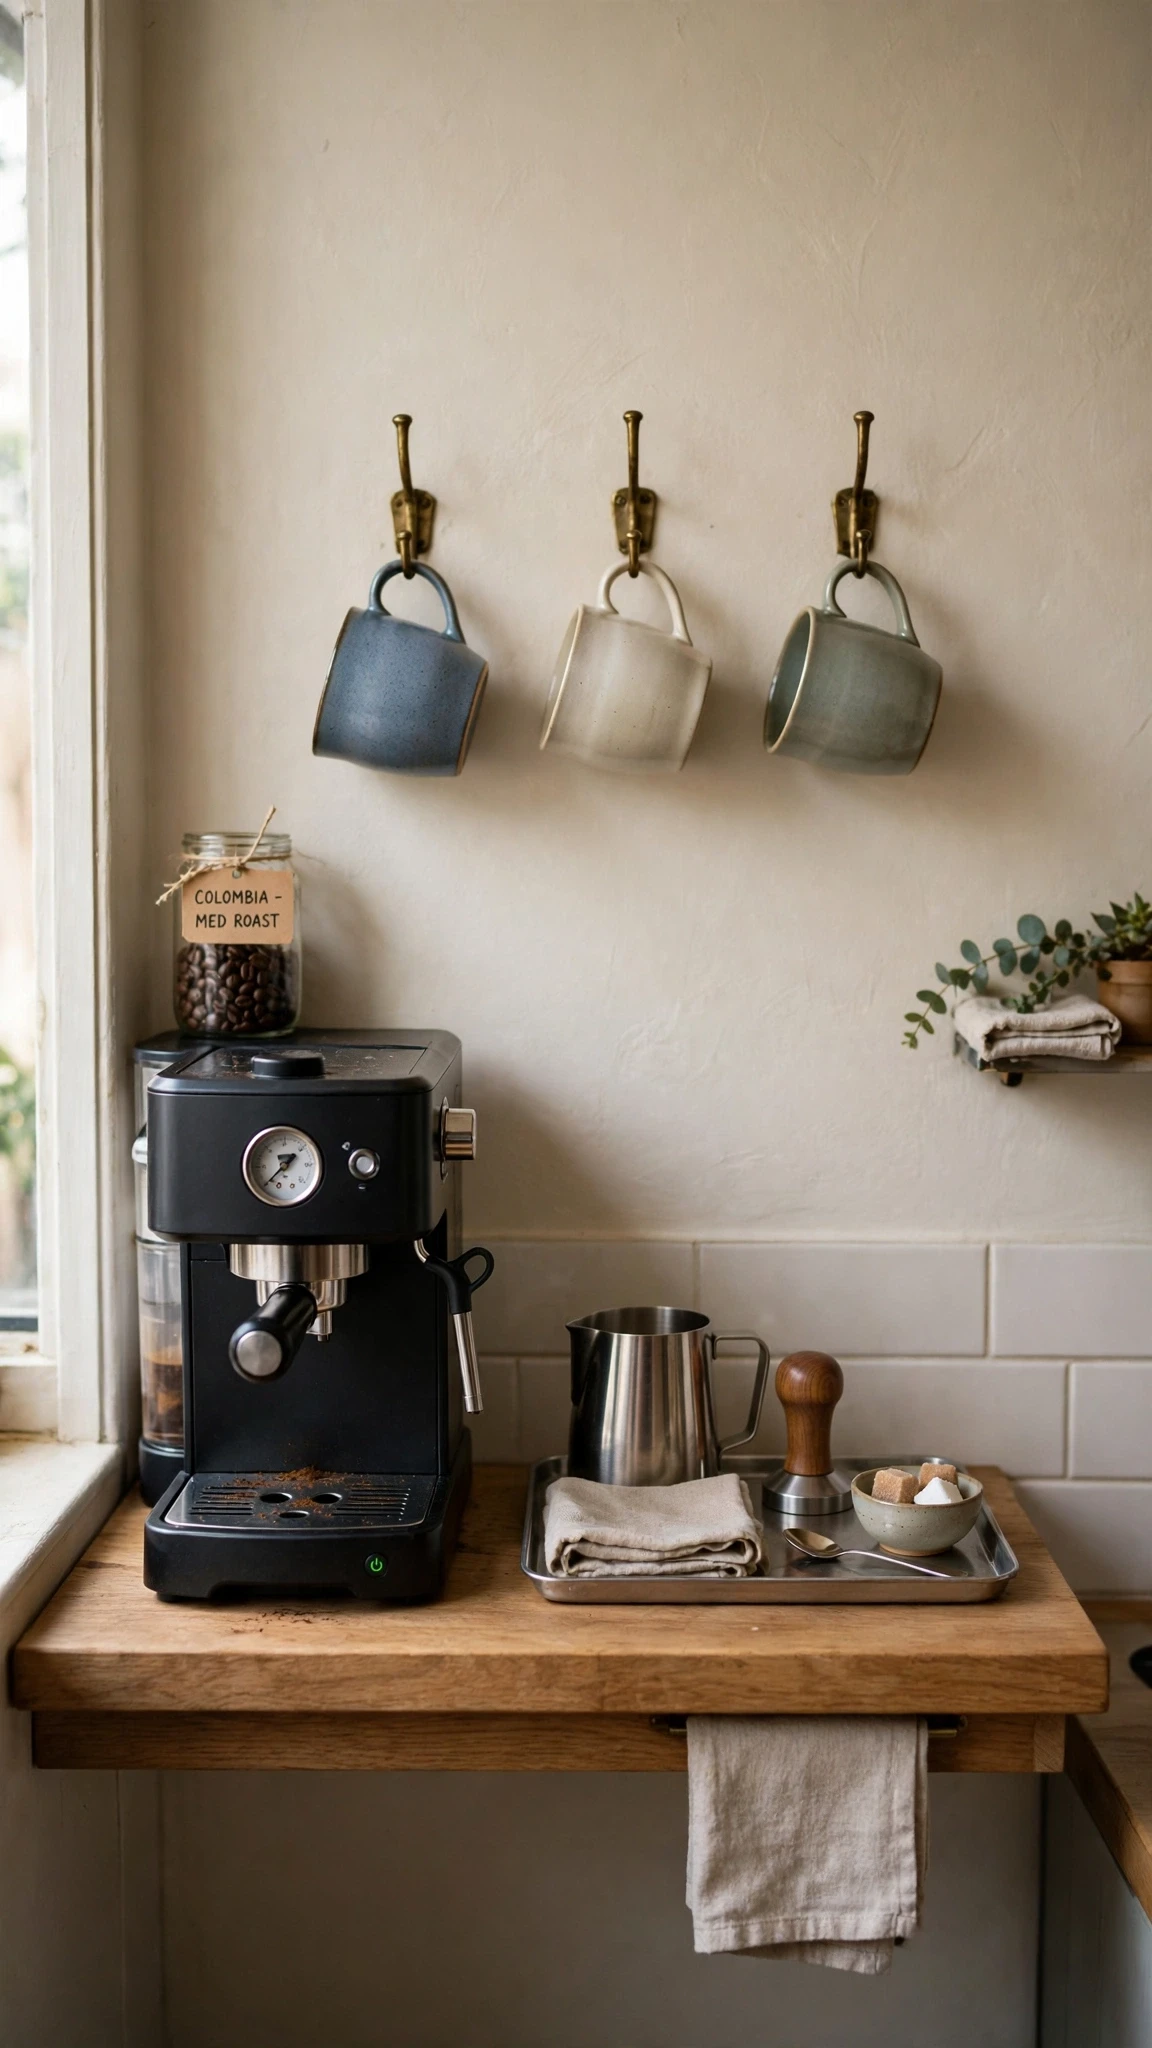
Two feet of counter is enough for a real coffee bar if every piece earns its place. One machine, one tray, three mugs on hooks above, and a single jar of beans: that is the whole bar, and it works because nothing extra competes for space. Hang mugs on the wall, store filters in a drawer, and keep sweetener in one small jar, so the counter holds only what your hands touch every morning.
- Four-piece rule: machine, tray, mugs on hooks, one bean jar
- Wall storage: hooks and a shelf carry what the counter cannot
- Drawer overflow: filters and spoons live in the nearest drawer
- One jar: a single jar for sweetener, not a row of bottles
- Door swing: keep the zone clear of fridge and cabinet doors
29. A Renter-Friendly Bar With No Holes and No Damage
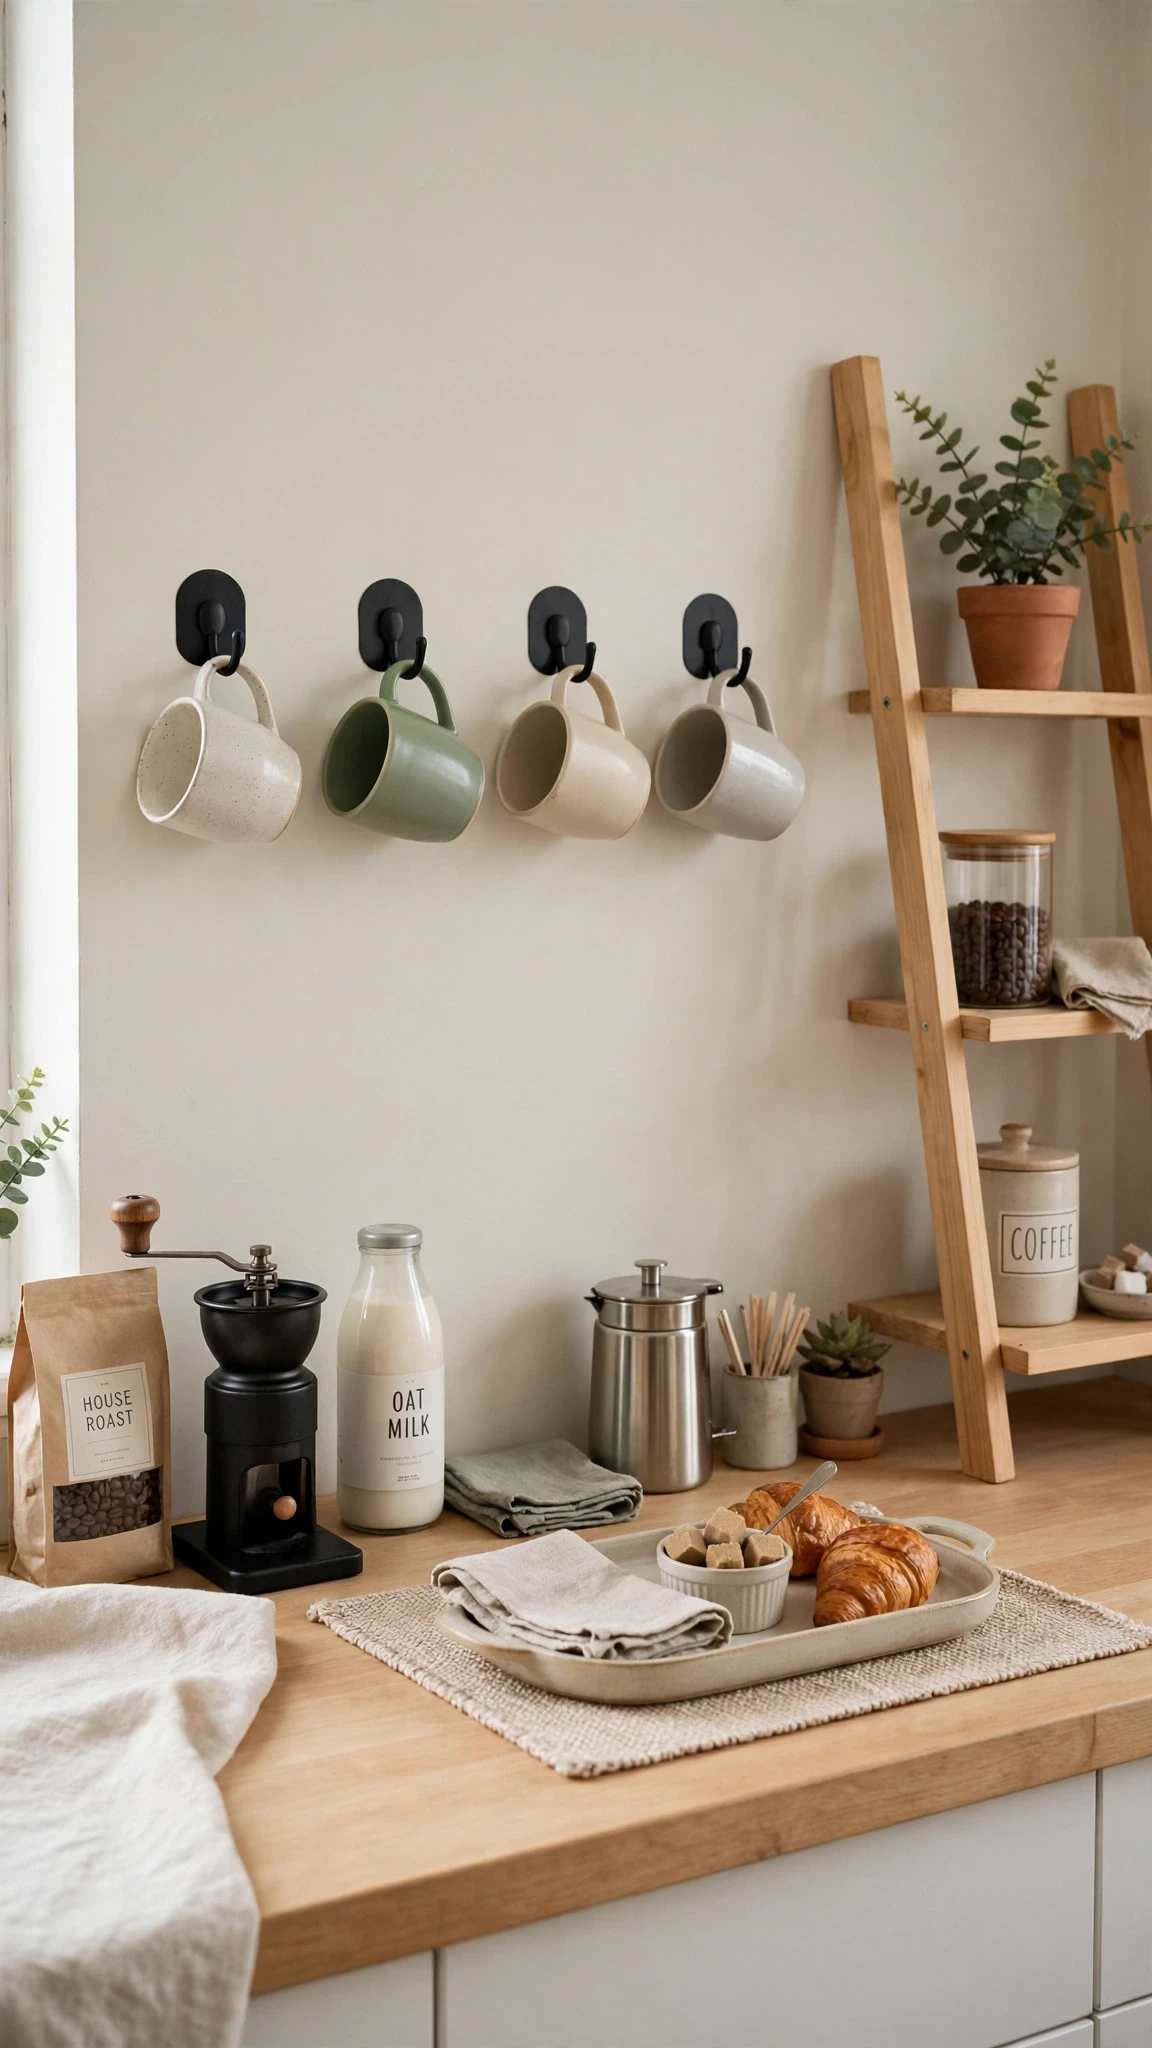
You do not need to drill into walls or install permanent shelves to create a charming coffee station in a rental kitchen. Start with a small countertop area and use a freestanding mug stand, a decorative tray, and stackable containers to organise your essentials. A compact tiered organiser can also provide extra storage without taking up too much counter space.
If you want to hang mugs, removable adhesive hooks may be an option, but check their weight limits and make sure they are suitable for your cabinet surface. Avoid placing heavy mugs on hooks that are not designed to support them. You can also use a freestanding mug rack instead, which is easy to move when you change your kitchen layout.
- Adhesive hooks: strong strips hold mugs under cabinets
- Leaning shelf: a freestanding shelf needs no wall fixings
- Tension options: a tension rod inside a cabinet hangs cups or towels
30. A Budget Bar Built From Things You Already Own
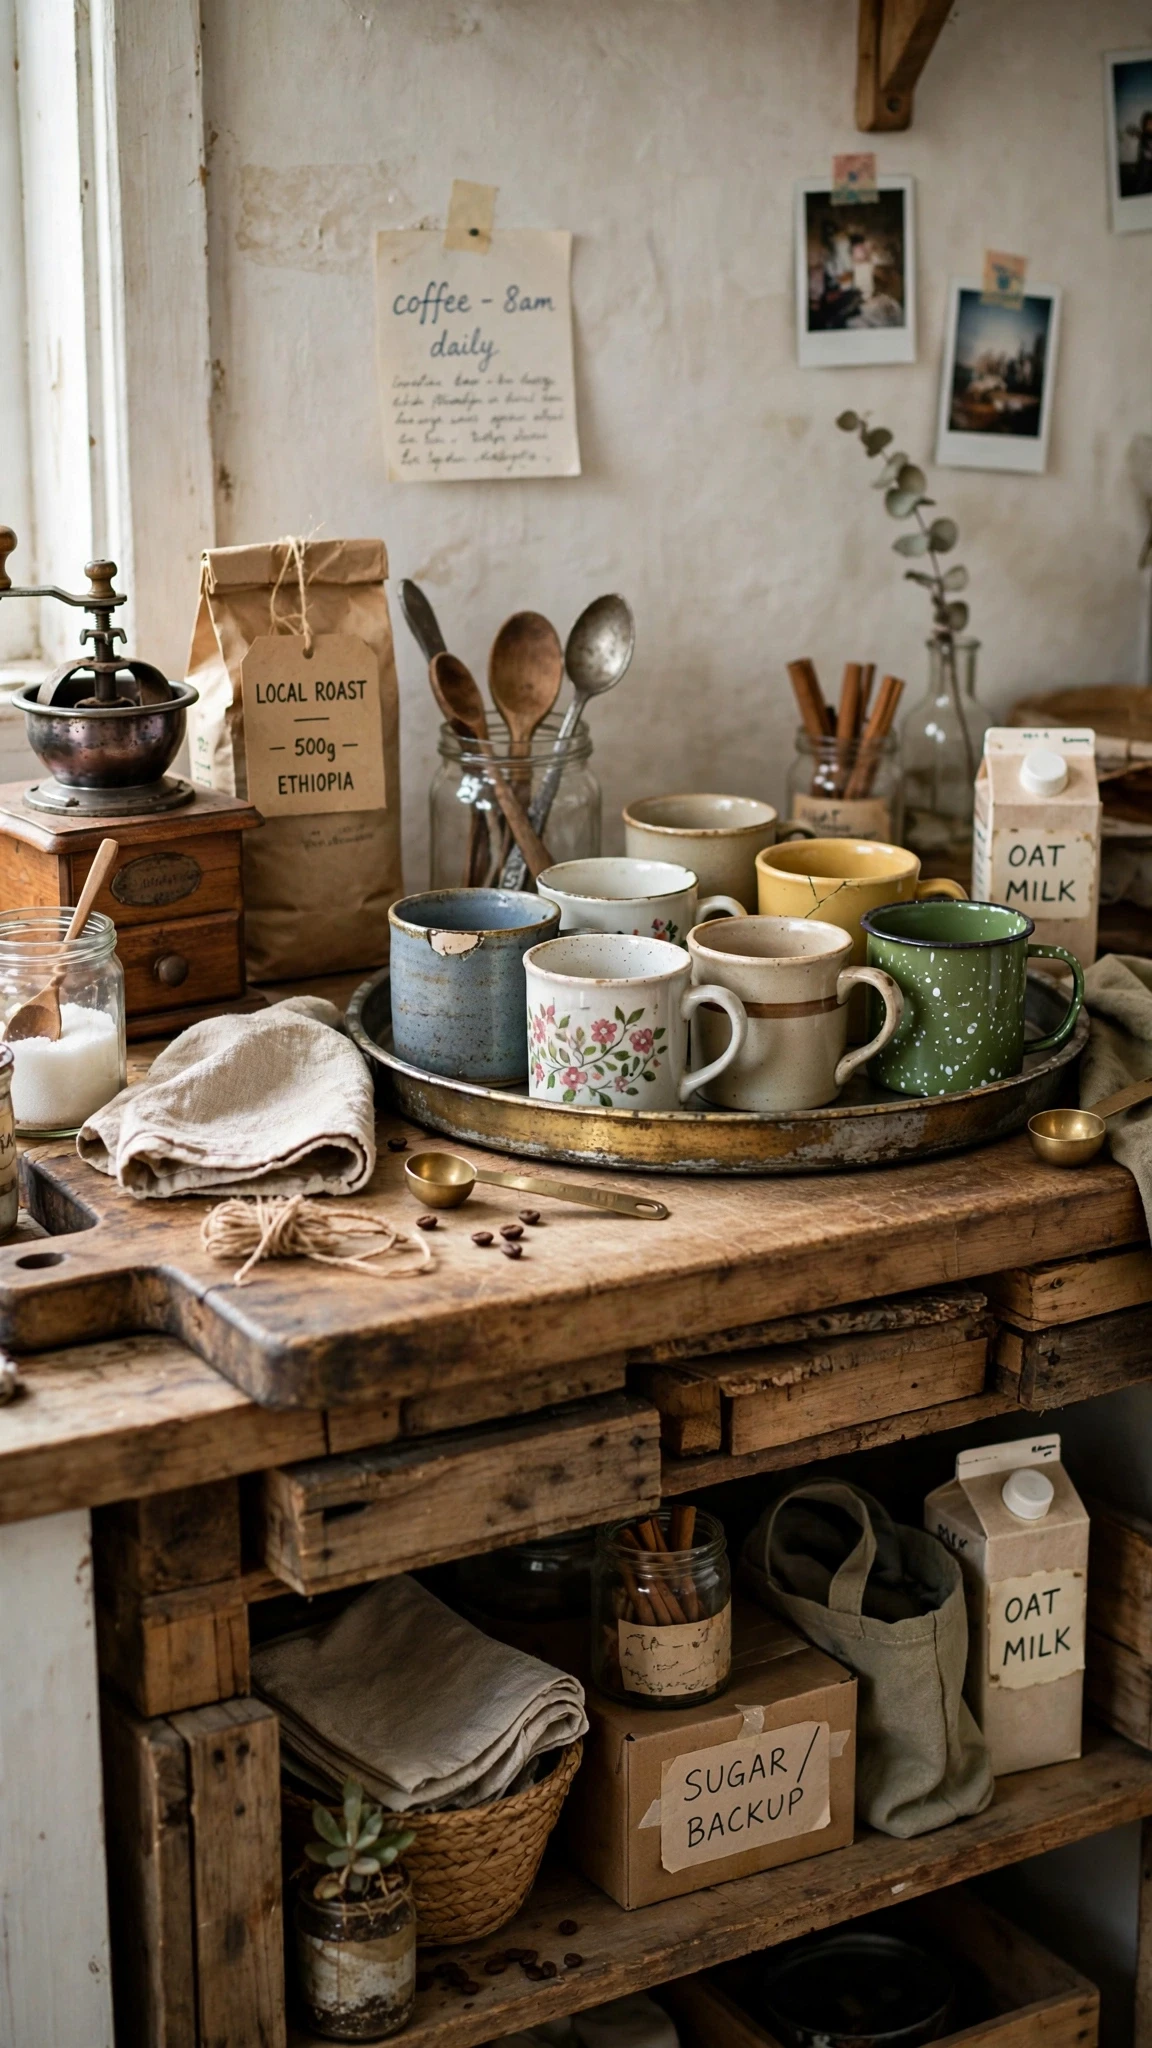
A coffee bar costs nothing if you shop your own home first, since most kitchens already hold everything a bar needs. A cutting board becomes the base, a tray from another room corrals supplies, mugs from a cabinet fill the hooks, and a jar from the pantry stores beans. Walk the house with fresh eyes, gather pieces that never sat together, and try them on the counter: the new combination often looks better than anything bought for the purpose.
- Home hunt: boards, trays, mugs, and jars from other rooms
- New combo: pieces that never sat together often surprise you
- Zero cost: no new purchases needed for a full bar
- Thrift gap: fill any missing piece secondhand before buying new
31. A Seasonal Swap, From Iced Summer to Cozy Winter
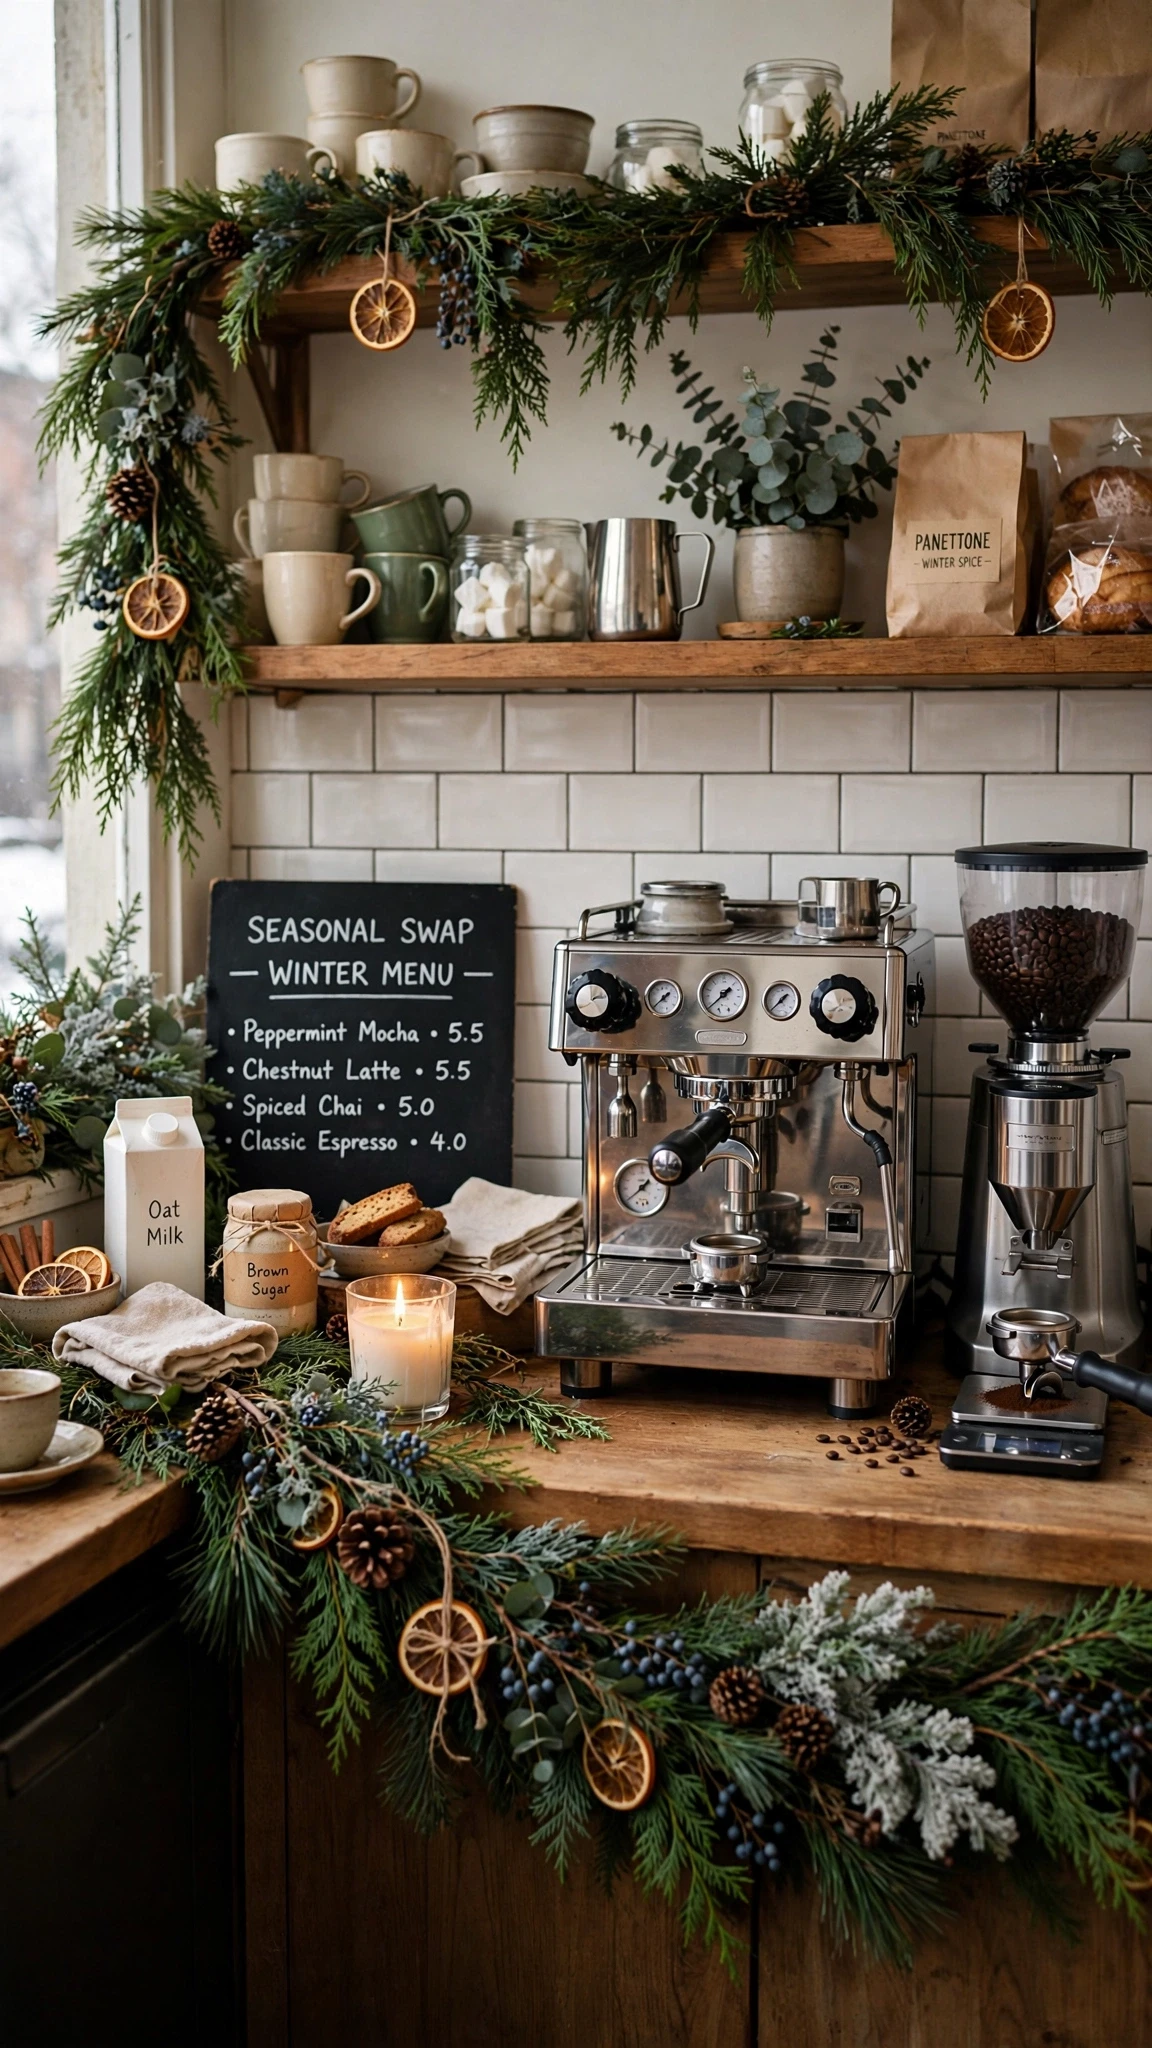
A coffee bar that changes with the seasons stays fresh without a full restyle, because you swap only a few pieces and leave the base alone. Summer brings the cold brew jar, tall glasses, and a light linen towel; winter brings a heavier mug, a candle, and a sprig of greenery. Keep a small box of seasonal pieces in a cabinet so the swap takes ten minutes, and the bar always matches the mood outside.
- Swap pieces: glasses, towels, and one accent object only
- Base stays: machine, tray, and storage remain all year
- Season box: one labeled box per season keeps swaps fast
32. A Clean-and-Safe Routine for Cords, Steam, and Spills
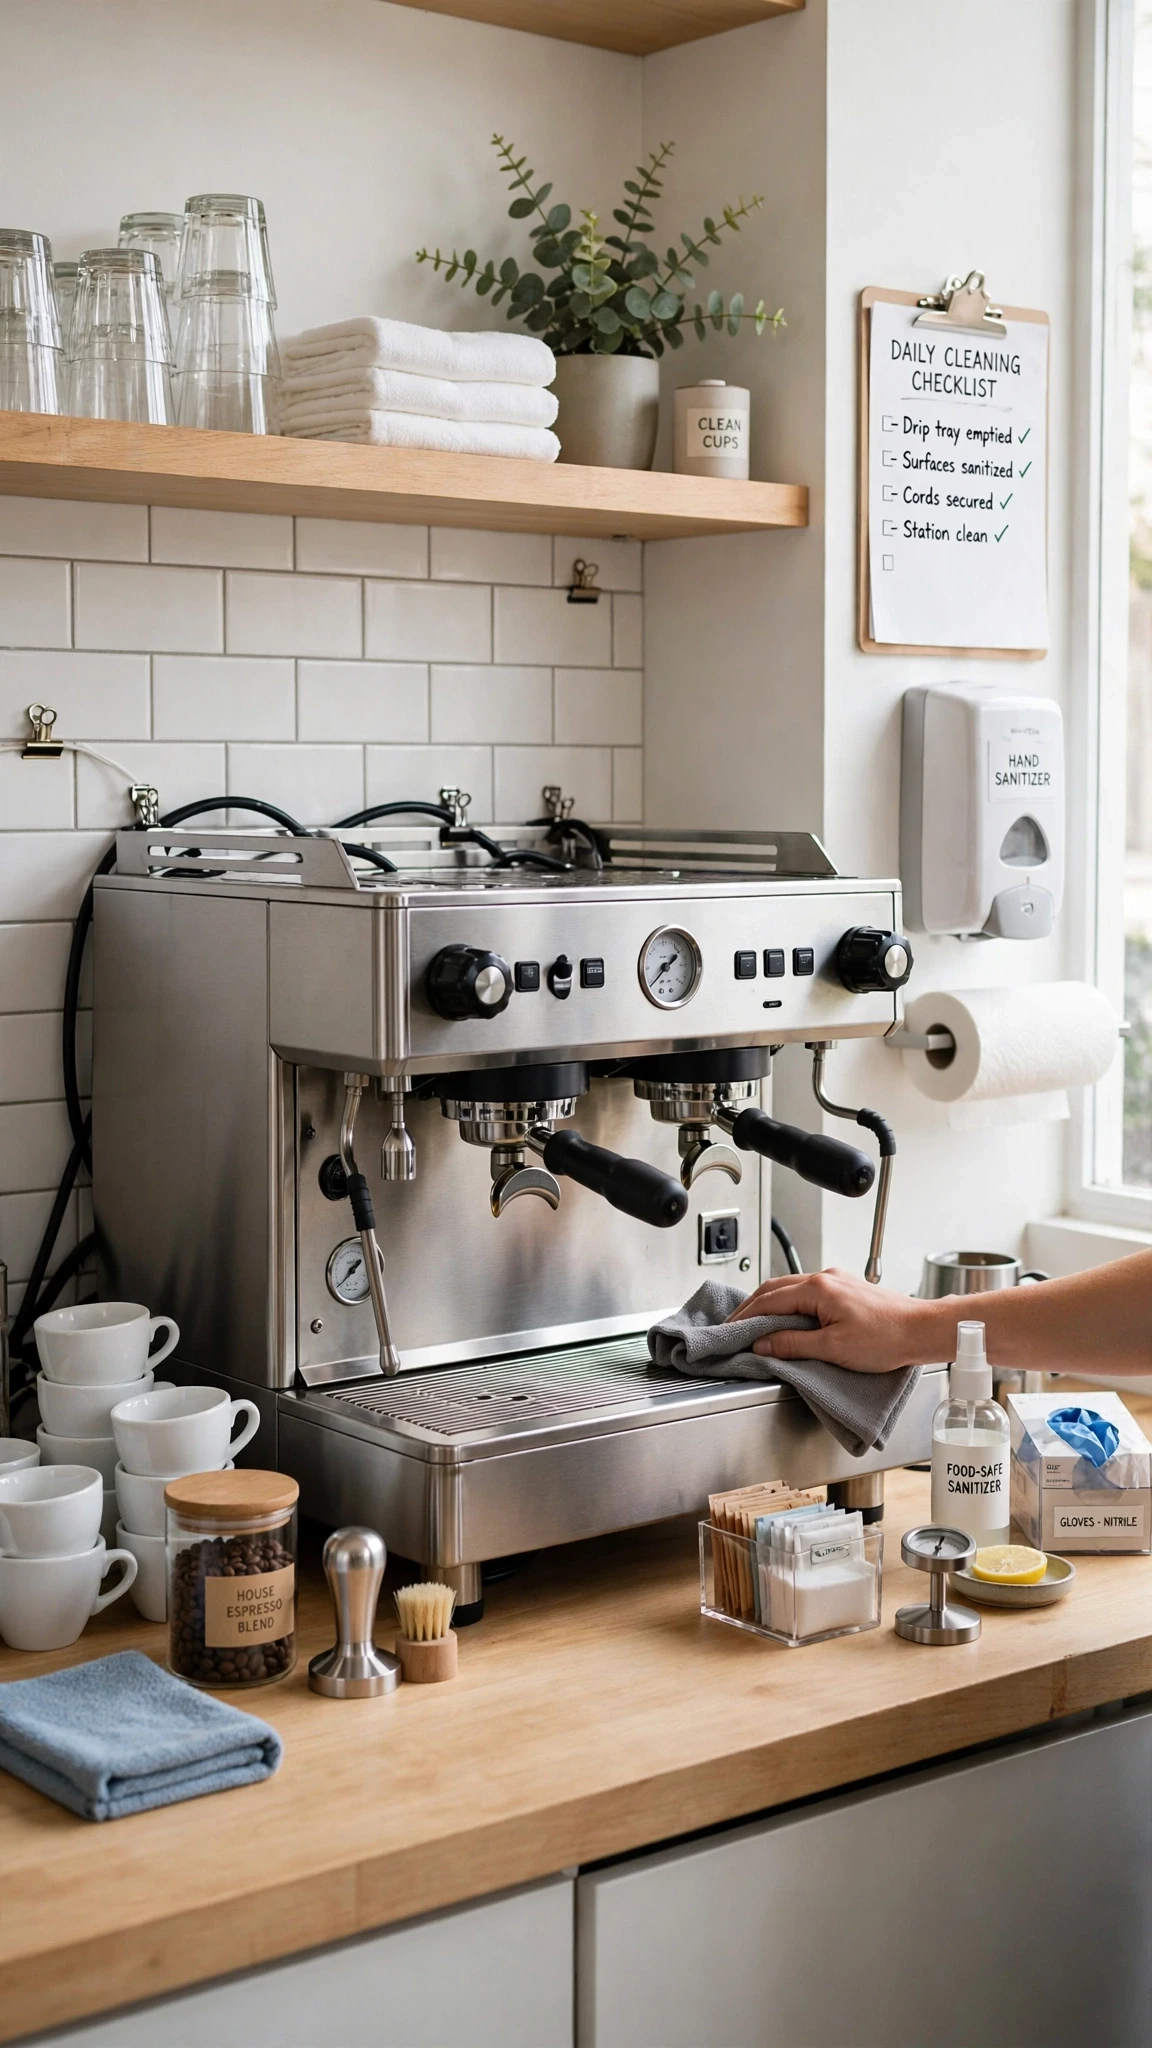
A coffee bar stays pleasant only if it stays clean and safe, so build a short routine into your mornings rather than saving it all for a deep clean. Wipe the tray and machine base after brewing, empty the drip tray daily, keep cords tucked behind the machine where they cannot snag, and leave space around the machine for steam to escape. These small habits take under a minute and keep the bar looking as good in month six as it did on day one.
- Daily wipe: tray and machine base wiped after the last brew
- Drip tray: emptied daily so it never overflows
- Cord tuck: cords routed behind the machine, clear of the sink
- Steam space: a few inches around the machine let steam escape safely
- Weekly deep clean: descale and wipe down the machine once a week
How to Plan a Coffee Bar Layout That Fits Your Kitchen
Start by standing in your kitchen and watching how you actually move in the morning, since the best coffee zone follows your real path rather than a picture in your head. Measure the counter you plan to use, note where the sink and outlets sit, and pick a zone that keeps brewing steps in order without blocking cooking space. A zone near the sink and an outlet, at one end of a counter run, usually wins, because it puts water and power within reach and leaves the main cooking stretch free.
Once the zone is chosen, build it in layers: a base like a tray or board first, then the machine, then storage for mugs and supplies, then the small styling pieces. Step back after each layer and check the view from the doorway as well as from the machine, since a bar should look good from across the room and work well up close. Live with the arrangement for a few days before buying anything new, and move whatever gets in the way of cooking or brewing. The layout that survives a week of real mornings is the right one.
Small Counters, Rentals, and Budgets, Practical Fixes That Keep the Bar Working
Small counters demand vertical thinking: hooks, shelves, and tiered stands carry what the surface cannot, and a strict rule of daily-only items keeps the counter clear. Renters lean on adhesive hooks, leaning shelves, and freestanding racks, so every storage win leaves no mark behind. Tight budgets start with a home hunt for boards, trays, and jars, then fill gaps secondhand, since a coffee bar built from pieces you already own often looks more personal than a matching set bought at once.
Whatever your constraint, three habits keep the bar working: a movable tray that lifts away for cleaning and cooking, a clear zone beside the machine for a finished mug, and a weekly five-minute reset where everything returns to its spot. A bar that survives small spaces, rental rules, and tight budgets is not a smaller version of a big bar. It is a smarter one, built around what your kitchen actually allows, and it makes mornings better for exactly that reason.
Frequently Asked Questions
What do you need for a kitchen counter coffee bar?
You need a brewer, a mug or two, beans or grounds, and a small tray or board to hold them together. Add a jar for beans, a sweetener container, and a spoon, and you have a working bar. Everything else, like hooks, shelves, and decor, improves the setup but is not required to start.
How much counter space do you need for a coffee bar?
Two feet of counter is enough for a basic bar with one machine, a tray, and a few daily supplies. Three to four feet feels comfortable, giving room for mugs, jars, and a clear spot for a finished drink. Measure your zone first and keep at least one separate stretch free for cooking.
How do you set up a coffee bar in a small kitchen?
Use vertical storage like hooks and shelves, keep only daily items on the counter, and store the rest in a nearby drawer or cabinet. Choose one machine, one tray, and three or four mugs, and hang the mugs on the wall so the counter holds only what your hands touch each morning.
What is the best way to store coffee mugs?
Hang daily mugs on under-cabinet hooks or a wall rail, since hanging saves counter space and keeps cups within reach. A tiered stand works well for display, while a shelf above the bar suits larger collections. Keep rarely used mugs in a cabinet so the bar holds only favorites.
How do you keep a coffee bar tidy every day?
Return each item to its spot right after brewing, wipe the tray once a day, and keep only daily supplies on the counter. A movable tray helps, since lifting it to wipe beneath takes seconds. Do a five-minute reset each week so small drifts never grow into clutter.
Can you make a coffee bar without drilling holes?
Yes, adhesive hooks, leaning shelves, freestanding racks, and trays give you full storage without a single hole. Strong adhesive strips hold mugs under cabinets, and a leaning shelf rests against the wall for jars and cups. Everything lifts away cleanly when you move out.
How do you keep coffee beans fresh on the counter?
Store beans in an airtight, opaque or dark glass canister away from heat and sunlight, and buy only what you will use within two to three weeks. Keep the canister away from the stove and the machine’s steam path, since heat and moisture stale beans faster than time alone.
Conclusion
A good kitchen counter coffee bar is not about owning the fanciest machine or the prettiest mugs. It is about a zone that fits your counter, a flow that matches your mornings, storage that keeps daily things close, and a few warm touches that make the corner feel like yours. These 32 kitchen counter coffee bar ideas give you plenty to try, but you only need the pieces that fit your kitchen, your brewer, and your routine.
Start small tonight. Clear one stretch of counter, set down a tray or board, place your machine where water and power are close, and hang your favorite mug where you can grab it half asleep. If tomorrow morning feels calmer, the bar is already working, and you can add a shelf, a lamp, or a seasonal swap whenever you like.