13 Iris Garden Ideas for a Colourful, Easy-Care Garden
Irises are some of the easiest flowers to grow, and they give you more colour than almost any other garden plant. Their tall, sword-like leaves look good all season, and their blooms come in purple, blue, white, yellow, pink, and almost every shade in between. A well-planned iris garden can look beautiful from spring into summer with very little work.
The trick is to plant the right iris in the right spot. Bearded irises love sun and dry soil. Siberian and Japanese irises are happy near water. Dwarf irises fit small spaces and rock gardens. When you match the variety to your yard, the plants mostly look after themselves.
In this guide, you will find 13 iris garden ideas for real yards, with what you need and how to build each one. Whether you have a big lawn, a small courtyard, or a shady corner, there is an iris idea here that fits.
Quick Answer: Best Iris Garden Idea at a Glance
If you want one answer fast, here it is. A single-colour iris border is the best starting point for most yards. It looks neat and planned, it is easy to plant, and it gives you the biggest colour impact for the least effort. Mix early, mid, and late bloomers in the same colour family, and the border stays in flower for weeks. You can build it in a single weekend with rhizomes from any garden centre.
- Best all-round choice: Single-Colour Iris Border — simple, bold, and easy to care for.
- Best for small yards: Dwarf Iris Rock Garden — big colour in a tiny space.
- Best for evening magic: White Iris Evening Garden — white blooms glow after dark.
- Best for a relaxed look: Loose Iris Meadow Drifts — natural, soft, and wildlife-friendly.
- Best for all-season colour: Iris Border With Long-Blooming Perennials — colour before and after the irises bloom.
1. Single-Colour Iris Border
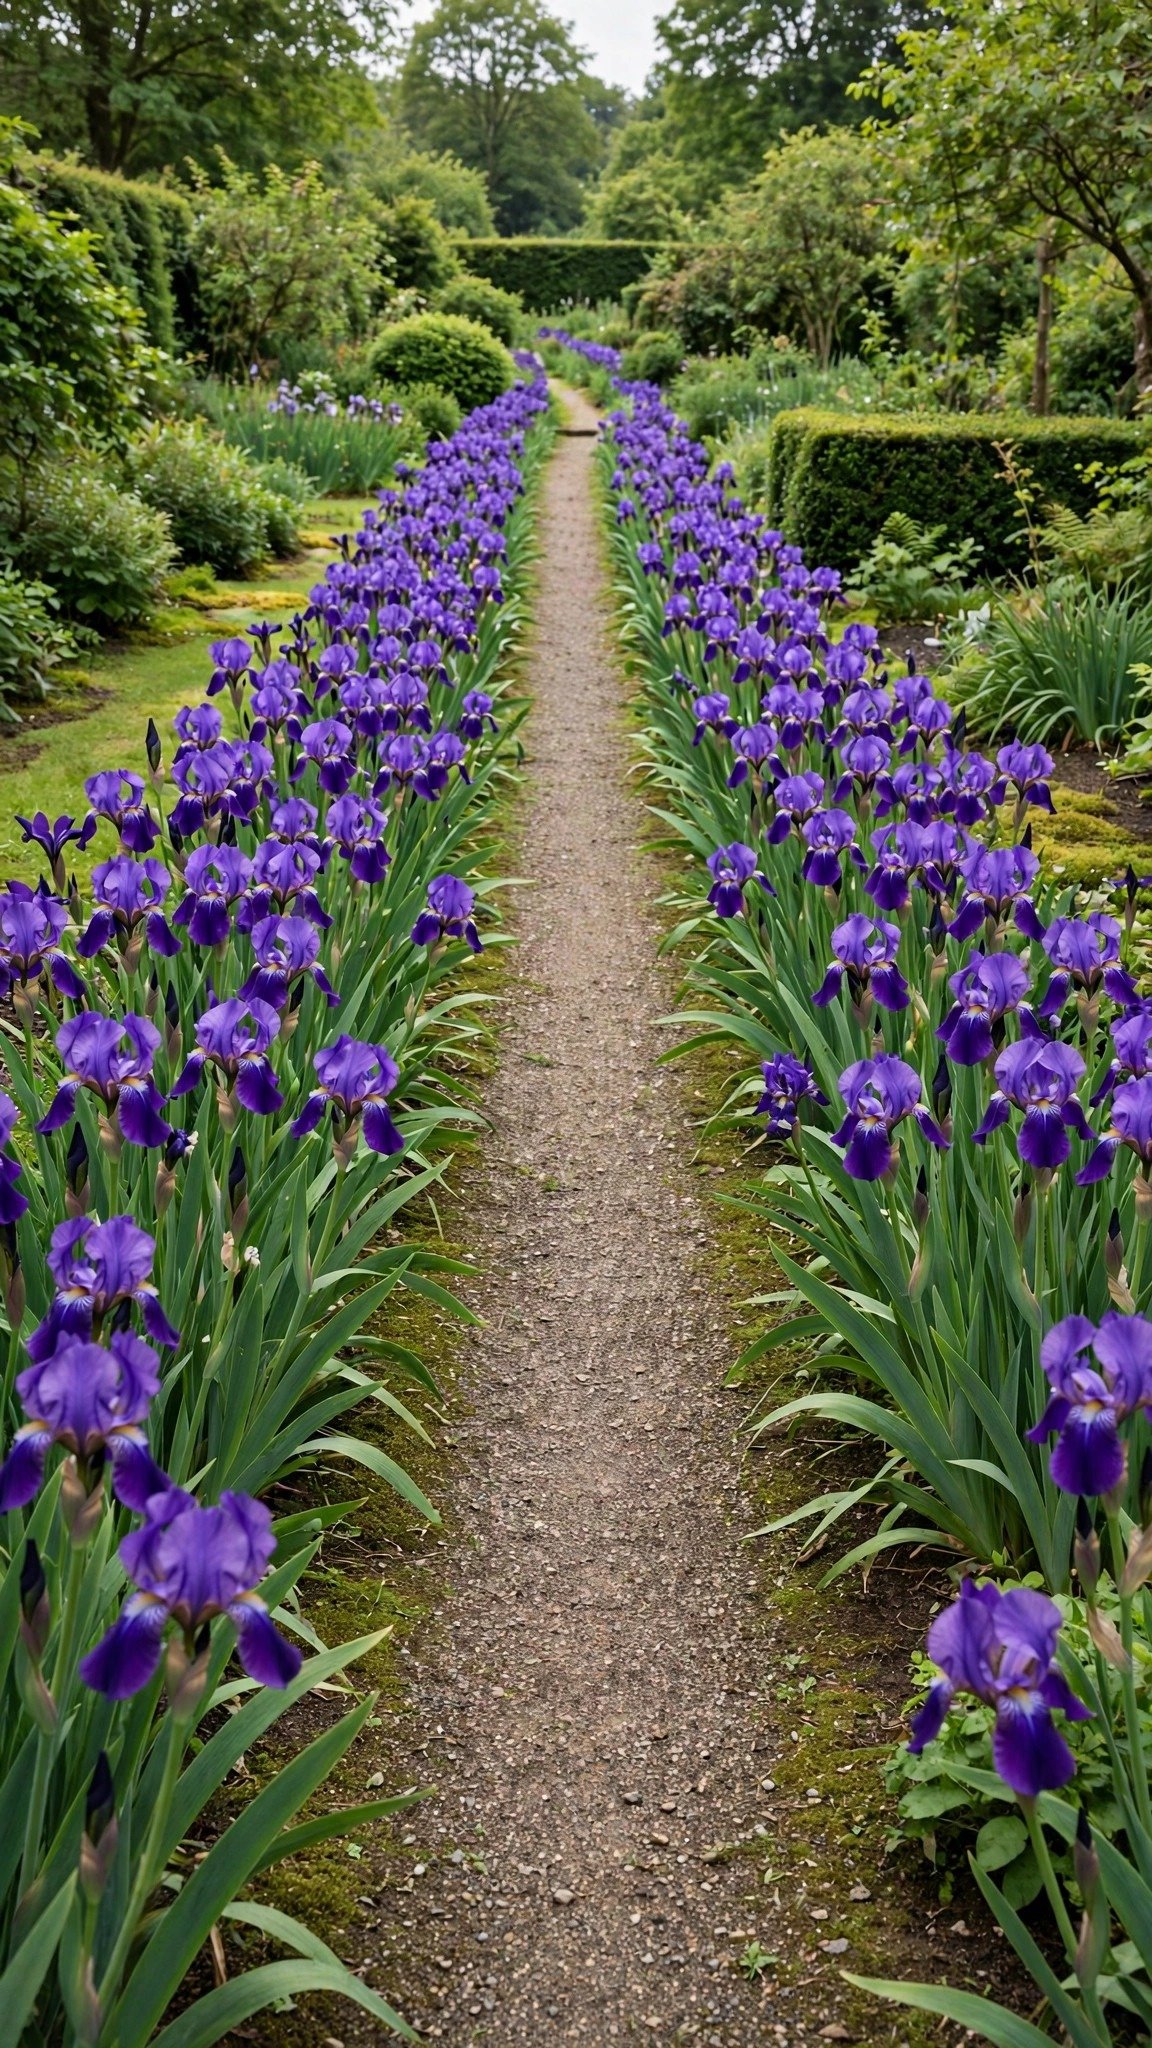
A border built around one colour looks planned and calm. Planting shades of purple, blue, or white together gives you a strong visual impact without the garden feeling busy. The most successful borders mix early, mid, and late-season bloomers so the colour lasts for weeks instead of days.
Prepare a sunny border and enrich the soil with compost. Plant the rhizomes 12 to 18 inches apart with their tops slightly exposed above the soil. Group colours in blocks of three to five plants rather than alternating single plants, which looks more natural. Add a simple garden edging to keep the border neat, and finish with mulch to hold moisture and stop weeds. Repeat the same iris colour elsewhere in the garden, in a pot or a small bed, to tie the whole yard together. A single-colour border also photographs beautifully, which makes it a favourite for garden lovers who share their yard online.
What you need: iris rhizomes in coordinating colours, well-draining soil, garden edging, compost, mulch.
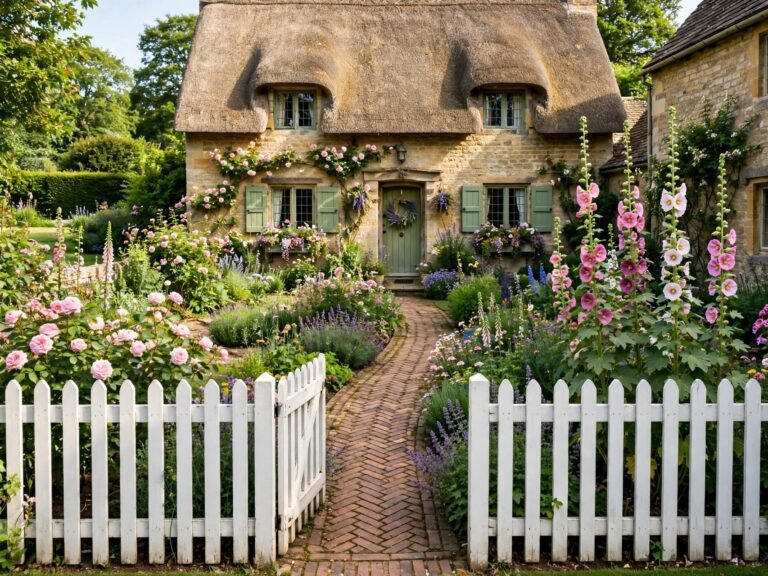
2. Cottage Path Lined With Irises
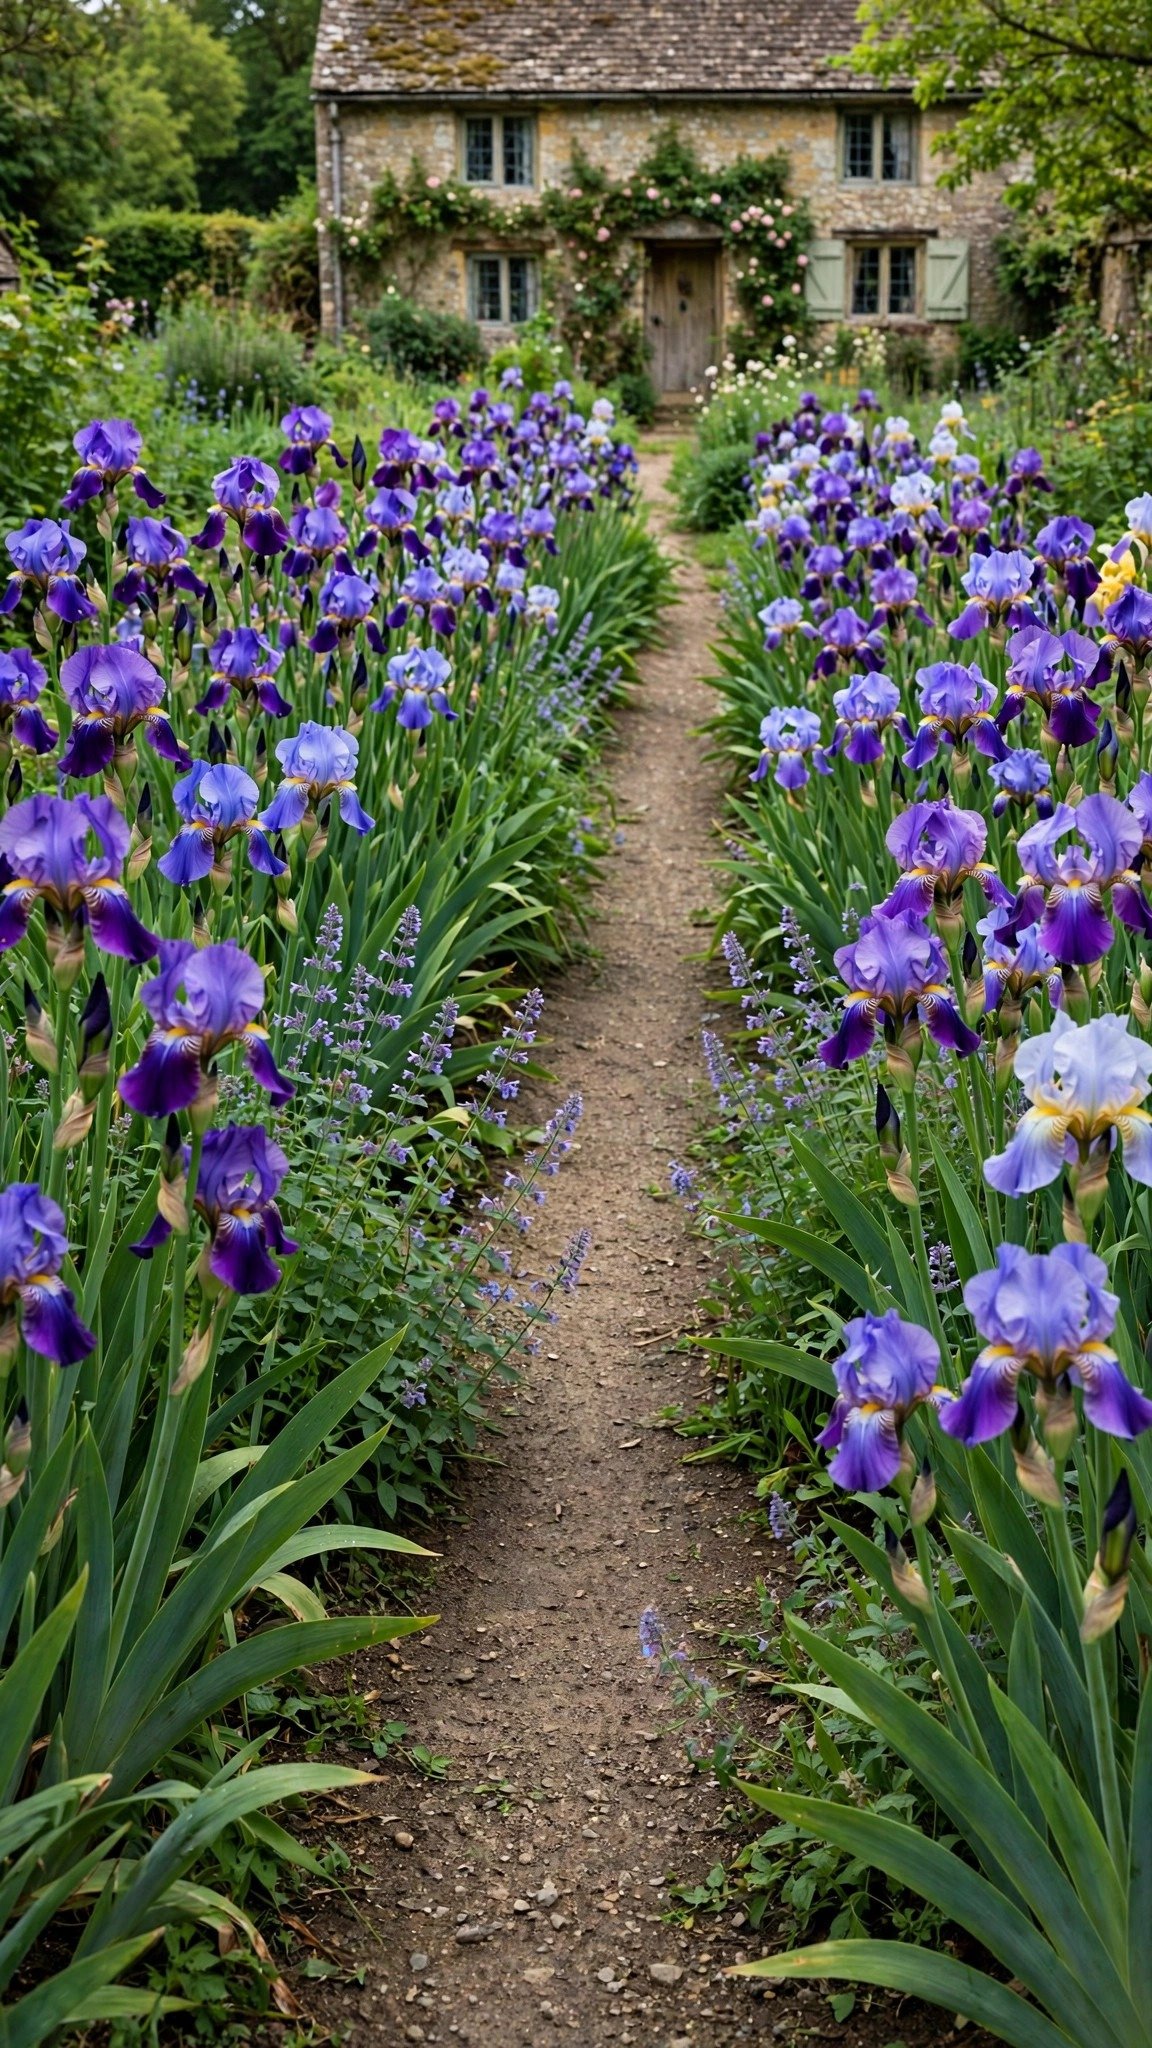
Lining a garden path with irises makes every walk through the yard feel special. Tall bearded irises on both sides of a path create a welcoming entrance full of charm. The relaxed, mixed planting suits cottage gardens, where a little softness is part of the look.
Plant taller irises along both sides of the path, leaving enough room for them to grow without blocking the way. Fill the gaps with lower-growing flowers that bloom before or after the irises, so the path never looks empty. Gravel or stone underfoot keeps the path dry, and a few garden stakes help the tallest stems stand straight after rain. Let the plants spill slightly onto the path edges for a soft, romantic feel, and keep the path clear enough to walk comfortably.
What you need: tall bearded irises, gravel or stone pathway, companion flowers, garden stakes, organic mulch.
3. Layered Iris Bed by Height
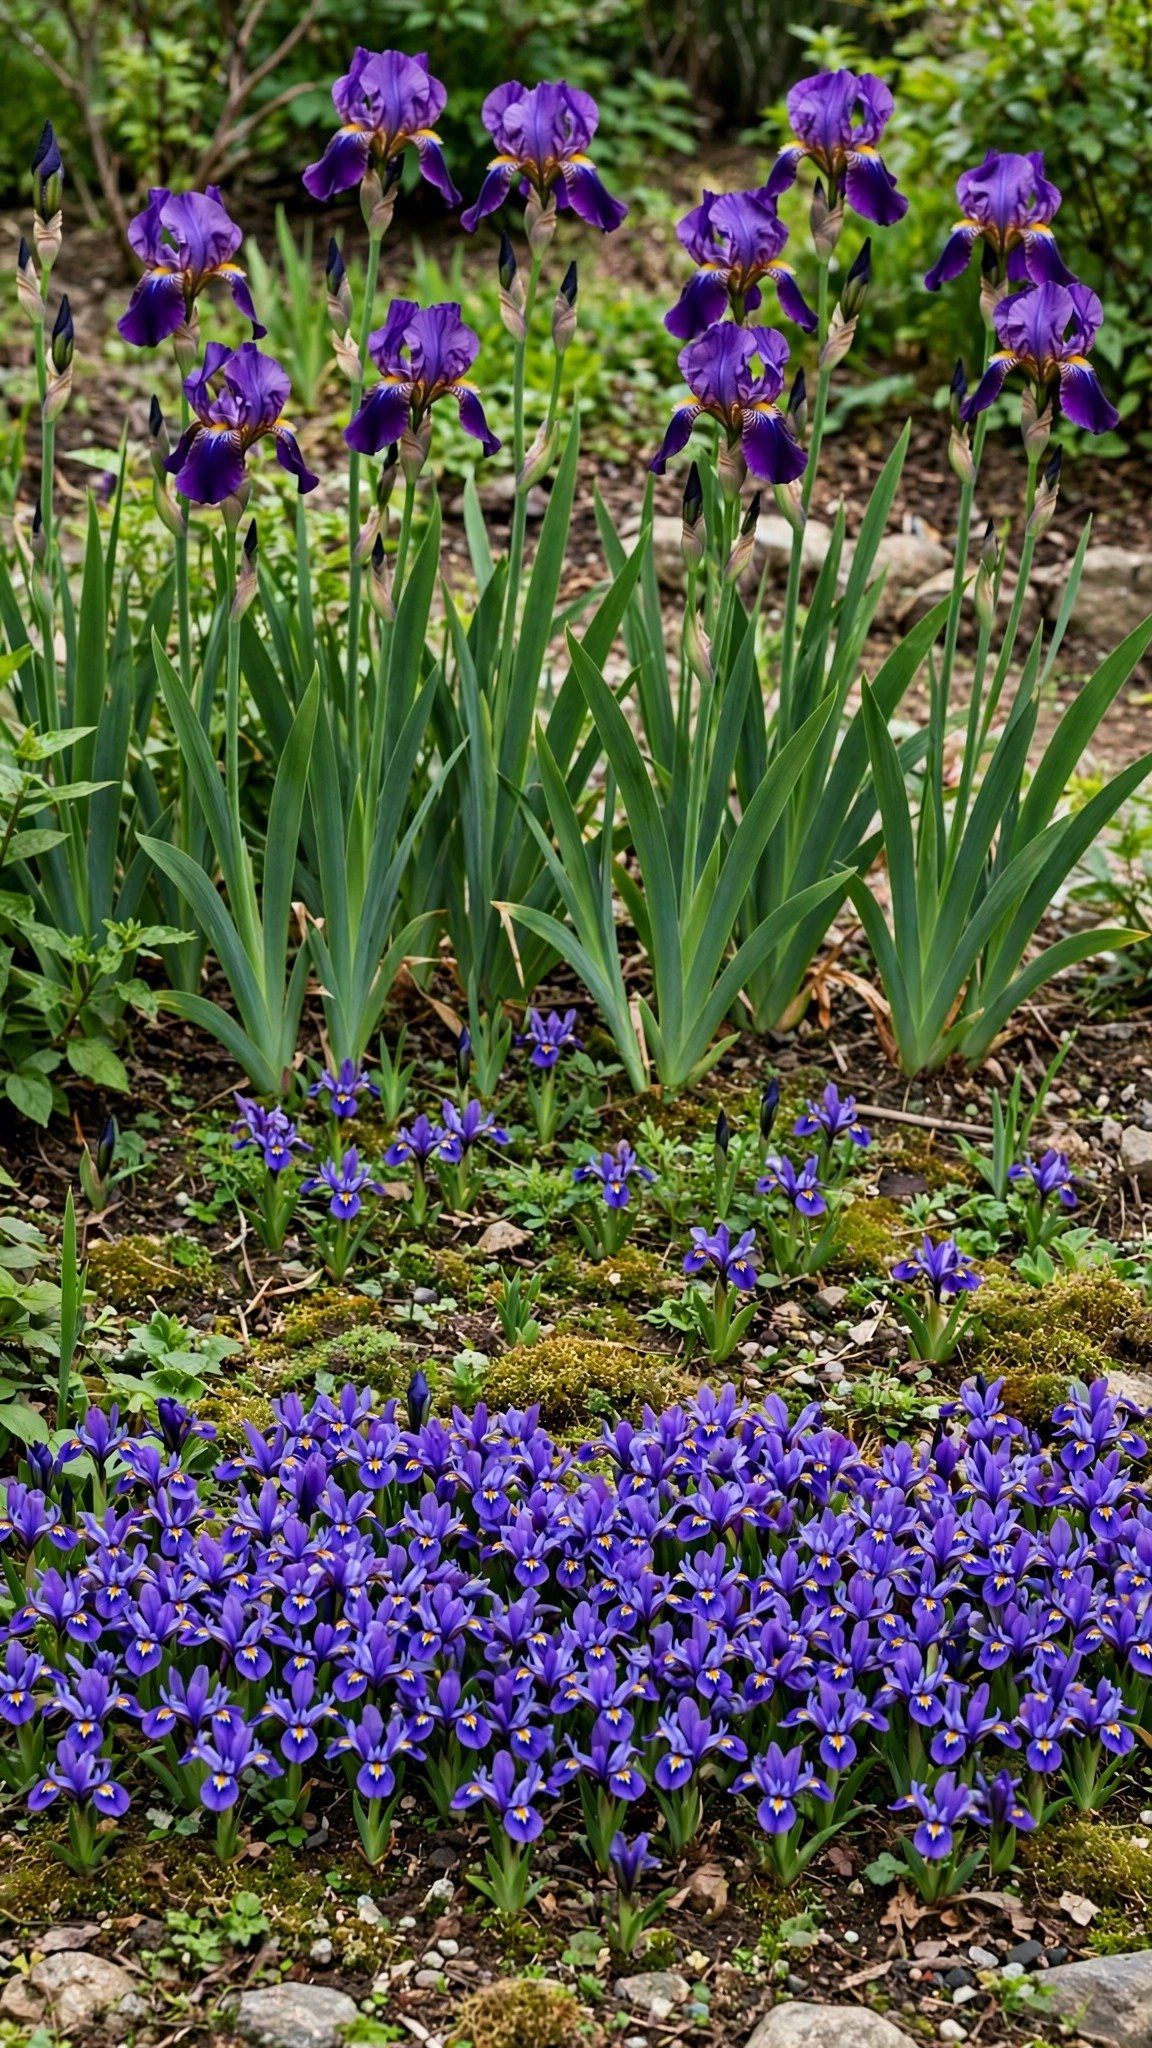
Layering different iris heights makes a flower bed look professionally designed. Tall varieties at the back, medium types in the middle, and dwarf irises at the front mean every bloom stays visible. The bed looks full and lush instead of flat and one-dimensional.
Plan the bed by height before you plant anything. Put the tallest irises at the rear and step the heights down toward the front, leaving enough space between plants for several seasons of growth. Use garden markers while planting so you remember which variety is where. Repeat groups of three to five plants for a balanced look, and add compost when planting to give the rhizomes a good start.
A layered bed needs little care after planting — just weeding and a check that the front rows are not shaded out. If a tall variety starts to lean, a short stake keeps it upright without spoiling the look.
What you need: tall, medium, and dwarf irises, measuring tape, compost, garden markers, mulch.
4. Irises With Ornamental Grasses

Pairing irises with ornamental grasses adds movement and texture that keeps the garden attractive long after the flowers fade. The upright iris leaves blend naturally with the soft, flowing shapes of grasses, and the bed keeps its structure through summer and autumn.
Plant irises in front of medium-height grasses where both get full sun. Leave generous spacing, because ornamental grasses spread wider each year and can crowd the irises. Choose grasses with contrasting leaf colours — silver, blue, or deep green — to make the iris blooms stand out when they open. Cut the grasses back in late winter before new growth starts, and divide the irises every few years so they keep blooming well. This pairing suits larger beds and open, sunny spots.
What you need: bearded irises, ornamental grasses, garden spade, compost, mulch.
5. Iris Pond Edge Garden
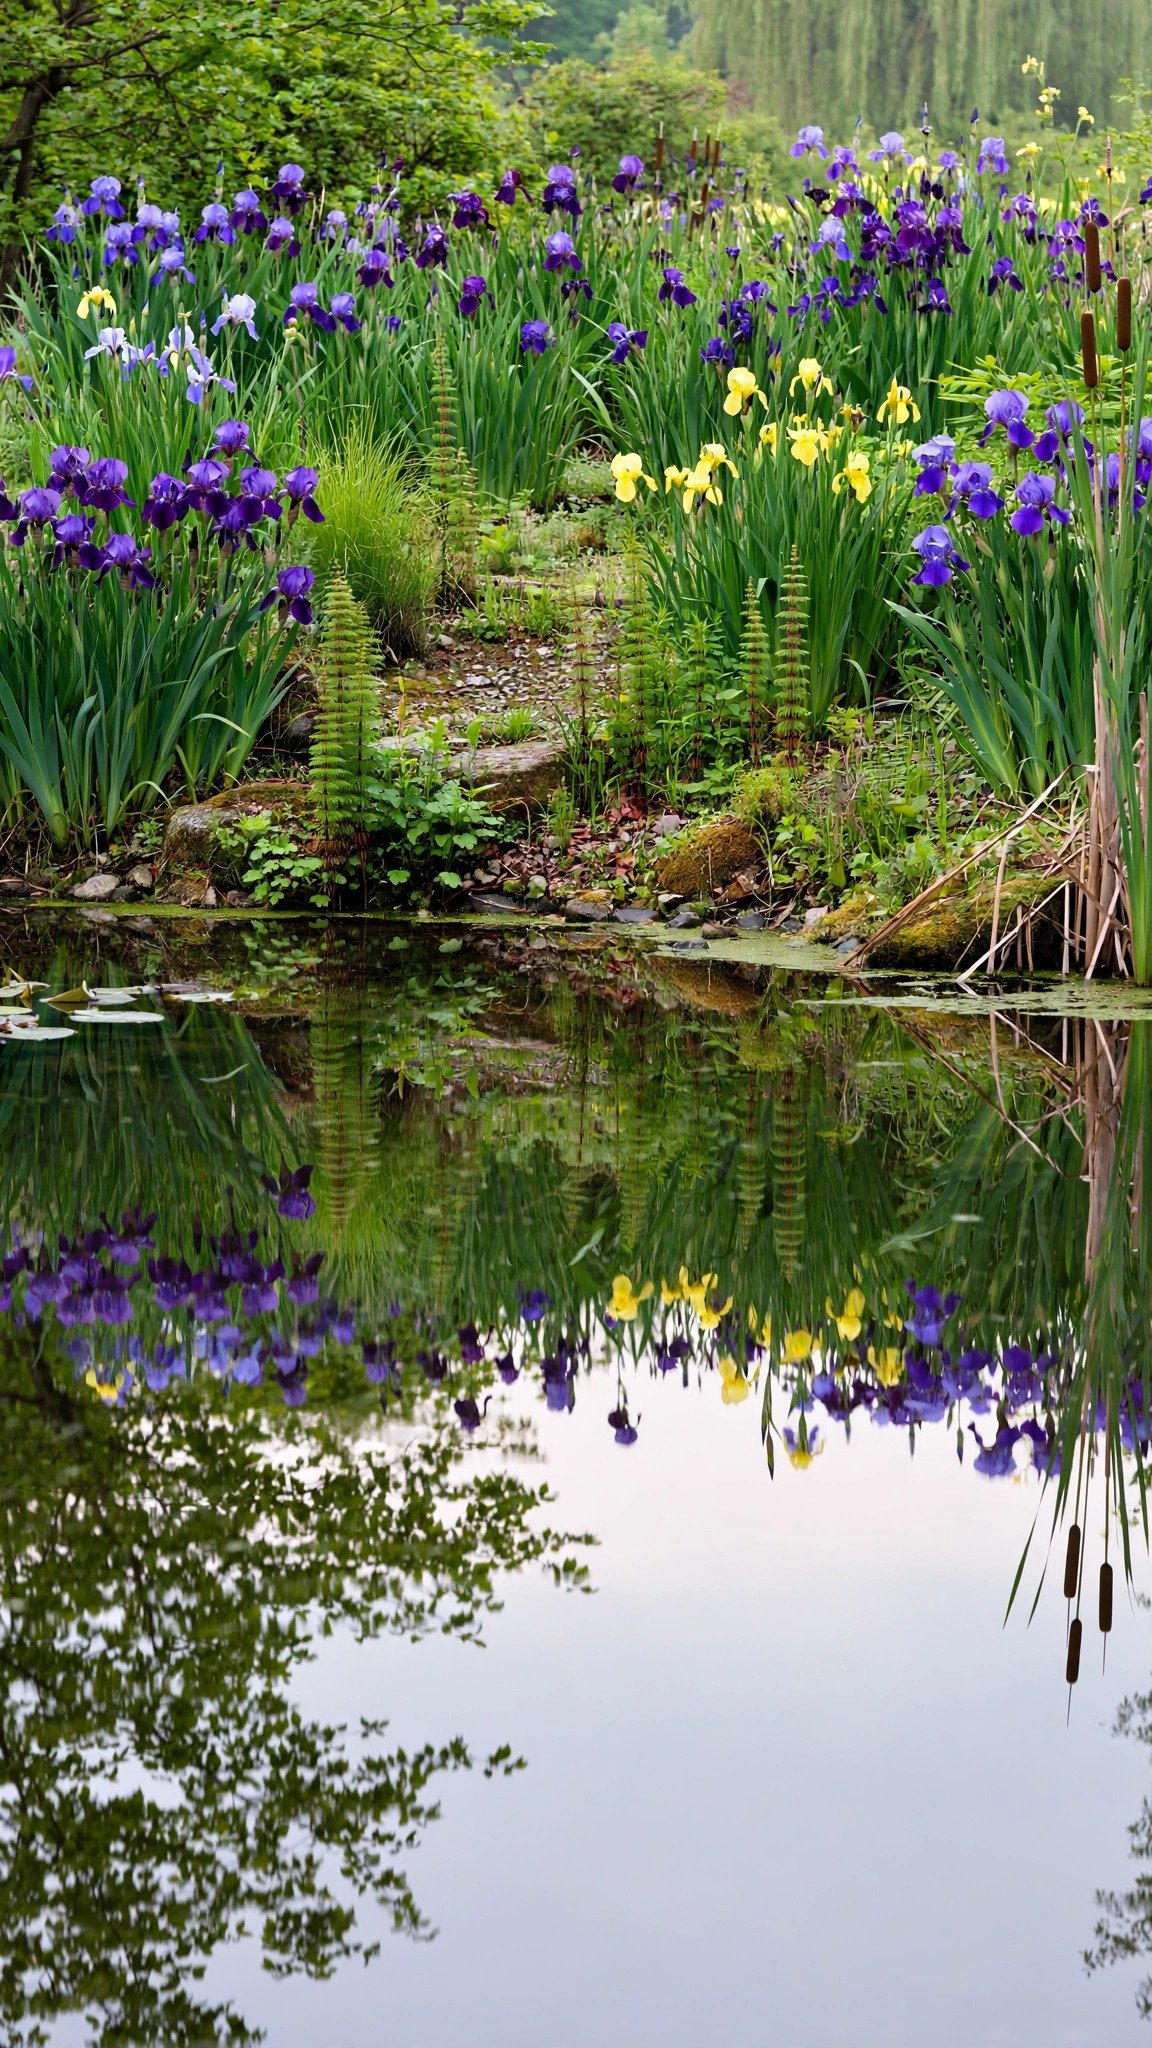
Moisture-loving irises thrive near ponds, streams, and water features. Their blooms reflect in the water, which doubles the colour, and the whole spot feels peaceful and natural. This idea works best if you already have a pond or a damp, low corner in the yard.
Plant water-loving varieties, such as Siberian or Japanese irises, along the pond edge where their roots can reach steady moisture. Hold the soil in place with decorative stones or low ground cover, so rain does not wash it into the water. Place the flowering clumps where they reflect in the pond for the best effect, and leave a clear edge so you can reach the water for cleaning.
Check the water level in hot weather, and clear fallen leaves before they sink and rot. Frogs and dragonflies often visit a pond-edge iris bed, which makes it one of the most alive corners of the garden.
What you need: water-loving iris varieties, pond or water feature, rich soil, garden trowel, decorative stones.
6. White Iris Evening Garden
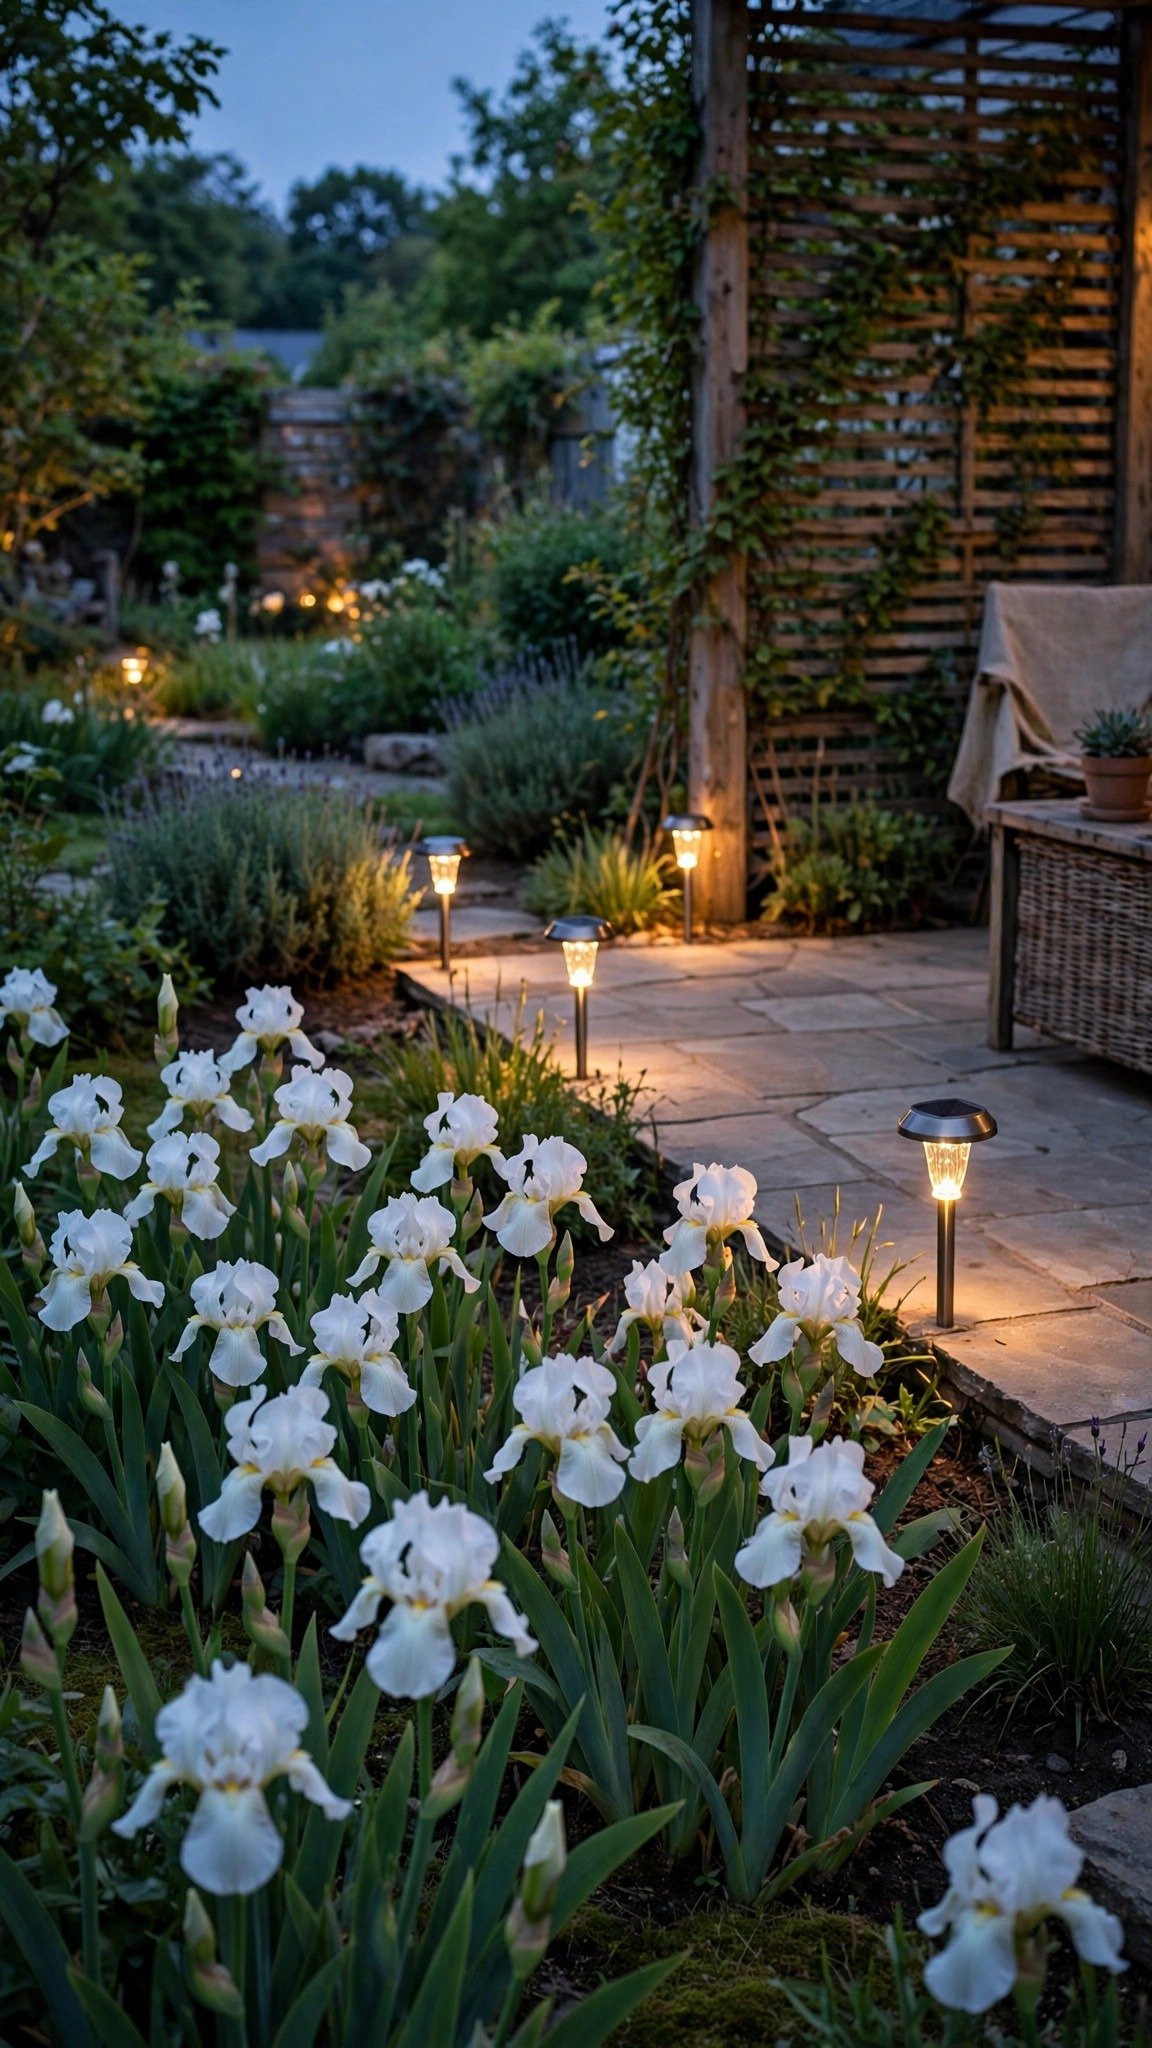
A garden filled with white irises looks beautiful long after sunset. White blooms catch the evening light and stay visible at dusk, which makes this design perfect near a patio or a seating area where you spend summer evenings. The whole space feels calm and quiet.
Plant white irises with silver-foliage plants, which glow softly in low light and make the white flowers stand out even more. Add a few solar garden lights along the path to guide the eye and highlight the blooms after dark. Keep the decorations simple so the white flowers stay the star of the show. A pale gravel path and a white-painted bench finish the look. This garden needs the same care as any iris bed — sun, good drainage, and dividing every few years.
What you need: white iris varieties, silver-foliage plants, solar garden lights, compost, mulch.
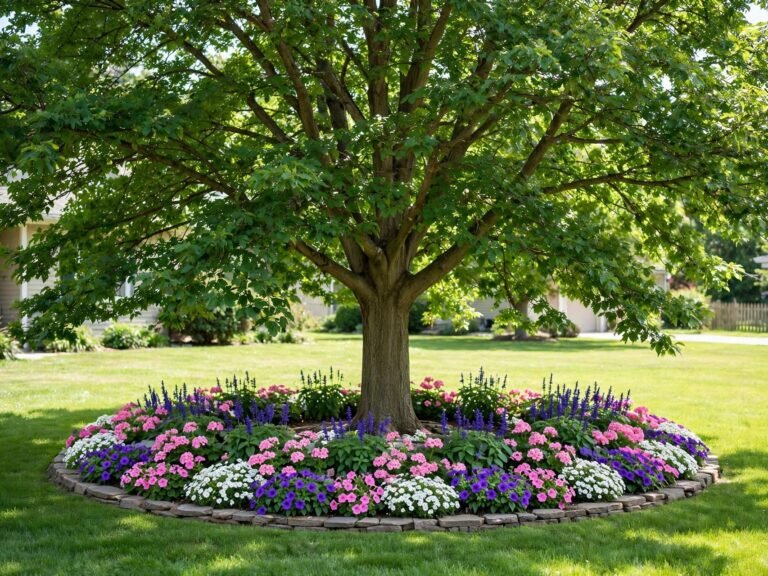
7. Iris Island Bed in the Lawn

An island bed in the middle of a lawn puts irises in the spotlight. Because the bed can be seen from every side, it becomes a dramatic focal point that lifts the whole landscape. The shape works best as a circle or an oval with clear, smooth edges.
Create the planting area and put the tallest irises in the centre. Surround them with shorter perennials and ground covers to soften the edges, and use dark mulch to make the bright blooms stand out. Keep the bed wide enough that the plants have room to grow without crowding each other. Mow around the island carefully, and edge it a few times a season so the lawn does not creep into the bed. An island bed suits large, open lawns best. A small bench nearby turns the island into a destination rather than just a decoration.
What you need: mixed iris varieties, lawn edging, compost, decorative mulch, perennial companions.
8. Irises and Roses Together

Roses and irises are natural partners. They like the same sun and soil, their flower shapes contrast beautifully, and their bloom times overlap to give you weeks of continuous colour. This classic combination brings elegance to any garden bed.
Plant roses toward the back of the bed and put irises in front, where their leaves hide the bare lower stems of the roses. Leave enough space between plants so air can move freely, which keeps both plants healthy and reduces disease. Choose rose and iris colours that complement each other rather than matching exactly — soft pink roses with purple irises, or cream roses with blue irises. Feed both plants in spring, and deadhead the roses to keep new blooms coming while the irises rest.
What you need: roses, bearded irises, compost, garden supports, mulch.
9. Dwarf Iris Rock Garden

Dwarf irises are made for rock gardens. Their small size fits between stones, their roots love the sharp drainage, and their bright blooms add colour to a feature that can otherwise look plain. The result feels natural and needs very little care.
Build raised planting pockets among the rocks and fill them with a sandy, free-draining soil mix. Plant the dwarf irises with their rhizomes slightly exposed above the soil surface, just as you would with tall bearded irises. Use stones of different sizes to make the rock garden look formed by nature, not built by hand. Water lightly until the plants settle, then let them grow with almost no attention. This idea suits small spaces, sunny slopes, and anyone who wants colour without a big bed. A few early spring bulbs tucked between the rocks extend the colour before the irises open.
What you need: dwarf iris varieties, decorative rocks, gravel, sandy soil mix, garden trowel.
10. Loose Iris Meadow Drifts

Instead of neat rows, planting irises in loose drifts creates a relaxed, meadow-inspired look. The style suits larger gardens, where natural planting feels more at home than a formal border. It also helps bees and butterflies, which love the open flowers.
Plant irises in irregular clusters across a chosen area, mixing them with native grasses and wildflowers. Keep enough space between clusters for future growth, and avoid perfect symmetry — the uneven spacing is what makes a meadow look real. Mow a simple path through the meadow so you can walk in and enjoy the flowers up close. Cut the meadow back once a year in late autumn, and let the irises self-seed where they are happy. A meadow needs less care than a formal bed.
What you need: multiple iris varieties, native grasses, compost, garden markers, mulch.
11. Iris-Framed Garden Gate
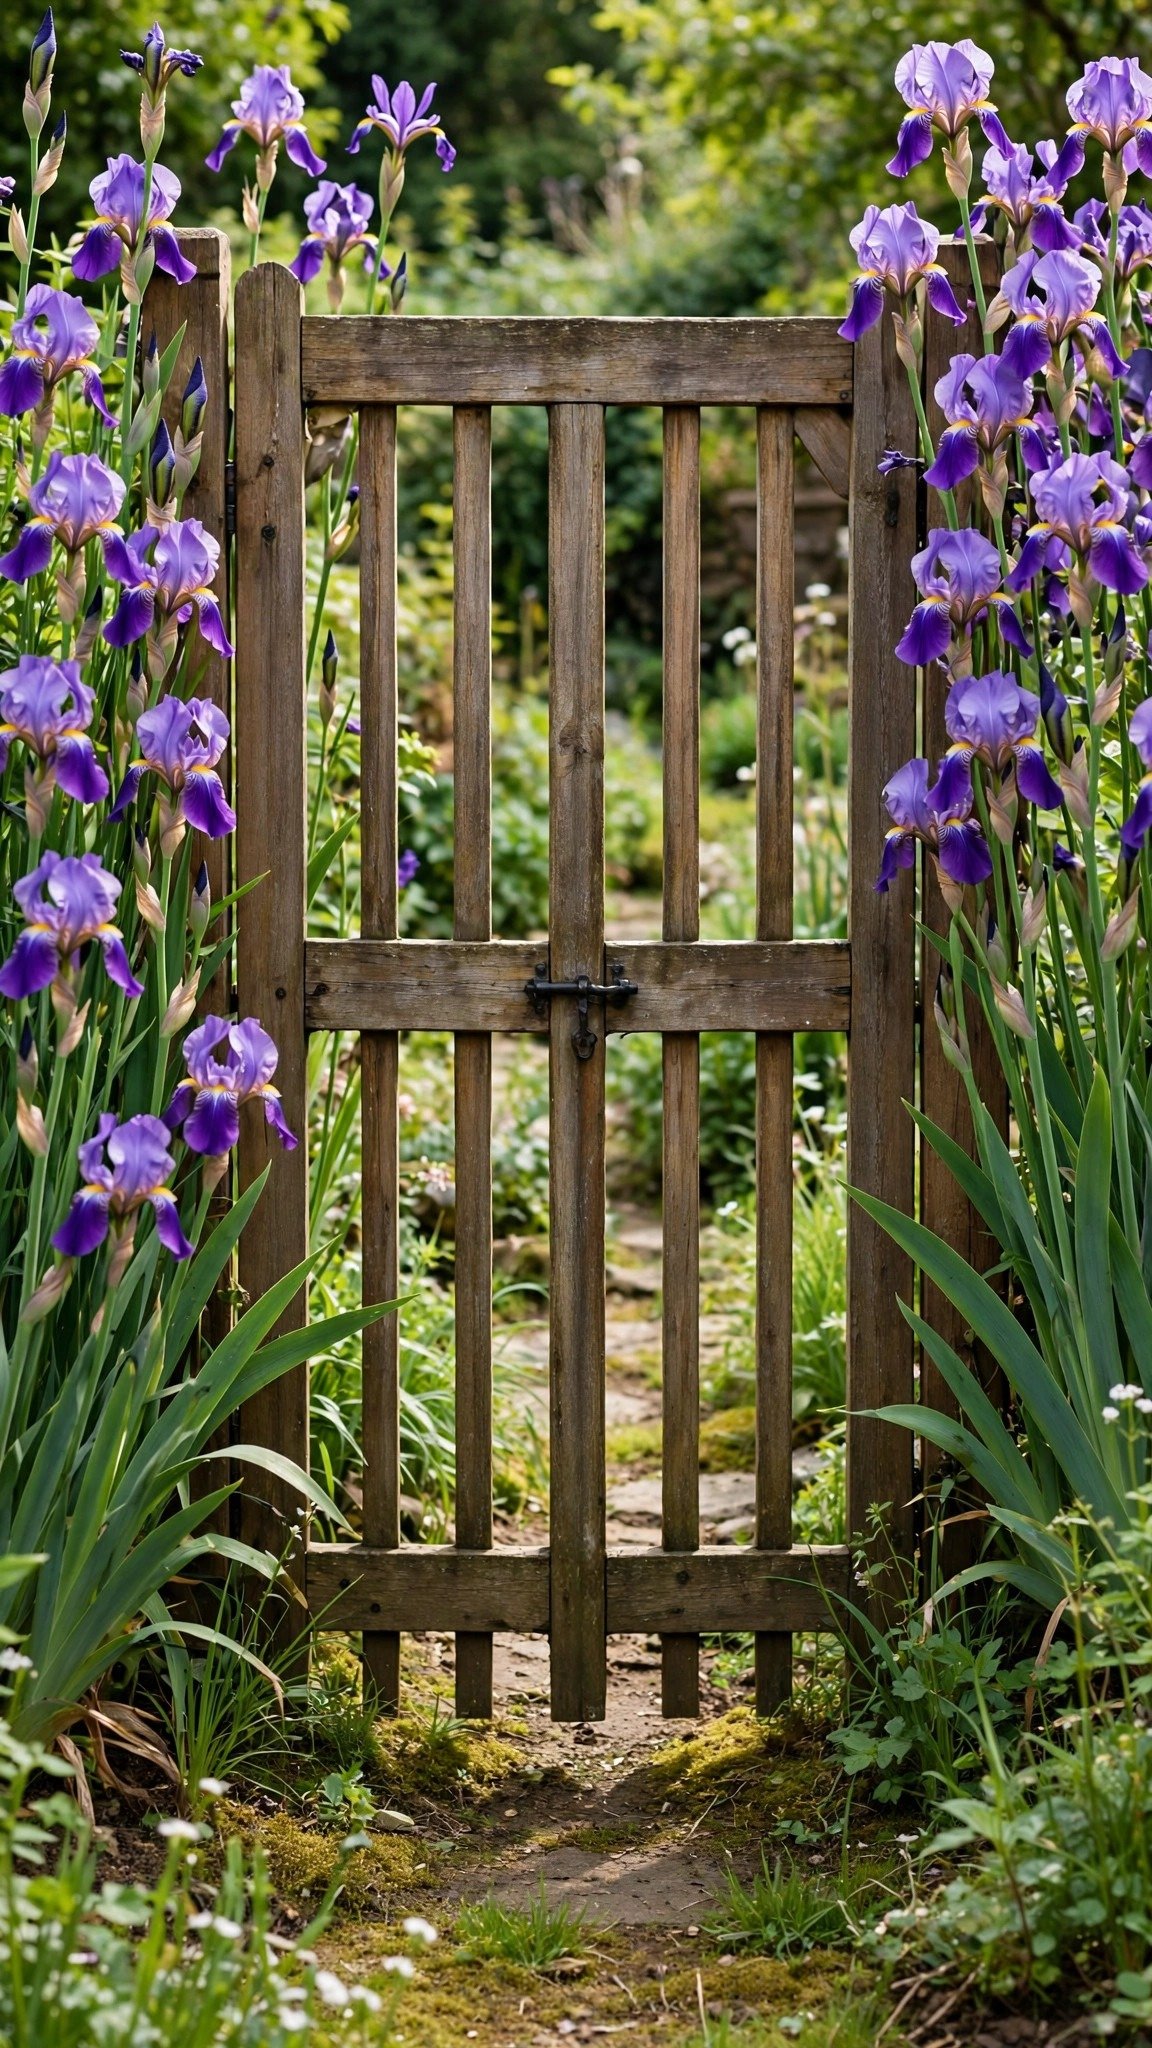
A garden gate is the first thing visitors see, so it deserves special attention. Planting tall irises on both sides of a gate frames the entrance with seasonal colour and makes the whole garden feel welcoming from the very first step.
Plant matching iris groups on both sides of the gate, far enough from the path that the leaves never block the way. Use the same colour on both sides for a balanced, intentional look, and repeat the gate’s materials elsewhere in the garden for a cohesive feel. Add a simple decorative edging to keep the planting neat, and mulch to hold moisture through dry spells. A gate framed with irises looks best in spring, when the blooms are at their peak, and the entrance glows with colour. Visitors often pause at a framed gate, so it is worth planting your brightest varieties here.
What you need: tall iris varieties, garden gate, compost, mulch, decorative edging.
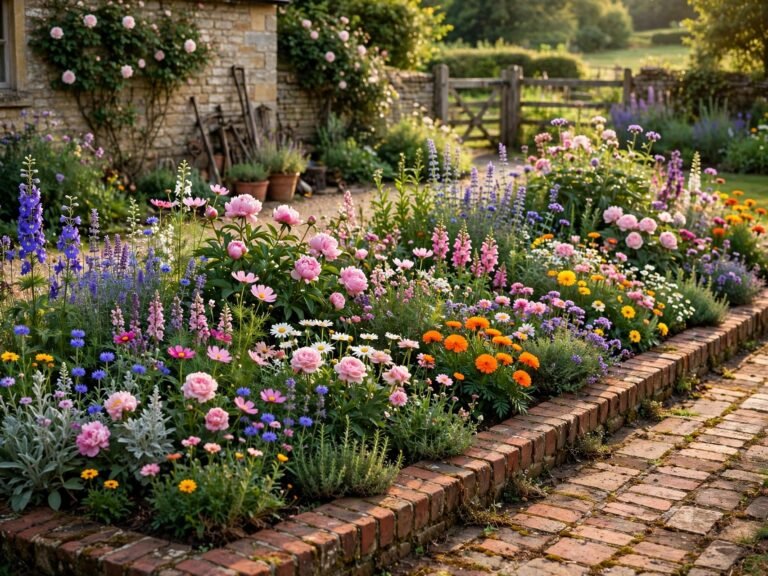
12. Iris Border With Long-Blooming Perennials
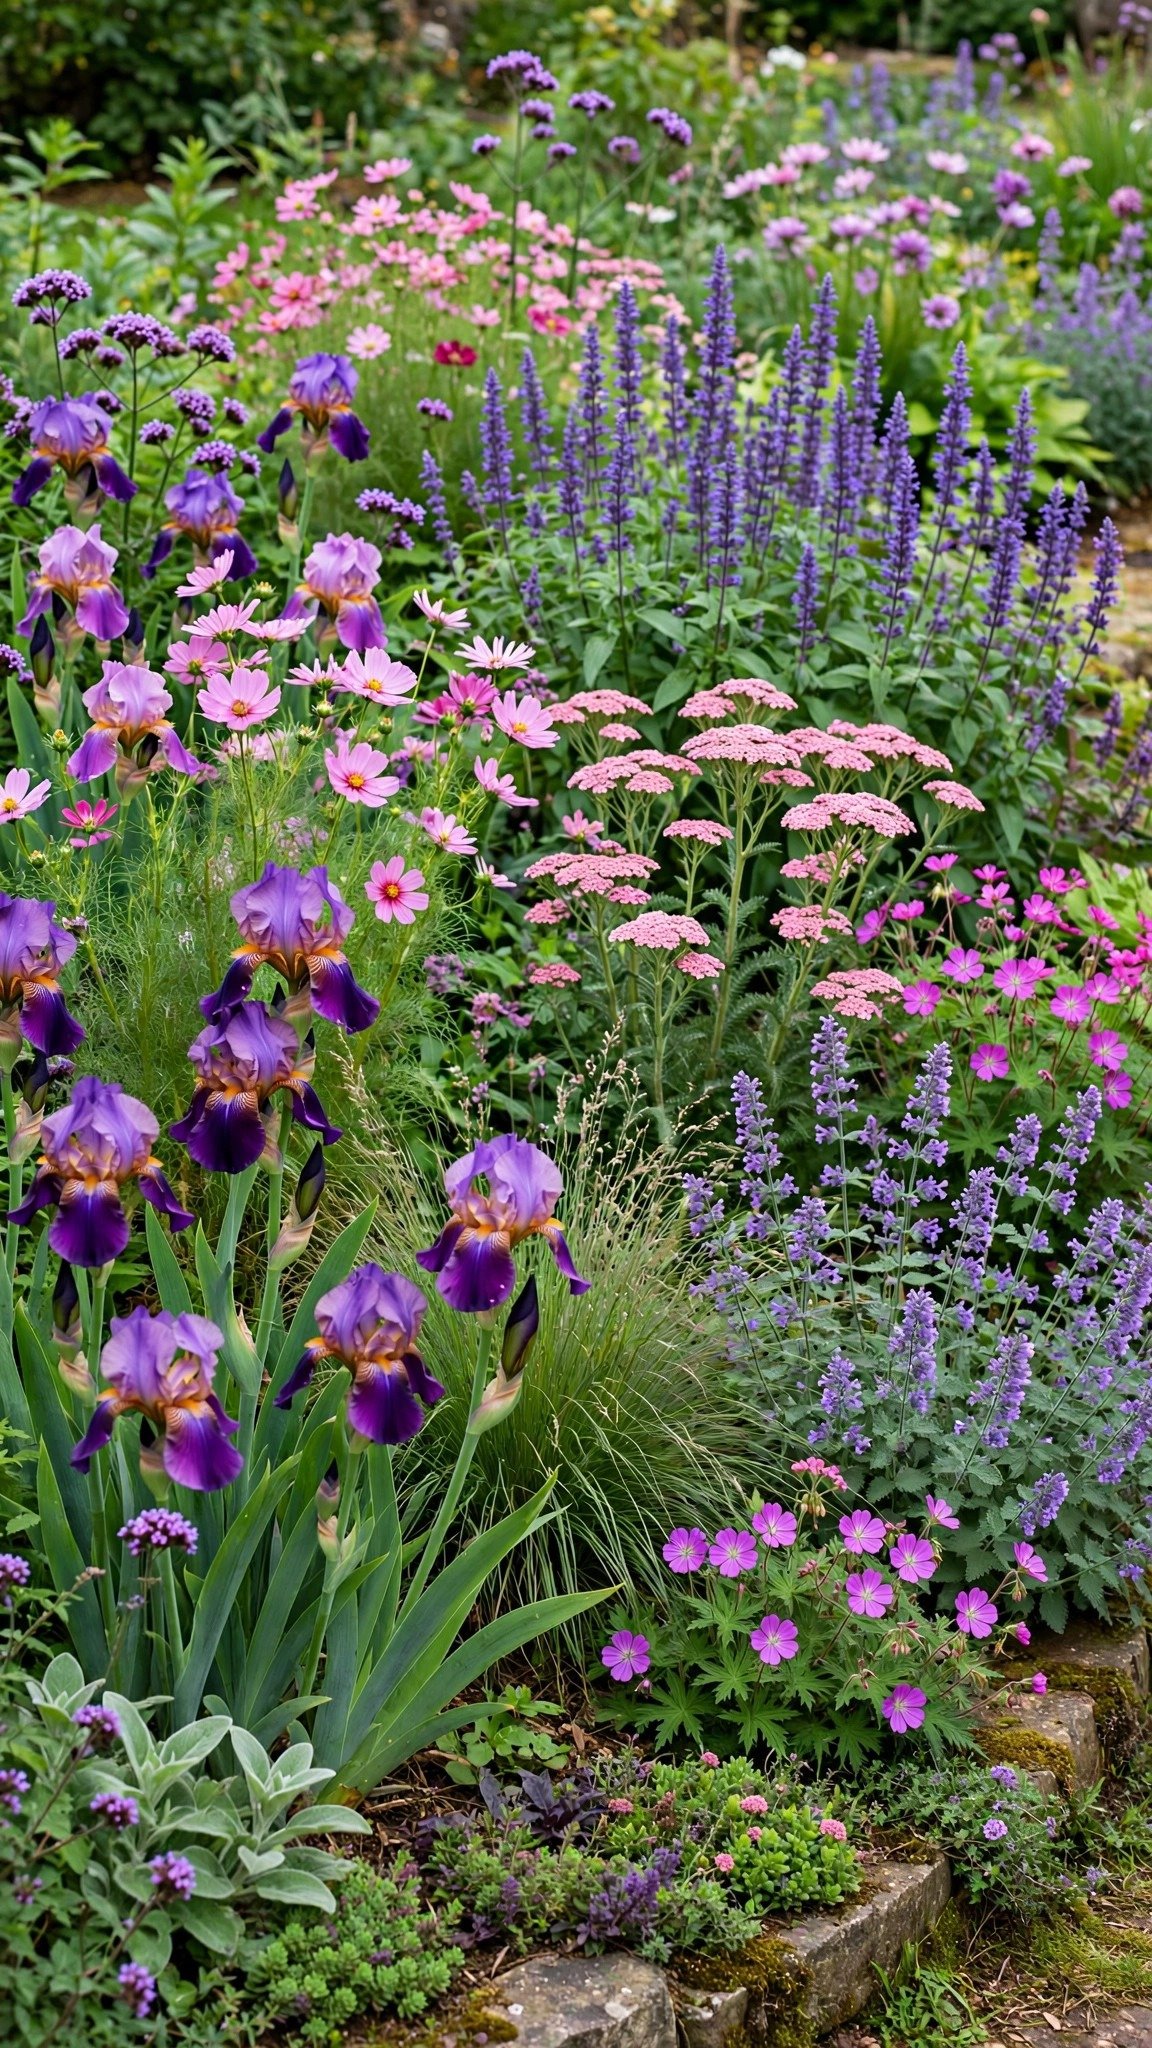
The hardest part of growing irises is the gap after they finish flowering. Mixing them with long-blooming perennials solves that problem. A well-planned mixed border keeps colour going from spring into autumn, so the bed never looks empty.
Plant irises with perennials that bloom before and after them — early spring bulbs and late summer flowers work well. Stagger the flowering times so something is always in bloom, and use plants with different leaf shapes to add texture when flowers are scarce. Leave enough space for each plant to grow, and mark the iris clumps so you do not dig into them by mistake. Divide the irises every three to five years, and refresh the mulch each spring. This border suits gardeners who want colour all season with one bed.
What you need: iris varieties, perennial flowers, compost, garden stakes, mulch.
13. Iris Collection Bed by Colour and Bloom Time
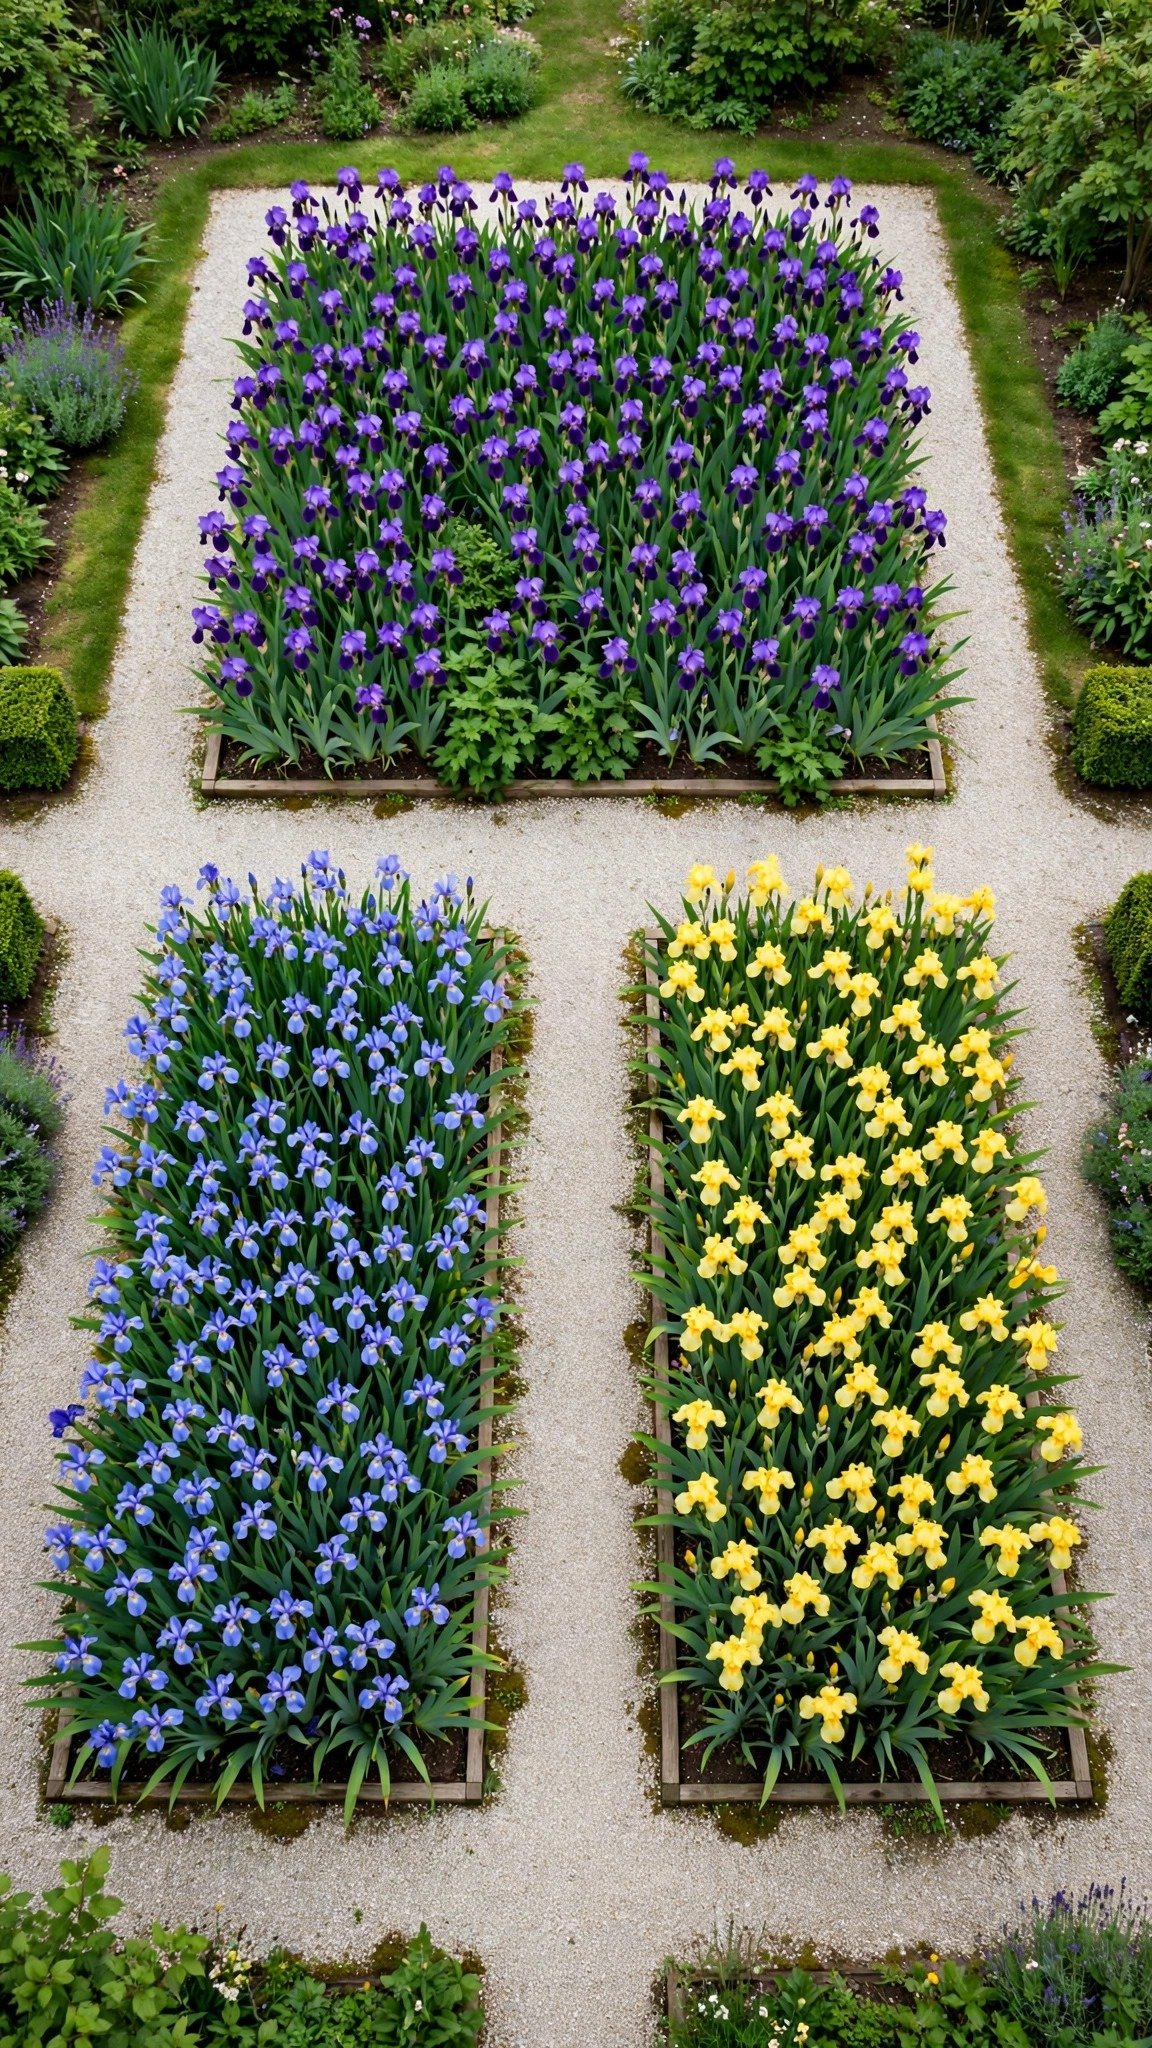
If you love irises, a dedicated collection bed lets you show off wide varieties at once. Grouping them by colour, bloom time, or variety type turns the bed into a small botanical display that changes every few weeks through the season.
Set out clear sections for each group, with paths between them so you can walk in and look closely. Label every planting with the variety name and bloom time, and keep a simple garden journal to record which ones perform best. Use consistent labels and neat pathways to give the collection a professional feel. A collection bed needs the same care as any iris planting — sun, drainage, and dividing when clumps get crowded. It is a rewarding project for a gardener who wants to learn irises properly. Over time, you can swap varieties with other gardeners and grow the collection without spending much at all.
What you need: multiple iris cultivars, plant labels, compost, mulch, garden journal.
Which Iris Garden Idea Is Right for Your Yard?
The best iris idea for you depends on your yard, your sun, and how much time you want to spend on care. A sunny, open yard suits a border or an island bed. A small yard needs dwarf irises or a rock garden. A damp corner near water suits pond-edge irises, while a shady spot needs a different plant altogether — irises need sun to bloom well. Think about when you use the garden too: a patio you sit in at dusk deserves white irises, while a front yard deserves the boldest colour you can plant.
If you are still unsure, start small. A single-colour border or a dwarf iris rock garden lets you learn how irises grow before you commit to a bigger design. You can always add more varieties next season, one clump at a time.
- Sunny, open yard: Single-Colour Iris Border or Iris Island Bed in the Lawn — bold colour with room to grow.
- Small yard or courtyard: Dwarf Iris Rock Garden or Iris-Framed Garden Gate — big impact in a small footprint.
- Pond or damp corner: Iris Pond Edge Garden — moisture-loving varieties thrive here.
- Evening garden or patio: White Iris Evening Garden — white blooms glow after dark.
- Large, relaxed yard: Loose Iris Meadow Drifts — natural, soft, and wildlife-friendly.
- All-season colour: Iris Border With Long-Blooming Perennials — colour before and after the irises bloom.
- Classic, elegant look: Irises and Roses Together — a timeless pairing that always works.
FAQs
How much sun do irises need?
Most irises need at least six hours of direct sunlight every day. More sun usually means stronger flowering and healthier plants. In very hot climates, a little afternoon shade is fine, but full shade will give you leaves and almost no blooms.
How often should irises be divided?
Most bearded irises should be divided every three to five years. Dividing stops overcrowding, gives each rhizome room to grow, and encourages better blooming. The best time to divide is late summer, a few weeks after flowering ends. Lift the clump gently, cut it into pieces with a sharp knife, and replant the healthiest pieces.
What is the best soil for irises?
Well-draining soil is essential for irises. They hate sitting in wet soil, which causes rhizome rot and weak growth. Sandy or loamy soil with compost works best. If your soil is heavy clay, plant in raised beds or add grit to improve drainage.
Can irises grow in containers?
Yes, many dwarf and medium-sized irises grow well in containers. Use a wide pot with drainage holes and a free-draining soil mix. Place the pot in full sun and water only when the soil dries out, since containers can hold too much water.
Why are my irises not blooming?
The most common causes are overcrowding, too little sun, rhizomes planted too deeply, or too much nitrogen fertiliser. Divide crowded clumps, move plants to a sunnier spot, expose the rhizome tops, and feed lightly with compost instead of rich fertiliser.
When is the best time to plant irises?
Late summer through early fall is the best time to plant irises. Planting then gives the roots time to establish before winter, so the plants bloom well the following spring. Avoid planting in the heat of midsummer or when the ground is frozen.
Are irises low-maintenance plants?
Yes, irises are low-maintenance once they are established. They need little care beyond occasional dividing, deadheading spent blooms, and a seasonal tidy. With sun and good drainage, they come back year after year with almost no fuss. Just check the drainage after heavy rain and remove dead leaves in autumn.
Conclusion
An iris garden is one of the simplest ways to fill a yard with colour. The plants ask for very little — sun, drainage, and a little room — and they give back weeks of beautiful blooms every year. Even a small border or a single clump by the gate can change how a garden feels in spring. The first year is always the quietest, so be patient and let the clumps build strength.
Start with the idea that fits your yard and your sun. Plant in groups, keep the rhizomes near the surface, and mix in perennials to carry the colour after the irises fade. Then step back and enjoy a garden that returns, bigger and brighter, every single year.